


 My Orders




TBX16SAYCRWH General Electric Refrigerator - Overview
Diagrams for TBX16SAYCRWH
See every part. Know exactly what you need.


Enter a part description. DIY Heroes keep it simple, eg. "belt" or "pump".
Search filter:
Clear Filter
Your search term must have 3 or more characters.

$72.54
In Stock
Crisper Drawer Cover
Part #WR32X10398
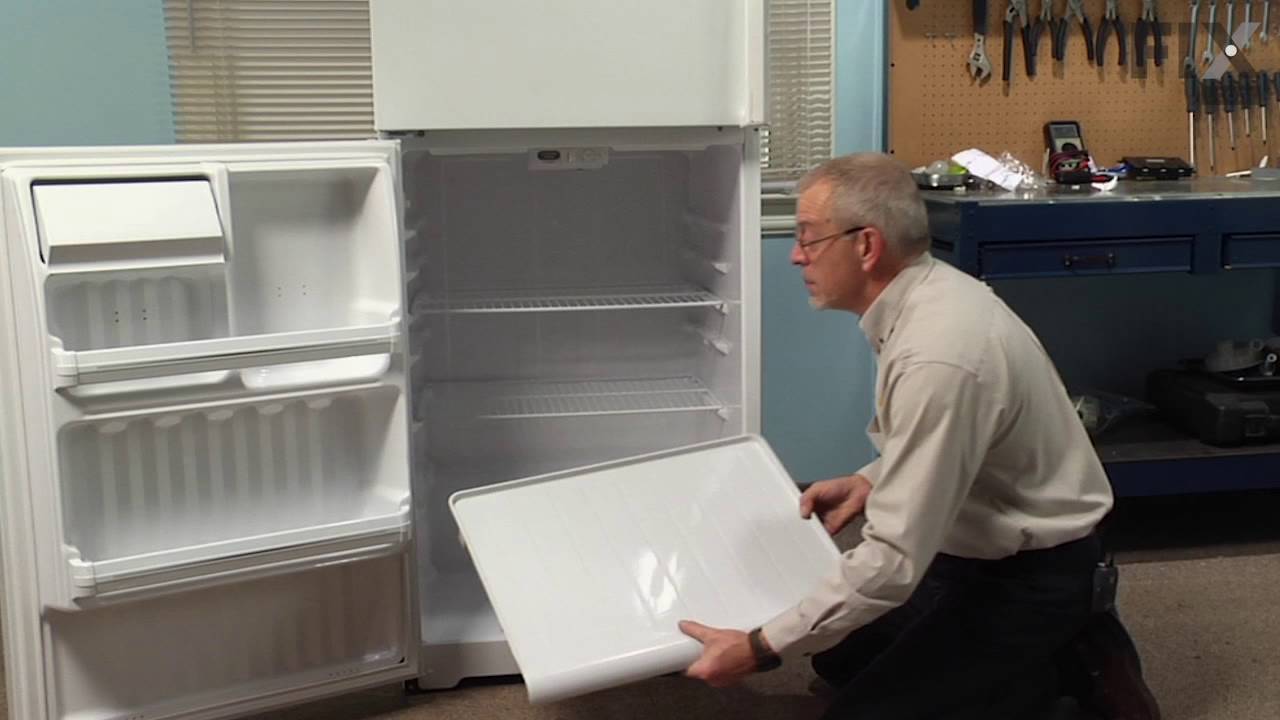
The crisper drawer cover sits on top of your vegetable crispers and helps to maintain proper crisper temperatures. It also doubles as a sturdy lower shelf for extra storage in your refrigerator. If the drawer cover is damaged or cracked, it will not be able to do either of its jobs, and should be replaced. This replacement cover features ...Read moreshallow, wide grooves to prevent leaks and to catch spills. It also has rail brackets underneath to hold the drawer, allowing the drawer to slide in and out. It is made with some added structural rigidity that makes it stronger and more durable than the original. This model measures 24 1/2 inches long x 19 inches wide x 2 5/8 inches deep.
Read less

$21.95
In Stock
Light Bulb - 40W
Part #40A15
This 40-Watt light bulb is sold individually.
It is specially designed to withstand extreme temperatures, so this bulb is compatible with a variety of appliance types including refrigerators, ranges, microwaves, and dryers. It features a frosted glass bulb with a standard metal socket base, which allows you to easily unscrew the burnt-out light and twist the new bulb into place.

$56.34
In Stock
Refrigerator Outlet Valve Kit
Part #WR57X10033
The water inlet valve on your refrigerator allows water to enter the ice maker and water dispenser. If your ice maker or water dispenser is not functioning properly, or you notice a leak, you may need to replace the single outlet valve. This single outlet valve has 1/4-inch compressions fittings and is intended for use with refrigerators ...Read morethat make crescent-shaped ice cubes. As per the manufacturer, this valve has a new quick connection. You must cut the retaining nut off your current plastic water line, and gently push it into the new valve. Be sure to disconnect the water and power sources from the refrigerator before you begin this repair.
Read less

$42.82
In Stock
Front Door Shelf Retainer Bar
Part #WR17X3691
This refrigerator door shelf bar is designed to replace broken or worn-out bars in compatible GE refrigerator models. It helps secure items stored on the door shelves, preventing spills and maintaining organized storage. Constructed from durable, food-safe plastic, the bar is engineered to withstand daily use and temperature fluctuations ...Read morewithin the refrigerator. Installation is simple and requires no tools—just snap the bar into place on the designated shelf brackets. Its clean, neutral finish blends seamlessly with most refrigerator interiors, restoring both function and appearance.
Read less

$168.49
In Stock
Stationary Wire Shelf
Part #WR71X10378
This part is the replacement stationary wire shelf for your refrigerator. It is white in color and is approximately 24 1/2 inches by 14 3/8 inches. The stationary wire shelf rests on grooves in the refrigerator side wall and allows you to store food. The reason you would want to change out this shelf, is if it is bent, broken, or missing....Read more This is an OEM part sourced directly from the manufacturer and is sold individually.
Read less

$43.18
In Stock

$97.43
In Stock
Vegetable Pan
Part #WR32X1455
This vegetable pan, also known as a crisper drawer, is designed to store produce at a controlled humidity level, helping fruits and vegetables stay fresh longer. Positioned as a lower twin pan in compatible refrigerator models, it plays a key role in maintaining food quality and organization. Constructed from durable, clear plastic, this ...Read moregenuine OEM replacement part fits select GE, Hotpoint, and Haier refrigerators. It is ideal for replacing a cracked, warped, or difficult-to-slide drawer, especially if produce is wilting prematurely. Installation is simple and requires no tools, but model compatibility should be confirmed before purchase to ensure proper fit and function.
Read less

$16.05
In Stock

$37.15
In Stock

$63.94
In Stock
HOUSING CONTROL
Part #WR17X12852

$15.00
In Stock
WZ04X0408
Part #WZ4X416

$15.00
Special Order
STUD MTGCOMP
Part #WR1X1779
Common Symptoms of the TBX16SAYCRWH
How this model fails, and the parts that fix it.
Ice maker not making ice
Fixed by
these parts
these parts

Show All
Leaking
Fixed by
these parts
these parts
Show All
Ice maker won’t dispense ice
Fixed by
these parts
these parts
Show All
Door won’t open or close
Fixed by
these parts
these parts

Show All
Not dispensing water
Fixed by
these parts
these parts
Show All
Watch our pros, then fix it yourself.
See how others fixed this model. Time, tools, difficulty, and steps that lead to victory!
View More