


 My Orders




SBK26DA Amana Range - Overview
Diagrams for SBK26DA
See every part. Know exactly what you need.
-
Backguard Assembly 1

-
Backguard Assembly 2

-
Diagram 1

-
Diagram 2

-
Lower Broiler Components

-
Lower Oven Components 1

-
Lower Oven Components 2

-
Misc Parts

-
Oven Door - Blackglass

-
Plain Over Door Assembly

-
Top And Burner Assembly With Spark

-
Top And Top Burner Assembly With Out Spark

-
Top And Top Burner Assembly With Spark

-
Top And Top Burnerassembly With Out Spark

Enter a part description. DIY Heroes keep it simple, eg. "belt" or "pump".
Search filter:
Clear Filter
Your search term must have 3 or more characters.

$38.96
In Stock
Bake Element - 240V 2100W
Part #326791
This lower oven bake element is a high-performance heating component designed for electric ranges and wall ovens. Located at the bottom of the oven cavity, it delivers 2100 watts of power at 240 volts to provide consistent heat for baking. Engineered for durability and even heat distribution, this element is a direct replacement for units...Read more that are burned out, broken, or producing uneven results. Common symptoms of a failing element include weak or no heat, inconsistent baking, or visible damage. Replacing the bake element restores proper oven function and ensures reliable cooking performance.
Read less

$68.86
In Stock
Blower Wheel
Part #56000
If your dryer is noisy, will not tumble, or is not producing enough heat, you may need to replace the blower wheel. This part is white in color, and is made of plastic. This part is approximately 8 inches in diameter. The blower wheel is located near the bottom of your dryer cabinet. To access it for this repair, you will need to remove b...Read moreoth the front panel and the front bulkhead assembly. Before you begin this repair, be sure to disconnect the power source to the dryer. To complete this repair, you will need a 5/16 inch nut driver, a 1/4 inch nut driver, a pair of locking pliers and a 7/8 socket with a short extension and a ratchet.
Read less

$49.50
In Stock
2 Piece Broiler Pan
Part #4396923
This broiler pan and roasting rack set is designed to help reduce mess while cooking by allowing grease to drain away from food. Its durable porcelain-coated construction stands up to high temperatures and makes cleanup simple. With approximate dimensions of 16 3/4 inches long, 12 3/4 inches wide, and 1 3/4 inches high, it offers a convenient size for everyday broiling and roasting.

$25.75
In Stock
Range Surface Burner Control Knob
Part #WP4179282
Sold Individually. This knob accepts a D-shaped shaft.

$54.24
In Stock
Range Thermostat Knob
Part #WPY07506601
This black oven thermostat knob is just over two inches in diameter. It has a chrome trim around the perimeter of the knob and white lettering denoting the various temperature within the oven.

No Longer Available

No Longer Available
Water Inlet Valve
Part #358277
This valve has two ports for water to enter. This valve is compatible with a half inch ID hose and it has two 3/4-11x1/2 NHT hose threads.

$59.47
Special Order
Range Suface Burner Ignition Switch
Part #WP4157180
When the gas burner valve knob is depressed and turned, this part creates a spark that lights the gas and starts the burner.

No Longer Available

No Longer Available
SCREW
Part #310207

No Longer Available
Thermostat Knob
Part #Y0310525

No Longer Available
DISCONTINUED
Part #Y07507201
Common Symptoms of the SBK26DA
How this model fails, and the parts that fix it.
Little to no heat when baking
Fixed by
these parts
these parts

Show All
Noisy
Fixed by
these parts
these parts

Show All
Element will not heat
Fixed by
these parts
these parts
Show All
Oven not heating evenly
Fixed by
these parts
these parts
Show All
Will Not Start
Fixed by
these parts
these parts

Show All
No hot or cold water
Fixed by
these parts
these parts

Show All
Watch our pros, then fix it yourself.
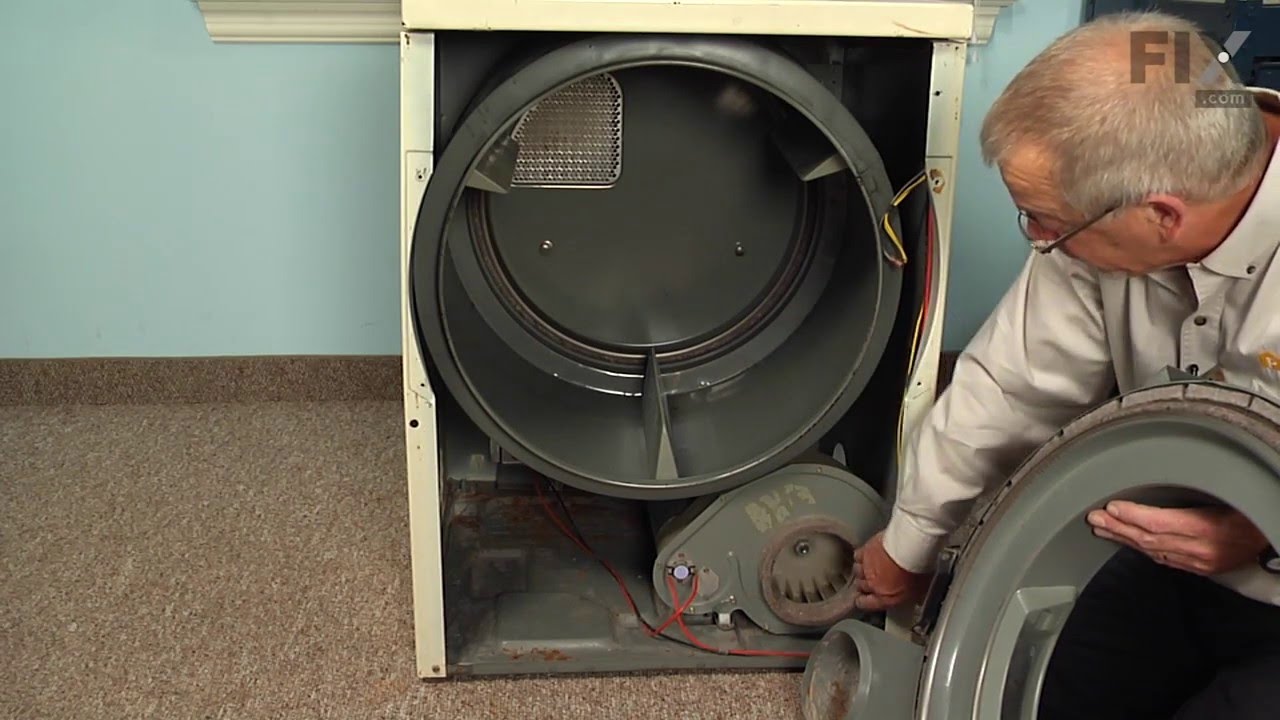
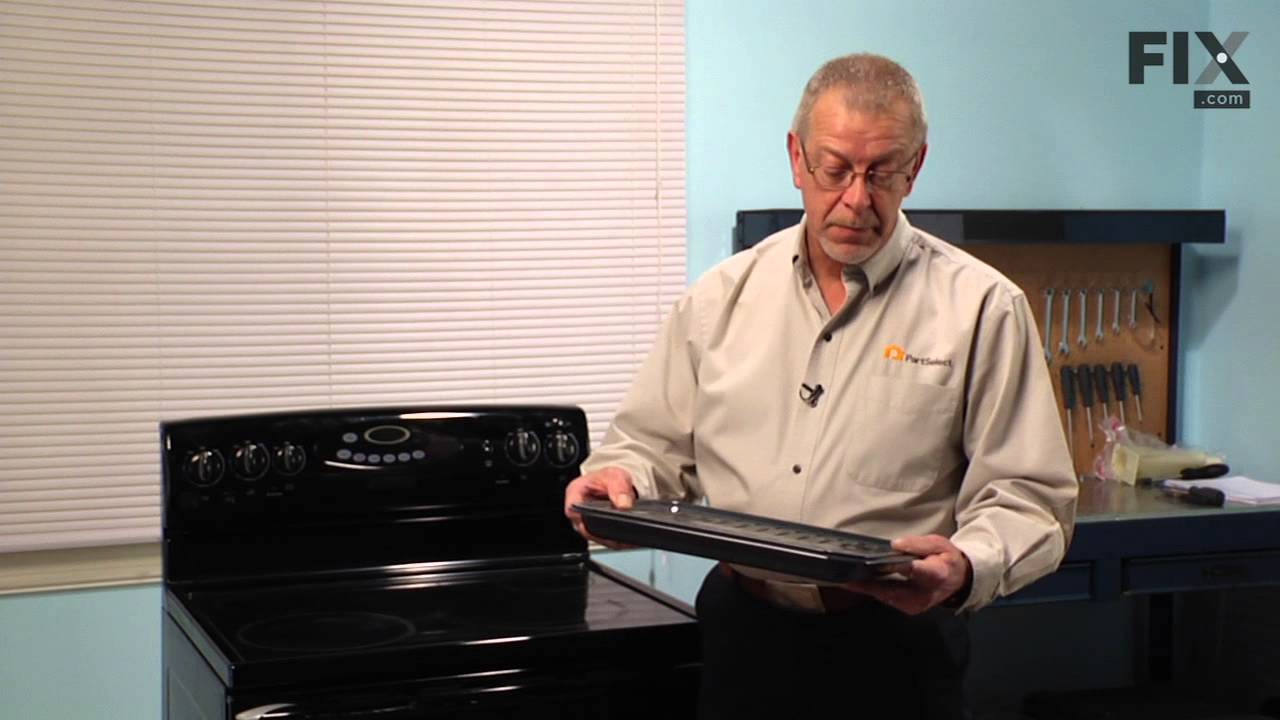
See how others fixed this model. Time, tools, difficulty, and steps that lead to victory!
View More