



 My Orders




S23 - Overview
Models starting with S23
Click on the best match to narrow your results.
Enter a part description. DIY Heroes keep it simple, eg. "belt" or "pump".
Search filter:
Clear Filter
Your search term must have 3 or more characters.

$65.73
In Stock
Refrigerator Condenser Fan Motor Kit
Part #833697
This condenser fan motor kit is designed for use with refrigerators. This fan draws air through the condenser coils and over the compressor. It does this with the goal of cooling the warm refrigerant before it enters the evaporator. When your fan or fan motor is not working your refrigerator will not cool properly. This is a 2-Watt, 115 V...Read moreolt motor that rotates the fan in a counter clockwise direction. This kit includes the hardware needed for installation, and a set of instructions. Before you begin any repair work make sure to unplug your appliance.
Read less

$21.45
In Stock
Screw
Part #W11233072
This is a multi-use and multi-appliance screw. It can be used on a microwave, refrigerator, range/oven, air conditioner, dehumidifier, washer, or dryer. The measurements of this screw are 8 x 1/2 inch. It has 6 threads. Refer to the manual provided by the manufacturer for further information on repair and accurate guidance. Remember to wear work gloves as a safety precaution.

$9.62
In Stock
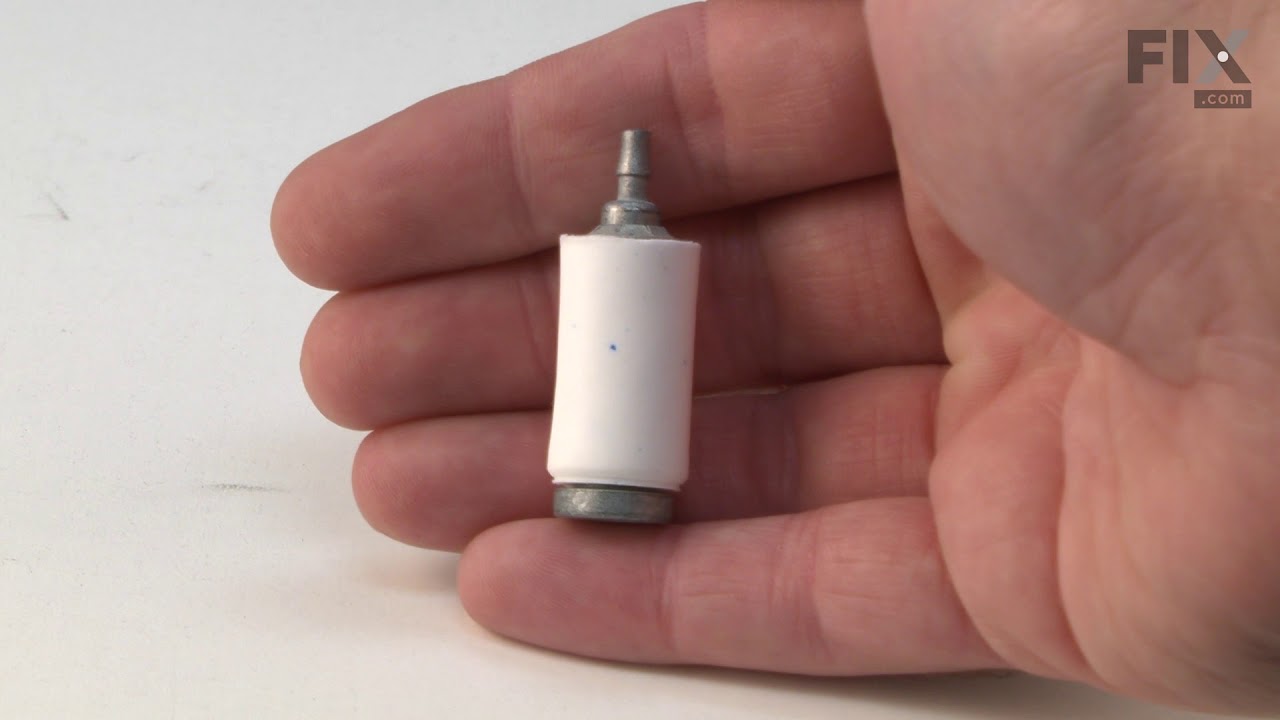
Engine Fuel Filter
Part #530095646
This Genuine OEM fuel filter is designed to maintain the performance and longevity of your equipment by preventing dirt and debris from entering the carburetor. Located inside the fuel tank, this essential component ensures clean fuel delivery, protecting the engine from potential damage caused by contaminants. Sold individually, the filt...Read moreer is built to meet original equipment standards for fit and function. Over time, the filter may become clogged, restricting fuel flow and making engine starts more difficult. For optimal performance, it should be replaced—not cleaned—at the first sign of blockage or wear.
Read less

$17.55
In Stock
Purge Line
Part #530069216
This is the Genuine Craftsman replacement part. It is made out of Flexible Rubber and is Sold Individually. The purpose of the 530069216 Tank Purge Line is to return the excess fuel that is in the carburetor after the primer bulb has been pushed. The excess fuel is forced through the purge line back into the fuel tank. Over time the Tank Purge Line will become brittle and crack and will need to be replaced.

$7.47
In Stock
Refrigerator Screw
Part #WP98165
This screw is a little under an inch long and is made of metal. It is used with a refrigerator's ice maker assembly. Sold individually.

$8.55
In Stock

$7.65
In Stock
Fuel Line Fitting
Part #530023877
The Fuel Line Fitting is a plastic part which attaches two pieces of fuel line together. If broken due to damage/fatigue, there may be a leak and the part must be replaced. Installation is rated as "Easy". Refer to your make, model and diagram to ensure this part is correct for you.

$12.05
In Stock
Fuel Cap
Part #530014347
The Fuel Cap with retainer, often simply known just as the fuel cap, keeps fuel from splashing out of your tank and debris from entering it. Black in color, it is sold individually and made of plastic.
Because of everyday fatigue and wear, the cap can become damaged over time and must be replaced. You will know if it is time to replace ...Read moreyour fuel cap if you notice visible damage or experience fuel leaking from it. You can make this repair by hand, just attach the cap directly back onto the fuel tank.
Most of our customers found this repair very easy.
Read less

$6.40
In Stock
Carriage Bolt 5/16-18 x 3/4" Lg.
Part #710-0451
This carriage bolt measures 5/16-18 x .75 and fastens two parts in your machine together. It has a round domed head and a square underside so the bolt does not rotate once it has been secured into place. If it has signs of deformation or wear, you will need to replace it. To unthread this bolt, you need an adjustable wrench to loosen the ...Read morenut found on the end of the bolt. You may need to apply a lubricating oil to the bolt if it is stuck. You may need to clamp down on the head of the bolt with pliers while continuing to turn the nut counterclockwise. You can then slide the carriage bolt out of its hole or tap it gently with a hammer. This bolt is a standalone product and the nut is not included. This bolt was sourced directly from its manufacturer.
Read less

$6.40
In Stock
Lawn Mower Hex Washer Head Screw
Part #710-0599
This is an original replacement part sourced directly from the manufacturer. The screw is commonly found in yard equipment from Craftsman, such as lawn tractors, snow blowers, and edgers. This part is made of metal, and may be found in various locations in the machine, depending on model. Please be aware that there are different screws...Read more used in the machine. Refer to the parts diagram to be sure of ordering the correct part. You will require a wrench when replacing this item. The screw is sold as an individual replacement part.
Read less

$6.40
In Stock
Nut-flglk 5/16-18
Part #712-04063
This nut is a manufacturer-approved replacement part for various lawn and garden equipment. It is sold individually, not as part of a kit or assembly. Also referred to as a Lock Nut, it is resistant to loosening when threaded on a bolt. It has a variety of applications and is used in multiple locations on most models. Please refer to your...Read more owners manual to determine the exact location.
While made of durable metal, the ends can round off from improper use of a wrench or socket. Depending on the location, this part may also become worn through regular use of your machine. It should be replaced when visibly cracked, worn or damaged. To complete this repair, you will need a wrench or socket, and a torque wrench. Ensure you torque the bolt according to the manufacturer recommendations.
Customers rate this repair as Easy.
Read less

$9.62
Special Order
Common Symptoms of models starting with S23
How this model fails, and the parts that fix it.
Fridge too warm
Fixed by
these parts
these parts

Show All
Freezer section too warm
Fixed by
these parts
these parts
Show All
Noisy
Fixed by
these parts
these parts
Show All
Will Not Start
Fixed by
these parts
these parts


Show All
Fridge runs too long
Fixed by
these parts
these parts
Show All
Fridge and Freezer are too warm
Fixed by
these parts
these parts
Show All
Engine stops after a few seconds or minutes
Fixed by
these parts
these parts
Show All
Too warm
Fixed by
these parts
these parts
Show All
Leaking
Fixed by
these parts
these parts
Show All
Watch our pros, then fix it yourself.

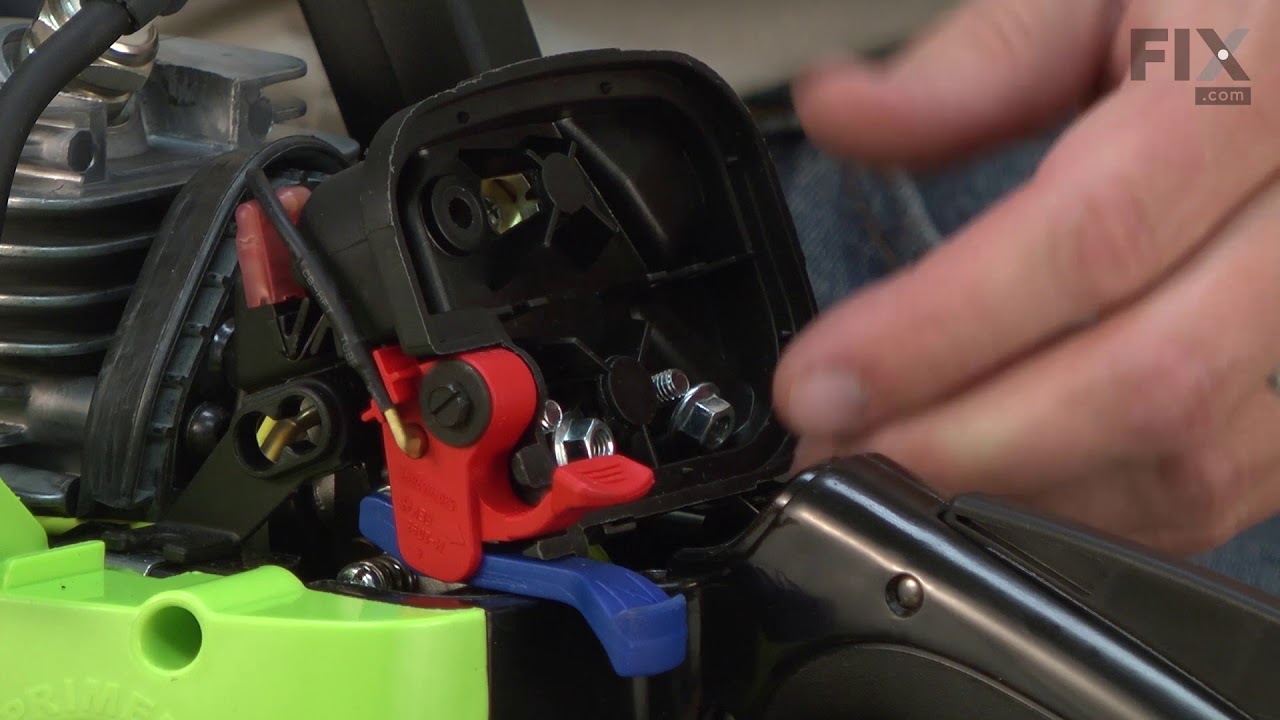
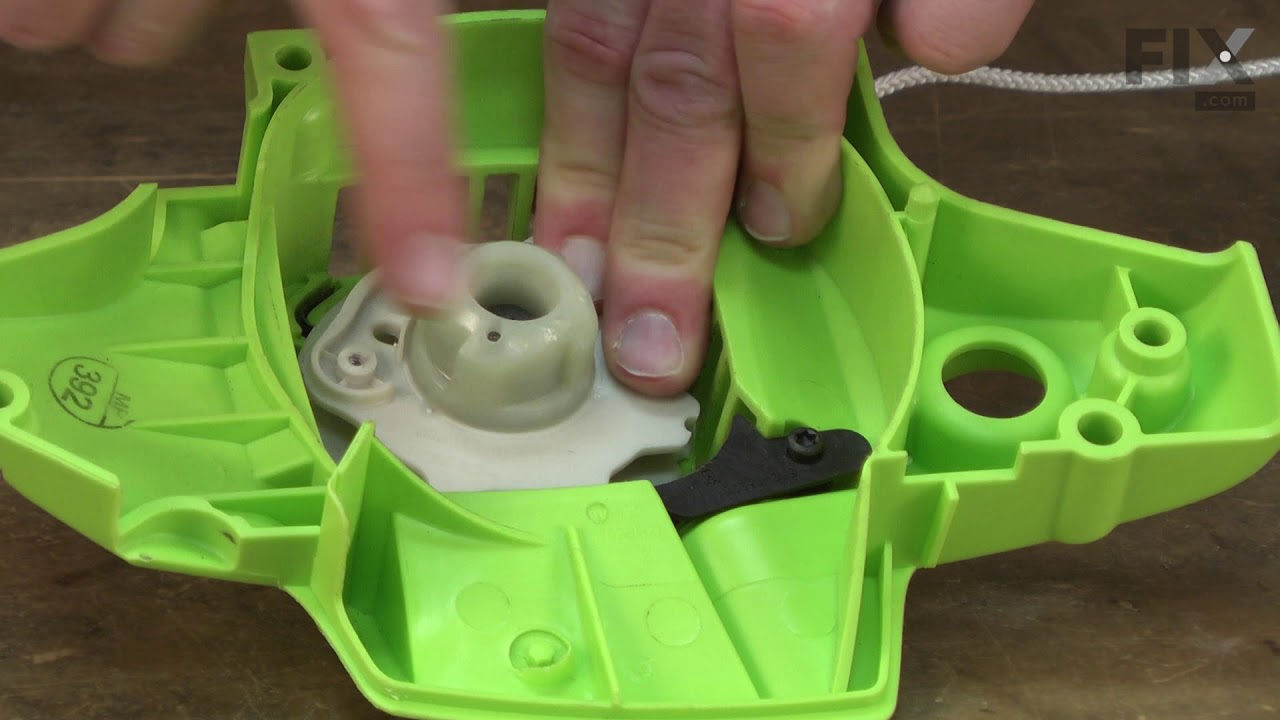

See how others fixed this model. Time, tools, difficulty, and steps that lead to victory!
View More