













PHT19 Paramount Hedge Trimmer - Overview
Sections of the PHT19
[Viewing 2 of 2]

Keep searches simple, eg. "belt" or "pump".

Fuel Line (25" Length)
PartSelect #: PS9008183
Manufacturer #: 530069247
This 25-inch fuel line carries fuel from the tank to the carburetor, ensuring proper engine operation. Made from durable clear plastic, it is designed to withstand regular use but may become clogged o...
$12.81
In Stock

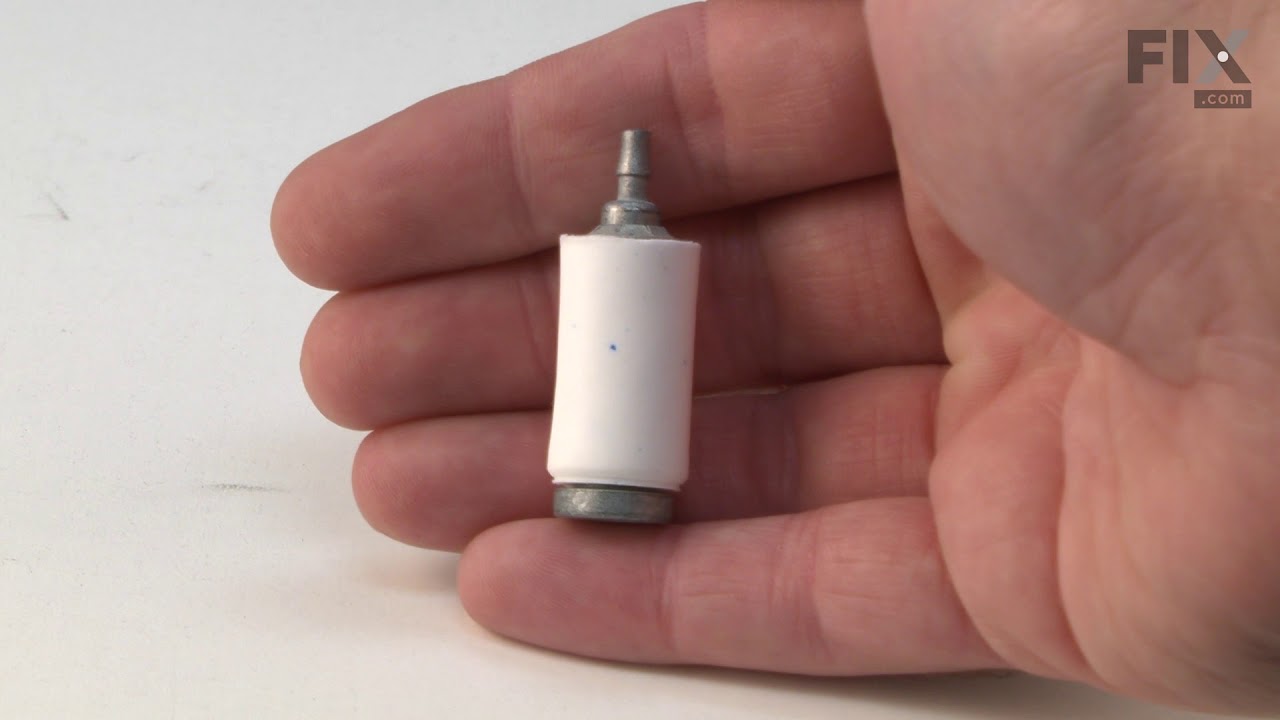
Engine Fuel Filter
PartSelect #: PS9285148
Manufacturer #: 530095646
This Genuine OEM fuel filter is designed to maintain the performance and longevity of your equipment by preventing dirt and debris from entering the carburetor. Located inside the fuel tank, this esse...
$9.62
In Stock

Purge Line
PartSelect #: PS9008180
Manufacturer #: 530069216
This is the Genuine Craftsman replacement part. It is made out of Flexible Rubber and is Sold Individually. The purpose of the 530069216 Tank Purge Line is to return the excess fuel that is in the car...
$17.55
In Stock

Spark Plug
PartSelect #: PS8996057
Manufacturer #: 503235111
Compatible with over 150 models of lawn equipment, this Spark Plug has been sourced directly from the original manufacturer. It is sold individually, made of metal and ceramic components, and is not p...
$11.28
In Stock

Flywheel
PartSelect #: PS16365732
Manufacturer #: 545221701
This flywheel is an authentic manufacturer replacement part for use with lawn and outdoor equipment. The flywheel is a heavy, circular disc that has magnets that create an electric charge sent to the ...
$39.55
In Stock

Starter Spring
PartSelect #: PS9036701
Manufacturer #: 545008010
The Starter Spring is a metal spring used to restract the rope after you pull it to start the engine. Installation of this OEM part is rated as "Medium" difficulty and requires a screwdriver, nutdrive...
No Longer Available

Rope Kit
PartSelect #: PS9008182
Manufacturer #: 530069232
The chainsaw starter rope is a three-foot-long white rope that is approved by the original equipment manufacturer, and which wraps around the recoil pulley and is pulled to start the engine. Installat...
$7.65
In Stock

Carburetor Assembly
PartSelect #: PS12602537
Manufacturer #: 530071633
The Carburetor Assembly (Carburetor, WT 379 w/ Limiter Caps) includes the carburetor and primer bulb. This assembly requires a screwdriver, pliers, and a wrench set, and is rated as "Easy" to install ...
$98.95
In Stock

Trimmer Check Valve
PartSelect #: PS9002985
Manufacturer #: 530026119
This check valve, also known as a one-way valve, is a genuine OEM part that regulates the flow of fuel/oil in the equipment engine to prevent it from flowing backwards. It is made of plastic and desig...
$7.65
In Stock

Diaphragm
PartSelect #: PS8997649
Manufacturer #: 503896701
This metering diaphragm is an original part for use in edgers, blowers, trimmers, and chainsaws made by Poulan, Paramount, Weed Eater, Husqvarna, and Jonsered. It fits between the metering diaphragm g...
$66.93
In Stock

Screw-10-14 x 13/16
PartSelect #: PS9284984
Manufacturer #: 530015886
This replacement screw is a high quality hardware that is designed for use with Paramount, Poulan and Weed Eater power equipment. It has multiple applications depending on your equipment, please make ...
$6.72
In Stock

Diaphragm Pump
PartSelect #: PS8992825
Manufacturer #: 504130807
This fuel pump diaphragm, also called a membrane or a gasket, is what helps pump fuel from the tank to the engine of your gas-powered lawn equipment. It is normally found attached to the carburetor as...
$46.15
In Stock
Common Symptoms of the PHT19
[Viewing 2 of 2]Will Not Start
Fixed by
these parts
these parts


Show All
Engine stops after a few seconds or minutes
Fixed by
these parts
these parts
Show All
")
Keep searches simple. Use keywords, e.g. "leaking", "pump", "broken" or "fit".
Both the Fuel line and the Engine fuel line, where dry rotted.
1) While still attached to the fuel tank, I first sized up the old fuel lines with the newer fuel lines.
2) With a pair of needle nose players, I then removed the old dry rotted fuel ?? lines, from the fuel tank.
3) I cleaned the fuel tank and around the carburetor area, to insure that there was no debris, that could possibly fa ... Read more ll into the path of the new fuel lines installation.
4) I then installed the smaller one of the fuel lines, so that it would be out of the way, of the larger fuel line. I Pulled the fuel line through the smaller hole in the fuel tank, with needle nose players. I pulled the smaller fuel line out through the fuel tank filler hole, attached the fuel filter to the smaller fuel line. I Made sure that the fuel filter was extended to the furthest end of the fuel tank bottom. Six inches in all. I then attached the smaller fuel line to the carburetor.
5) I Installed the larger fuel line, followed the same procedures as the smaller fuel line.
6) Both fuel lines where cut on an angle for easy installation. No lubricant was necessary.
7) I filled up the fuel tank with fresh fuel and oil, new air filter and spark plug. It started on the first pull. Amazing.
2) With a pair of needle nose players, I then removed the old dry rotted fuel ?? lines, from the fuel tank.
3) I cleaned the fuel tank and around the carburetor area, to insure that there was no debris, that could possibly fa ... Read more ll into the path of the new fuel lines installation.
4) I then installed the smaller one of the fuel lines, so that it would be out of the way, of the larger fuel line. I Pulled the fuel line through the smaller hole in the fuel tank, with needle nose players. I pulled the smaller fuel line out through the fuel tank filler hole, attached the fuel filter to the smaller fuel line. I Made sure that the fuel filter was extended to the furthest end of the fuel tank bottom. Six inches in all. I then attached the smaller fuel line to the carburetor.
5) I Installed the larger fuel line, followed the same procedures as the smaller fuel line.
6) Both fuel lines where cut on an angle for easy installation. No lubricant was necessary.
7) I filled up the fuel tank with fresh fuel and oil, new air filter and spark plug. It started on the first pull. Amazing.
Read less
Parts Used:
 – Part Number: 530069247")
-
Victor from SCOTTSVILLE, KY
-
Difficulty Level:Very Easy
-
Total Repair Time:15 - 30 mins
-
Tools:Pliers, Socket set
53 of 71 people
found this instruction helpful.
Was this instruction helpful to you?
Thank you for voting!
installing fuel through fuel tank wall
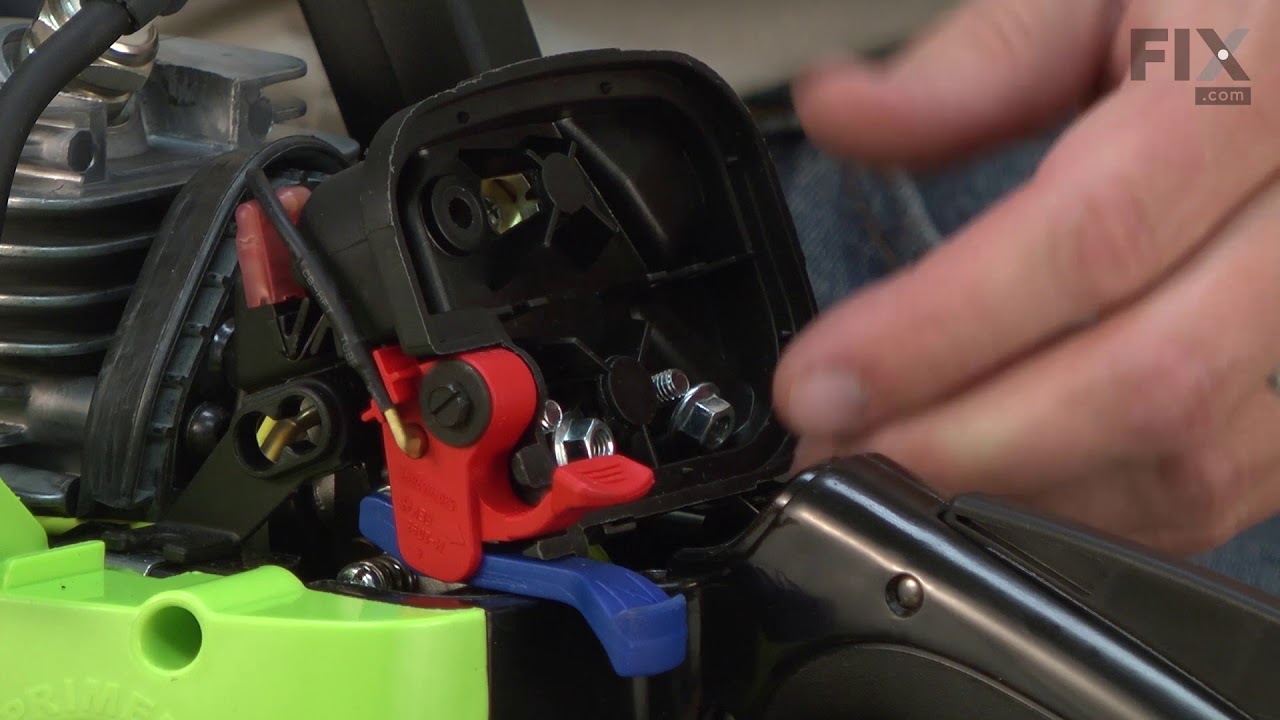
To start, remove the plastic carburetor grill. DO NOT remove the carburetor. The fuel line has to be sliced down to fit through the tank hole and get it in far enough up into the tank to grab with needle nose pliers.( need long needle nose pliers which I didn't have) I placed about six inches of the plastic tubing in the jaws of vice so t
... Read more
hat half of the tube was squeezed in the vice jaws. I then used a razor blade to shave off the exposed tube. I slipped the shaved end of the tube up through the tank hole far enough to grab with long tweezers and pulled it up to where I could grab it in the tank with needle nose pliers. I put light lube oil on the remaining tubing and pulled it through. It takes a steady firm pull to pull it in. Install the filter and pull the tube back down into the tank. I also used a small diameter drill bit and with my fingers slightly reamed the tube ends to ease the tube over the filter and carburetor nipples. To prime the engine, spray starting fluid into the carburetor and start. Repeat until the engine will run on fuel. It took me hours to figure this out, but will take less than an hour with this method.
Read less
Parts Used:
-
RICHARD from BROCKTON, MA
-
Difficulty Level:Difficult
-
Total Repair Time:More than 2 hours
-
Tools:Pliers, Screw drivers
10 of 16 people
found this instruction helpful.
Was this instruction helpful to you?
Thank you for voting!
Split fuel line driving brother-in-law to frustration
Seven screw, three case cover, two air cleaner, two carb mounting, pulled carb, drained tank, pulled old fuel line, treaded new one in, wire to thread, thread to angle cut fuel line. Reassemble, test, sharpen chain, retest…not exactly a doityourselfer, graduate degree in mechanical/industrial engineering and former medium/heavy mechanica
... Read more
l. Get fuel line on carb prior to reassembly, line may need some stretching with a tapered punch.
Read less
Parts Used:
-
Howard from UNICOI, TN
-
Difficulty Level:Really Easy
-
Total Repair Time:30 - 60 mins
-
Tools:Pliers
1 of 4 people
found this instruction helpful.
Was this instruction helpful to you?
Thank you for voting!