EasyApplianceParts is now PartSelect! We've merged our sites to provide a better shopping experience for you.   Full Details
✖

Find Parts

Parts Departments

Top Model Types

Top Brands

Repair Help

Expert Repair Videos

Keep typing for more specific results...

PHS920SF1SS General Electric Wall Oven - Overview

Diagrams for PHS920SF1SS

See every part. Know exactly what you need.

Enter a part description. DIY Heroes keep it simple, eg. "belt" or "pump".

Search filter:
Clear Filter
Your search term must have 3 or more characters.
Temperature Sensor – Part Number: WB21X22134
$30.53
In Stock
Temperature Sensor
★★★★★
★★★★★
(56)
Part #WB21X22134
The temperature sensor, also known as the oven temperature sensor assembly is usually found in the back of the oven. The function of the oven temperature sensor assembly is to measure the temperature inside your oven while it is on and send the temperature back up to the electronic control, which adjusts as necessary. If your oven is having difficulty achieving warmer temperatures and/or keeping warmer temperatures up, you may want to test your temperature sensor. Before you make this repair remember to unplug your range from the power source, and turn off the gas shut off valve.
Meat Probe Thermistor – Part Number: WB20T10024
$64.55
In Stock
Meat Probe Thermistor
★★★★★
★★★★★
(4)
Part #WB20T10024
This probe is used to check the internal temperature of the meat to ensure proper temperature is reached. Also known as a Meat Probe.
Foot - Leveller – Part Number: WB02X10521
$25.26
In Stock
Foot - Leveller
Part #WB02X10521
Sold individually.
Screw – Part Number: WH2X930
$16.05
In Stock
Screw
★★★★★
★★★★★
(1)
Part #WH2X930
This screw is sold individually.
Window Pack Assembly – Part Number: WB56T10105
$149.06
In Stock
Window Pack Assembly
★★★★★
★★★★★
(15)
Part #WB56T10105
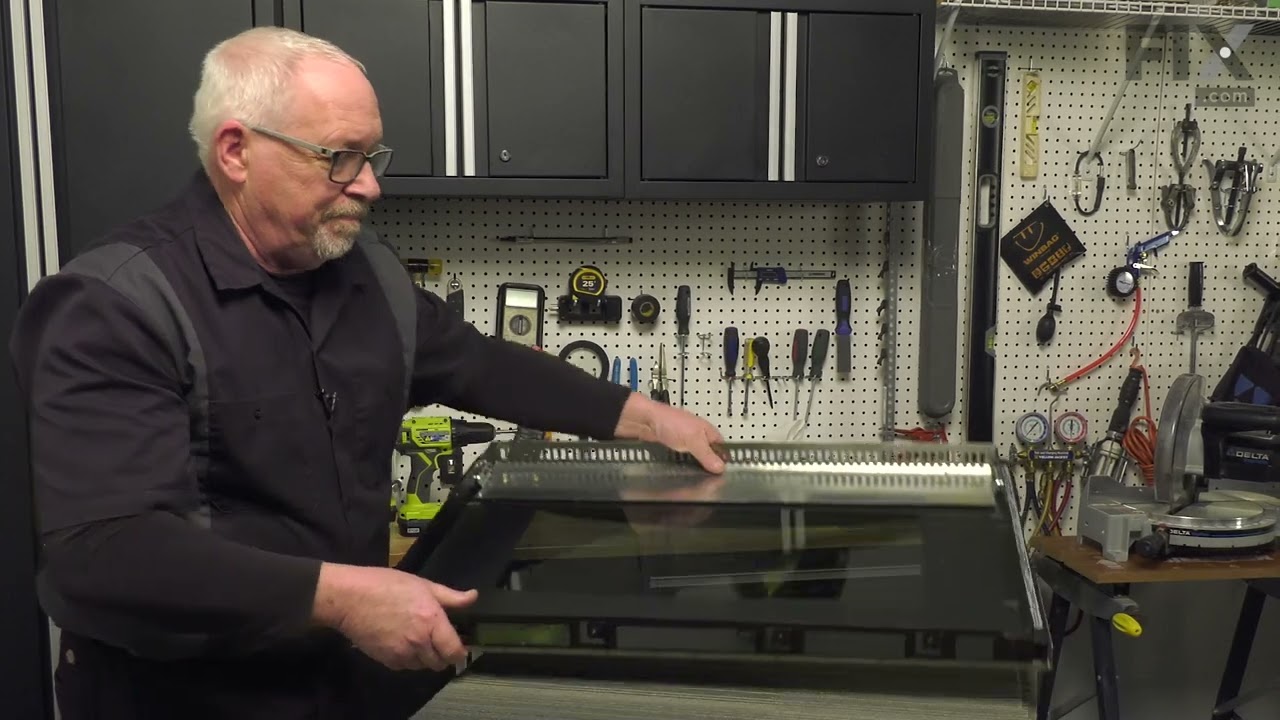
The GE Oven Door Window Pack Assembly is a genuine OEM part that fits select GE ranges and ovens. It includes a heat-resistant inner glass panel, frame, and seals, providing insulation and clear visibility into the oven cavity. Common issues like cracked glass or heat loss can indicate the need for a replacement. Ensure the oven is cool to the touch and wear gloves for safe installation.
Terminal Block Kit – Part Number: WB17T10011
$64.77
In Stock
Terminal Block Kit
★★★★★
★★★★★
(13)
Part #WB17T10011
This part provides a way of connecting individual electrical wires and offers protection of the device from electrical surges (voltages and/or currents).
Range Screw – Part Number: WB01T10008
$16.05
In Stock
Range Screw
★★★★★
★★★★★
(2)
Part #WB01T10008
This part is a replacement screw for your oven. It is made of black metal and is sold individually. This screw is approximately 1/4 inch in diameter and about 1/2 inch in length. It is designed to connect the different parts of your oven door. This part is an authentic OEM part sourced directly from the manufacturer.
Screw – Part Number: WB1K5157
$15.00
In Stock
Screw
★★★★★
★★★★★
(1)
Part #WB1K5157
This screw is black in color and sold individually.
HANDLE AND END CAP Assembly – Part Number: WB15X27280
$66.96
In Stock
HANDLE AND END CAP Assembly
★★★★★
★★★★★
(6)
Part #WB15X27280
Restore the functionality and appearance of your oven door with this handle and end cap assembly. This genuine OEM component provides a secure, heat-resistant grip for safe and easy operation during cooking cycles. Constructed from high-quality materials, it is designed to withstand frequent use and temperature fluctuations. In addition to improving usability, this assembly helps maintain a clean, finished look by replacing worn or damaged handles. Installation is straightforward and should be matched to your appliance model for proper fit and performance.
Switch – Part Number: WB24T10147
$30.53
In Stock
Switch
★★★★★
★★★★★
(3)
Part #WB24T10147
This light switch is controlled by opening and closing the oven door
NUT – Part Number: WB02T10017
$18.59
Special Order
NUT
Part #WB02T10017
HUB BLADE Assembly – Part Number: WB02T10289
$39.43
Special Order

Manuals & Care Guides for PHS920SF1SS

Click to download

Questions And Answers for PHS920SF1SS

Ask our experts a question about this model and we'll get back to you as soon as possible!

Sort by:
  • 1
Sorry, we couldn't find any existing answers that matched.Try using some different or simpler keywords, or submit your new question by using the "Ask a Question" button above!
Patricia - For model number PHS920SF1SS
February 21, 2024
Stove shuts off after a few seconds.
Chris Boyle Profile
Hi Patricia, thank you for contacting us. We have found that the issue is with the control board, part number PS8767155. You may need to replace the control board to fix the issue. We hope this helps, good luck with this repair!
$421.89
In Stock
CONTROL UI Assembly
Was this helpful?
Thank you for voting!
  • 1

Common Symptoms of the PHS920SF1SS

How this model fails, and the parts that fix it.

Watch our pros, then fix it yourself.

See how others fixed this model. Time, tools, difficulty, and steps that lead to victory! View More

Search repair tips from other customers using simple keywords like "replace", "fit", "remove", "inspect". DIY doesn't mean you have to do it alone!

Search filter:
Clear Filter
Your search term must have 3 or more characters.
Oven would go in to a F2 Error
148 of 226 people found this instruction helpful.
  • Peter from stamford, CT
  • Really Easy
  • 15 - 30 mins
  • Nutdriver
Removed six 1/4" hex nuts on rear of oven. Then through front/inside removed a single 1/4" hex nut to actually remove sensor. Unplug sensor connector, remove. Reversed steps, push oven back in place and plugged in. Tested oven function.
Was this helpful?
Thank you for voting!
terminal block melted
56 of 77 people found this instruction helpful.
  • jonathan from willow springs, IL
  • Easy
  • Less than 15 mins
  • Nutdriver, Screw drivers
The existing terminal block on my Ge oven/Range had melted due to a loose wire causing sparking and starting the plastic casing of the terminal block on fire and melting it, Part select made the part easy to find and had it at my house in 2 days. All I had to do was remove six screws to take the back sheet metal cover off of the oven. U nscrew the terminal connections remove two mounting screws that held the terminal on to the oven body. This was a little trickier than it should have been because the melted plastic had reformed making it very hard to access the mounting screws. i then mounted the new piece and plugged the oven in, it took 15 minutes and was very easy. definitely saved me at-least a $100 for the service call i would have made if finding the part wasn't so convenient
Was this helpful?
Thank you for voting!
Oven wouldn't preheat above 300 degrees
54 of 95 people found this instruction helpful.
  • Gerald from Cape Canaveral, FL
  • Really Easy
  • 15 - 30 mins
  • Nutdriver
Unplugged appliance and removed 5 screws on back of stove/oven and removed plate. Disconnected the sensor and unscrewed it on the inside of the oven. Pulled the cord through and replaced with new sensor. Replaced all parts and plugged in the appliance and tested. Worked great.
Was this helpful?
Thank you for voting!