


 My Orders




NX60A6111SB Samsung - Overview
Models starting with NX60A6111SB
Click on the best match to narrow your results.
Enter a part description. DIY Heroes keep it simple, eg. "belt" or "pump".
Search filter:
Clear Filter
Your search term must have 3 or more characters.

$87.70
In Stock
Range Oven Temperature Sensor
Part #DG32-00002B
This is a range temperature sensor, used to detect the interior temperature of your oven when it is baking or cooking. If you notice your oven is baking unevenly or at inconsistent temperatures, will not start or has too little or too much heat, it is likely that the temperature sensor is bad, or defective. This temperature sensor feature...Read mores a 3.9-inch-long probe, 3.2-inch-long wire harness, and 1.7-inch-wide support bracket. Replacing this sensor is fairly simple but will require a screwdriver, wrench and drill with the appropriate Philips-head bit. Disconnect your range from the wall outlet and pull it out from the wall. Removing your range door is not necessary, but will make removing the sensor that much easier. You will now locate your temperature sensor, which will likely be near the heating element at the top/bottom of the oven. Remove any securing screws holding the heating element and/or sensor in place. At the rear of the range, disconnect and remove the rear panel to gain access to the electronics of the range. Disengage the sensor and its locking tabs, and may also require you to disconnect the terminals for the heating element if your temperature sensor is fastened to it. Remove the sensor and heating element (if necessary). If the sensor is connected to the heating element, use a wrench to unfasten it. Now you install the new temperature sensor and reassemble your oven, ensuring that wire terminals are connected correctly.
Read less

$27.95
In Stock

$48.95
In Stock
Right Rear Burner Cap - Black
Part #DG62-00111A
This surface burner cap is specially designed to fit with Samsung ranges. It is a genuine OEM replacement part supplied directly by Samsung to ensure compatibility. The burner cap is a round, black cap that has a diameter of approximately 1.75 inches. It covers the burner head and helps to distribute the flame across the burner to ensure ...Read moreyour food is cooked evenly. The cap also protects the burner head from accidental food spillage and debris to keep your range running efficiently. The burner cap will need to be replaced if it is cracked or can no longer remain securely attached to the burner head. Each cap is sold individually.
Read less

$7.65
In Stock
Rubber Cushion
Part #DG73-00003A
This rubber cushion is supplied by the original manufacturer and has a shaft approximately 1 inch long. The cushion acts as a layer of protection between the oven door and oven frame/cavity. It prevents heat from escaping and protects the oven door and frame from abrasion and damage. If the rubber cushion becomes brittle or loses its elas...Read moreticity, you will likely notice heat escaping from the appliance, uneven cooking, as well as increased noise, and instability when opening or closing the door. Depending on your appliance model you may need to lift the top oven panel to access the cushion. Pull the faulty rubber cushion out from the oven frame and thoroughly clean the area where the new one will be placed to ensure a good seal. Press the new cushion into position and reassemble your oven to complete the repair.
Read less

$53.51
In Stock
Left Rear Burner Cap - Black
Part #DG62-00070A
If a surface burner clicks but lights poorly or burns more strongly on one side, inspect the cap before replacing other components. A chipped, misplaced, or grease-covered cap can disturb the flame pattern. Lift it off only after the burner is off and cool, then clean and dry both mating surfaces. Also check the burner ports for debris wi...Read morethout enlarging the openings. If replacement is needed, use the complete range model and burner position to confirm fit. Set the cap level on its matching head before replacing the grate. Test the burner briefly, and turn it off at once if flames remain uneven or you smell gas.
Read less

$108.95
In Stock
Wire Rack
Part #DG75-01001D
This stainless steel wire rack is a sturdy platform for baking or roasting food, making sure heat circulates evenly. It measures approximately 7/16 inches by 24 3/4 inches and is usually found inside the oven. You can adjust its height using the multiple slots in the oven cavity to suit your cooking needs. Please keep in mind that this genuine OEM replacement part is sold individually.

$51.95
In Stock
Burner Head
Part #DG62-00076B
Weak flames or a burner that will not light can point to a cracked, warped, or blocked burner base. This metal support helps hold the small surface burner assembly in place and directs gas toward the head for steady cooking. First clean the removable pieces and confirm that the burner cap is level. Also check the igniter and nearby connec...Read moretions before ordering a replacement. Verify fit using the full appliance model and burner location because similar bases may differ. Turn off the gas valve, unplug the range, and wait for every surface to cool. Avoid bending the igniter or changing the gas orifice. After installation, confirm an even flame and discontinue use if gas odor is present.
Read less

$82.95
In Stock
Range Surface Burner Cap
Part #DG62-00067A
The burner cap protects the burner head from spills and helps spread out the burner flame for even heating.

$70.69
In Stock
Burner Head
Part #DG62-00074C
Uneven heating or flames that appear only on one side can point to a dirty, warped, or damaged surface burner head. The metal head sits below the burner cap and guides gas around the burner for steady cooking. First remove loose food, inspect the ports, and make sure the cap lies flat. If damage remains, match a replacement to the complet...Read moree appliance model and exact burner location. Allow all surfaces to cool, close the gas valve, and disconnect electrical power before removal. Do not bend the igniter or change the gas opening. After assembly, check that the flame is even and stop using the range if you smell gas.
Read less

$54.42
In Stock
Burner Head
Part #DG62-00075B

No Longer Available
Call (800) Samsung
Part #CALL_1-800-SAMSUNG

$185.95
On Order
Burner Igniter
Part #DG94-01441A
In a gas oven, the igniter is responsible for starting the process that produces the flame needed to heat the oven. When you turn on the oven, the igniter begins to heat up rapidly. Once it reaches a certain temperature, it triggers the gas valve to open, allowing gas to flow into the burner. This burner igniter is sold individually.
Common Symptoms of models starting with NX60A6111SB
How this model fails, and the parts that fix it.
Little to no heat when baking
Fixed by
these parts
these parts

Show All
Oven not heating evenly
Fixed by
these parts
these parts
Show All
Oven is too hot
Fixed by
these parts
these parts
Show All
Element will not heat
Fixed by
these parts
these parts
Show All
Watch our pros, then fix it yourself.


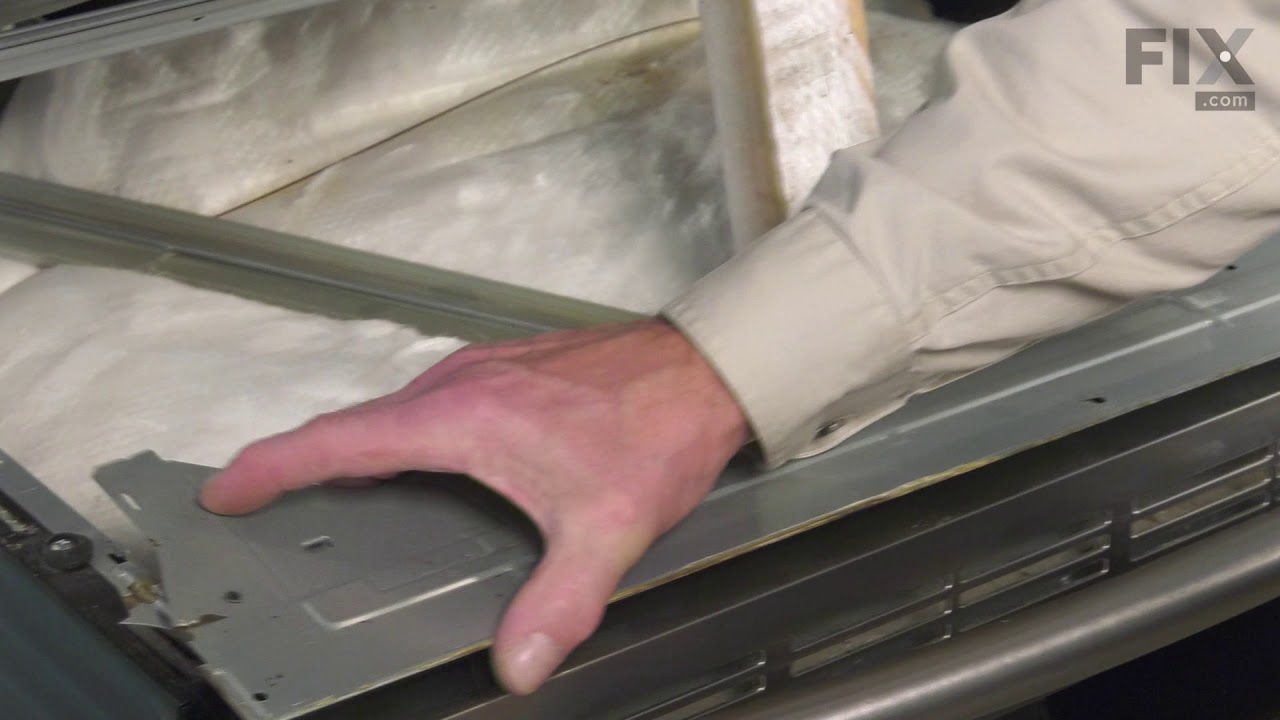
See how others fixed this model. Time, tools, difficulty, and steps that lead to victory!
View More