



 My Orders




NE58H9970WS Samsung - Overview
Models starting with NE58H9970WS
Click on the best match to narrow your results.
- NE58H9970WS (AA-0000) Samsung Range (ELECTRIC RANGE)
- NE58H9970WS (AA-00) Samsung Range (Samsung Ne58h9970ws/Aa-00 Electric Range)
- NE58H9970WS ( AA 0002 ) Samsung Range (Range)
- NE58H9970WS ( AC 0002 ) Samsung Range (Range)
- NE58H9970WS ( AA 0001 ) Samsung Wall Oven (5.8 Cu. Ft. Induction Chef Collection Range Flex Duo Oven)
- NE58H9970WS ( AC 0001 ) Samsung Wall Oven (5.8 Cu. Ft. Induction Chef Collection Range Flex Duo Oven)
- NE58H9970WS ( AC 0000 ) Samsung Wall Oven (5.8 Cu. Ft. Induction Chef Collection Range Flex Duo Oven)
Enter a part description. DIY Heroes keep it simple, eg. "belt" or "pump".
Search filter:
Clear Filter
Your search term must have 3 or more characters.

$17.95
In Stock
Micro Door Switch
Part #3405-001034
This door switch, also known as a safety switch, is a genuine OEM replacement part for microwaves. It is a safety mechanism that sends signals to the microwaves control system, telling it when the door is open/closed. This ensures that the microwave only operates when the door is securely shut and switches off as soon as the door is open....Read more Over time, this switch can become worn out or damaged. A faulty door switch can result in failure to switch the microwave on/off, lack of heat, and running with the door open. To confirm that the door switch is faulty, use a multimeter to test for electrical failure. To remove the faulty switch, disconnect the wiring connectors and take note of where they are positioned. Place the new switch in position and reattach the wiring connectors to the appropriate terminals and close the microwave door to check that the switch engages appropriately.
Read less

$27.95
In Stock

$29.74
In Stock
Thermostat
Part #DE47-20037A
This is a high limit thermostat designed for microwaves, ranges and ovens. Made of plastic and metal, this thermostat is designed to open the electrical circuit for your appliance when it reaches a specific internal temperature. In some cases, high limit thermostats can become defective and if your appliance will not turn on, or has a spe...Read morecific error code, it must be replaced. This thermostat is a genuine OEM part that is sold as an individual part and can be replaced by disconnecting the appliance from the power, and accessing its panel, usually located near the bottom of your range, or wherever the heating element is located. Reference your user manual for exact location and replacement instructions.
Read less

$150.64
In Stock
Range Convection Fan Motor Assembly
Part #DG96-00110E
This convection fan motor assembly is designed to circulate hot air throughout the oven cavity, promoting even heat distribution for more consistent baking and roasting results. By keeping air moving during convection cooking, it helps eliminate hot spots and improves overall cooking performance. Replacement is often needed if the oven fa...Read moren becomes loud, stops spinning, or causes uneven cooking temperatures. Supplied as a complete motor and fan assembly, this component offers a reliable solution for restoring quiet operation and efficient convection airflow when the original fan motor is worn or damaged.
Read less

$7.65
In Stock
Rubber Cushion
Part #DG73-00003A
This rubber cushion is supplied by the original manufacturer and has a shaft approximately 1 inch long. The cushion acts as a layer of protection between the oven door and oven frame/cavity. It prevents heat from escaping and protects the oven door and frame from abrasion and damage. If the rubber cushion becomes brittle or loses its elas...Read moreticity, you will likely notice heat escaping from the appliance, uneven cooking, as well as increased noise, and instability when opening or closing the door. Depending on your appliance model you may need to lift the top oven panel to access the cushion. Pull the faulty rubber cushion out from the oven frame and thoroughly clean the area where the new one will be placed to ensure a good seal. Press the new cushion into position and reassemble your oven to complete the repair.
Read less

$108.95
In Stock
Wire Rack
Part #DG75-01001D
This stainless steel wire rack is a sturdy platform for baking or roasting food, making sure heat circulates evenly. It measures approximately 7/16 inches by 24 3/4 inches and is usually found inside the oven. You can adjust its height using the multiple slots in the oven cavity to suit your cooking needs. Please keep in mind that this genuine OEM replacement part is sold individually.

$151.33
In Stock
Convection Fan Motor - Lower
Part #DG31-00005C
This genuine OEM left-threaded convection fan motor is responsible for spinning the fan blade, ensuring even circulation of hot air within your oven for consistent cooking. It is typically located behind a removable cover at the back of the oven. Signs of a faulty motor include rattling, squealing, or slow and irregular fan rotation. Negl...Read moreecting to replace the motor can result in uneven browning or undercooked portions in your food. To remove the motor, you will need a screwdriver and a socket set. Consult your user guide for instructions on accessing the back panel of your oven. Remove the mounting screws and the fan cover, then the nut securing the fan. Slide out the fan and motor assembly from your oven. Remember, the motor is sold separately from the fan, so consider this when purchasing a replacement.
Read less

$101.95
In Stock
Oven Temperature Sensor
Part #DG32-00004C
This oven temperature sensor monitors the temperature inside the oven and sends that information to the control board, helping maintain accurate and consistent cooking temperatures. It plays an important role in proper oven operation and helps ensure food cooks evenly. If the oven is overheating, not heating properly, displaying temperatu...Read morere-related error codes, or producing inconsistent cooking results, a faulty temperature sensor may be the cause. Replacing the sensor can help restore accurate temperature control and reliable oven performance. Before replacing the sensor, testing it with an ohm meter can help confirm whether it is defective.
Read less

$24.82
In Stock
Hexagon Nut Cap
Part #6021-001211
This hexagon nut cap, also known as a nut cover cap, is a nylon-insulated cylindrical cap with left-hand threads and a 4mm thread size, for counterclockwise tightening. It is sourced from the original equipment manufacturer for use in ranges and microwave oven combos. The cap provides added security to prevent the hexagon nut that it rest...Read mores on from coming loose during operation and causing component instability. Over time it is normal for the hex nut cap to wear down, become damaged, or for its threads to become stripped. To replace a faulty nut cap, use a socket or wrench to unthread it from the hex nut. Place the new cap in its position and secure it in place to complete the repair. It is recommended to replace the fastener at the same time for extended durability.
Read less

$24.29
In Stock
Upper Fan Blade
Part #DG67-00001B

$17.55
In Stock
Convection Fan Blade Spacer
Part #DG60-00001A

$59.54
In Stock
Terminal Block Assembly
Part #DG96-00173A
This terminal block assembly is designed for use within various models of ranges and is sold as an individual OEM part without any other hardware included. Terminal blocks are responsible for receiving, managing, and distributing the power within an appliance. Electrical shorts or surges can cause this terminal block to overheat and melt ...Read moreand become inoperable, thus needing immediate replacement. If you smell melting plastic when operating your range, turn it off and disconnect it from power immediately and inspect this terminal block and all other electrical components. To replace this terminal block, disconnect your range from the power and remove it from the wall. Remove the back panel of the range and locate the terminal block, making note of its wire configuration. Unscrew the wires and the ground wire if there is one, and then do the same for the mounting screws. Install the new terminal block in the same position as the previous one, attaching all necessary wires as they were originally, before you reconnect and reposition the range.
Read less
Common Symptoms of models starting with NE58H9970WS
How this model fails, and the parts that fix it.
No heat
Fixed by
these parts
these parts

Show All
Doesn’t shut off
Fixed by
these parts
these parts
Show All
Oven not heating evenly
Fixed by
these parts
these parts


Show All
Won’t turn on
Fixed by
these parts
these parts
Show All
Door won’t open after self cleaning cycle
Fixed by
these parts
these parts
Show All
Little to no heat when baking
Fixed by
these parts
these parts
Show All
Oven is too hot
Fixed by
these parts
these parts
Show All
Watch our pros, then fix it yourself.
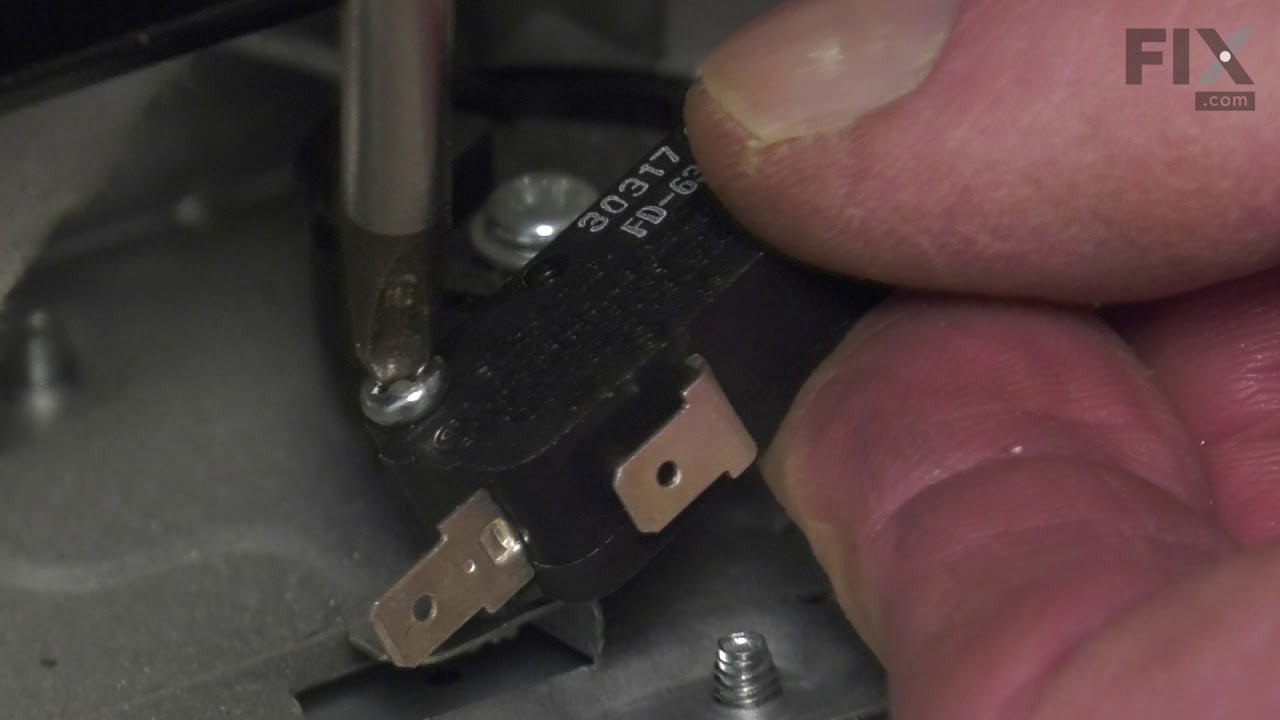


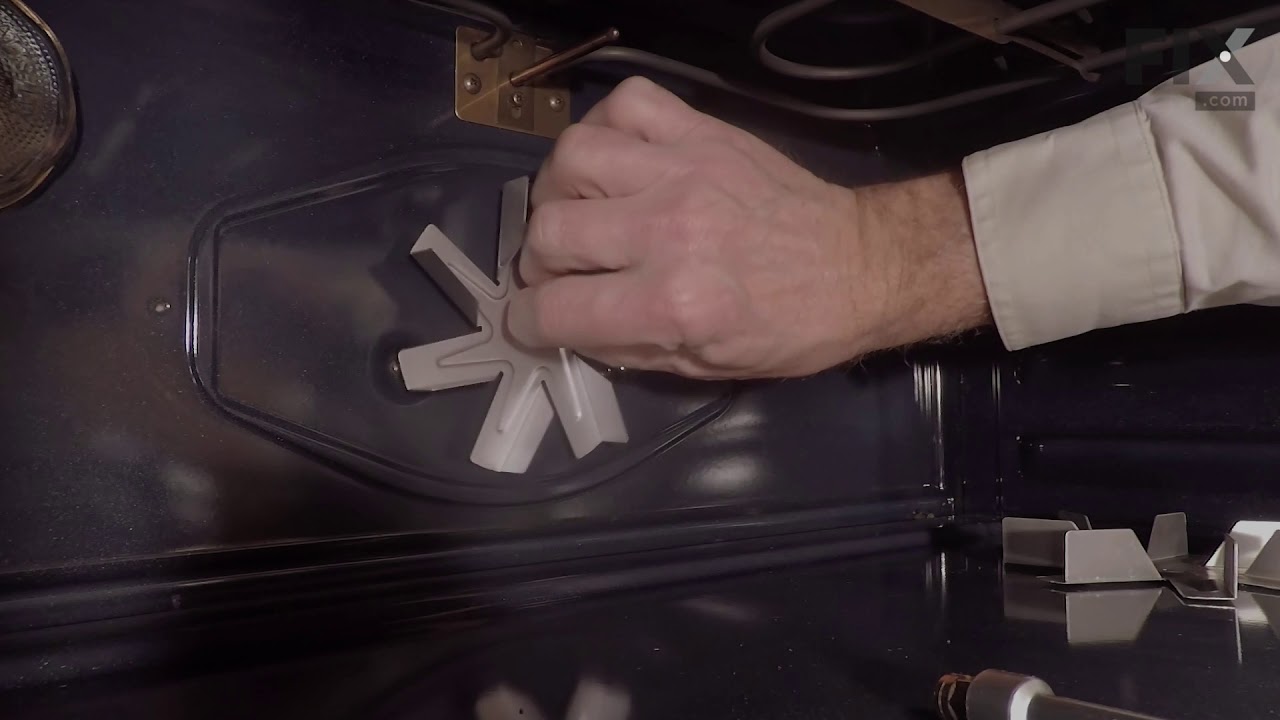
See how others fixed this model. Time, tools, difficulty, and steps that lead to victory!
View More
Search repair tips from other customers using simple keywords like "replace", "fit", "remove", "inspect". DIY doesn't mean you have to do it alone!
Search filter:
Clear Filter
Your search term must have 3 or more characters.
Convection oven fans were noisy.
17 of 27 people
found this instruction helpful.
This oven has two fans that counter rotate. One spins clockwise, the other counterclockwise. Because of this, the motors and the fan blades are different. The schematic shows the counter clockwise rotating fan with a right hand threaded shaft/nut on the bottom and the clockwise motor and fan with the left hand nut on the top. My range
... Read more
had the motors in the exact opposite orientation, but the fan blades on the motors as shown on the schematic. The incorrect assembly at the factory (I bought new in the box, so I know this is the first repair) meant that nether fan blade was turning the correct direction. So do yourself a favor, be sure you’re buying the right motor (clockwise or counterclockwise) and be sure you put the right fan blade on the right motor. The Samsung motor ending in F is the counterclockwise motor that has the right hand threaded shaft the clockwise motor with the left hand threaded shaft ends in E.
Read less
Other Parts Used:


Was this helpful?
Thank you for voting!