


 My Orders




MW9 - Overview
Models starting with MW9
Click on the best match to narrow your results.
- MW9113SS Emerson Microwave (Microwave)
- MW9325SL Emerson Microwave (Microwave)
- MW9339SB Emerson Microwave (Microwave)
- MW945BB Samsung Microwave (Samsung Microwave Model MW945BB Parts)
- MW945WB (XAA) Samsung Microwave (SAMSUNG MICROWAVE)
- MW945WB Amana Microwave
- MW9596W Samsung Microwave (Samsung Microwave Model MW9596W Parts)
- MW9596WXBM Samsung Microwave (Samsung Microwave Model MW9596WXBM Parts)
- MW965BB Amana Microwave
- MW965BB (XAA) Samsung Microwave (SAMSUNG MICROWAVE)
- MW965WB (XAA) Samsung Microwave (SAMSUNG MICROWAVE)
- MW965WB Amana Microwave
- MW96T (P1178808M) Amana Microwave
- MW96T (P1178802M) Amana Microwave
- MW96T Samsung Microwave Oven Combo (Samsung Oven/Microwave Combo Mw96t)
- MW96T-P1178808M Amana Microwave (Amana Microwave Model MW96T-P1178808M (MW96TP1178808M, MW96T P1178808M) Parts)
Enter a part description. DIY Heroes keep it simple, eg. "belt" or "pump".
Search filter:
Clear Filter
Your search term must have 3 or more characters.

$5.45
In Stock
Ceramic Fuse - 20 amp
Part #WPM0805101
This microwave fuse is just over an inch in length. It has a white ceramic center, and metal on either end. This is a twenty amp 250-volt fuse, and is used to power your microwave. If your microwave will not heat properly, will not turn on, or the touch pad becomes unresponsive, there could be a faulty fuse which should be replaced. Remem...Read moreber, since this part contains an electrical charge, before you replace the fuse from your microwave, make sure that the power is disconnected from the unit. This part is sold individually.
NOTE: Make sure your microwave is unplugged, and your capacitor is discharged before you begin this repair. A capacitor stores large amounts of electricity even after your microwave is unplugged.
Read less

$17.95
In Stock
Micro Door Switch
Part #3405-001034
This door switch, also known as a safety switch, is a genuine OEM replacement part for microwaves. It is a safety mechanism that sends signals to the microwaves control system, telling it when the door is open/closed. This ensures that the microwave only operates when the door is securely shut and switches off as soon as the door is open....Read more Over time, this switch can become worn out or damaged. A faulty door switch can result in failure to switch the microwave on/off, lack of heat, and running with the door open. To confirm that the door switch is faulty, use a multimeter to test for electrical failure. To remove the faulty switch, disconnect the wiring connectors and take note of where they are positioned. Place the new switch in position and reattach the wiring connectors to the appropriate terminals and close the microwave door to check that the switch engages appropriately.
Read less

$23.95
In Stock
Black Sleeve Diode
Part #WPR9800486
In your microwave, the diode allows current to flow one-way only, converting alternating current to direct current. If you notice that your microwave does not heat properly, you may need to replace the diode. This product is approximately 3 inches in length. Before completing this repair, be sure to disconnect the power source from the mi...Read morecrowave. The diode is located inside the main compartment of the microwave, so you will need to open it up before you can complete this repair. This is an OEM part sourced directly from the manufacturer. Many of our customers have rated this repair as easy.
Read less

$28.26
In Stock
High-Voltage Diode
Part #DE91-70063D
This high-voltage diode is designed for use within various makes and models of microwaves and is a genuine OEM part that converts alternating current (AC) into direct current (DC). If you notice your microwave turns on and starts but does not heat anything, this diode is likely responsible. You can check the continuity of the diode with a...Read more multimeter before outright replacing it, but it is important to remember that doing any repairs on a microwave and dealing with sensitive electrical components should be done carefully and with the appropriate precautions to avoid any hazards. To replace the high-voltage diode in your microwave, disconnect it from power and allow it to discharge. Using the appropriate screwdrivers, gain access to the control panel of the microwave. Using an insulated screwdriver, release any electrical charge in the capacitor by touching it across the terminals. Then you can remove any hardware securing the diode, including the harness connecting it to the capacitor, which may be easiest done with pliers. Connect the new diode to the capacitor terminal and the securing bracket, and then reassemble your microwave before connecting it to power again.
Read less

$89.70
In Stock
Door Interlock Switch Kit
Part #4392027
This part is a genuine manufacturer door interlock switch kit, also known as primary micro switch or microwave switch kit, for a microwave. The function of this part is to sense when the door of the microwave is open or closed. If the part is defective, the microwave will not start or will start when door is open. This kit contains two 15...Read more Amp, 125/250 Volt switches with 3/16 inch terminals. Be sure to disconnect power to microwave before replacing part. Use extreme caution when replacing microwave parts, as high-voltage capacitors can retain an electrical charge when unplugged. NOTE: This kit includes 2 single pole, double throw (SPDT) micro switches. As per the manufacture for the secondary interlock switch order part # 56001100.
Read less

$35.80
In Stock

$73.43
On Order
Tray
Part #DE74-20015G
This is a cooking tray, but may also be known as a turntable tray, and it is used in conjunction with your microwave or oven/microwave combo. The outer diameter of this part is roughly 12.75 inches. The tray is made entirely of glass and is colorless. The purpose of this part is to act as a stable and even cooking surface for your food to...Read more sit on during a cooking cycle. To ensure a more even cooking temperature the tray will also spin when your appliance is activated. The most common reason for needing to replace this part is if your current one has been damaged.
Read less

$22.95
In Stock

No Longer Available

$30.75
On Order
Rectifier
Part #WP13091701
The rectifier (also known as a diode) provides the microwave with energy to cook food. If your appliance is not producing heat or not turning on it could be due to the breakdown of the rectifier. This part works with microwaves, microwave oven combos, and wall ovens. This is one of the most common parts to fail over time in a microwave. T...Read morehis part is just under 3-1/2 inches in length. It is a genuine OEM part that is shipped right from the manufacturer. Make sure to use the proper precautions before attempting this repair. Ensure the appliance is unplugged.
Read less

No Longer Available

$37.35
Special Order
Button
Part #DE67-00099H
Common Symptoms of models starting with MW9
How this model fails, and the parts that fix it.
No heat
Fixed by
these parts
these parts


Show All
Won’t turn on
Fixed by
these parts
these parts


Show All
Doesn’t shut off
Fixed by
these parts
these parts
Show All
Tray won’t turn
Fixed by
these parts
these parts

Show All
Watch our pros, then fix it yourself.
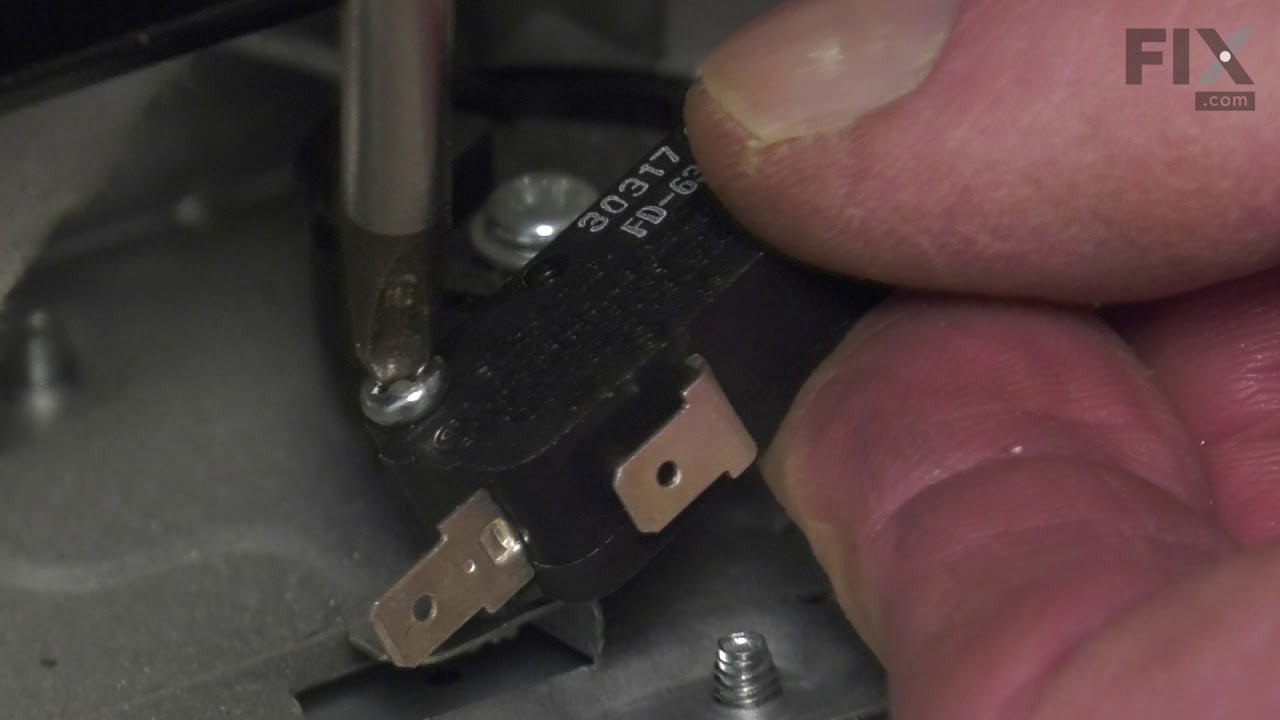
See how others fixed this model. Time, tools, difficulty, and steps that lead to victory!
View More