


 My Orders




MW4371G (XAA) Samsung Microwave - Overview
Diagrams for MW4371G
See every part. Know exactly what you need.
-
Alignment And Adjustments

-
Alignment And Adjustments Page 2

-
Alignment And Adjustments Page 3

-
Alignment And Adjustments Page 4

-
Complete Microwave Oven

-
Complete Microwave Oven Page 2

-
Complete Microwave Oven Page 3

-
Complete Microwave Oven Page 4

-
Complete Microwave Oven Page 5

-
Complete Microwave Oven Page 6

-
Complete Microwave Oven Page 7

-
Control Panel/features

-
Disassembly And Reassembly

-
Door Removal/fuse Replacement/drive

-
Door Replacement

-
Microwave Oven/contents

-
Precautions

-
Precautions Page 2

-
Precautions Page 3

-
Removal/control Box/pcb/panel

-
Specifications/comparison Chart

-
Troubleshooting

-
Troubleshooting Page 2

Enter a part description. DIY Heroes keep it simple, eg. "belt" or "pump".
Search filter:
Clear Filter
Your search term must have 3 or more characters.

$17.95
In Stock
Micro Door Switch
Part #3405-001034
This door switch, also known as a safety switch, is a genuine OEM replacement part for microwaves. It is a safety mechanism that sends signals to the microwaves control system, telling it when the door is open/closed. This ensures that the microwave only operates when the door is securely shut and switches off as soon as the door is open....Read more Over time, this switch can become worn out or damaged. A faulty door switch can result in failure to switch the microwave on/off, lack of heat, and running with the door open. To confirm that the door switch is faulty, use a multimeter to test for electrical failure. To remove the faulty switch, disconnect the wiring connectors and take note of where they are positioned. Place the new switch in position and reattach the wiring connectors to the appropriate terminals and close the microwave door to check that the switch engages appropriately.
Read less

$28.33
In Stock
Button Spring
Part #DE61-70076A

$56.94
In Stock
Synchronous Motor
Part #DE31-10154D

$66.94
Special Order
Microwave Glass Tray
Part #DE74-20102D

$26.23
Special Order

$31.58
On Order
Door Lever
Part #DE66-90013A

$8.75
Special Order
Coupler
Part #DE67-60002A

No Longer Available
Assembly GUIDE ROLLER;MW4370
Part #DE92-90436A
$6.40
Special Order
FOOT;-,PP(A353),MW5630T,
Part #DE61-40017A

$6.55
Special Order
Tapping Screw
Part #DE60-10080A

$25.60
In Stock
Thermostat
Part #DE47-20029A

$9.85
In Stock
Tapping Screw
Part #DE60-10045A
Common Symptoms of the MW4371G
How this model fails, and the parts that fix it.
No heat
Fixed by
these parts
these parts

Show All
Doesn’t shut off
Fixed by
these parts
these parts
Show All
Won’t turn on
Fixed by
these parts
these parts
Show All
Watch our pros, then fix it yourself.
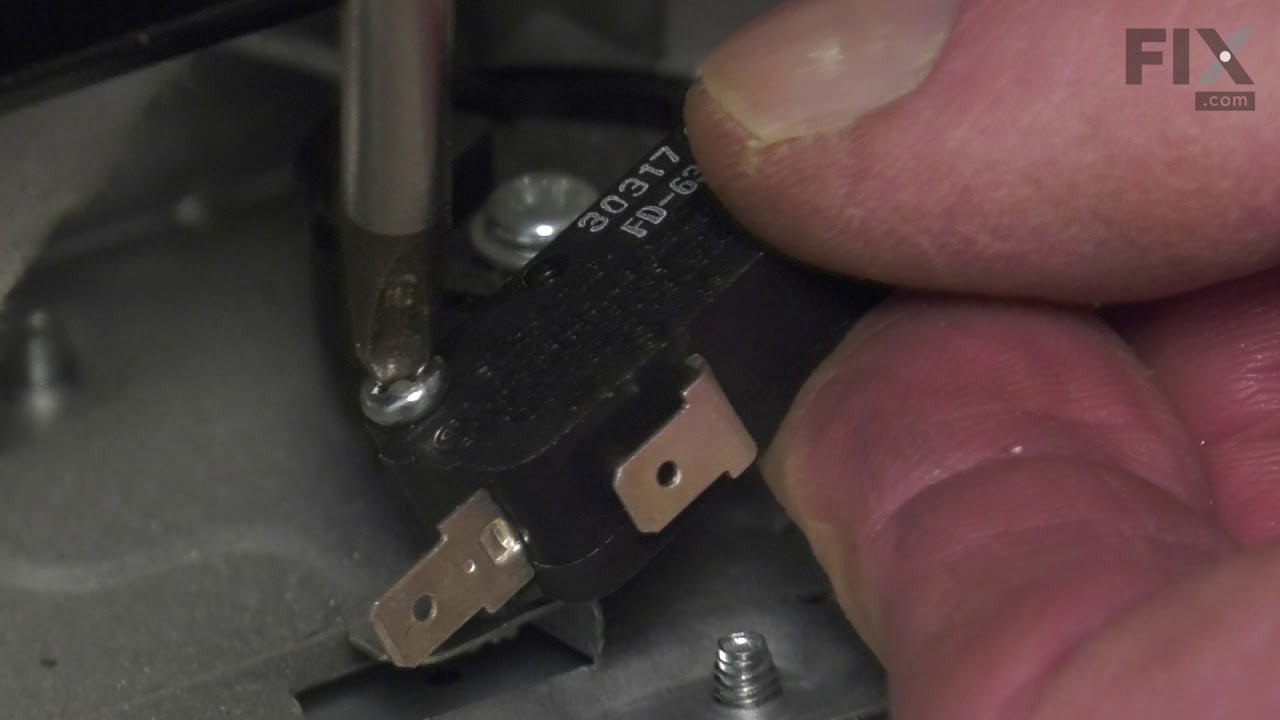
See how others fixed this model. Time, tools, difficulty, and steps that lead to victory!
View More