


 My Orders




MRTG23V9RF0 Frigidaire Refrigerator - Overview
Diagrams for MRTG23V9RF0
See every part. Know exactly what you need.


Enter a part description. DIY Heroes keep it simple, eg. "belt" or "pump".
Search filter:
Clear Filter
Your search term must have 3 or more characters.

$58.25
In Stock
Refrigerator Door Shelf Bin
Part #240338101
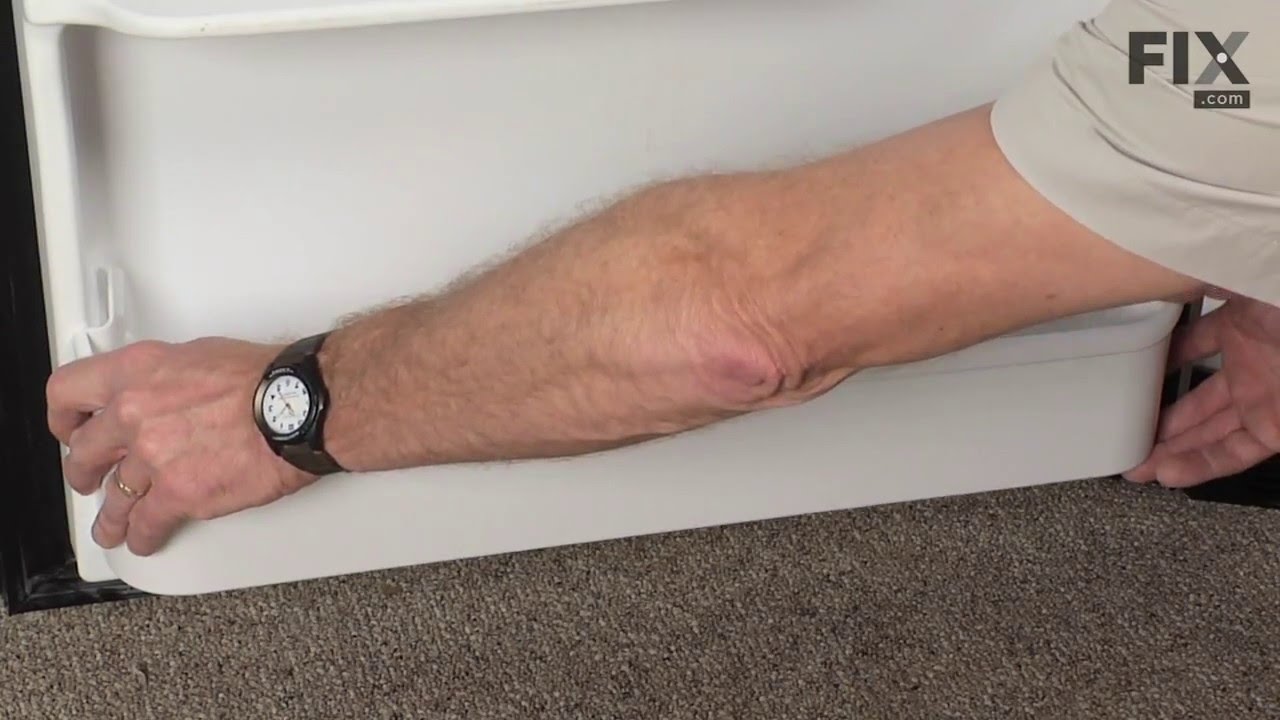
This retainer bar (Refrigerator Door Shelf Bin, Refrigerator Door Shelf, Door Shelf Bin, Refrigerator Door Bin) holds items on the refrigerator door shelf. The plastic retainer can become brittle with time and crack or break under the strain of normal use. It can also break if heavy items are placed in the door shelf. If this part will no...Read more longer hold securely onto the inner door panel it will need to be replaced. This model is white plastic, and measures 26 by 5 inches. Sold individually.
Read less

$41.14
In Stock
Defrost Thermostat
Part #5303918202
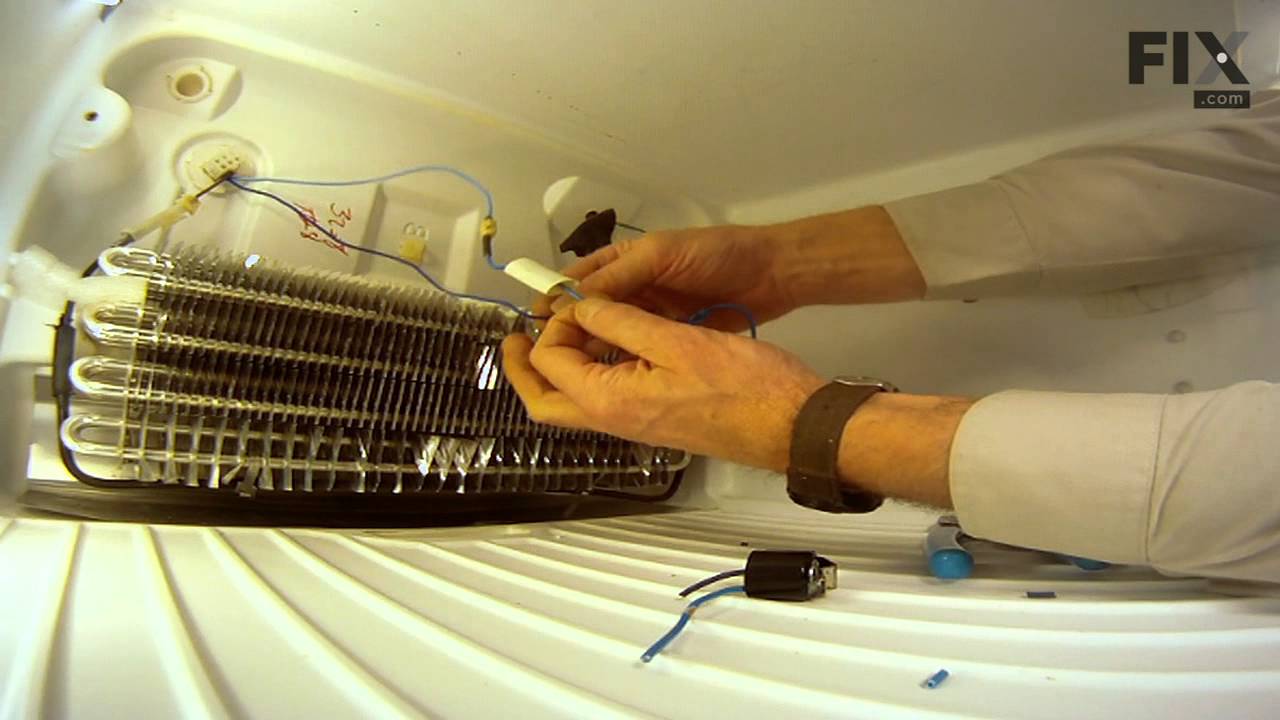
This defrost thermostat is also known as a refrigerator defrost bi-metal thermostat kit. The function of the defrost bi-metal thermostat is to prevent overheating during the defrost cycle in your refrigerator by protecting the evaporator. The most common sign that there is a problem with your refrigerator defrost thermostat kit is if your...Read more freezer is cold but your refrigerator is warm. If your evaporator coils are icy then your defrost bi-metal thermostat kit could be defective. To do this installation the tools you will need include a 1/4 inch nut driver, a pair of wire strippers and crimpers, and a heat gun.
Read less

$17.17
In Stock
Screw - Kit of Four
Part #5304515677
This screw is used in refrigerators. The screw can be loosened or tightened with a Phillips-head or square-head screwdriver. This screw is used to secure the refrigerator handle to the refrigerator door. This is an OEM part sourced directly from the manufacturer.

No Longer Available
Crisper Pan Cover
Part #242201805
This crisper pan cover is designed to help maintain optimal humidity levels within your refrigerator’s crisper drawer, keeping fruits and vegetables fresher for longer. It includes both the frame and insert, forming a protective barrier that prevents moisture loss and shields contents from spills and debris. In addition to supporting food...Read more freshness, the cover provides structural stability for the drawer and glass shelf above. Be sure to confirm compatibility with your refrigerator model before ordering.
Read less

$112.18
In Stock

$53.85
In Stock
Evaporator Fan Blade
Part #5308000010
This evaporator fan blade is a genuine OEM part that is sourced directly from the manufacturer. The evaporator fan blade circulates air through the refrigerator to control the amount of cold air goes that goes to internal compartments of the unit. It may need to be replaced if the fridge is noisy or not cold enough. This part is made of p...Read morelastic and is sold individually. It will be necessary to disconnect power to the refrigerator and empty the freezer compartment of the refrigerator. The tools needed to complete this repair are a 1/4 inch nut driver and a pair of needle nose pliers.
Read less

$42.38
In Stock

$25.25
In Stock
Screw
Part #218755504
Sold individually.
This is a genuine part. The handle mounting shoulder screw (no.10 ab) is made for use with many refrigerators. The metal screw helps to fasten the handle assembly to the outer door panel. The handle mounting shoulder screw is sold individually. For the repair, you will need a pair of pliers.

$20.67
In Stock
Single Washer
Part #240311303
Improve door function and alignment with this hinge nylon washer, designed to support the door as it pivots on the hinge pin. Made from durable nylon, it helps reduce friction and noise while ensuring smooth opening and closing. By maintaining proper door positioning, it supports a secure seal and contributes to efficient operation and consistent cooling performance.

$102.95
In Stock
Cold Control Thermostat
Part #241537103
This cold control thermostat is a genuine replacement component designed to regulate the internal temperature of refrigerators. It functions by sensing the ambient temperature and cycling the compressor on or off to maintain the desired cooling level. By controlling the flow of electricity to the compressor, it ensures consistent performa...Read morence and prevents temperature fluctuations that could affect food preservation. This part is compatible with select refrigerator models and plays a critical role in maintaining energy efficiency and appliance reliability. Installation should be performed with the appliance unplugged, and model-specific instructions should be consulted for proper setup.
Read less

$25.25
In Stock

$13.73
In Stock
Hinge Bearing
Part #5304507147
This door hinge bushing, or hinge bearing, is a genuine OEM replacement part for your refrigerator. The hinge bearing helps the refrigerator door stay on track when opening and closing, ensuring it is flush with the cabinet when closed. You will need a screwdriver and a ratchet in order to complete this repair.
Manuals & Care Guides for MRTG23V9RF0
Click to downloadCommon Symptoms of the MRTG23V9RF0
How this model fails, and the parts that fix it.
Fridge too warm
Fixed by
these parts
these parts


Show All
Noisy
Fixed by
these parts
these parts


Show All
Door won’t open or close
Fixed by
these parts
these parts


Show All
Freezer not defrosting
Fixed by
these parts
these parts
Show All
Light not working
Fixed by
these parts
these parts


Show All
Freezer section too warm
Fixed by
these parts
these parts
Show All
Fridge and Freezer are too warm
Fixed by
these parts
these parts
Show All
Fridge too cold
Fixed by
these parts
these parts
Show All
Will Not Start
Fixed by
these parts
these parts
Show All
Frost buildup
Fixed by
these parts
these parts
Show All
Fridge runs too long
Fixed by
these parts
these parts
Show All
Too warm
Fixed by
these parts
these parts
Show All
Freezer too cold
Fixed by
these parts
these parts
Show All
Leaking
Fixed by
these parts
these parts

Show All
Clicking sound
Fixed by
these parts
these parts
Show All
Door Sweating
Fixed by
these parts
these parts
Show All
Watch our pros, then fix it yourself.
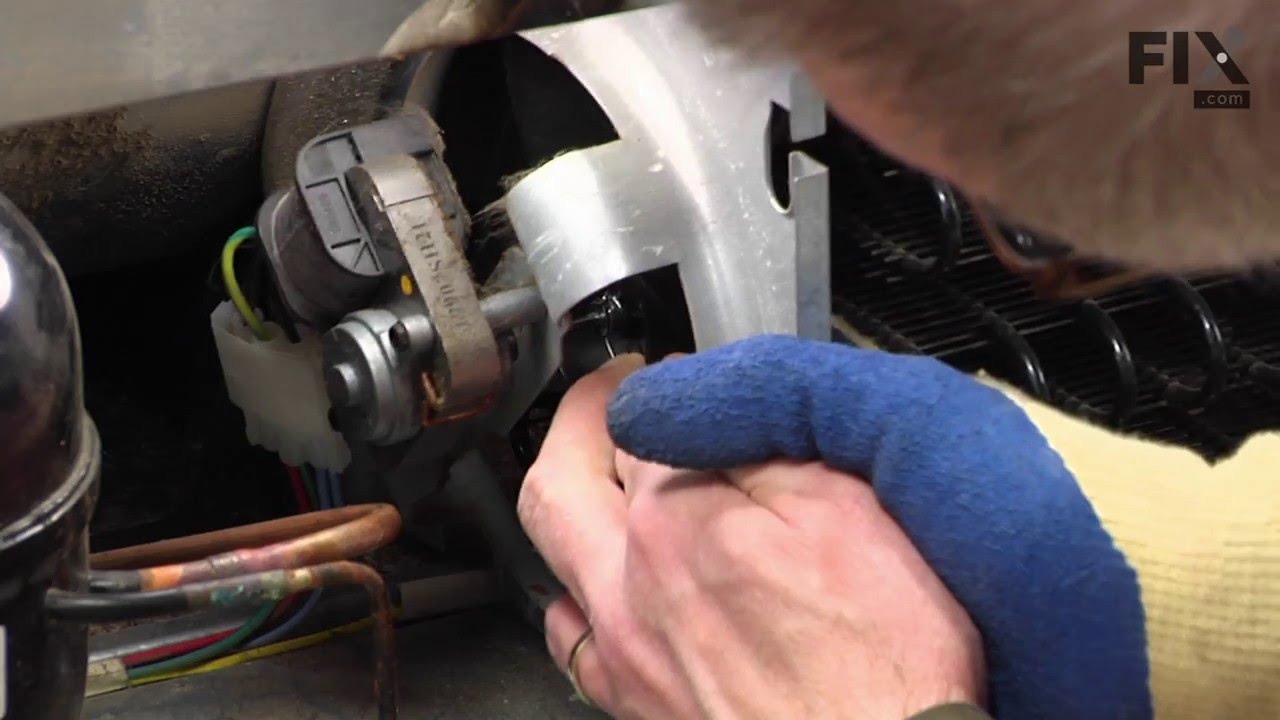
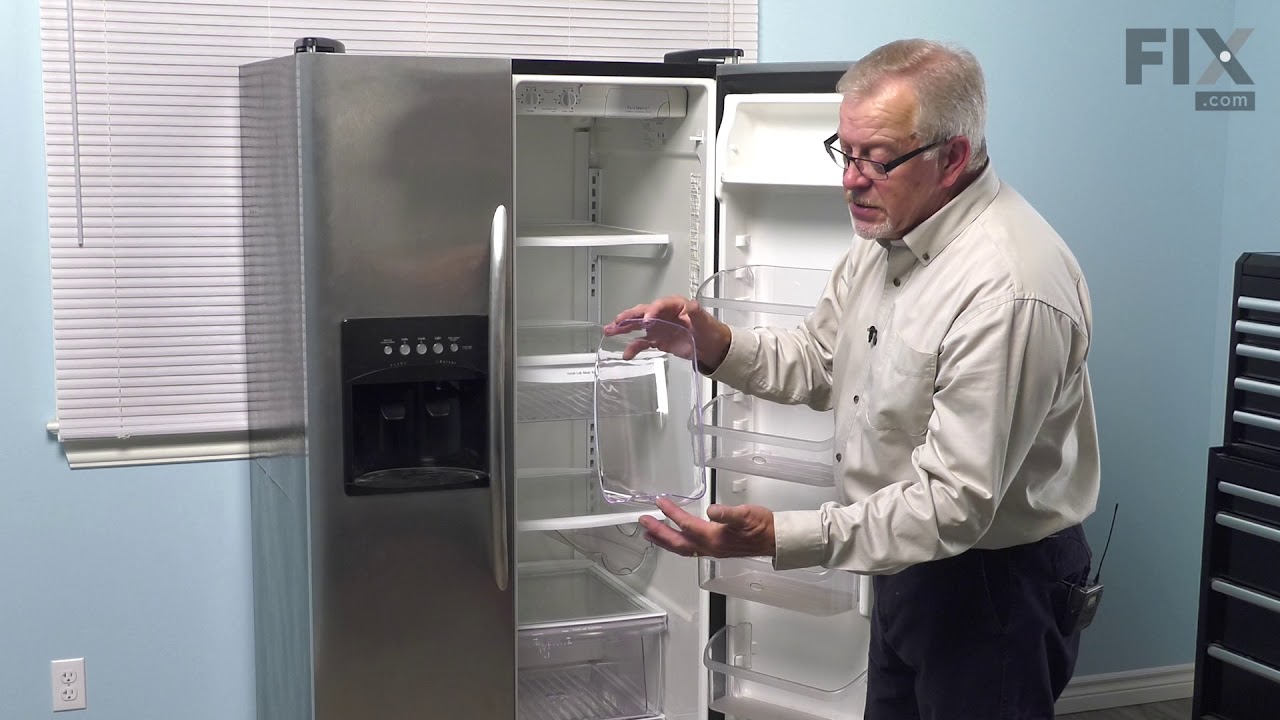


See how others fixed this model. Time, tools, difficulty, and steps that lead to victory!
View More