This long oven sensor is also commonly known as a temperature sensor. It is designed for use with ovens and ranges. It is similar to a thermostat; it measures and regulates the internal temperature of your oven cavity. There is an adapter at one end, a probe at the other, and they are connected by an insulated wire. The probe is approxima...Read moretely 7 inches long. You can test the sensor with a multi-meter for functionality. You need to check the model-specific manual to determine what the proper resistance is for your specific appliance. This oven sensor comes with two wire harness adapters and a set of instructions.
This is a leveling leg for your oven, range, or stove. The leveling legs on your oven allow your appliance to sit perfectly flat. The new one may be longer in length than your original, but will work the same. Install the new leveling leg, and test if you have it adjusted properly by putting the appliance on four legs. Adjust in or out a...Read mores required if your oven is rocking. It is recommended to check the other three leveling legs on your appliance in case they are also damaged or worn. The leveling leg measures 1.859", is all black in color, and is made entirely out of plastic. This leg may be shorter than the original but is the factory replacement. Longer leg is not available.
This is a multi-use and multi-appliance screw. It can be used on a microwave, refrigerator, range/oven, air conditioner, dehumidifier, washer, or dryer. The measurements of this screw are 8 x 1/2 inch. It has 6 threads. Refer to the manual provided by the manufacturer for further information on repair and accurate guidance. Remember to wear work gloves as a safety precaution.
This gas range oven igniter is a flat-style component designed to initiate the heating process by glowing and igniting the gas for the bake burner. Essential for proper oven function, it ensures consistent and reliable heat for baking and broiling. Compatible with a wide range of models across brands such as Whirlpool, Maytag, KitchenAid,...Read more Kenmore, and others, this igniter addresses common issues including no heat, weak flame, uneven cooking, or delayed ignition. If the igniter glows but fails to light the burner, or if the oven doesn’t respond or heat evenly, replacement may be necessary. Before installation, disconnect power, shut off the gas supply, and verify compatibility with your appliance model. Handle the igniter carefully, as it is fragile.
This is a replacement screw and washer for your oven/range. It is a Phillips-head screw approximately half an inch long, and the washer is approximately 1 inch in diameter. The screw attaches the oven door handle to the door. This part is sold individually and is an authentic OEM part sourced directly from the manufacturer.
Is your oven not cooling like it used to? You might need a new blower, a crucial component that circulates air to safeguard controls, wiring, and other parts from overheating. We understand how important it is to keep your oven in top shape, and that's where the genuine OEM Whirlpool Blower comes in. Specially designed for wall oven insta...Read morellations, it helps bring your oven back to peak performance, ensuring effective and efficient cooling. This blower isn?t just for Whirlpool appliances?it's the perfect match for a wide array of models from KitchenAid, Maytag, Jenn-Air, Amana, Inglis, and Magic Chef too. But remember, ovens can have subtle differences, so it's a good idea to match the part to your model's specifications. This way, you can be confident it?s the perfect fit for your oven's needs. Installing your new blower requires a little care. Please disconnect the power first because safety should always come first. And don?t forget to wear work gloves to protect your hands. So, ready for your oven to cool like it's brand new again? Choose the genuine OEM Whirlpool Blower, the key to maintaining a safe, balanced temperature within your oven while extending its longevity.
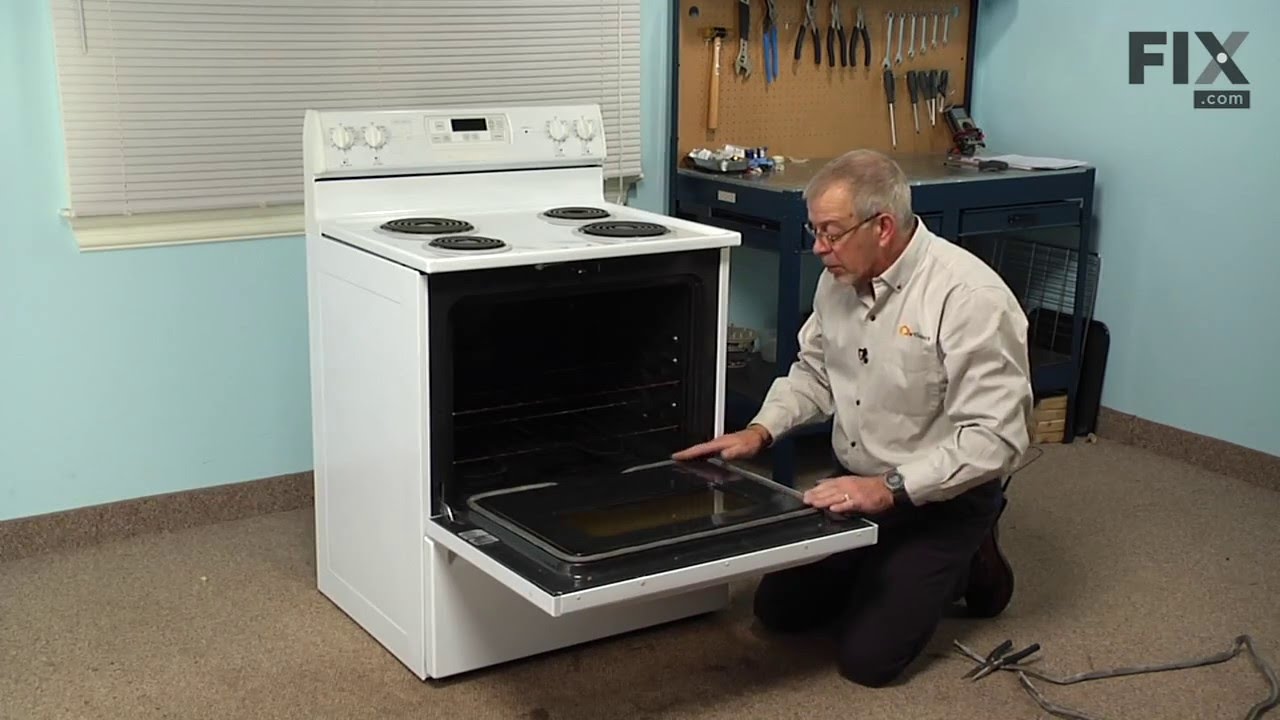
The oven door gasket on your range functions as a seal between the warm interior of your oven, and the outside. It prevents heat from fleeing your oven when the door is closed. Before making any repairs to your oven you should make sure to wear work gloves to protect your hands, and give your oven time to cool. The only tool you will need...Read more to make this repair is a pair of needle nose pliers. This oven door gasket comes with built in retaining clips; if any retaining clips from your old gasket are left in the oven make sure to remove them before installing your new gasket.
This part is for oven ranges, it connects individual wires and protects the device from electrical surges, voltages, and current. With this part, the house power is connected to the range wire harness. Some symptoms replacing the terminal block could be a solution for are little to no heat when baking, element will not heat and/or it will...Read more not start. This part will prevent loosening and will reduce damage caused by corrosion (by two different metals). Refer to the instructional diagram for further replacement guidance and exact placement. You must unplug the appliance before installing this part and wear gloves to protect your hands.
This part is a replacement halogen lamp for your oven. The bulb is 25 watts and 120 volts. If your light bulb is burned out, this is the part that replaces it. Be sure to turn off power to your range hood before you begin this repair. This bulb is sold individually and is a genuine OEM part sourced directly from the manufacturer.
Ask our experts a question about this model and we'll get back to you as soon as possible!
We may have answered a similar question already! Search questions and answers left by others using simple keywords like "fit", "broken", "easy", or "quality" to find questions that match.
Search filter:
Clear Filter
Your search term must have 3 or more characters.
Sort by:
Prev
1
Next
Sorry, we couldn't find any existing answers that matched.Try using some different or simpler keywords, or submit your new question by using the "Ask a Question" button above!
Jack - For model number MGR6772BDS
November 14, 2022
Botton oven slow to heat, notice on LCD display 1 of the orange heat indicators is off. Oven ignitor? part please
Hello Jack, thank you for contacting us. We would recommend checking the following parts: the bake igniter, part number PS11744176, and the broil igniter, part number PS11744214. We would also recommend testing the oven sensor, part number PS1570174, for continuity using a multimeter. Customer service is always available to help you place an order if you are having trouble doing so. Good luck with your repair.
See how others fixed this model. Time, tools, difficulty, and steps that lead to victory!View More
Search repair tips from other customers using simple keywords like "replace", "fit", "remove", "inspect". DIY doesn't mean you have to do it alone!
Search filter:
Clear Filter
Your search term must have 3 or more characters.
Oven not holding 350 F, when cooling the coils did not reheat
163 of 215 peoplefound this instruction helpful.
David from Westford, MA
Really Easy
15 - 30 mins
Screw drivers
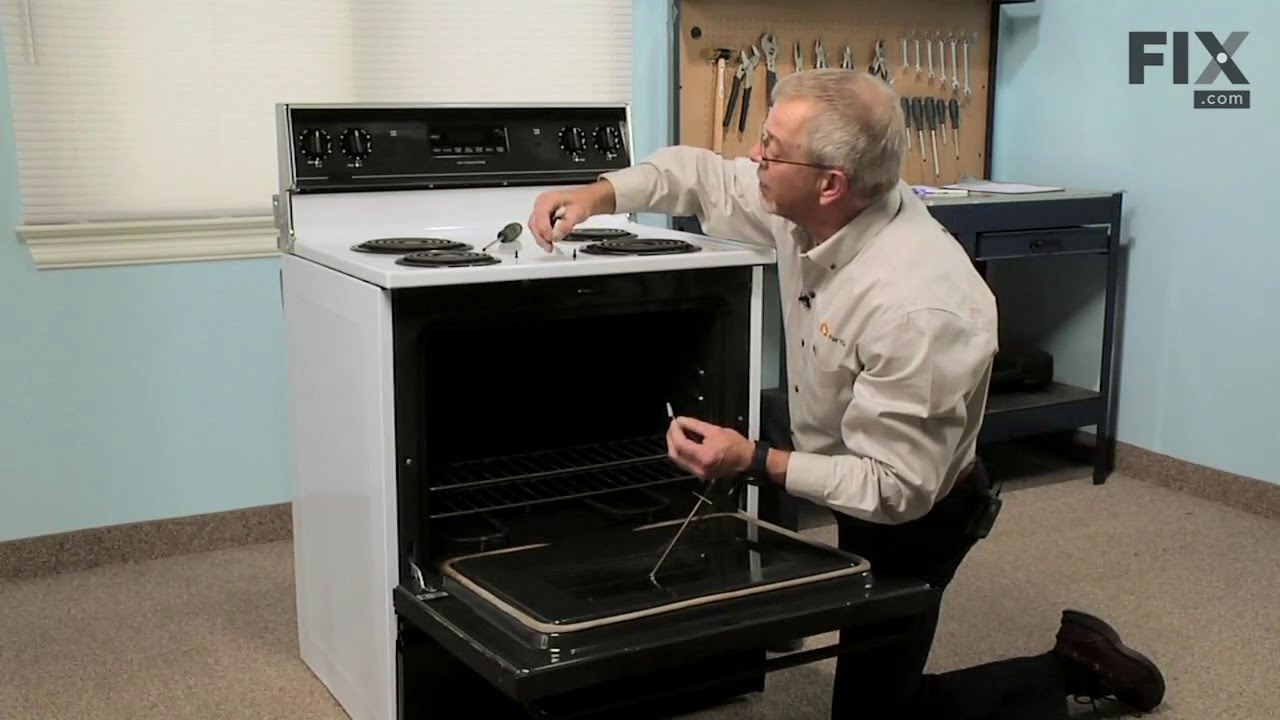
Removed the oven door by opening slightly, then pic door up to remove. Remove 2 screws holding oven sensor in place, gently pull on sensor to remove, had to remove about 8 inches to get at plastic connector. Unplug connector, had to use an adapter cable supplied with the PartSelect kit to install new sensor, push cable back into opening,
... Read morereinstall 2 screws. The oven works fine! Note that due to thermal lag the temperature overshoots to 370 degrees and undershoots to 340 degrees, this appears to be normal oven operation. Putting door back in place was easy.
Read less
Was this helpful?
Thank you for voting!
Ignitor was bad on upper oven
76 of 87 peoplefound this instruction helpful.
David from Temple Terrace, FL
A Bit Difficult
1- 2 hours
Nutdriver, Pliers, Screw drivers
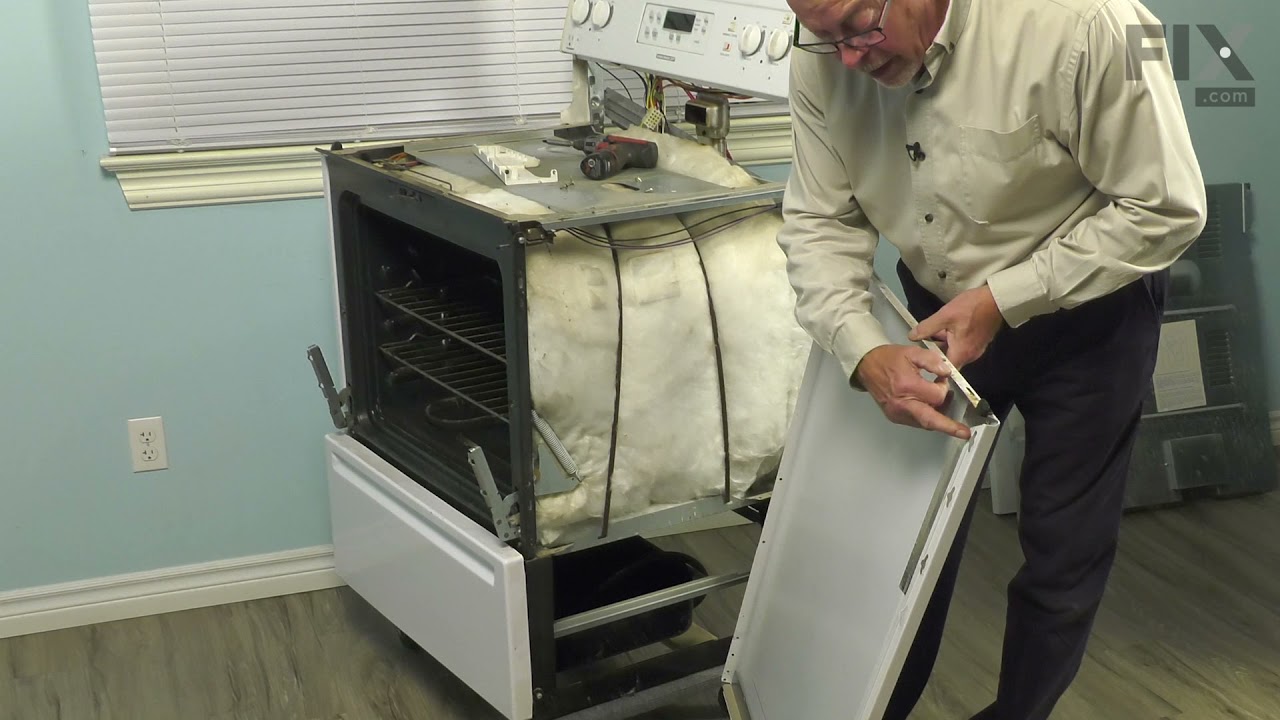
First I removed the lower tray and all parts covering the ignitor on the upper oven. 2. Then I removed the screws holding down the ignitor and flame distributor. 3. I then had to pull out the oven from the wall and remove the back panel to expose the wires connecting the ignitor. This required the removal of about six screws but they
... Read morewere fairly easy to get to. 4. I disconnected the ignitor from the back panel then went around to the front of the oven and pulled out the ignitor and all of the attached parts. 5. Here's the tricky part. The screws holding the ignitor in place had fused from the heat and then the threads stripped when I tried to remove them. I had to use a dremel tool and cutting wheel to carefully cut the screws off and then went to buy some replacement screws from the hardware store. 6. I replaced them with a nut and a bolt, to hopefully avoid the same problem for later replacement if necessary. 7. I then replaced everything the same way it came out and all is working like new!
Read less
Was this helpful?
Thank you for voting!
F1-1 code
79 of 110 peoplefound this instruction helpful.
charles from marstons mills, MA
Really Easy
Less than 15 mins
Screw drivers
First I removed the two screws that hold the element in place. I then pulled the sensor out about 3 inches and disconnected the two wires. Next, I connected new sensor and screwed the new sensor back in place. One area for caution. Make sure that the electrical connection is pushed in past the insulation on the back side of the oven. Fa
... Read moreilure to do so will cause the plastic plug connector to melt from oven heat.




 My Orders





.gif "SUPPLEMENTAL INFORMATION Diagram and Parts List for Maytag Range")