


 My Orders




MEC4430ACW14 Maytag Cooktop - Overview
Diagrams for MEC4430ACW14
See every part. Know exactly what you need.


Enter a part description. DIY Heroes keep it simple, eg. "belt" or "pump".
Search filter:
Clear Filter
Your search term must have 3 or more characters.

$10.95
In Stock
Chrome Drip Bowl - 8 inch
Part #WPW10196405
This manufacturer-certified drip bowl is also known as a drip pan, and it is designed for use with cooktops and ranges. It sits below 8-inch burner elements and catches drips and spills from the cookware on the burner. The diameter of the drip bowl is approximately 10 inches. This replacement might appear slightly different, but it will f...Read moreit your appliance.
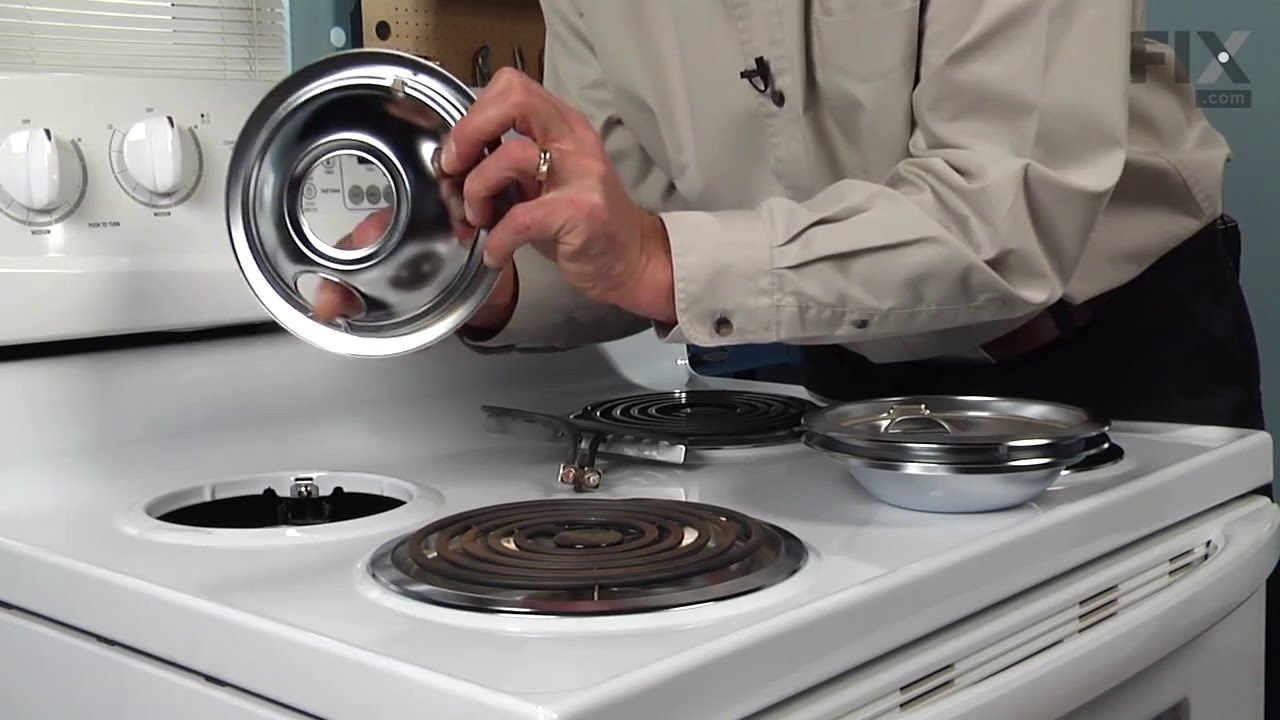
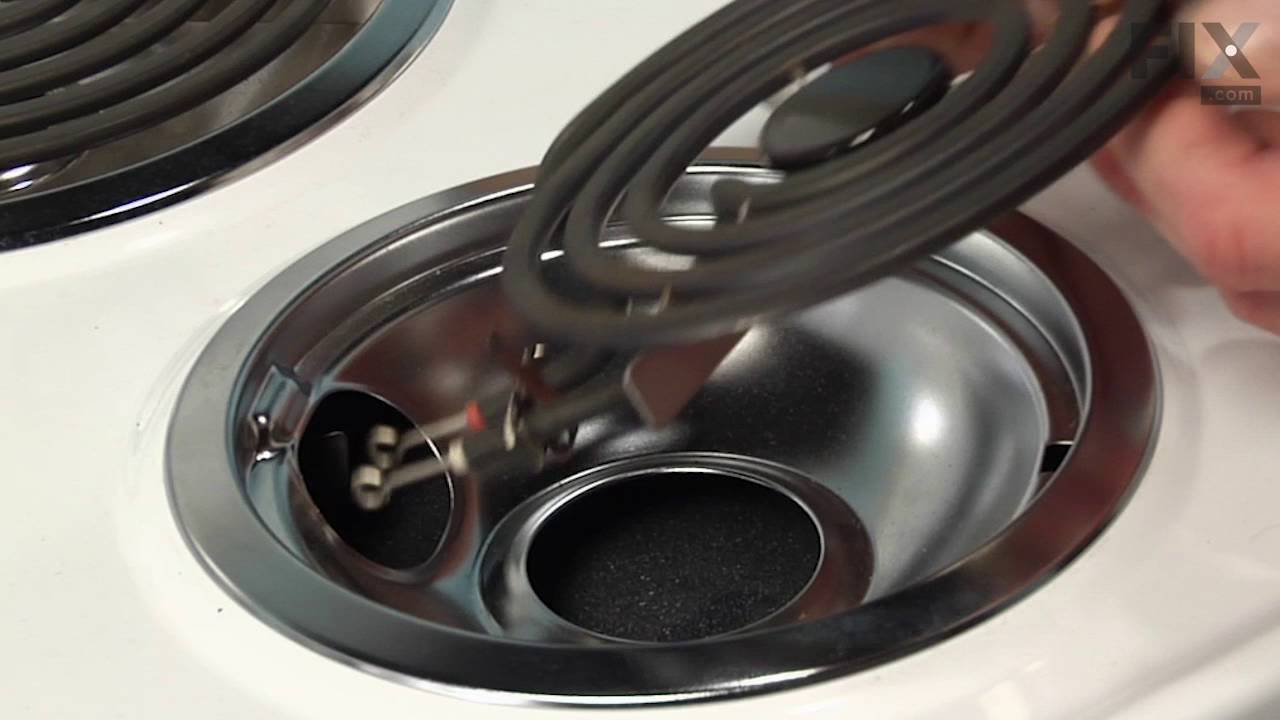
You will need no tools to complete this repair. Simply remove the burner element, remove the old bowl, line up the hole on the new bowl with the terminal block and drop it into place. Make sure the bowl is flat before reinstalling the element. While you have the element out you should inspect the terminals for corrosion, damage, or discolouration. If you notice any of those things you should also replace the element and terminal block. You will need to replace your drip bowl if it is lost, damaged, or can no longer be cleaned. This replacement part is sold individually. To extend the life of your new drip bowl we recommend you clean it regularly with soap and water. We recommend only using the recommended drip bowl for your appliance; generic versions will not fit properly which could affect the performance of your elements and cause long-term damage.
Read less

$15.00
In Stock
Drip Bowl - 6 Inch
Part #W10196406RW
If your element will not heat, there could be an issue with your drip bowl. This chrome drip bowl is 8 inches in diameter, and fits most electric ranges. Before you replace the drip bowl, make sure the element is turned off and cool to the touch. Installation is easy, just remove the element, replace the current drip bowl, and replace the...Read more element. Make sure the small hole on the bowl lines up with the element socket. The manufacturer has substituted this part, it now has a hole in the center, and no longer has a solid bottom. For a step by step guide, click the video below.
Read less

$28.42
In Stock
Standard Y-Frame Range Surface Burner
Part #WP660532
The standard y-frame surface burner provides heat to your range. If you notice that your element will not heat, you may need to replace your surface burner. This product is 6 inches in diameter, and 1500W. The manufacturer suggests replacing the receptacle at the same time that you replace the surface burner. Many of our customers have ra...Read moreted this repair as very easy, and you will not need any tools. To complete the repair, simply lift out the old burner and replace it with the new one. Check that the burners are turned off before you begin this repair.
Read less

$36.85
In Stock
Range Infinite Burner Switch - 8 Inch
Part #WP7403P239-60
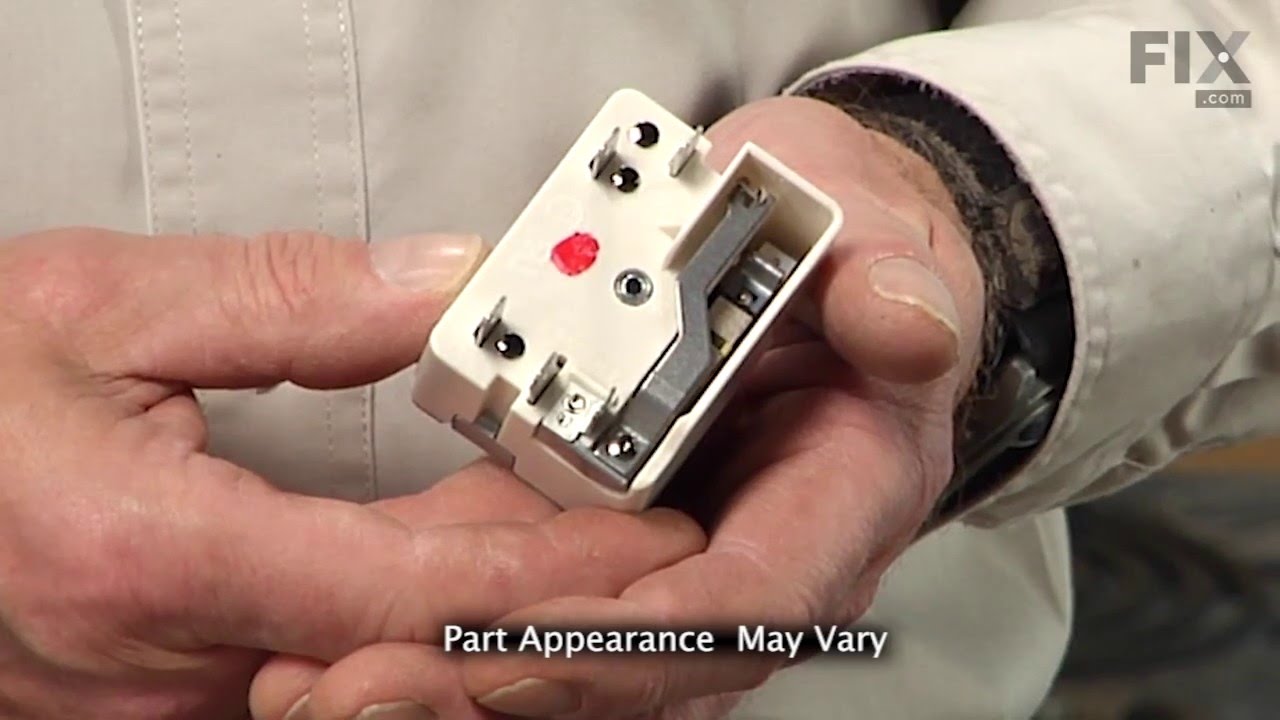
This infinite switch is for 8-inch range burners. When an element is unable to produce any heat on a modern oven, the problem may lie with the infinite switch. This switch is responsible for sending power to the surface elements. Check the element and terminal block to ensure they are working properly. If they are in working order, check ...Read morethe infinite switch at the control panel for any wires that have overheated, or broken terminals to or from the infinite switch. If the infinite switch is damaged or malfunctioning, it will need to be replaced. Remember to unplug your range before beginning this repair.
Read less

$95.15
In Stock
Surface Burner Element - 8 Inch
Part #WP3191454
This surface burner element is a genuine OEM replacement part for your kitchen appliances. It measures 8inches in diameter with a wattage of 2100W. You will need to replace the element if you notice that it is discolored, making popping or crackling noises, no longer level, or no longer heating up. To replace the faulty burner element, ge...Read morently lift and pull it off the appliance. Next, plug the new element terminals into the socket. Remember to first turn off your appliance or turn off the circuit breaker before you begin any repairs.
Read less

$46.34
In Stock
Infinite Switch - 6 Inch
Part #WP7403P238-60
Does your appliance need a quick fix? Our GE Controller Assembly is here to help. This genuine GE part is the heartbeat of your appliance, keeping everything running smoothly and efficiently. It's specifically designed to fit your GE appliances perfectly, meaning you won't have to worry about any compatibility issues. This precision-craft...Read moreed part doesn?t just improve appliance performance - it enhances its life and reliability too. The GE Controller Assembly is made with sustainability in mind, promising durability that makes for a lasting solution to your appliance woes. When you choose to repair your appliance with this GE part, you're choosing superior results and reliability. It's a simple, effective way to restore your appliance to its former glory. So why wait? Lay your worries to rest and boost your appliance's efficacy with the GE Controller Assembly.
Read less

$8.55
In Stock

$6.40
In Stock
LENS-LIGHT
Part #W11690131

$66.77
In Stock
Light
Part #W10852510

No Longer Available
KNOB- INF.
Part #74004829

$55.29
Special Order
WIRE-HARNESS
Part #W11740803
$11.77
Special Order
CLAMP
Part #7111P002-60
Common Symptoms of the MEC4430ACW14
How this model fails, and the parts that fix it.


Watch our pros, then fix it yourself.
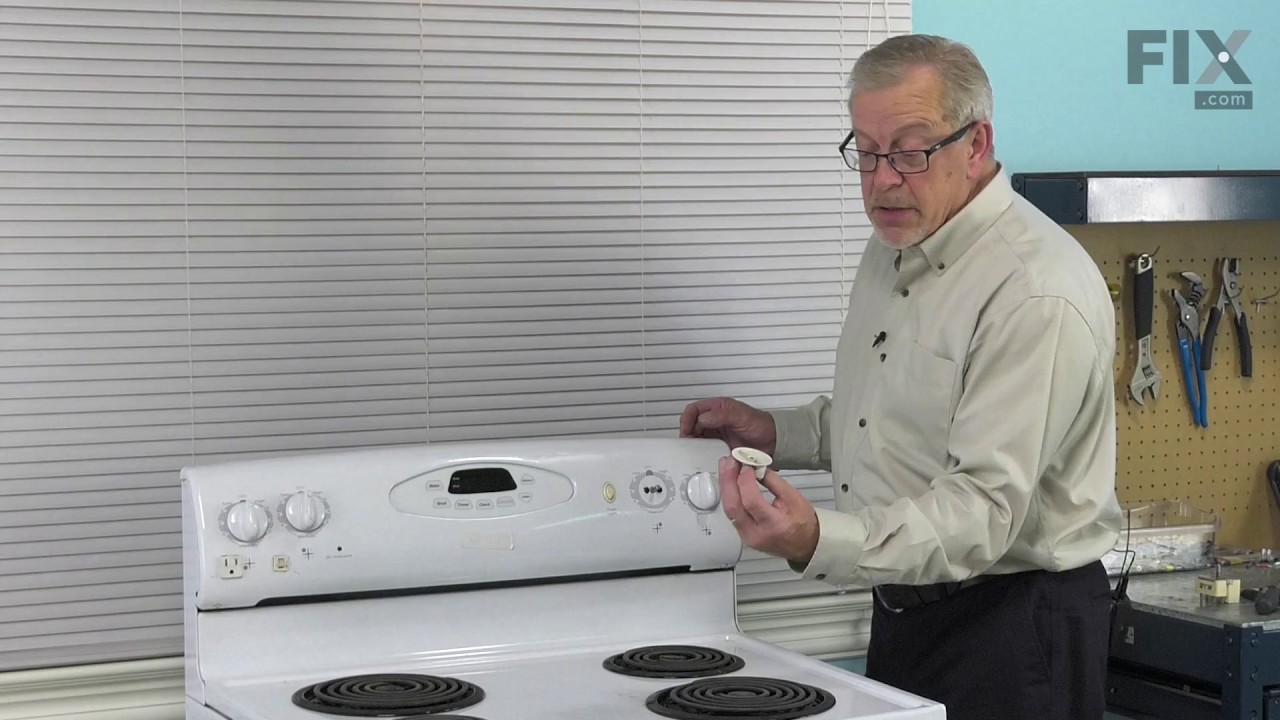
See how others fixed this model. Time, tools, difficulty, and steps that lead to victory!
View More
Search repair tips from other customers using simple keywords like "replace", "fit", "remove", "inspect". DIY doesn't mean you have to do it alone!
Search filter:
Clear Filter
Your search term must have 3 or more characters.
Replaced drip bowls in stove
71 of 134 people
found this instruction helpful.
Took out the old drip bowls and replaced with new bowls.
Other Parts Used:


Was this helpful?
Thank you for voting!
Rented appartment in which none of the drain pans were the proper size making it very difficult to cook
67 of 131 people
found this instruction helpful.
I removed the element and then the drain pan and replaced with the new correct pans. I replaced the element and all was well.
Other Parts Used:
Was this helpful?
Thank you for voting!