


 My Orders




KUIC18 KitchenAid Ice Maker - Overview
Models starting with KUIC18
Click on the best match to narrow your results.
- KUIC18NNSS0 KitchenAid Ice Maker
- KUIC18NNTS0 KitchenAid Ice Maker
- KUIC18NNTS1 KitchenAid Ice Maker
- KUIC18NNTS2 KitchenAid Ice Maker
- KUIC18NNTS3 KitchenAid Ice Maker
- KUIC18NNTS4 KitchenAid Ice Maker
- KUIC18NNXS0 KitchenAid Ice Maker
- KUIC18NNXS1 KitchenAid Ice Maker
- KUIC18NNXS2 KitchenAid Ice Maker
- KUIC18NNZS0 KitchenAid Ice Maker (ICE CUBE MAKER)
- KUIC18PNTS0 KitchenAid Ice Maker
- KUIC18PNTS1 KitchenAid Ice Maker
- KUIC18PNTS2 KitchenAid Ice Maker
- KUIC18PNTS3 KitchenAid Ice Maker
- KUIC18PNTS4 KitchenAid Ice Maker
- KUIC18PNXS0 KitchenAid Ice Maker
- KUIC18PNXS1 KitchenAid Ice Maker
- KUIC18PNXS2 KitchenAid Ice Maker
- KUIC18PNXS3 KitchenAid Ice Maker
- KUIC18PNZS0 KitchenAid Ice Maker (ICE CUBE MAKER)
Enter a part description. DIY Heroes keep it simple, eg. "belt" or "pump".
Search filter:
Clear Filter
Your search term must have 3 or more characters.

$82.05
In Stock
Condenser Fan Motor Kit
Part #W10124096
This condenser fan motor kit includes a motor, fan blade, wire harness, and screws. Used in a refrigerator, the condenser fan motor moves the condenser fan blade to direct and move air across the condenser coil. Please note: The manufacturer has changed the appearance of the product from the original. The kit still functions the same as t...Read morehe original part. It is an OEM factory replacement. Make sure to unplug the refrigerator from the power source and wear gloves to protect your hands. Also, a helpful tip is to store food to prevent deterioration when the power is off.
Read less

$7.47
In Stock

$27.36
In Stock
Affresh Ice Machine Cleaner
Part #W11179302
This nickel-safe, unscented ice machine cleaner measures 16 fluid ounces and is used to remove mineral build-up and hard water and is compatible with several makes and models of freestanding ice machines. To use properly, turn off your ice machine and remove the existing ice left in your ice machine. Next, drain the water from your ice ma...Read morechine. Empty the entirety of this cleaner into the empty water pan and activate the cleaning cycle, and once the cycle is complete and you drain the pan again, the cleaning is complete!
Read less

$78.26
In Stock
Refrigerator Water Filter
Part #F2WC9I1
This genuine OEM replacement part is a water filter for your fridge or freestanding ice maker. The filter is used to remove contaminants and particles from the water, to ensure a clean and fresh taste. The filter should be replaced every six to nine months, or after 2000 gallons of water have passed through, whichever occurs first.

$27.36
In Stock
Water Tube Kit
Part #W10823511
This is the replacement water tube kit for your refrigerator. This tubing is made of plastic, is 1/4 inch in diameter, and comes with 2 inserts. This tube may be longer than the original tube, and may need to be cut. This water tube transports water to the ice and water dispensers. If your refrigerator is leaking, or if the ice and water ...Read moredispensers are not dispensing properly, you may need to replace this tube. This part is sold individually and is an OEM part sourced directly from the manufacturer.
Read less

$28.42
In Stock
Refrigerator Switch
Part #W11291138
This is a light switch for your refrigerator. It activates when the door of your appliance is opened, and it will turn the light inside on and off. You will need to replace this part is if your light is not working properly. In order to make this repair you will need a Phillips screwdriver, a pair of needle nose pliers, and a small flat b...Read morelade screwdriver. This light switch is almost 2 inches long, 1.5 inches wide, and just over an inch thick.
Read less

$7.47
On Order
Range Screw
Part #WP179051
Sold individually. Lock washers are used with screws when vibration from an appliance may cause the screw to loosen. Lock washers are also used in the electrical components of an appliance to ensure an electrical connection is not lost.

$75.58
In Stock
PUMP
Part #W11566405
A recirculating pump is used with standalone ice cube makers. It circulates the water over the top of the evaporator plate, which produces a layer of ice that is then broken down into ice cubes. If you notice that your ice maker is no longer producing ice or there is no water flowing over the cooling plate, this could be due to the recirc...Read moreulating pump not working. Be sure to keep the pump clean and free of build-up. This pump is 5.75 inches in length, 4.75 inches in width, 4.25 inches in height and weighs 0.81 lbs. This is a genuine OEM appliance part that comes directly from the manufacturer.
Read less

No Longer Available
Touch-Up Paint - White
Part #72017
This touch-up paint can be used on a wide variety of household appliances. It is most often used on washers, dryer, refrigerators, dishwashers, ranges, freezers, trash compactors, or microwaves. It is an 18 ml, or.6 fluid ounces, bottle of touch-up paint. It also features a brush for easy application. This quick-drying, long-lasting paint...Read more is perfect for fixing any nicks, scratches, or chips on the exterior of your appliance. This paint is white in color, and provides a durable finish.
Read less

$11.77
In Stock

$73.04
In Stock
Thermistor
Part #WPW10503764
This is a bin thermostat made for standalone ice makers to activate the ice maker shut-off when bin is full. It senses how much ice is in the bin to determine if it should produce more ice or activate shut-off. The bin thermostat may need to be replaced if bin is overfilled, underfilled, or not producing ice. Thermistor can be tested with...Read more an ohm meter. This part is made of plastic and metal, and is white in color. This is an authentic part sourced from the original manufacturer.
Read less

$44.23
In Stock
Door Light Switch
Part #WP2149705
The purpose of the light switch in your refrigerator is to automatically turn on the light when the door is opened. If the light does not come on automatically when you open the door, the contacts inside the light switch may be burned out, meaning it is time to replace the switch. This package contains both the new light switch and a smal...Read morel plastic spacer. To complete this repair, you will need to remove the control panel section of your refrigerator. The only tools you will require for this repair are a 1/4-inch nut driver and maybe a small flat blade screwdriver. Be sure to disconnect the power source from the refrigerator before completing this repair.
Read less
Common Symptoms of models starting with KUIC18
How this model fails, and the parts that fix it.
Noisy
Fixed by
these parts
these parts


Show All
Light not working
Fixed by
these parts
these parts


Show All
Leaking
Fixed by
these parts
these parts


Show All
Fridge too warm
Fixed by
these parts
these parts
Show All
Ice maker not making ice
Fixed by
these parts
these parts

Show All
Freezer section too warm
Fixed by
these parts
these parts
Show All
Will Not Start
Fixed by
these parts
these parts

Show All
Fridge and Freezer are too warm
Fixed by
these parts
these parts
Show All
Clicking sound
Fixed by
these parts
these parts
Show All
Fridge runs too long
Fixed by
these parts
these parts
Show All
Not dispensing water
Fixed by
these parts
these parts
Show All
Door won’t close
Fixed by
these parts
these parts

Show All
Watch our pros, then fix it yourself.
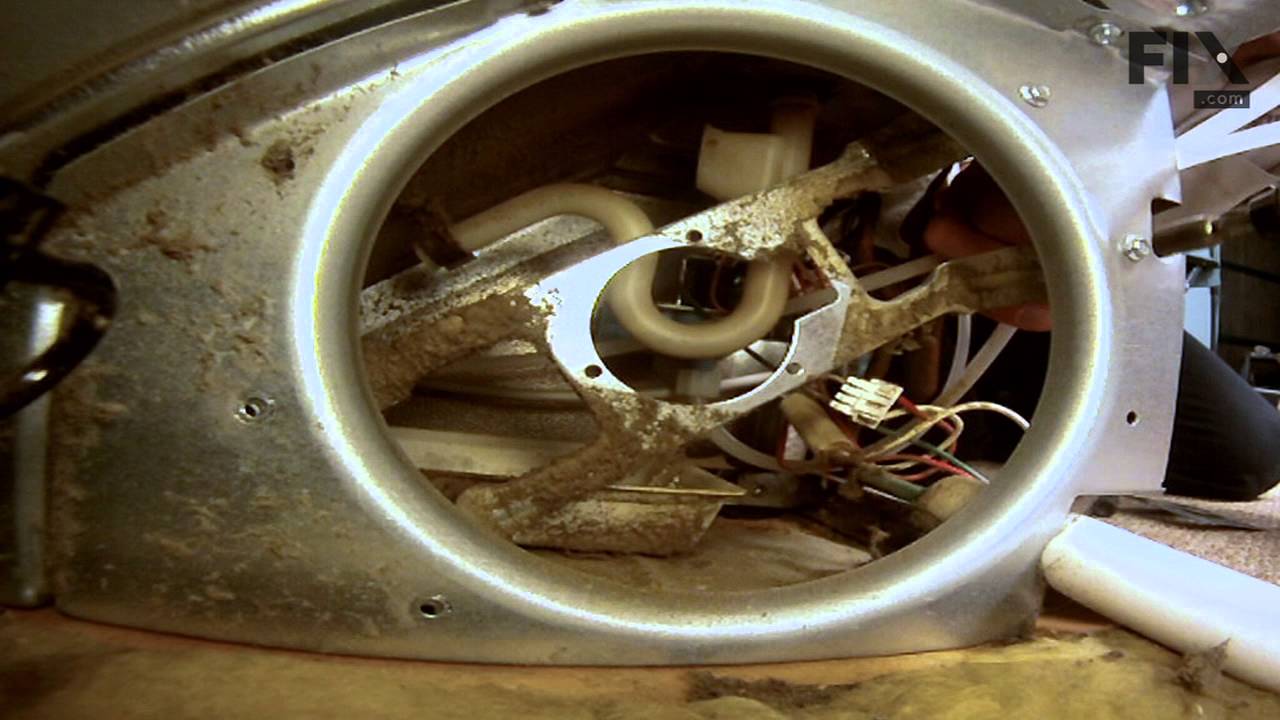
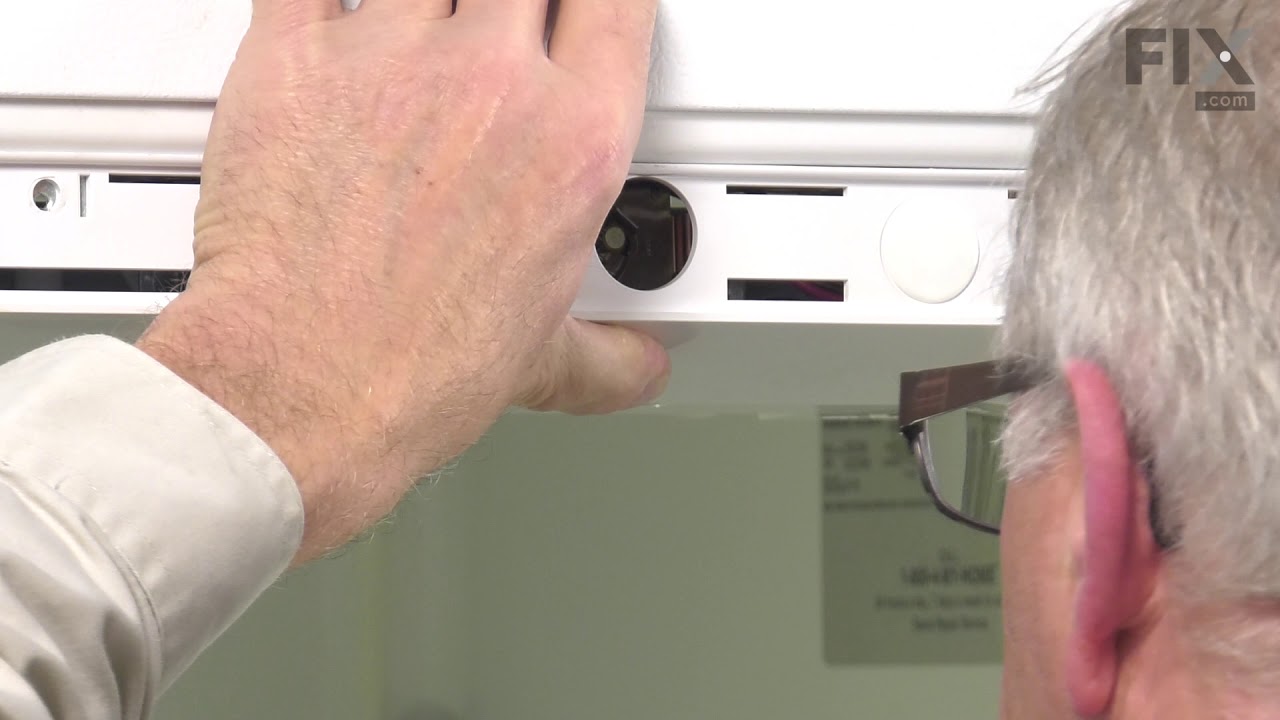
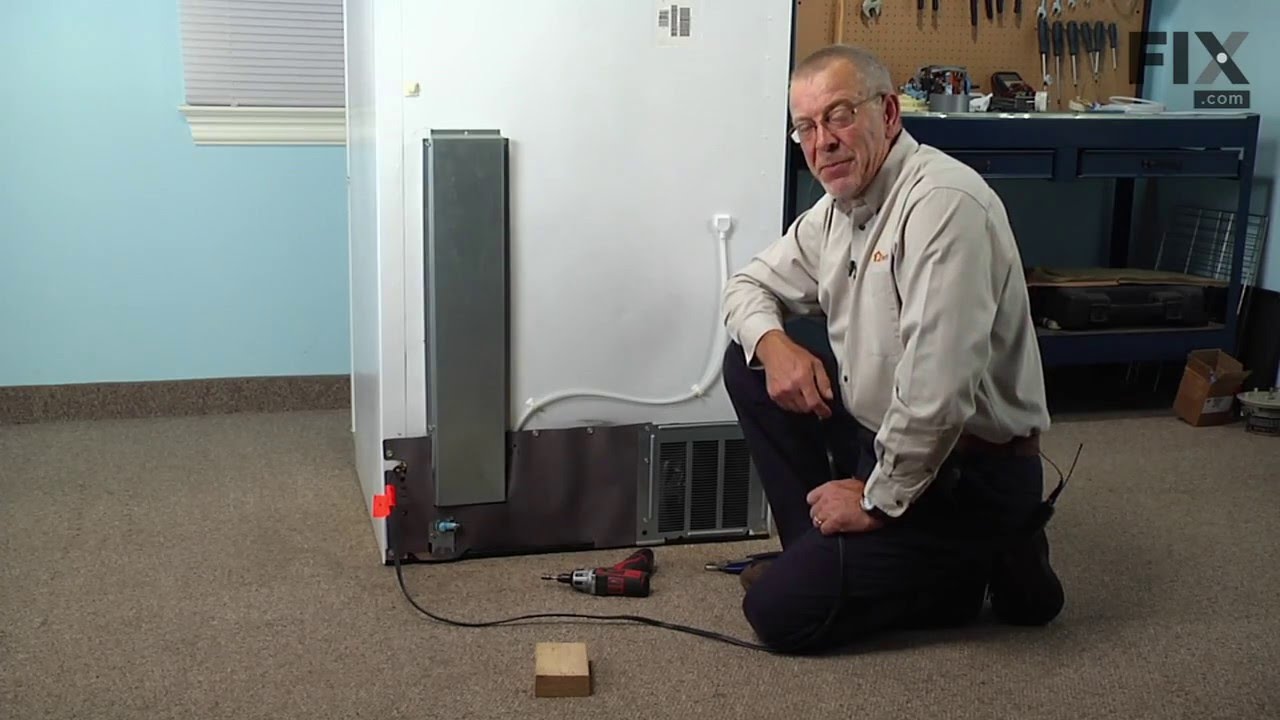
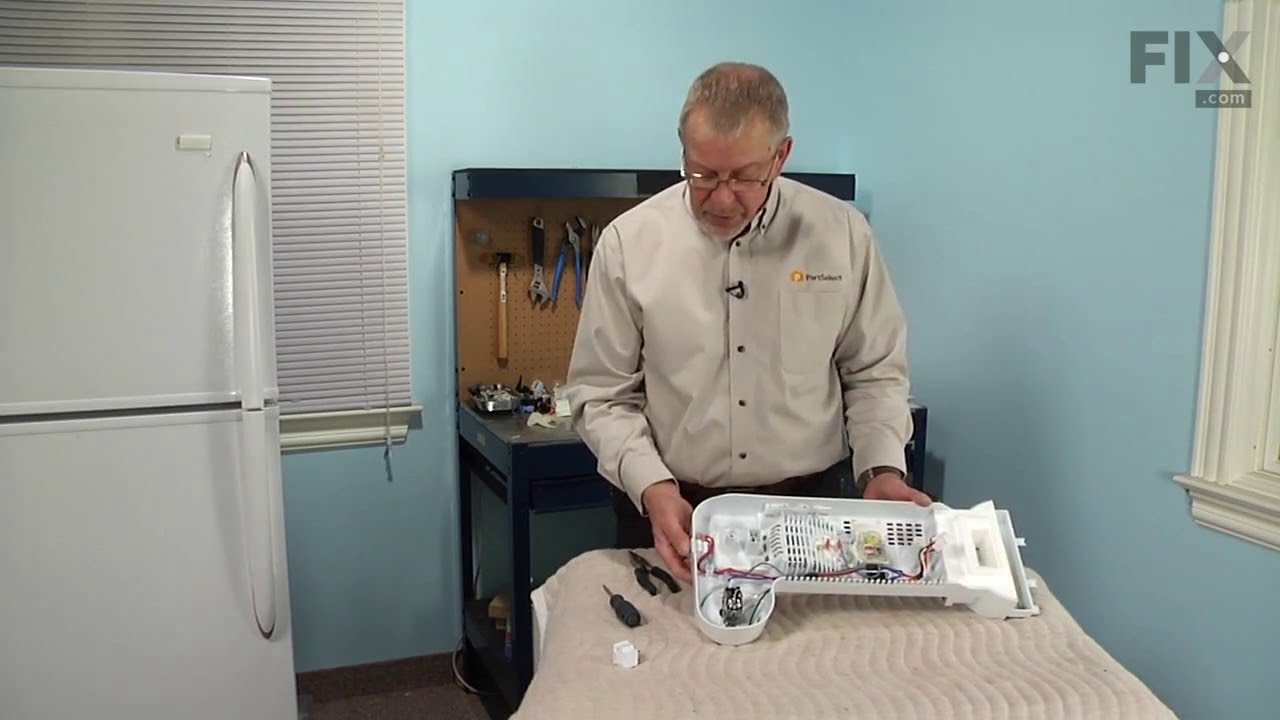
See how others fixed this model. Time, tools, difficulty, and steps that lead to victory!
View More