


 My Orders




KGRS5 KitchenAid Range - Overview
Models starting with KGRS5
Click on the best match to narrow your results.
- KGRS505XBL00 KitchenAid Range
- KGRS505XBL01 KitchenAid Range
- KGRS505XBL02 KitchenAid Range
- KGRS505XBL03 KitchenAid Range
- KGRS505XBL04 KitchenAid Range
- KGRS505XBL05 KitchenAid Range (30" GAS FREESTANDING RANGE)
- KGRS505XSS00 KitchenAid Range
- KGRS505XSS01 KitchenAid Range
- KGRS505XSS02 KitchenAid Range
- KGRS505XSS03 KitchenAid Range
- KGRS505XSS04 KitchenAid Range
- KGRS505XSS05 KitchenAid Range (30" GAS FREESTANDING RANGE)
- KGRS505XWH00 KitchenAid Range
- KGRS505XWH01 KitchenAid Range
- KGRS505XWH02 KitchenAid Range
- KGRS505XWH03 KitchenAid Range
- KGRS505XWH04 KitchenAid Range
- KGRS505XWH05 KitchenAid Range (30" GAS FREESTANDING RANGE)
Enter a part description. DIY Heroes keep it simple, eg. "belt" or "pump".
Search filter:
Clear Filter
Your search term must have 3 or more characters.

$23.60
In Stock
Leveler Foot Screw (Nylon)
Part #W11665456
This is a leveling leg for your oven, range, or stove. The leveling legs on your oven allow your appliance to sit perfectly flat. The new one may be longer in length than your original, but will work the same. Install the new leveling leg, and test if you have it adjusted properly by putting the appliance on four legs. Adjust in or out a...Read mores required if your oven is rocking. It is recommended to check the other three leveling legs on your appliance in case they are also damaged or worn. The leveling leg measures 1.859", is all black in color, and is made entirely out of plastic. This leg may be shorter than the original but is the factory replacement. Longer leg is not available.
Read less

$21.45
In Stock
Screw
Part #W11233072
This is a multi-use and multi-appliance screw. It can be used on a microwave, refrigerator, range/oven, air conditioner, dehumidifier, washer, or dryer. The measurements of this screw are 8 x 1/2 inch. It has 6 threads. Refer to the manual provided by the manufacturer for further information on repair and accurate guidance. Remember to wear work gloves as a safety precaution.

$7.47
In Stock

$69.91
In Stock
IGNTR-OVEN
Part #W11596211
This gas range oven igniter is a flat-style component designed to initiate the heating process by glowing and igniting the gas for the bake burner. Essential for proper oven function, it ensures consistent and reliable heat for baking and broiling. Compatible with a wide range of models across brands such as Whirlpool, Maytag, KitchenAid,...Read more Kenmore, and others, this igniter addresses common issues including no heat, weak flame, uneven cooking, or delayed ignition. If the igniter glows but fails to light the burner, or if the oven doesn’t respond or heat evenly, replacement may be necessary. Before installation, disconnect power, shut off the gas supply, and verify compatibility with your appliance model. Handle the igniter carefully, as it is fragile.
Read less

$7.47
In Stock

$7.47
In Stock

No Longer Available
Touch-Up Paint - White
Part #72017
This touch-up paint can be used on a wide variety of household appliances. It is most often used on washers, dryer, refrigerators, dishwashers, ranges, freezers, trash compactors, or microwaves. It is an 18 ml, or.6 fluid ounces, bottle of touch-up paint. It also features a brush for easy application. This quick-drying, long-lasting paint...Read more is perfect for fixing any nicks, scratches, or chips on the exterior of your appliance. This paint is white in color, and provides a durable finish.
Read less

$49.50
In Stock
2 Piece Broiler Pan
Part #4396923
This broiler pan and roasting rack set is designed to help reduce mess while cooking by allowing grease to drain away from food. Its durable porcelain-coated construction stands up to high temperatures and makes cleanup simple. With approximate dimensions of 16 3/4 inches long, 12 3/4 inches wide, and 1 3/4 inches high, it offers a convenient size for everyday broiling and roasting.

$66.77
In Stock
SOCKT-LITE
Part #W11594027
The light socket on your electric range connects the power source to the light bulb. If your oven light is malfunctioning, you may need to replace the light socket. The light socket is located in the back of your range, so in order to access it you will need to remove the back panel. Many of our customers have rated this repair as easy, a...Read morend it should take less than 15 minutes. Before you begin this repair, make sure to disconnect the power source from your range. This is an OEM part sourced directly from the manufacturer.
Read less

$78.70
In Stock
Surface Burner Valve - 16K - Left Front & Right Front
Part #WPW10206288
This is a surface burner valve for the left front and right front of your range. Burner valves are attached to the main gas line. When the switch is turned the gas then flows into a tube that mixes with air, creating the appropriate mixture for combustion. The valve monitors and controlsl the gas flow to the surface burner. It is roughly ...Read more3 inches long, 1.5 inches high, and about an inch wide. You should consider changing this part if your current one has seized and your range will not start.
Read less

No Longer Available
Spray Paint - 12 oz. - White
Part #350930
Appliance spray paint is a great way to cover up any chips and scratches that have appeared on your appliances. Instead of replacing the part entirely, this is an easy fix. This is also a great way to give a fresh new look to any handles or areas that have discoloring due to wear. Make sure to clean the area before you begin and wear a pr...Read moreotective mask for safety. Give the can a good shake and spray a few inches away from the surface. Apply the paint until the area is fully covered as desired. Wait until the paint has dried before using the appliance.
Read less

$7.47
In Stock
Common Symptoms of models starting with KGRS5
How this model fails, and the parts that fix it.
Will Not Start
Fixed by
these parts
these parts


Show All
Little to no heat when baking
Fixed by
these parts
these parts

Show All
Gas igniter glows, but will not light
Fixed by
these parts
these parts

Show All
Element will not heat
Fixed by
these parts
these parts
Show All
Door won’t close
Fixed by
these parts
these parts

Show All
Watch our pros, then fix it yourself.

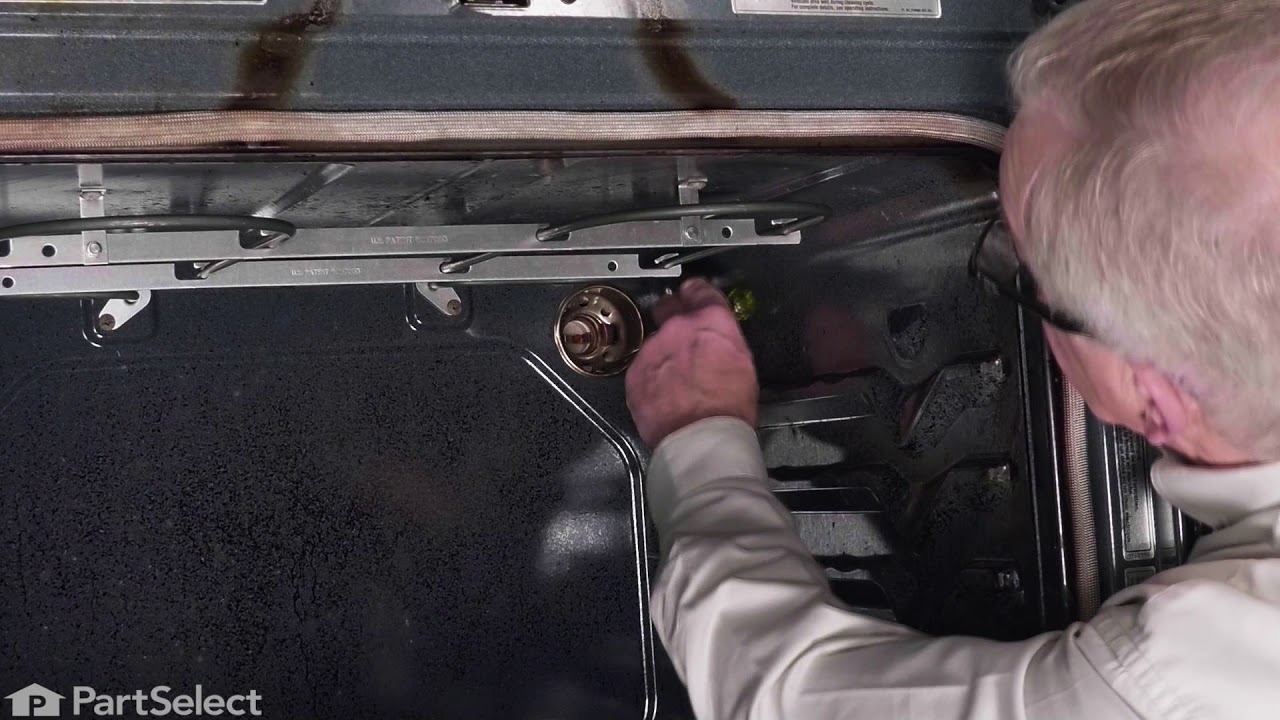

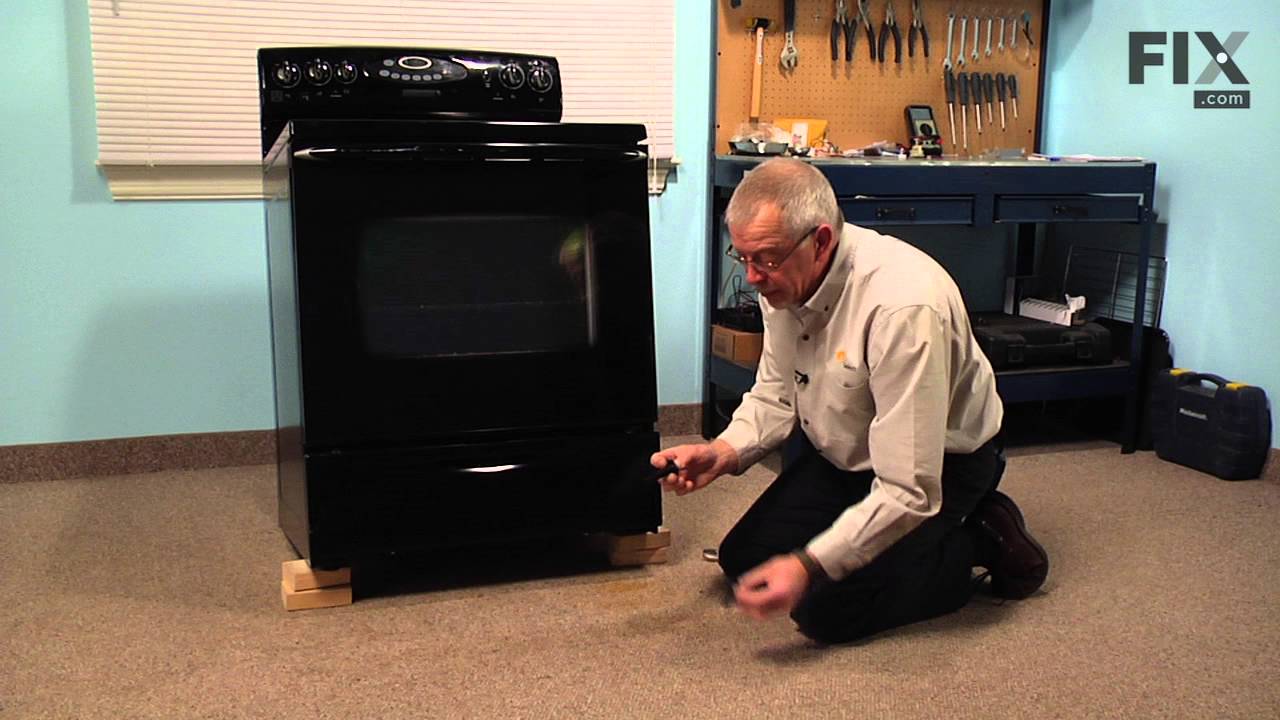
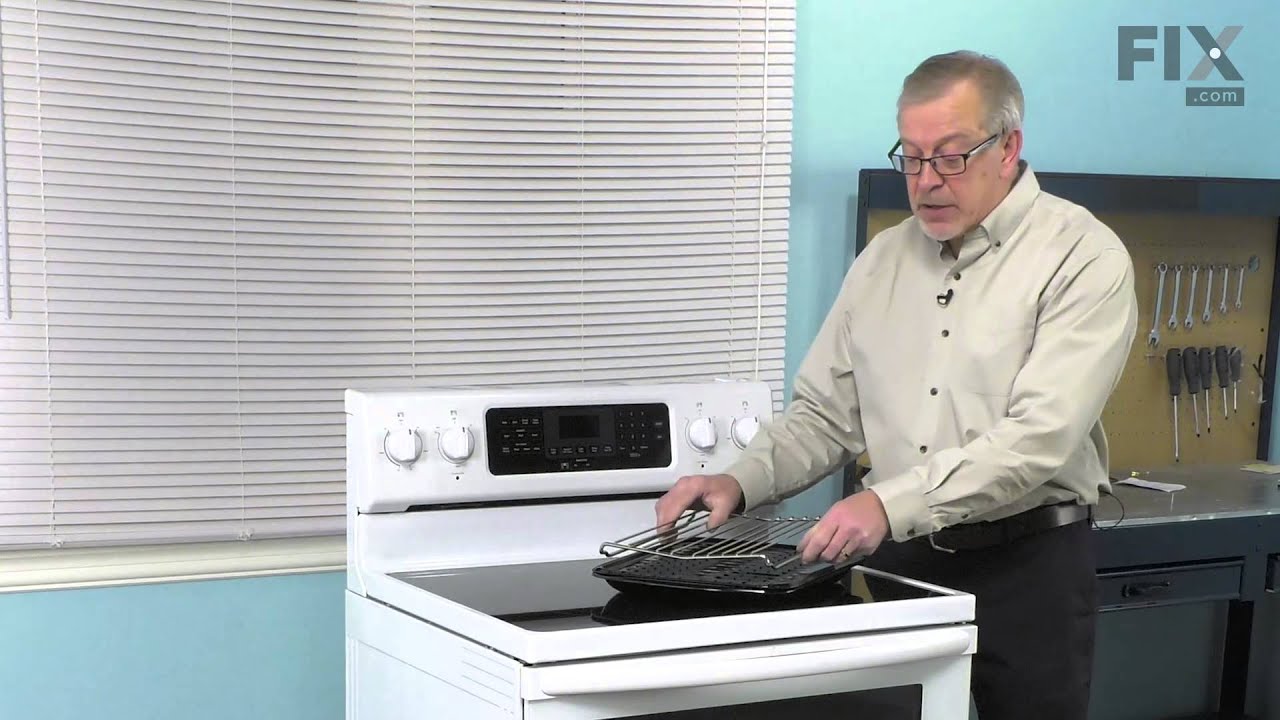
See how others fixed this model. Time, tools, difficulty, and steps that lead to victory!
View More