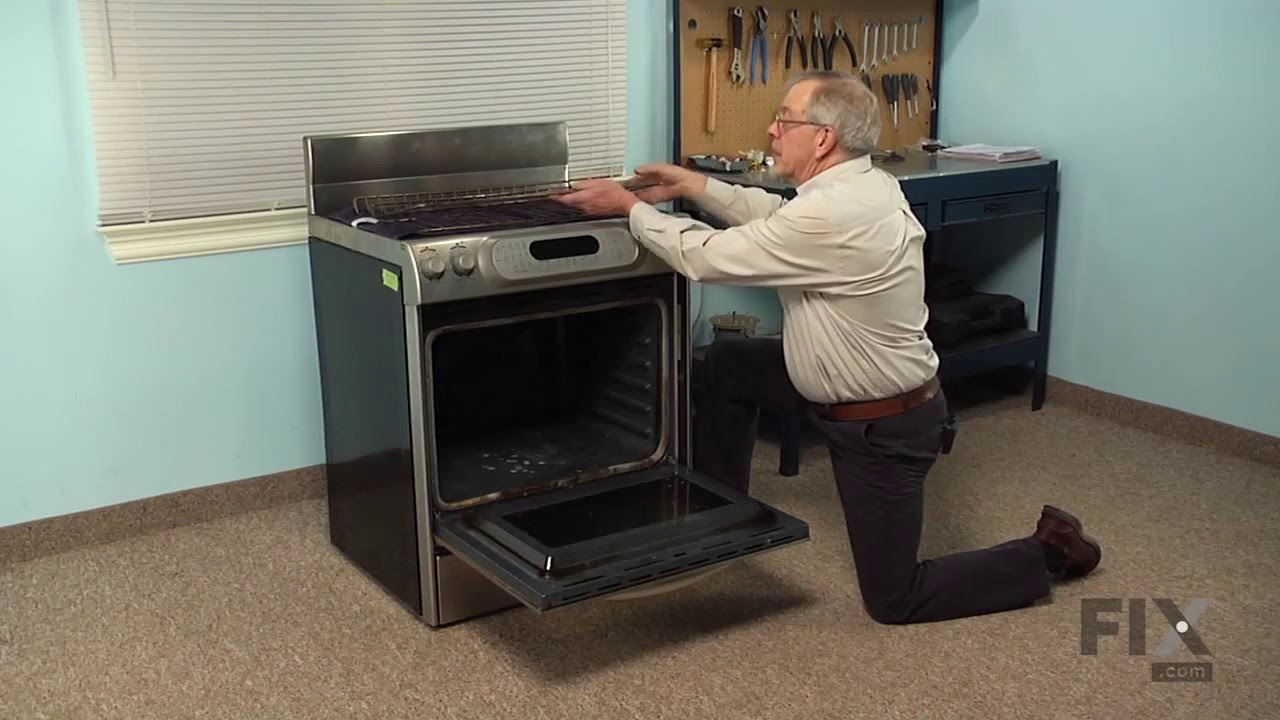
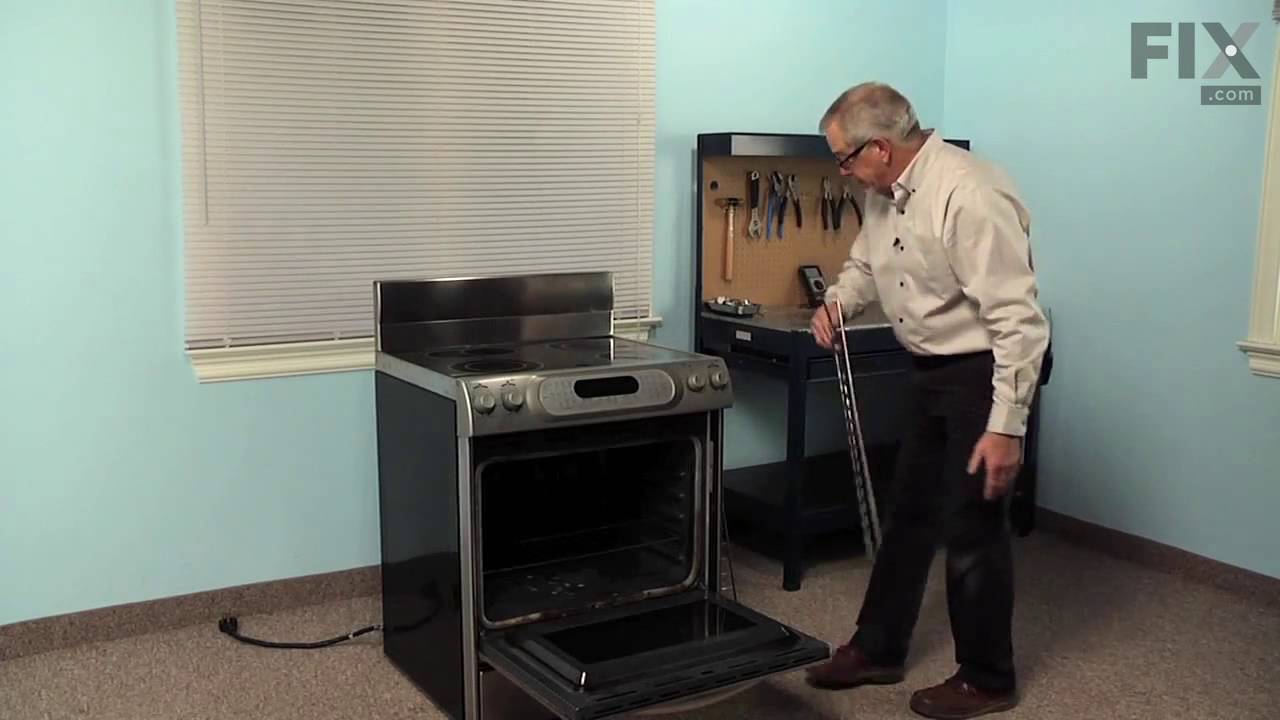
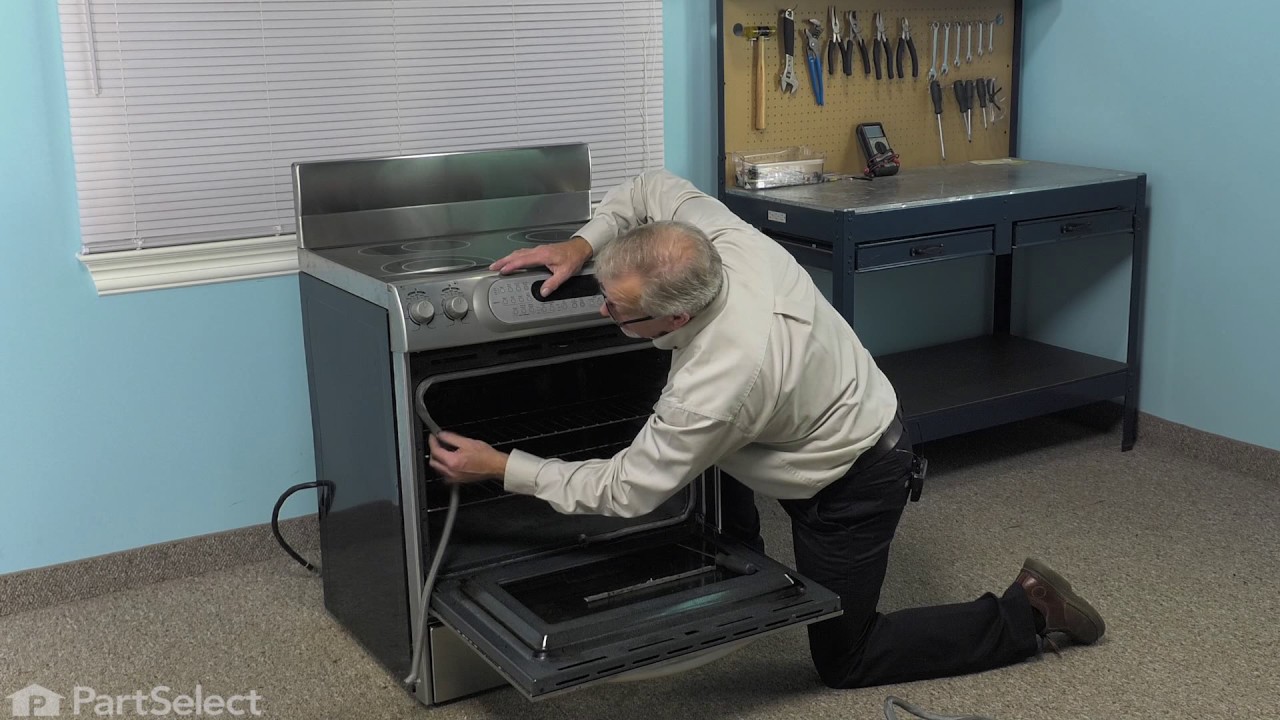
This oven rack is chrome in color and is approximately 24.76 inches wide by 15.78 inches deep. If your old oven rack is damaged, you should consider replacing it. Many of our customers have determined this repair to be very easy. You will not require any tools to complete it. To replace the oven rack, simply pull the old rack out, and rep...Read morelace it with the new one. Make sure to put the new rack back in the oven with the beveled edge in first. To keep your oven racks clean, we recommend that you pull them out before using the self-cleaning function on your oven.
This is a multi-use and multi-appliance screw. It can be used on a microwave, refrigerator, range/oven, air conditioner, dehumidifier, washer, or dryer. The measurements of this screw are 8 x 1/2 inch. It has 6 threads. Refer to the manual provided by the manufacturer for further information on repair and accurate guidance. Remember to wear work gloves as a safety precaution.
Sold individually. This surface burner grate is for ranges.
Surface burner grate provides a stable surface for cookware on the surface burner.
Wait until the surface is cool to the touch before installing this part.
The temperature sensor measures the temperature inside the oven. If your oven is too hot, not heating evenly, is not heating enough when baking, or simply will not start, you could have a faulty temperature sensor. A faulty temperature sensor can be a fire risk. If your sensor is not working properly, you should look to replace it straigh...Read moret away. A failed oven sensor is most often responsible for F3 or F4 error messages on electronically-controlled ovens. Make sure you disconnect the power to your range before you start your repair.
This broil element is found on the roof of the oven. The broil element is at the top of the oven and supplies the heat to broiling. 14" x 15" with 1-3/8" inserts.
This part works with the following brands: Whirlpool, Roper, Admiral, Maytag, Hardwick, Jenn-Air, Estate, Magic Chef, Crosley, Inglis, Norge, Modern Maid, Amana, Kenmore, KitchenAid, Caloric.
This touch-up paint can be used on a wide variety of household appliances. It is most often used on washers, dryer, refrigerators, dishwashers, ranges, freezers, trash compactors, or microwaves. It is an 18 ml, or.6 fluid ounces, bottle of touch-up paint. It also features a brush for easy application. This quick-drying, long-lasting paint...Read more is perfect for fixing any nicks, scratches, or chips on the exterior of your appliance. This paint is white in color, and provides a durable finish.
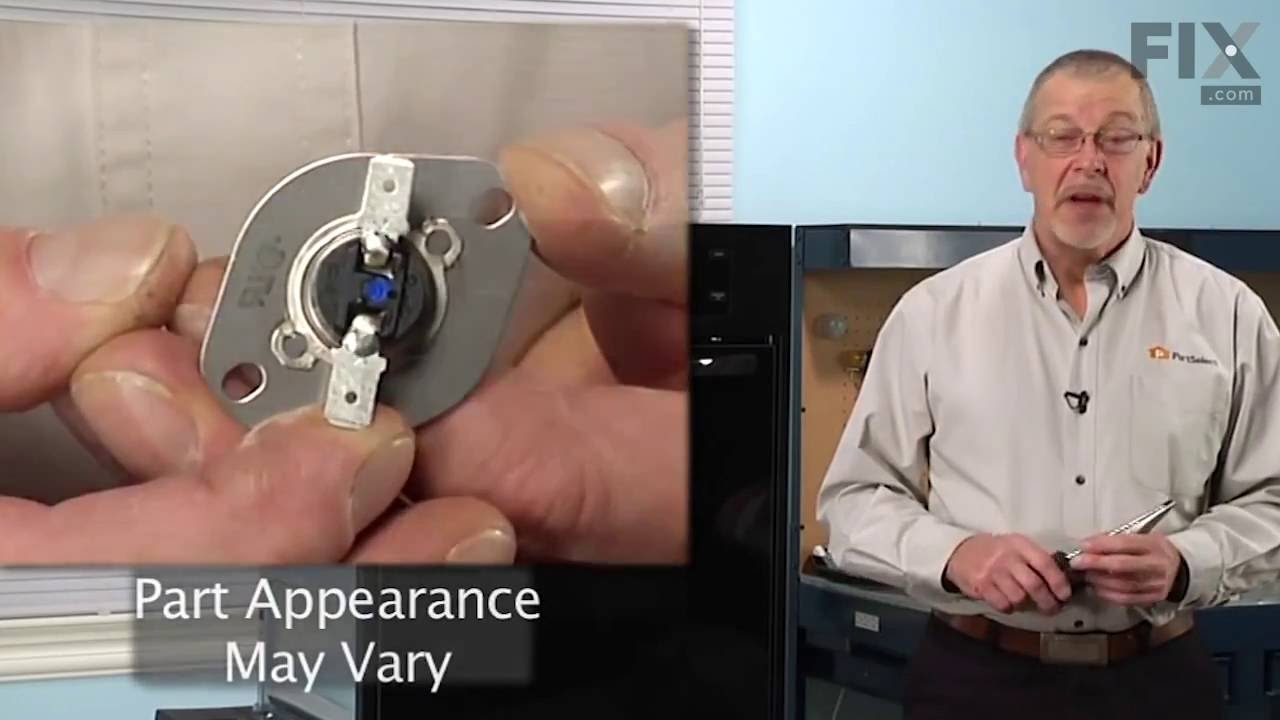
This thermostat is also known as a thermal cut-off fuse and is used in conjunction with your range. This part establishes and maintains the internal temperature of the oven cavity. When the temperature of your range gets too hot it will trip the high-limit thermostat safety, this will cut the power to the oven so that it does not continue...Read more to overheat. For this installation, you will need a Phillips screwdriver and a pair of needle-nose pliers. If your oven does not heat after a self-cleaning cycle you may need to replace the high-limit thermostat.
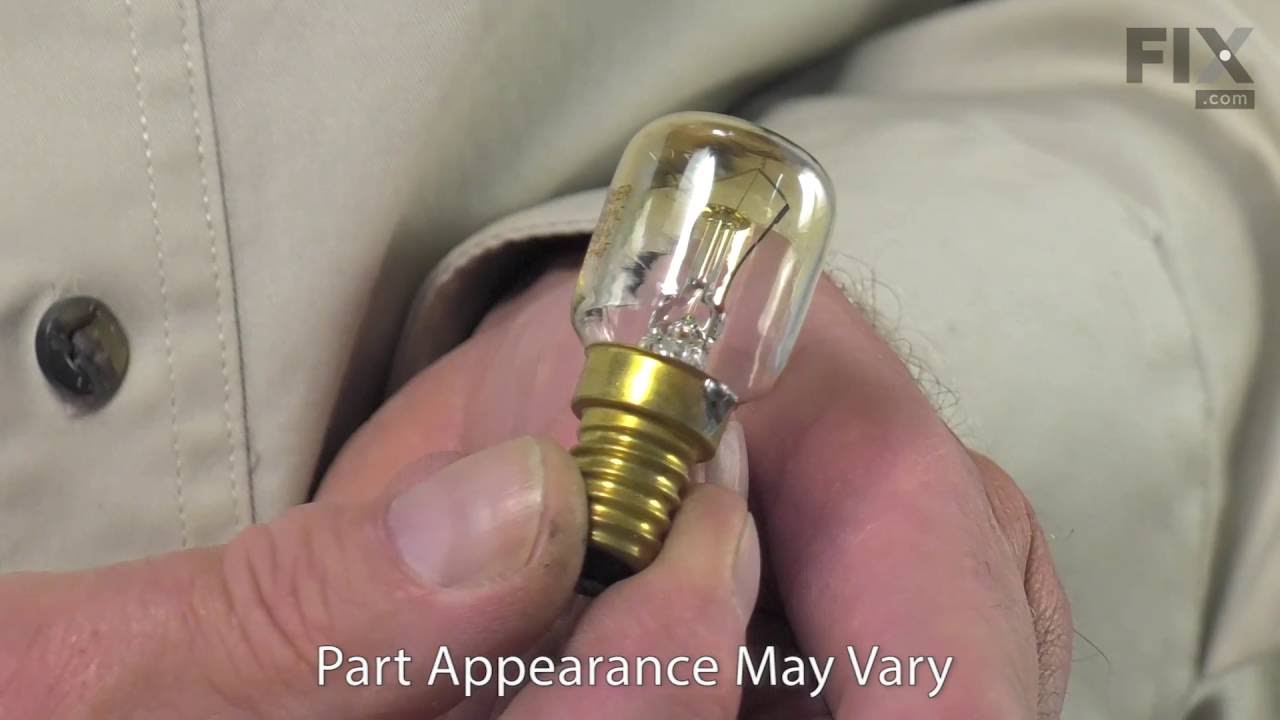
This part is a light bulb that is 120-130 volts and 15 watts, and is used in conjunction with your range or wall oven. The function of this bulb is to illuminate the interior of the oven.Before making this repair, you will need to disconnect your appliance from the electrical source. We recommend wearing work gloves to protect your hands ...Read moreduring this installation. No tools will be required for you to make this repair. However, if your old bulb breaks while you are trying to remove it, you will need a pair of pliers to grasp the socket and twist it until it comes out.
Ask our experts a question about this model and we'll get back to you as soon as possible!
We may have answered a similar question already! Search questions and answers left by others using simple keywords like "fit", "broken", "easy", or "quality" to find questions that match.
Search filter:
Clear Filter
Your search term must have 3 or more characters.
Sort by:
Prev
1
Next
Sorry, we couldn't find any existing answers that matched.Try using some different or simpler keywords, or submit your new question by using the "Ask a Question" button above!
Mackey - For model number KDSS907SSS04
December 29, 2022
oven will not heat, oven lights stay on when door is shut
Hello Mackey, thank you for contacting us. We would recommend checking the temperature sensor, part number PS11748765, and the door latch, part number PS11750101. These are the most probable culprits. Customer service is available 7 days a week if you require assistance placing an order. Thanks again for reaching out!
The gas does not come on when knob is turned and no ignition.
Hi Robin, thank you for your question. You may need to take a look at your burner valve for potentially being the issue if you are getting gas everywhere else but the one burner. However if you are not getting any gas at all, you should look at your regulator and safety valve. Good luck with your repair.
Was this helpful?
Thank you for voting!
Wayne - For model number KDSS907SSS04
July 22, 2021
Shows err message f2e1. Stuck shorted key. Is there a reset?
Hi Wayne,
Thank you for your question. If you are seeing the F2 E1 error code, there is a connection issue between the membrane switch and the electronic control board. Check the connections between the 2 parts to make sure that they are fitted correctly. To see if you can remove the error code, press cancel and wait 1 minute to see if the code reappears. If it does, you will need to replace either the membrane switch or the electronic control board. We hope this helps! If you have any questions, please let us know.
After a self-clean, the door is latched and the display is blank. I checked the thermal fuse in the back and it seems to be fine (it is normally closed?). The two thermostats on the front of the range pan seem to be fine as well. (in this case, NO?) Display is still dark
Is there another thermal fuse somewhere?
Hello John, thank you for reaching out. There are three thermostats listed for your given model. If your oven display is not working after the self-clean mode, it is very likely that the thermostats got damaged. We suggest that you replace them to resolve the issue in your oven. Customer service is available 7 days a week if you need help placing an order. Glad to be of assistance!
See how others fixed this model. Time, tools, difficulty, and steps that lead to victory!View More
Search repair tips from other customers using simple keywords like "replace", "fit", "remove", "inspect". DIY doesn't mean you have to do it alone!
Search filter:
Clear Filter
Your search term must have 3 or more characters.
Self Cleaning blows the thermostat fuse
137 of 157 peoplefound this instruction helpful.
Joseph from Worthington, PA
Really Easy
15 - 30 mins
Screw drivers
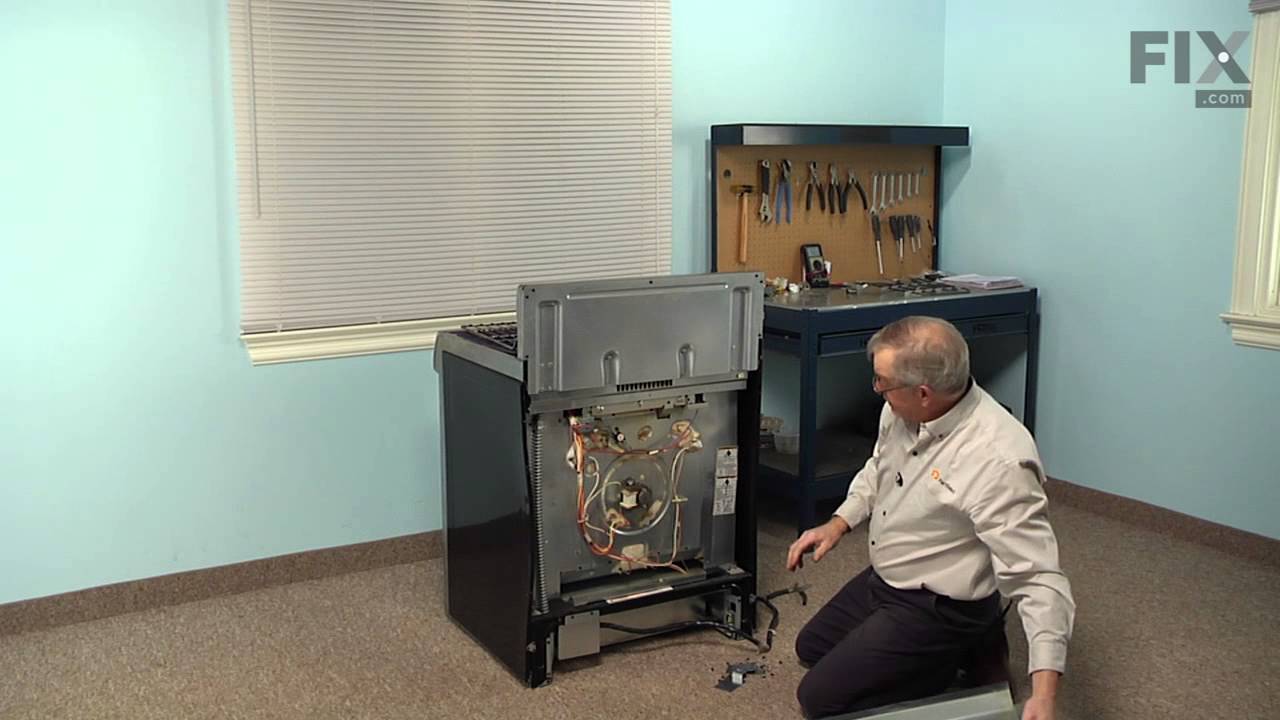
Something Kitchen Aid wont tell you but running a self clean on this model stove blows the fuse located on the back of the stove.
First I slid the stove out and removed the back of the stove held in place by 8 Phillips screws. The thermostat fuse is located near the top middle on the back of the stove. Remove the 2 screws hold
... Read moreing it in place. Disconnect the wires, plug in the new part. Put it all back together. Job done in less than 30 minutes.
This repair would have cost $164 through A&E factory service.
Read less
Was this helpful?
Thank you for voting!
Power shut down and door lock-up after self-cleaning
52 of 58 peoplefound this instruction helpful.
john from new market, MD
Really Easy
15 - 30 mins
Screw drivers
My wife used the self cleaning function for the first time after 1.5 years of owning, of course out of warranty. A quick google search identified the problem. Called Kitchenaid, they said of course it can't be that simple, they had never heard of this problem, need to schedule a service call. Googled and found this site, Ordered the part
... Read more, came in, only took a screwdriver and about 20 minutes, just like all the other posts.
shame on Kitchenaid for not owning up to the problem. I even e-mailed them all the links, they did not acknowledge them.
Read less
Was this helpful?
Thank you for voting!
The broiler element in my wall oven burned out
34 of 36 peoplefound this instruction helpful.
David from Catonsville, MD
Easy
15 - 30 mins
Pliers, Screw drivers, Wrench set
This was easy and I'm glad I didn't go to the trouble and expense of hiring an appliance repair person. I'm reasonably handy, but I really have no experience in this kind of repair. I'd like to mention that the part I ordered arrived in just two days and it was exactly the right part, so I was very pleased in that regard.
Aft
... Read moreer turning off the circuit to the wall oven and confirming that the power was off, I had to remove the oven from the wall in order to access the wires and connections in the back. Normally, this wouldn't have been necessary because usually the broiler element can be disconnected from the clasps that connect it to the electric source by simply unscrewing the defective element from the roof of the oven, pulling gently on the connection ends from inside the oven cavity in order to "pull out" an inch or two of the electric source wires and the metal clasps that accept the "male" connecting ends of the broiler element. Once the a bit of the wire and the metal connecting clasps are exposed and able to be held with pliers, the element can be disconnected from the connector clasps by simply pulling on the prongs of the element (hard).
But in my case, one of the metal connecting clasp for one of the wires had melted, presumably when the element burned out, and that clasp could only be accessed and replaced from the back of the oven. Also, I would imagine that the wires and clasps could "slip" back behind the unit when they're disconnected if that's not done carefully. However, removing the wall oven was pretty easy for me -- even as a one-person job. I just put a tall table in front of it and slid it out so that it rested on the table.
If you have to replace a metal connector clasp, they're inexpensive and available in the electrical departments of hardware/home stores.
In my case, there's a metal panel at the back of the oven that had to be unscrewed and removed so that I could access the areas where the electrical source wires connect through the back wall of the oven to the broiler element. This was just a matter of removing a few screws and then removing the metal panel.
Once the metal panel at the back of the oven was removed, I was able to replace the melted connection clasp by using a wire cutter/stripper and then pliers to secure the clasp on the end of the exposed wired by deforming the clamp with the pliers. Once that was done, I simply removed the screws that held the broiler element to the top of the oven cavity, disconnected the remaining three clasps that connect the element to the source wires (the fourth clasp was the one that had melted and that I'd replaced), removed the defective element, inserted the four "male" prongs of the broiler into the four clasps that connect them to the source wires, replaced the metal panel at the back of the oven, screwed the new element back into the top of the oven, slid the oven back into the wall cavity, turned the circuit back on, crossed my fingers, and everything worked like a charm.
I saved a money, but more importantly (for me) I saved a lot of time that I would have had to have spent waiting around for a repair person.



 My Orders