


 My Orders




KBRS22KG KitchenAid Refrigerator - Overview
Models starting with KBRS22KG
Click on the best match to narrow your results.
- KBRS22KGAL0 KitchenAid Refrigerator
- KBRS22KGAL1 KitchenAid Refrigerator
- KBRS22KGAL2 KitchenAid Refrigerator
- KBRS22KGBL0 KitchenAid Refrigerator
- KBRS22KGBL1 KitchenAid Refrigerator
- KBRS22KGBL13 KitchenAid Refrigerator
- KBRS22KGBL2 KitchenAid Refrigerator
- KBRS22KGBL3 KitchenAid Refrigerator
- KBRS22KGBL4 KitchenAid Refrigerator
- KBRS22KGBT13 KitchenAid Refrigerator
- KBRS22KGBT3 KitchenAid Refrigerator
- KBRS22KGBT4 KitchenAid Refrigerator
- KBRS22KGWH0 KitchenAid Refrigerator
- KBRS22KGWH1 KitchenAid Refrigerator
- KBRS22KGWH13 KitchenAid Refrigerator
- KBRS22KGWH2 KitchenAid Refrigerator
- KBRS22KGWH3 KitchenAid Refrigerator
- KBRS22KGWH4 KitchenAid Refrigerator
Enter a part description. DIY Heroes keep it simple, eg. "belt" or "pump".
Search filter:
Clear Filter
Your search term must have 3 or more characters.

$30.53
In Stock

$19.30
In Stock
Refrigerator Door Shelf End Cap
Part #4386917
This door shelf end cap set contains two white end caps. Each end cap can be used as either the right or the left side. These end caps also come with adhesive strips and an instructions sheet.

$95.90
In Stock
Freezer Door Gasket
Part #WP12550116Q
This white freezer door gasket is a genuine replacement component designed to fit securely onto the inner door panel of select Whirlpool, KitchenAid, Maytag, and Amana refrigerators. Made from flexible rubber, it forms a tight, watertight seal against the refrigerator frame, preventing warm air from entering the freezer and cold air from ...Read moreescaping. This helps maintain consistent internal temperatures, improves energy efficiency, and reduces frost buildup. Installation is straightforward and typically requires only basic tools and skills. Before beginning, unplug the appliance and shut off the water supply to ensure safety. This part is sold individually.
Read less

$54.24
In Stock
Refrigerator Run Capacitor
Part #WP65889-4
This part helps the compressor kick on and off while maintaining a constant temperature to keep things frozen in your freezer. If you are noticing temperature issues with your refrigerator or freezer, the run capacitor may need replacing. This repair is fairly easy to complete, and the only tools you will require are a 1/4 inch nut driver...Read more, and a 1/4 inch socket with a small ratchet. The run capacitor is located in the back of the fridge, so you will need to make sure you have room to work on this repair. Make sure to unplug the fridge prior to beginning the repair.
Read less

$54.24
In Stock
Defrost Timer Kit - 120V 60Hz
Part #R0131577
The timer will shut off the cooling system of the refrigerator and the defrost heater will turn on.

$31.58
In Stock
Bimetal Defrost Thermostat
Part #WP10442411
This refrigerator defrost thermostat will cut out at 55 degrees Fahrenheit and kick back in when the temperature drops to 20 degrees Fahrenheit. The thermostat itself is a little over an inch long while its extending wires are almost seven inches long.

No Longer Available
Touch-Up Paint - White
Part #72017
This touch-up paint can be used on a wide variety of household appliances. It is most often used on washers, dryer, refrigerators, dishwashers, ranges, freezers, trash compactors, or microwaves. It is an 18 ml, or.6 fluid ounces, bottle of touch-up paint. It also features a brush for easy application. This quick-drying, long-lasting paint...Read more is perfect for fixing any nicks, scratches, or chips on the exterior of your appliance. This paint is white in color, and provides a durable finish.
Read less

$7.47
In Stock

$28.42
In Stock
Evaporator Fan Blade
Part #WP2169142
If your refrigerator or freezer is too warm, or making noises, you may need to replace the fan blade. The fan blade attaches to the evaporator motor, which is in the freezer section, to help circulate the cold air into the refrigerator and freezer sections. The fan blade is white in color and made from plastic. This is a genuine OEM part...Read more. Please be sure to disconnect the power to your refrigerator before starting your repair.
Read less

$165.14
In Stock
Water Inlet Valve
Part #W10833899
This part releases water from the supply line when it's activated. This single outlet water valve is intended for use with some ice makers and refrigerators.

$104.33
In Stock
Refrigerator Door Gasket
Part #WP12550115Q
This door gasket is white and made of rubber. It measures approximately thirty-one and a half inches wide by thirty-eight and a half inches long.

$104.20
In Stock
Ice Bucket
Part #WP67001255
The ice bucket in your freezer catches and holds the ice when it is released by the icemaker. If your ice bucket is cracked or damaged, you may need to replace it to prevent a potential leak. This part is made of white plastic and is sold individually. This ice bucket is approximately 15 inches long by 12 inches wide. Many of our customer...Read mores have rated this repair as very easy. To complete this repair, simply remove the old ice bucket and replace it with the new one. Be sure to remove any broken pieces of the old ice bucket before replacing it.
Read less
Common Symptoms of models starting with KBRS22KG
How this model fails, and the parts that fix it.
Light not working
Fixed by
these parts
these parts


Show All
Fridge too warm
Fixed by
these parts
these parts


Show All
Freezer section too warm
Fixed by
these parts
these parts
Show All
Will Not Start
Fixed by
these parts
these parts

Show All
Noisy
Fixed by
these parts
these parts


Show All
Freezer not defrosting
Fixed by
these parts
these parts

Show All
Door Sweating
Fixed by
these parts
these parts


Show All
Frost buildup
Fixed by
these parts
these parts
Show All
Ice maker not making ice
Fixed by
these parts
these parts


Show All
Fridge and Freezer are too warm
Fixed by
these parts
these parts

Show All
Fridge runs too long
Fixed by
these parts
these parts
Show All
Leaking
Fixed by
these parts
these parts
Show All
Door won’t open or close
Fixed by
these parts
these parts


Show All
Too warm
Fixed by
these parts
these parts
Show All
Fridge too cold
Fixed by
these parts
these parts
Show All
Freezer too cold
Fixed by
these parts
these parts
Show All
Clicking sound
Fixed by
these parts
these parts
Show All
Door latch failure
Fixed by
these parts
these parts

Show All
Ice maker won’t dispense ice
Fixed by
these parts
these parts
Show All
Watch our pros, then fix it yourself.


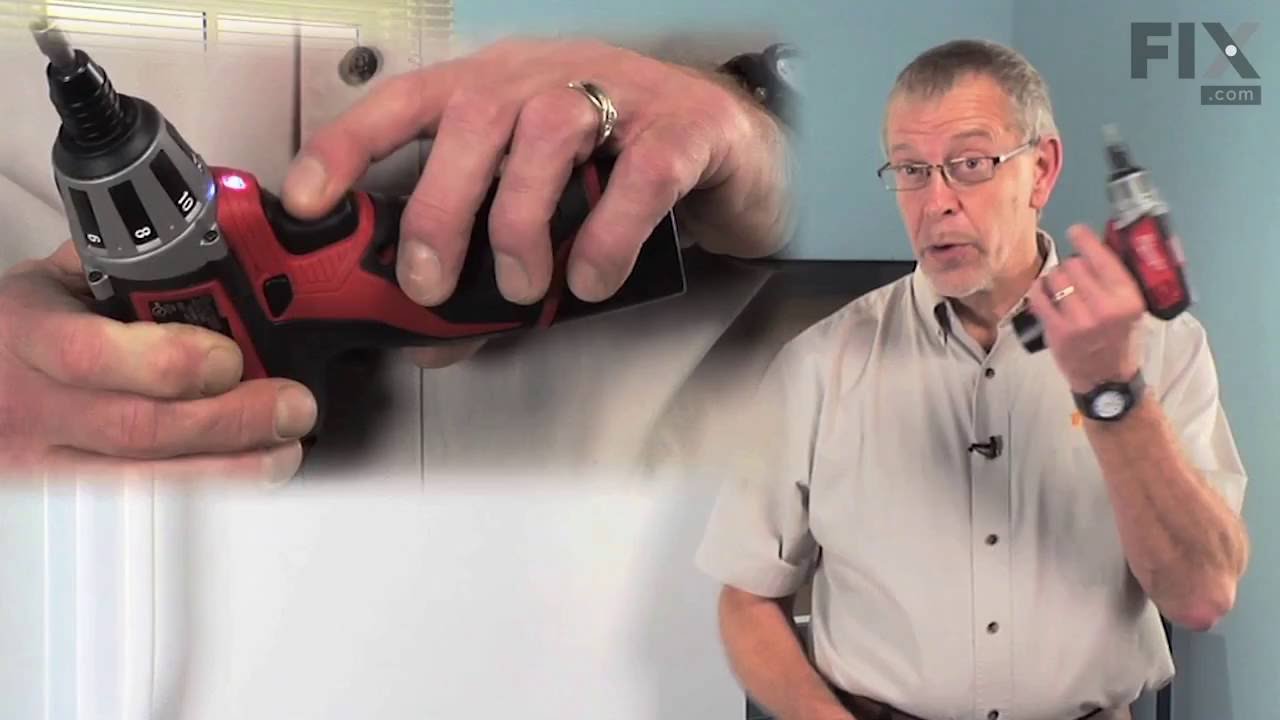
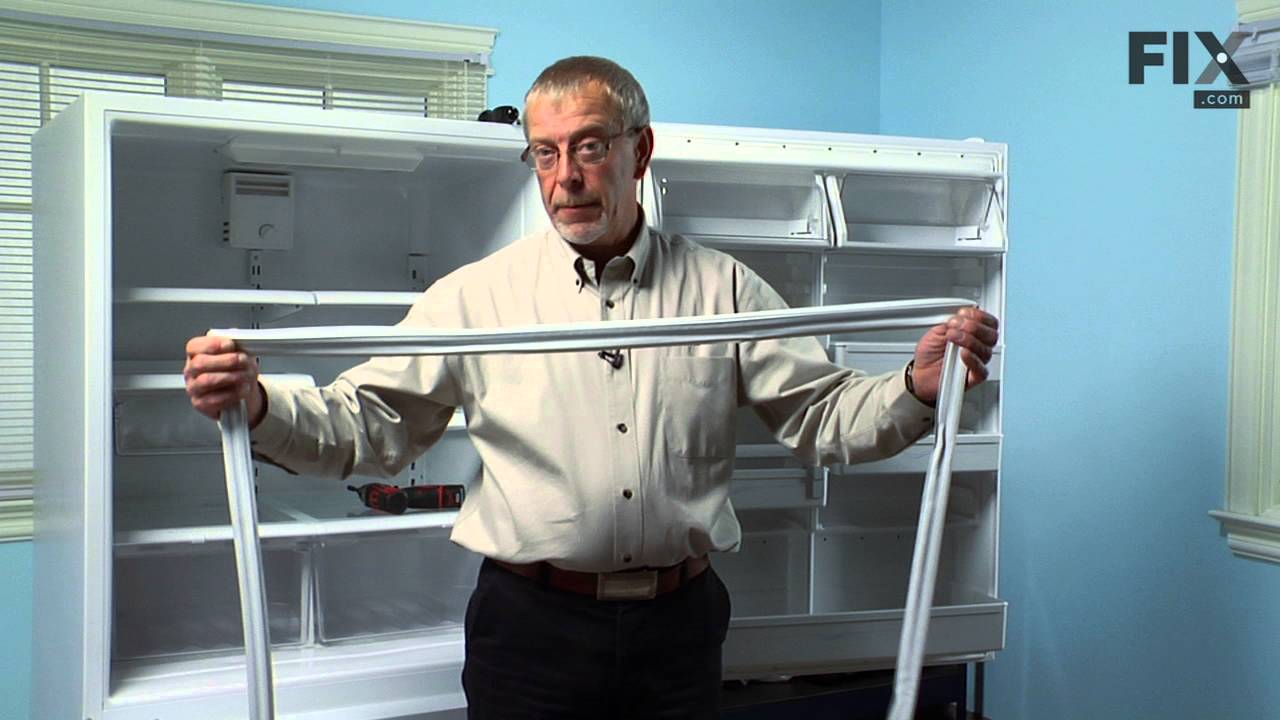
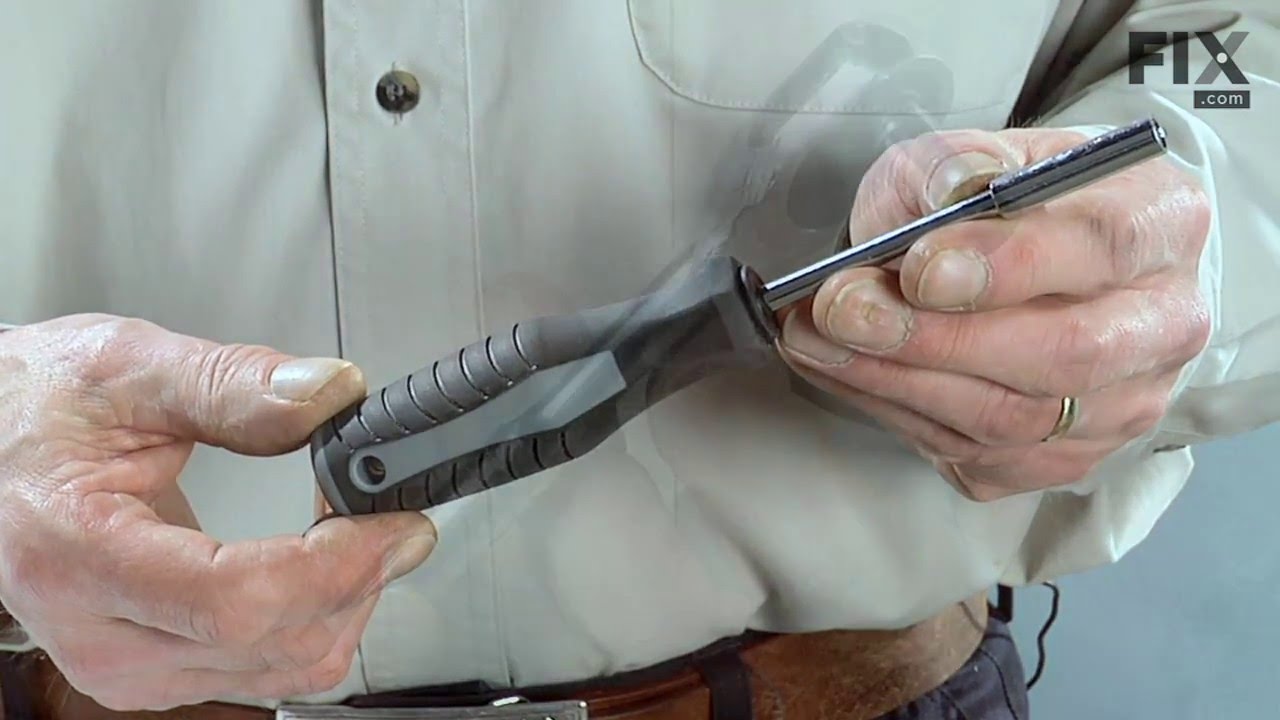
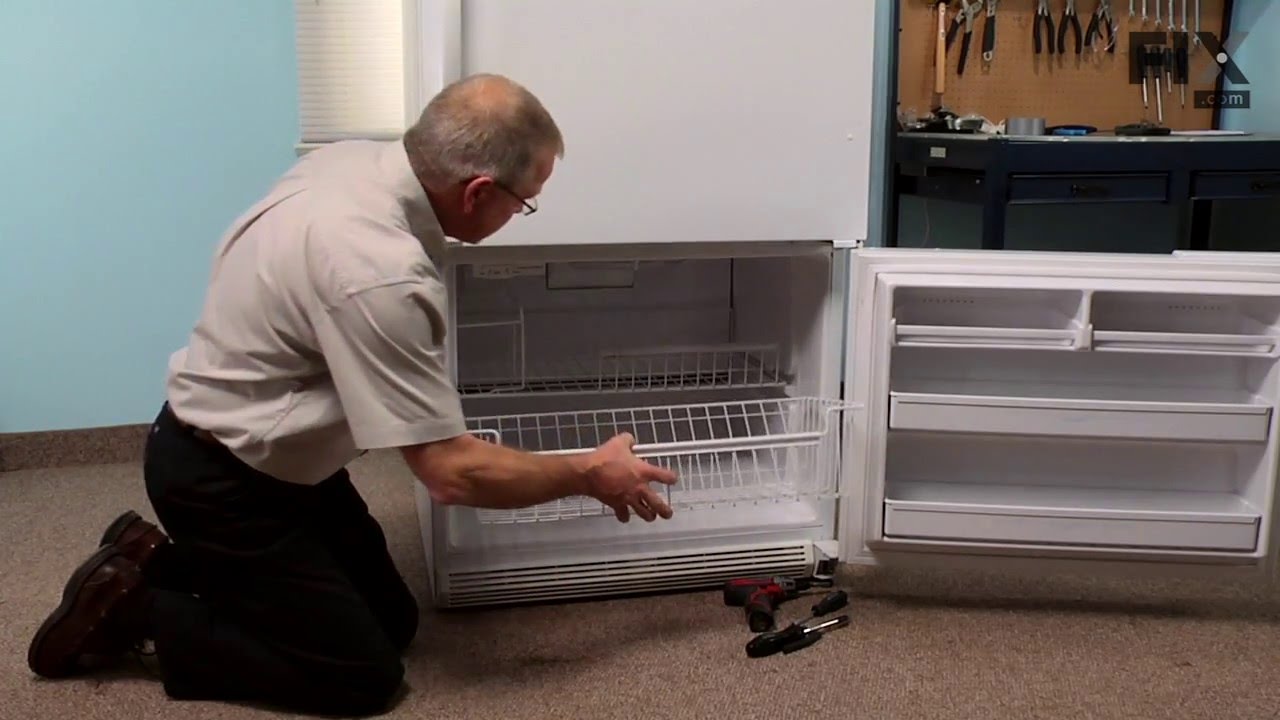
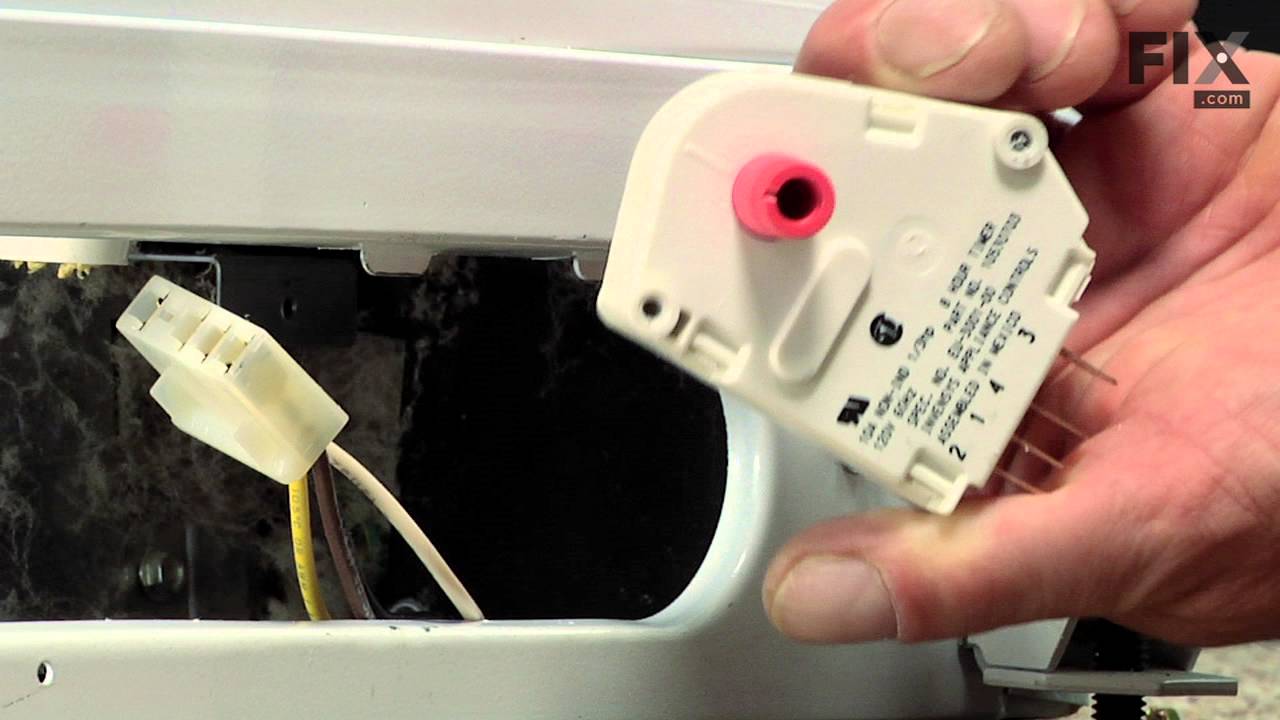
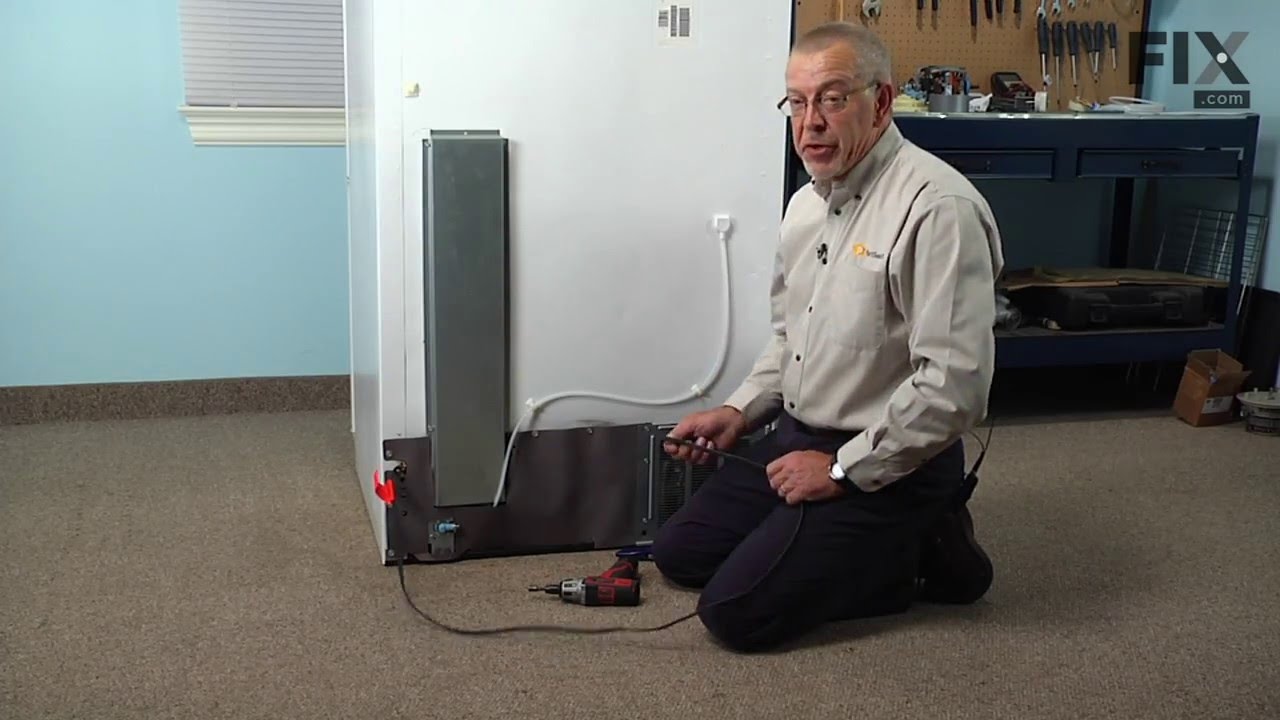
See how others fixed this model. Time, tools, difficulty, and steps that lead to victory!
View More