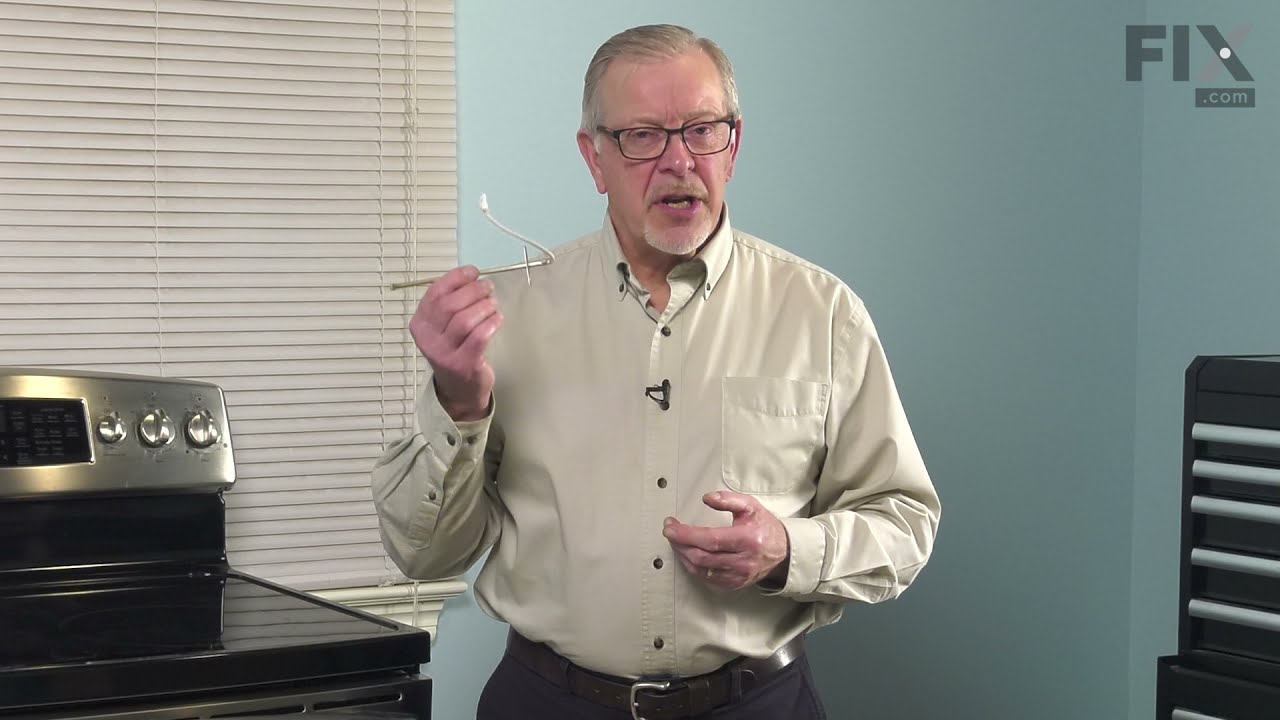
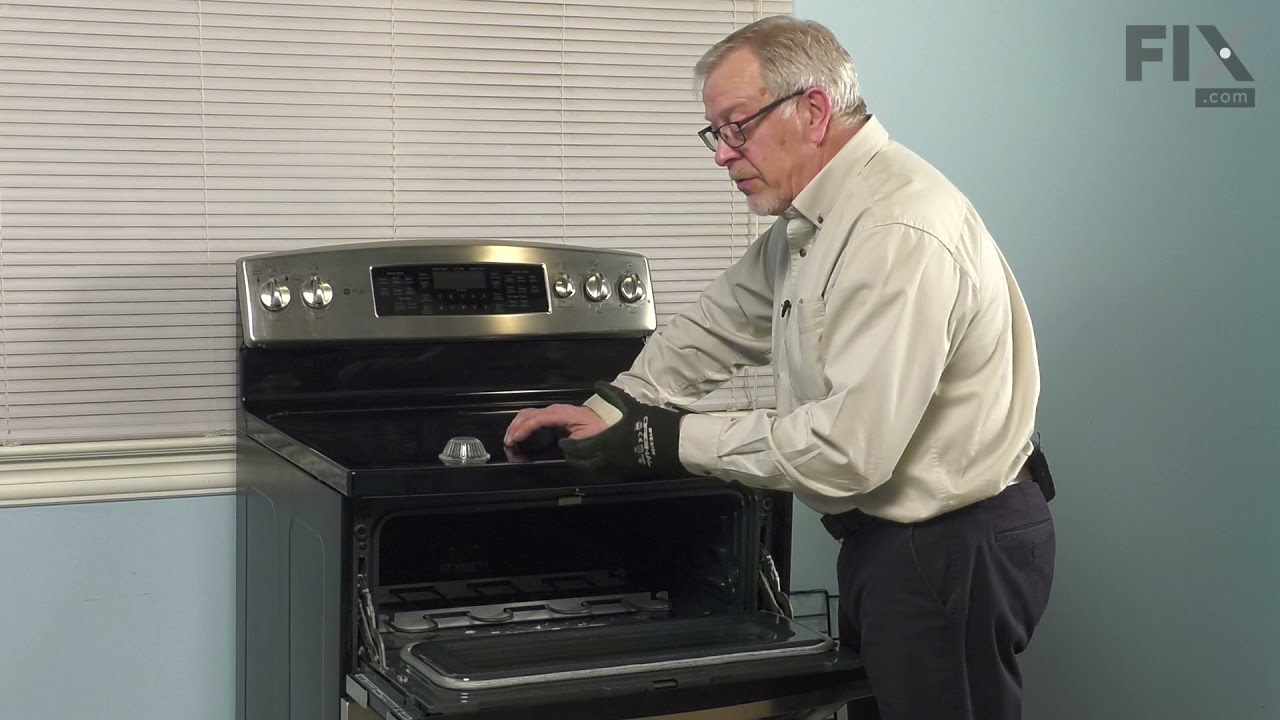
The function of the oven sensor is to detect the temperature within the oven cavity. If you notice that the oven is too hot or too cold, or it is not heating evenly, you may need to replace the oven sensor. The oven sensor is typically located in the back of the oven so you will most likely need to pull your oven out to access it. Many of...Read more our customers have rated this repair as easy. You will need a Phillips screwdriver to complete this repair. Be sure to disconnect the power source and shut off the gas valve before doing this repair.
This part is the replacement oven bulb lens cover. It is made of glass and is approximately 3 inches in diameter. The lens cover is rigid and protects the oven light bulb from being damaged. The main reason to replace the oven bulb lens cover is if it is cracked, damaged, or missing. Be sure that the lens cover is cool to the touch before...Read more you begin this repair. To remove the lens cover simply turn it counterclockwise until you can remove it. Replace it with a new cover and turn it clockwise to lock it into place. This is an OEM part sourced from the manufacturer, and it is sold individually.
The light housing is also known as a lamp holder and is a part for the oven in your range. The function of this piece is to hold the bulb that will light up the inside of your oven. As per the manufacturer instructions, if your bulb has burnt out you must buy the bulb for this part locally. This light housing is roughly five inches high, ...Read morewith an outside diameter of roughly four inches by four inches. To install this part, you will need a Phillips screwdriver, a nut driver, and a pair of pliers.
The GE Oven Door Window Pack Assembly is a genuine OEM part that fits select GE ranges and ovens. It includes a heat-resistant inner glass panel, frame, and seals, providing insulation and clear visibility into the oven cavity. Common issues like cracked glass or heat loss can indicate the need for a replacement. Ensure the oven is cool to the touch and wear gloves for safe installation.
This oven door gasket is a high-performance seal made from heat-resistant rubber and fiberglass, designed to create an airtight barrier between the oven door and cavity. Measuring approximately 89.76 inches in length, its flexible construction allows for a precise fit across a range of oven models. The gasket plays a critical role in main...Read moretaining consistent internal temperatures by preventing heat from escaping, which supports even cooking and improved energy efficiency. Installation is beginner-friendly and typically takes under 30 minutes using pliers. Some versions include up to 25 mounting clips for secure attachment. Signs of wear—such as visible cracks, tears, or heat leakage—indicate the need for replacement to restore optimal oven performance.
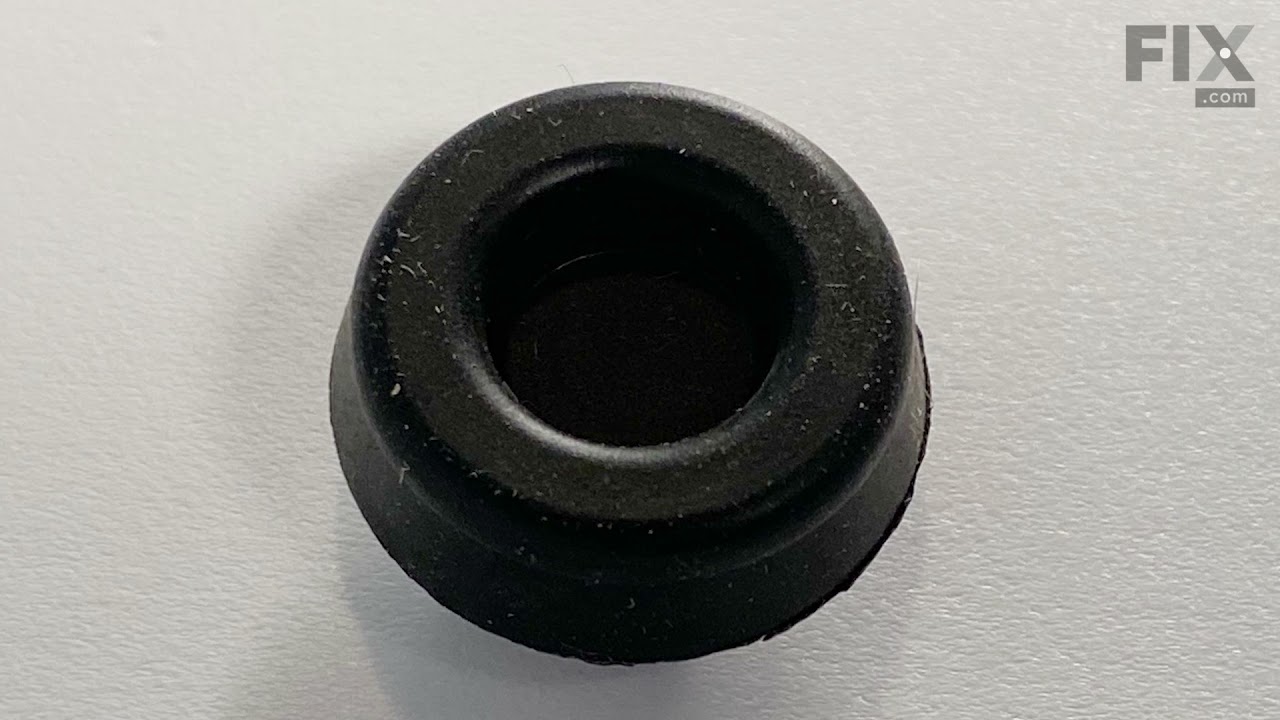
This part is a replacement screw for your oven. It is made of black metal and is sold individually. This screw is approximately 1/4 inch in diameter and about 1/2 inch in length. It is designed to connect the different parts of your oven door. This part is an authentic OEM part sourced directly from the manufacturer.
Ask our experts a question about this model and we'll get back to you as soon as possible!
We may have answered a similar question already! Search questions and answers left by others using simple keywords like "fit", "broken", "easy", or "quality" to find questions that match.
Search filter:
Clear Filter
Your search term must have 3 or more characters.
Sort by:
Prev
1
Next
Sorry, we couldn't find any existing answers that matched.Try using some different or simpler keywords, or submit your new question by using the "Ask a Question" button above!
Nalini - For model number JTP30SM1SS
December 28, 2019
Need to replace overlay control panel pad. Which part # do i need to order? I need to replace on/ off , temprature -+ overlay.
Hi Nalini, the overlay is part number PS2370149. Thank you for your question and good luck with your repair!
Hi Joan, thank you for reaching out. If your oven is not heating, we suggest that you check and replace the temperature sensor, part number PS236398, as it is most likely the culprit of this issue. If you require assistance to place an order, please contact customer service. We hope that helps!
See how others fixed this model. Time, tools, difficulty, and steps that lead to victory!View More
Search repair tips from other customers using simple keywords like "replace", "fit", "remove", "inspect". DIY doesn't mean you have to do it alone!
Search filter:
Clear Filter
Your search term must have 3 or more characters.
Oven was not coming up to temperature
57 of 79 peoplefound this instruction helpful.
Sean from Highlands Ranch, CO
Really Easy
15 - 30 mins
Nutdriver, Screw drivers
I had to remove the oven from the wall because the sensor plug connction is behind the unit. Two screws hold the sensor inside the oven and then I disconnected the lead and pulled the sensor out from the front. I installed the new sensor, tightened the two screws holding it in and connected the lead. Then reinstalled the oven into the wal
... Read morel. Overall, a very easy repair once you get the oven out.
Read less
Was this helpful?
Thank you for voting!
Oven Lamp Holder Burned
25 of 33 peoplefound this instruction helpful.
Jack from Okmulgee, OK
Really Easy
Less than 15 mins
Screw drivers
removed two phillips screws. Unplugged electrical connections replaced unit from PartSelect. They sent holder cover and new bulb (surprise). Great store with great directions.
Was this helpful?
Thank you for voting!
Actual temperature did not match set temp
22 of 31 peoplefound this instruction helpful.
Brian from Fairfield, CA
Easy
15 - 30 mins
Screw drivers
Removed the oven door for easy acces to oven. Unscrewed (philips screwdriver) the screw holding temp sensor in place. Gently pulled the wiring until quick connector was located. Pushed down on locking level on quick connect while holding other end of wiring (so wiring would not fall back behind oven). Connected the new sensor and scre
... Read morewed back in place. Reinstalled oven door. Tested temperature settings by turning on oven and comparing with a separate oven thermometer.




 My Orders