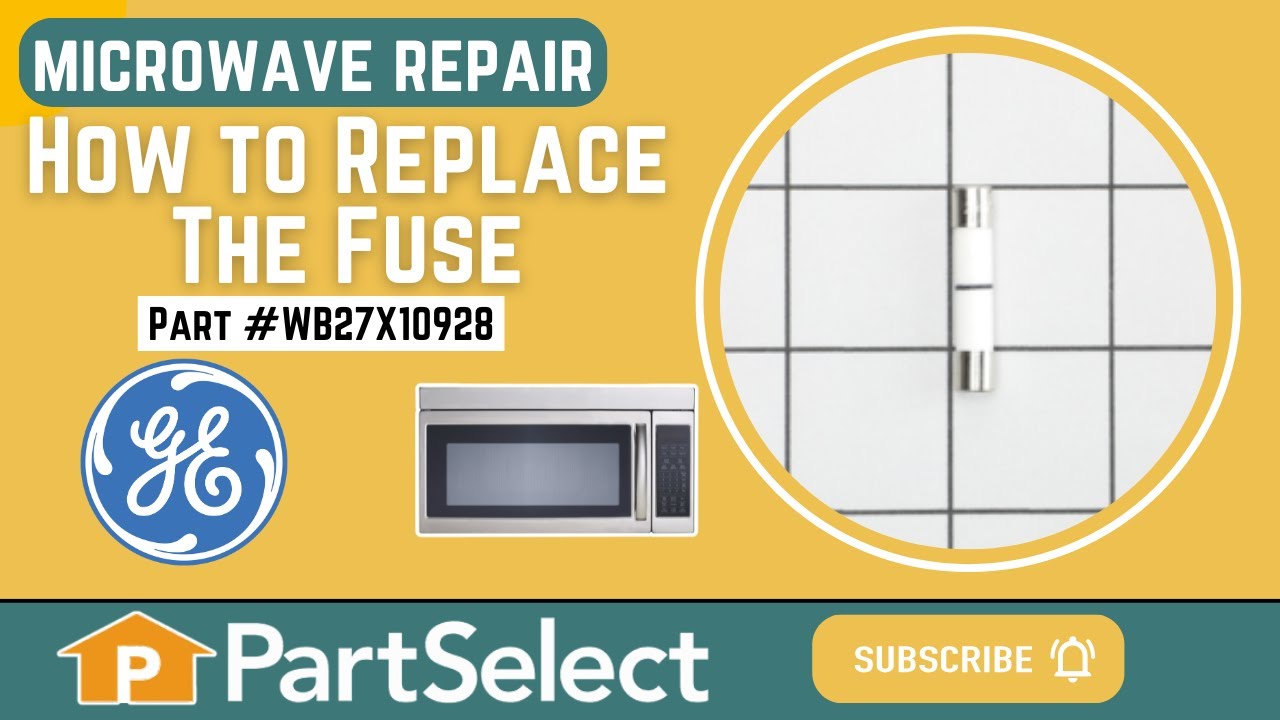
This ceramic microwave fuse is just over an inch in length. It is white in the center, and metal on both ends. This is a 20-amp fuse, and is used to power your microwave. If the touch pad on the microwave becomes unresponsive, the microwave produces little to no heat, or the appliance simply does not turn on, it could mean that your fuse ...Read moreis at fault and needs to be replaced. Because this part contains an electrical charge, remember to disconnect power to the microwave unit before you begin this repair.
NOTE: Before you start this repair, ensure that the microwave is unplugged, and the capacitor is discharged. A capacitor stores large amounts of electricity even after your microwave is unplugged.
This is a control knob for your microwave. The knob is about 1.5 inches in diameter, is black and silver in color, and is sourced directly from the original manufacturer.
This glass tray support ring, also known as a rotating ring, is specially designed for microwaves. It is a genuine OEM part that is guaranteed to fit just like the original part. The support ring is found inside the microwave cavity where it holds the glass tray and allows it to rotate smoothly during use. It ensures that food is evenly h...Read moreeated and prevents the creation of hot spots. The ring may fail over time due to exposure to friction and high heat. If the ring becomes damaged and can no longer support the tray, then it will need to be replaced. Each ring contains comes with three wheels.
This part is a replacement screw for your oven. It is made of black metal and is sold individually. This screw is approximately 1/4 inch in diameter and about 1/2 inch in length. It is designed to connect the different parts of your oven door. This part is an authentic OEM part sourced directly from the manufacturer.
This oven temperature sensor assembly is a precision component designed to monitor and regulate the internal temperature of select wall ovens, ranges, and microwave-oven combinations. It continuously communicates with the control board, sending real-time temperature data to ensure the oven maintains the set cooking temperature. A malfunct...Read moreioning sensor may result in inaccurate heating, temperature fluctuations, or premature cycling of heating elements. Replacing the sensor restores consistent performance and accurate cooking results. Installation typically involves disconnecting power, accessing the rear or interior of the oven cavity, and securing the sensor in place. Common symptoms of a faulty sensor include inconsistent temperatures, error codes, and extended cooking times.
This blower motor, also known as the fan blower is supplied directly by the manufacturer for use in ovens. It is responsible for circulating hot air within the oven cavity. The blower motor helps distribute heat evenly, ensuring consistent cooking temperatures and reducing hot spots. This helps to ensure that your baking, roasting, and ot...Read moreher cooking processes run smoothly. The blower motor is typically located behind the rear panel of the oven. If the blower motor is faulty, you may notice uneven cooking, unusual noises like rattling or squealing, and error codes. This part is commonly associated with the F96 error code.
Maintain safe and consistent oven performance with this genuine cooling fan sensor board. This electronic component monitors the cooling fan’s speed and communicates with the main control board to prevent overheating, ensuring accurate temperature regulation during baking and broiling. Ideal for resolving issues such as error codes, overh...Read moreeating, or inconsistent temperatures, this replacement part is engineered for reliability and precise operation. Installation involves disconnecting power, removing the old board, and securing the new one in place for proper functionality.
This capacitor delivers the electrical boost required for motors to start and operate efficiently. Proper capacitance reduces strain on motor components and helps prevent startup failures or inconsistent performance. Replacing a weakened capacitor restores smooth motor operation and supports long-term reliability.
This sturdy oven rack provides a reliable, elevated surface for baking and cooking, helping you maximize space inside your oven. Designed for a precise fit, it ensures stability and efficiency when preparing multiple dishes. Ideal for replacing worn or damaged racks, it restores safe and effective performance to your appliance. Installation is simple—just slide the rack into the designated supports inside the oven.
Ask our experts a question about this model and we'll get back to you as soon as possible!
We may have answered a similar question already! Search questions and answers left by others using simple keywords like "fit", "broken", "easy", or "quality" to find questions that match.
Search filter:
Clear Filter
Your search term must have 3 or more characters.
Sort by:
Prev
1
Next
Sorry, we couldn't find any existing answers that matched.Try using some different or simpler keywords, or submit your new question by using the "Ask a Question" button above!
William - For model number JK3800SH7SS
January 11, 2024
What is magnetron and high voltage diode P/N's?
Hello William, thank you for getting in touch. The magnetron is part number PS12722595, and the diode is part number PS239148. Glad to be of assistance!
The glass inside the oven door is cracked and needs replacement!
Hello Robert, Thank you for reaching out. The Inside Glass/Window Pack is listed as PartSelect Number PS11766936. We hope this helps, good luck with the repair!
Does it come with a rotating rim? Or just the tray?
Hi Maria, thank you for the question. This range comes with both parts: the rotating ring, part number PS12709805, and the tray glass, part number PS16873477. Both of them are sold separately. We hope this information helps!
See how others fixed this model. Time, tools, difficulty, and steps that lead to victory!View More
Search repair tips from other customers using simple keywords like "replace", "fit", "remove", "inspect". DIY doesn't mean you have to do it alone!
Search filter:
Clear Filter
Your search term must have 3 or more characters.
Microwave completely stopped working
968 of 1266 peoplefound this instruction helpful.
Kim from Cliffside Park, NJ
Really Easy
15 - 30 mins
Screw drivers
Turned out the issue was easily solved by replacing a single, inexpensive fuse.
First off, UNPLUG THE MICROWAVE.
The fuse is located under the plastic grill at the top of the microwave. It's held on by two screws. Once you've removed the screws and taken off the plastic grill, you go to the right side of the mic
... Read morerowave and remove another screw that holds a small metal grill in place. Removing the small metal grill is probably the toughest part of this repair. You kind of have to rock it back and forth a bit to get it to release. Once that's off, you can get to the fuse. I removed the burnt out one with a pair of needle nose pliers. I also put a small piece of cardboard under the fuse when I did this so I didn't accidentally drop it into the innards of the microwave. I did the same thing when I replaced the new fuse. I then plugged the appliance back in and made sure it worked. Once that was confirmed, I replaced both grills.
Read less
Was this helpful?
Thank you for voting!
I diagnosed the problem incorrectly: based on a previous repair.
66 of 141 peoplefound this instruction helpful.
Ralph from Brandon, FL
Easy
Less than 15 mins
Pliers, Screw drivers
The old fuse is perfectly good. The new ones arrived within a day.
Was this helpful?
Thank you for voting!
appliance stopped working -- no readout on screen
24 of 24 peoplefound this instruction helpful.
Carolyn from ARMONK, NY
Easy
30 - 60 mins
Screw drivers
1. turned off electricity -- unplugged the unit 2. removed 3 screws on top of top vent, removed vent screen then I located the little white cylindrical fuse and popped it out with a table knife. Then I popped in the new fuse. Replaced the vent screen and screws
... Read more -- plugged in the appliance and it is working again.


 My Orders