


 My Orders




JGP329SET1SS General Electric Cooktop - Overview
Diagrams for JGP329SET1SS
See every part. Know exactly what you need.


Enter a part description. DIY Heroes keep it simple, eg. "belt" or "pump".
Search filter:
Clear Filter
Your search term must have 3 or more characters.

$16.09
In Stock
Grate Foot
Part #WB02T10461
The Grate Foot is a black rubber part which attaches underneath the grate in order to protect your stovetop from being scratched, which it does by cushioning the grate on your gas range. If this part appears visibly broken or no longer holds in place, which can happen to these feet over time, then it should be replaced. Check your model n...Read moreumber and user manual to see if this part is right for you. Because this part is sold individually, make sure to order the quantity that you require. We generally recommend checking all of the grate feet on your appliance and replacing them at the same time, since it is an inexpensive part and they tend to wear out at around the same rate. Spares are good to have in the event of future failures. Before beginning this repair, ensure that the surface is cool to the touch. Simply pull the worn or cracked foot out and install the new grate foot. This process should not require any tools or accessories.
Read less

$33.69
In Stock
Knob - Chrome
Part #WB03T10325
This authentic OEM knob is supplied by the original manufacturer for use with GE cooktops. It provides a comfortable grip for adjusting burner settings and is made from durable plastic to ensure long-lasting performance. Over time, the knob may wear out or become damaged, requiring replacement. Installation is simple—just pull the old kno...Read moreb off the shaft and press the new one firmly into place. This part is sold individually. For proper placement and installation, refer to your model’s diagrams.
Read less

No Longer Available
Top Burner Spark Electrode
Part #WB13K10014
The top burner spark electrode, also known as a range surface burner igniter, is designed for use in your gas range. The function of this part is to provide the spark that lights the surface burner. If your gas range will not start, or if the igniter glows but will not light, you may need to replace the top burner spark electrode. This pa...Read morert is sold individually. This product is white in color and measures approximately 1-1/2-inches in length by 1/2-inch in width. Be sure to disconnect the gas supply to the range before you begin this repair. This is an OEM part sourced directly from the manufacturer.
Read less

$39.42
In Stock
Burner Cap - Black - Medium - 9500 BTU
Part #WB29K10023
This burner cap is for your gas range, and acts as a cover for the burner head. It is black in color and just over 3 inches in diameter. If your old burner cap is damaged or missing, this is the part that will replace it. This is an OEM part sourced directly from the manufacturer and is sold individually.

$38.26
In Stock
Burner Cap
Part #WB29K10024
This is a burner cap for your gas range. The cap acts as a cover for the burner head. If your old burner cap is damaged or missing, this is the part that will replace it. The cap is black in color and about 3 and a half inches in diameter. This is a quality OEM part sourced directly from the manufacturer. This cap is sold individually.

$82.45
In Stock
Burner Head - Medium - 9500
Part #WB16K10055
This burner head, or surface burner, is used in ranges and ovens. The burner sends gas through the holes and slots to create an equal flame across the cooking area. If the gas igniter glows but will not light up, or there are heating inconsistencies, replacing the burner head could be the solution to your problem. No tools are required fo...Read morer this installation. To change the burner, first lift the grate and take the burner cap off. Next, lift the burner away from the cooktop. To set the new burner in place correctly, check the locating tab that fits into the V-shaped notch and make sure the igniter fits into the cut-out. Refer to the diagram provided by the manufacturer for further instructions.
Read less

$25.99
In Stock
Burner Cap - 5000 BTU - Black
Part #WB29K10022
This is a burner cap for your gas range. The cap is black in color and about 3 inches in diameter. The cap acts as a cover for the burner head. If your old burner cap is damaged or missing, this is the part that will replace it. This is a quality OEM part sourced directly from the manufacturer. This cap is sold individually.

$64.85
In Stock
Burner Head - Large - 12K
Part #WB16T10046
This large surface burner head is designed for use with gas cooktops and ranges, delivering consistent heat output for everyday cooking. Rated at 12,000 BTUs, it distributes gas evenly through precision-engineered slots or holes to create a stable flame. Made of metal with a silver finish, the burner head measures approximately 3.5 inches...Read more in diameter and sits beneath the burner cap. It is a direct replacement for worn or malfunctioning burner heads and helps restore efficient performance. For safety, always shut off the gas supply and unplug the appliance before installation. Compatibility should be confirmed with your specific model prior to replacement.
Read less

$56.05
In Stock
Small Burner - 5K
Part #WB16K10070
This genuine small burner is an original replacement part from GE, designed for use with a wide range of gas ranges. Positioned between the rangetop and bracket assembly and the burner cap, it plays a key role in generating the flame needed for cooking. No tools are required for installation, making it a quick and convenient replacement. ...Read moreThe burner is sold individually, and users should consult their appliance manual for proper installation and safety guidelines.
Read less

$19.93
In Stock
Top Electrode Mounting Clip
Part #WB01K10112
This Genuine OEM GE Electrode Clip is a precision-engineered component designed for use across a wide range of gas ranges. Constructed from durable metal, the clip plays a critical role in securing the electrode top within the rangetop and bracket assembly, ensuring stable and reliable ignition performance. Sold individually, this replace...Read morement part is ideal for routine maintenance or repair. For ease of installation, a pair of pliers is often recommended to assist with proper placement. Trust in genuine GE parts to maintain the safety and efficiency of your appliance.
Read less

$16.05
In Stock

No Longer Available
Spark Igniter Switch and Harness Assembly
Part #WB18T10339
This part is the spark igniter switch and harness assembly for your gas range. This harness assembly has 4 igniter switches already wired into it. It includes the igniter switches and the complete wire harness for all the surface burners. The igniter switches ignite the fuel for your cooktop. If one of the igniter switches has gone bad, y...Read moreou will need to replace the entire assembly. Be sure to disconnect your range from the fuel source before you begin this repair. This is an OEM part sourced directly from the manufacturer.
Read less
Manuals & Care Guides for JGP329SET1SS
Click to downloadCommon Symptoms of the JGP329SET1SS
How this model fails, and the parts that fix it.
Will Not Start
Fixed by
these parts
these parts


Show All
Gas igniter glows, but will not light
Fixed by
these parts
these parts


Show All
Touchpad does not respond
Fixed by
these parts
these parts

Show All
Element will not heat
Fixed by
these parts
these parts
Show All
Watch our pros, then fix it yourself.
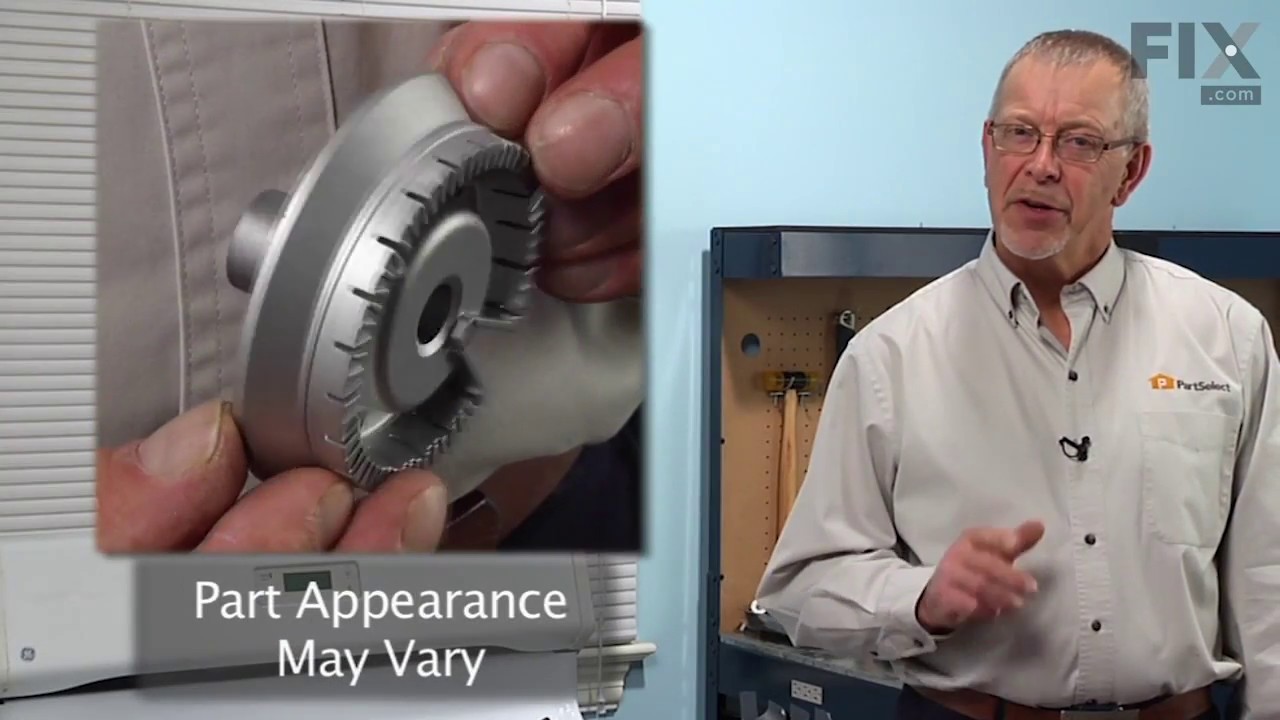

See how others fixed this model. Time, tools, difficulty, and steps that lead to victory!
View More
Search repair tips from other customers using simple keywords like "replace", "fit", "remove", "inspect". DIY doesn't mean you have to do it alone!
Search filter:
Clear Filter
Your search term must have 3 or more characters.
Constant Clicking from the igniters
46 of 59 people
found this instruction helpful.
I first removed the top of the cooktop, which was 12 screws with a special star shape to them. Then had to pull the igniters out with some pliers (they have a really tight fit). Then remove the harness. Then I replaced the harness. After assembling, I replaced one of the ceramic igniters due to it being covered in baked on grease. Wo
... Read more
rked perfectly after that. I thank PartSelect for having super fast delivery. I ordered my parts on a Monday, they were at my doorstep the very next day, I was like WOW. And I chose regular shipping. Thank you very much for your service and your salespeople were VERY helpful, even after 3 order changes.
Read less
Other Parts Used:


Was this helpful?
Thank you for voting!