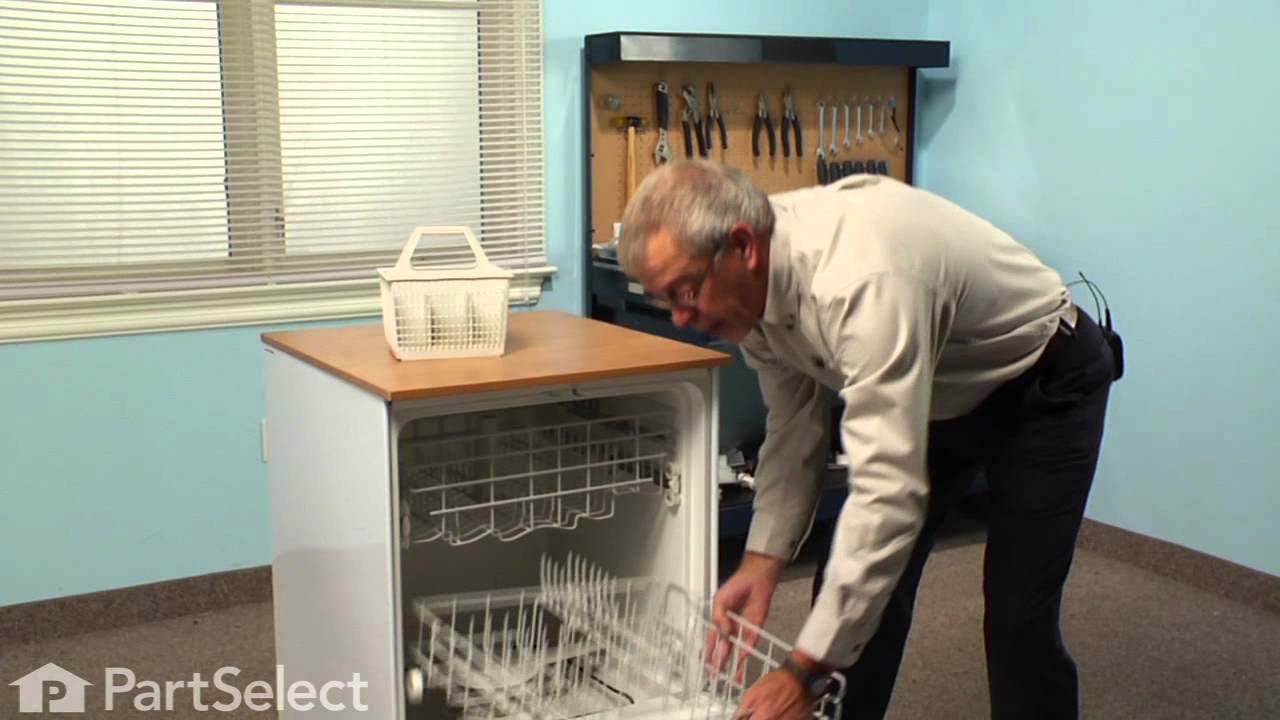
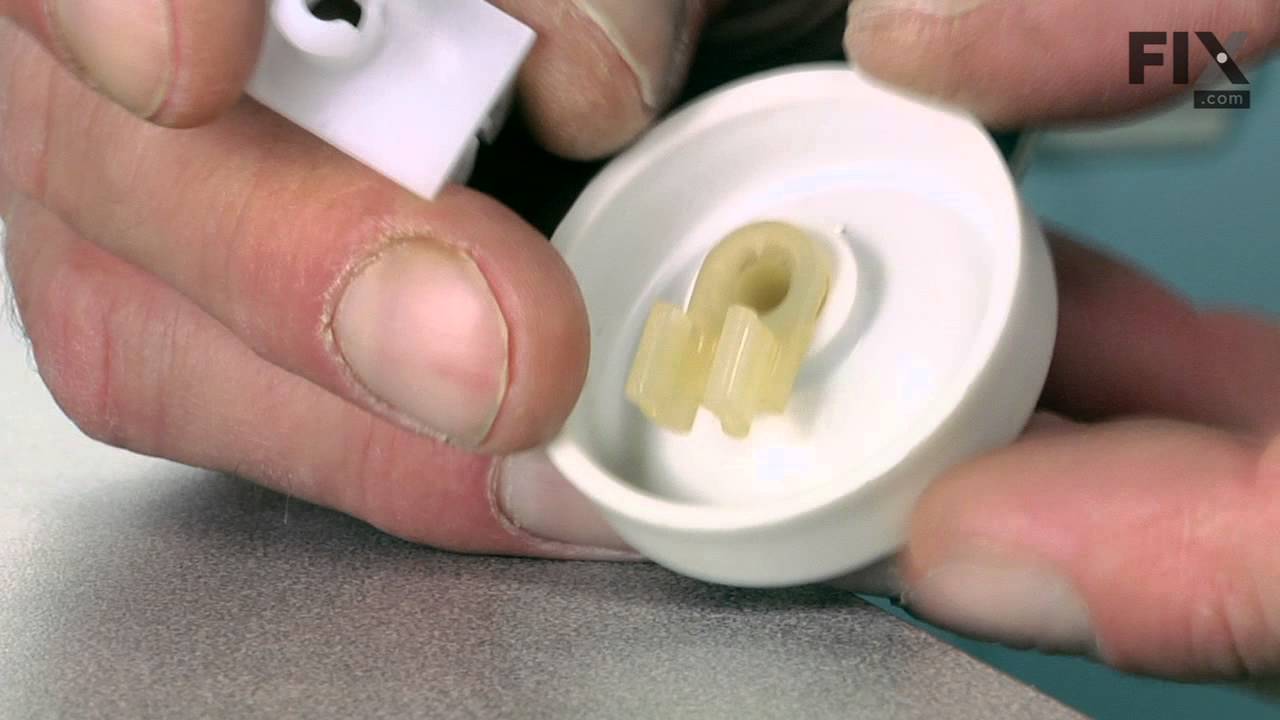
This lower rack wheel kit includes 8 wheels and 8 axles that allow the lower dishwasher rack to slide in and out smoothly. If your dishwasher door will not close, is noisy when operating, or the dishes are not cleaning properly, you might need to replace one or more of the wheels. Each wheel and axle are made of plastic, and fit into one ...Read moreanother so they can be clipped on to the lower dishwasher rack. Many of our customers found this repair to be quick and easy, and the only tool you should need to complete the repair is a pair of pliers.
The Rack Slide End Cap is a white one-inch plastic part which replaces the end cap for your dishwasher rack, preventing your rack from sliding too far. If you find the dish rack is causing the door to not close properly, it may be due to the part being worn out or damaged. All you need to complete this repair is a small flat blade screw d...Read moreriver. Simply pop out the cap with a smaller flat-blade screwdriver and snap the new one into place. If the rear cap needs to be replaced you will need to remove both front caps and slide the rack completely off for full access. It is important to note that this part is sold individually, and more than one may be required, depending on your repair. An inexpensive part, it can be a good idea to purchase several at a time to have on-hand when needed.
This water inlet valve should be located behind the lower kickplate panel in either the right or left corner. The attaching solenoid on the valve open and close according to the desired amount of water needed.
The interlock switch may also be referred to as a belt switch. This part is a simple on/off mechanism that prohibits the appliance from operating when the door is open. This is a part for your dryer. The interlock switch senses the door is shut and the dryer can begin. This part might need to be replaced if your dryer is not starting or i...Read mores in process while the door is open. The black rectangular part of the switch is approximately 2 inches long and a 1/2-inch wide with two gold plates on either end. This is a genuine OEM part that is sourced right from the manufacturer.
The hinge link on your dishwasher connects the spring to the dishwasher door hinge. If the hinge link becomes cracked or damaged, you may not be able to shut or lock your dishwasher door properly. In this case, you will need to replace the hinge link. Pull out your dishwasher to inspect the hinge and spring, if the link is broken, it may ...Read morebe disconnected and on the ground already. If not, you can remove the hinge arm link by simply disconnecting it from the hinge and spring, then replacing it with the new part. The hinge arm link is a small piece of white plastic about an inch and a half long. It is sold individually, and is an OEM part from the manufacturer.
This OEM-compatible screw is designed for use with many GE dishwashers. Measuring 8-16 HXW and 1/2" in length, this stainless steel screw secures the middle spray arm hub to the upper rack assembly, ensuring stable and effective spray arm performance.
Sold individually, this durable metal fastener requires a nutdriver for proper installation.
This is a replacement lower wash arm assembly for your dishwasher. The lower spray arm is mounted to the bottom of your dishwasher tub and will rotate and spray water during the wash cycle. The spray arm has small holes that spray the water, and these can become clogged with debris and hard water buildup inside your dishwasher. The spray ...Read morearm can also become jammed if silverware falls into the main tub during the cycle. These problems can cause the spray arm to malfunction, which will result in your dishes coming out of the dishwasher unclean. This part is made of white plastic and is sold individually.
Ask our experts a question about this model and we'll get back to you as soon as possible!
We may have answered a similar question already! Search questions and answers left by others using simple keywords like "fit", "broken", "easy", or "quality" to find questions that match.
Search filter:
Clear Filter
Your search term must have 3 or more characters.
Sort by:
Prev
1
Next
Sorry, we couldn't find any existing answers that matched.Try using some different or simpler keywords, or submit your new question by using the "Ask a Question" button above!
Sean - For model number HDA2100R20BB
May 23, 2023
Black residue after cycle on…cleaned many items….
Other parts to look at….basket, filter cleaned….
Still black on dishes
Hi Sean, thank you for reaching out. Based on our understanding of the issue, we would suggest that you make sure the water coming to the dishwasher from the home supply is clean. Also, make sure that you are using the right amount and type of detergent for your dishwasher. Ensure that nothing is blocking the dishwasher spray arms, and check that the dishwasher spray arms are clear and clean. If the problem of the dishwasher leaving grit persists, there could be a fault with the main circulation pump. To repair the circulation pump, you may need the circulation pump impeller kit, part number PS1017766. We hope this helps!
See how others fixed this model. Time, tools, difficulty, and steps that lead to victory!View More
Search repair tips from other customers using simple keywords like "replace", "fit", "remove", "inspect". DIY doesn't mean you have to do it alone!
Search filter:
Clear Filter
Your search term must have 3 or more characters.
Lower rack wheel was melted
523 of 550 peoplefound this instruction helpful.
Mark from Huntingdon Valley, PA
Really Easy
Less than 15 mins
Unsnapped clip,and moved it 90 degrees. Slip wheel and clip off. Installed clip on new wheel. replaced new wheel. The wheel did not come with a new clip and was not suggested on the parts list. The existing clip was still OK but if it was not, I would have had to order a clip and wait. All in all, a good experience.
Was this helpful?
Thank you for voting!
The rear wheels were missing on the lower rack.
475 of 489 peoplefound this instruction helpful.
Teresa from Phenix City, AL
Really Easy
Less than 15 mins
The wheels came with a clip on part that clipped to the rack and the wheel snapped into that clip. I am a woman and it was easy for me to do. Thanks to Parts Select for being an easy to use and navigate site, for quick shipment and for good directions with the parts. Sincerely, Teresa from Alabama.
Was this helpful?
Thank you for voting!
Telescopic sprayer assembly in the Spray Arm Weld broke top element popped out
107 of 129 peoplefound this instruction helpful.
Larry from Fort Worth, TX
A Bit Difficult
30 - 60 mins
Socket set, Wrench set
First off on this model, if one of the telescopic spray arm weld assembly comes out it is NOT repairable you have to replace the whole part. The assembly on my model number was simple you do NOT have to PRY anything out...(I broke the base spray arm trying to shove a screw driver into the Spray arm weld.(You could try this but chanc
... Read morees are the plastic will break and I recommend replacing both parts why not???.) There are two bolts on the sump protector basket that has to be removed first. They are 1/4 inch. Once that cover is free there is a bolt (also 1/4 inch) on the base spray arm it is easy to see but hard to get to I used a very thin open ended wrench 1/3 turn at a time till I could get the socket on it. Next there is a rubber gromet like thingy that just pulls loose remove it also. Next take the spanner wrench (I used one with a rubber belt) wrap around base spray arm and turn counter clockwise it just unscrews.
reassembly is simple but this is GE so I inspected the sump and found one medal impeller and one black screw at the bottom!!!!! The impeller is threaded and just screws onto the shaft (look at the diagrams on this web site to see placement.) Throw the screw away it does nothing except if left there jacks up the impeller I am guessing it fell out of some factory workers pocket. If after you put all the parts back in and the washer does not drain check your reassembly if you don't line the parts up just right the unit will not drain. Don't forget the rubber grommet (not sure what it does but it's easy to replace after all is assembled) also there is a metal washer that is inbetween the base spray arm and the spray arm weld put it back before you click those two parts together it protect the plastic from wearing it is a bearing!! If you found this site you are doing really good This site had all the diagrams I was looking for I love you guys you so rock!!! I wish the diagrams were bigger but they were adequate. GE 's site was no help and I doubt I will ever buy another one from them. Good luck just remember look at the parts diagrams before attempting the repair.




 My Orders