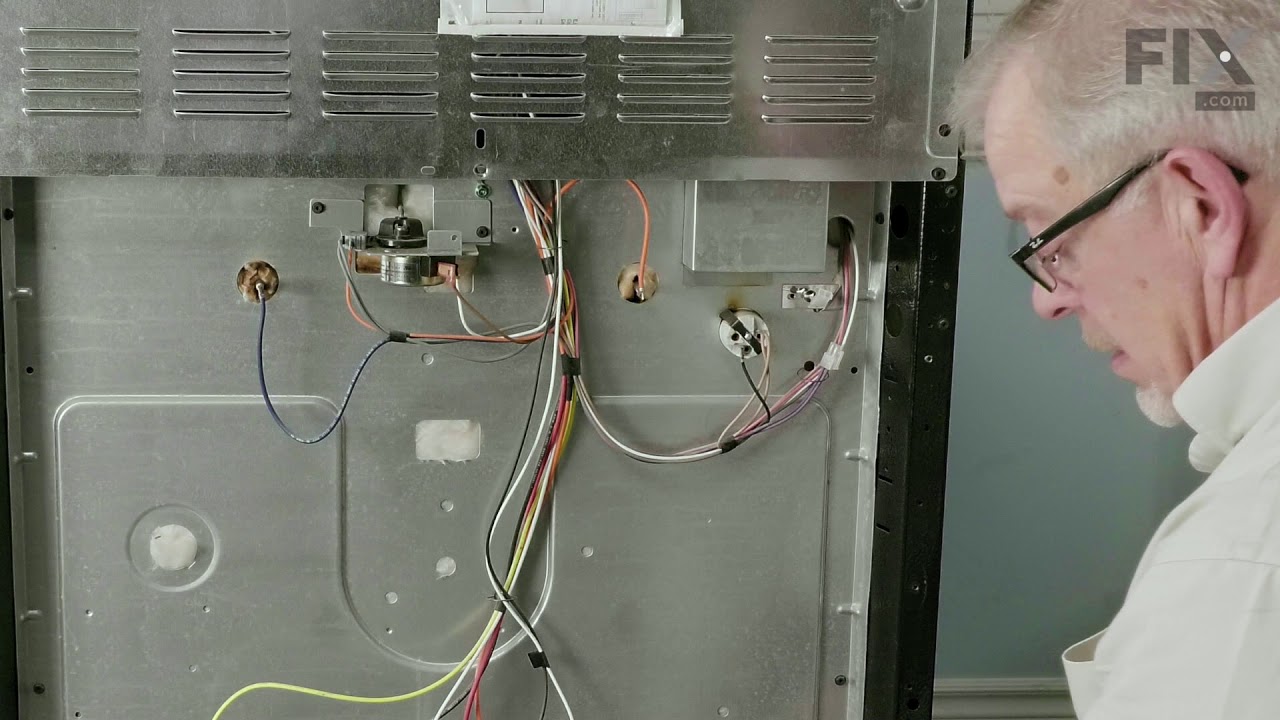
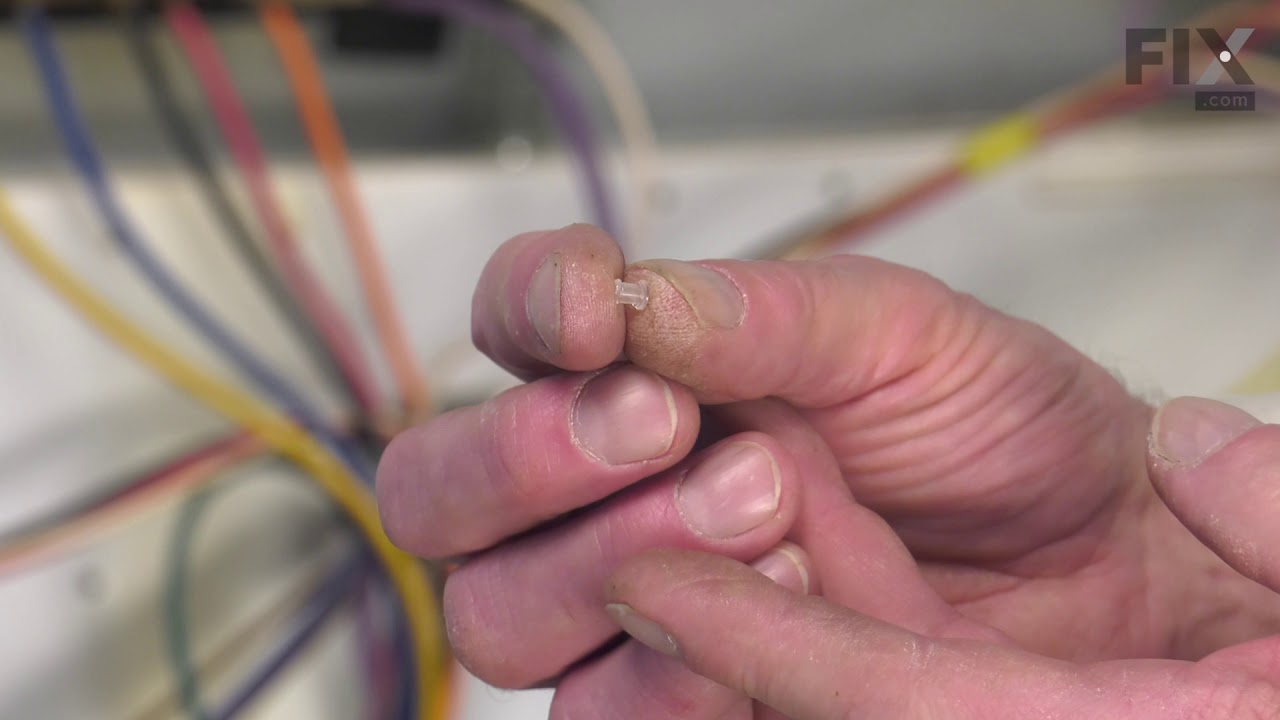
This genuine OEM oven probe is also known as an oven temperature sensor or range probe. This part is manufactured for a range, stove, or oven to detect the temperature within the oven cavity. The probe allows the oven to maintain the set temperature by sensing the temperature and sending the information to the ovens motherboard. You may n...Read moreeed to replace this part if oven is not heating or is heating unevenly. Be sure to disconnect power to oven before replacing, as it is an electrical part. Tools needed are 1/4 inch nut driver and needle nose pliers.
This OEM 40 watt appliance light bulb is used for some ranges, refrigerators, freezers, and microwaves. Simply locate the existing bulb, unscrew it from its socket, and replace with new light bulb. If the existing bulb is broken in the socket, disconnect the power to the refrigerator and use a pair of needle nose pliers to grip the intern...Read moreal fragments of the bulb to unscrew. Replace with the new bulb and reconnect the power to the refrigerator. These bulbs are sold individually and are a commonly replaced part; consider ordering a spare.
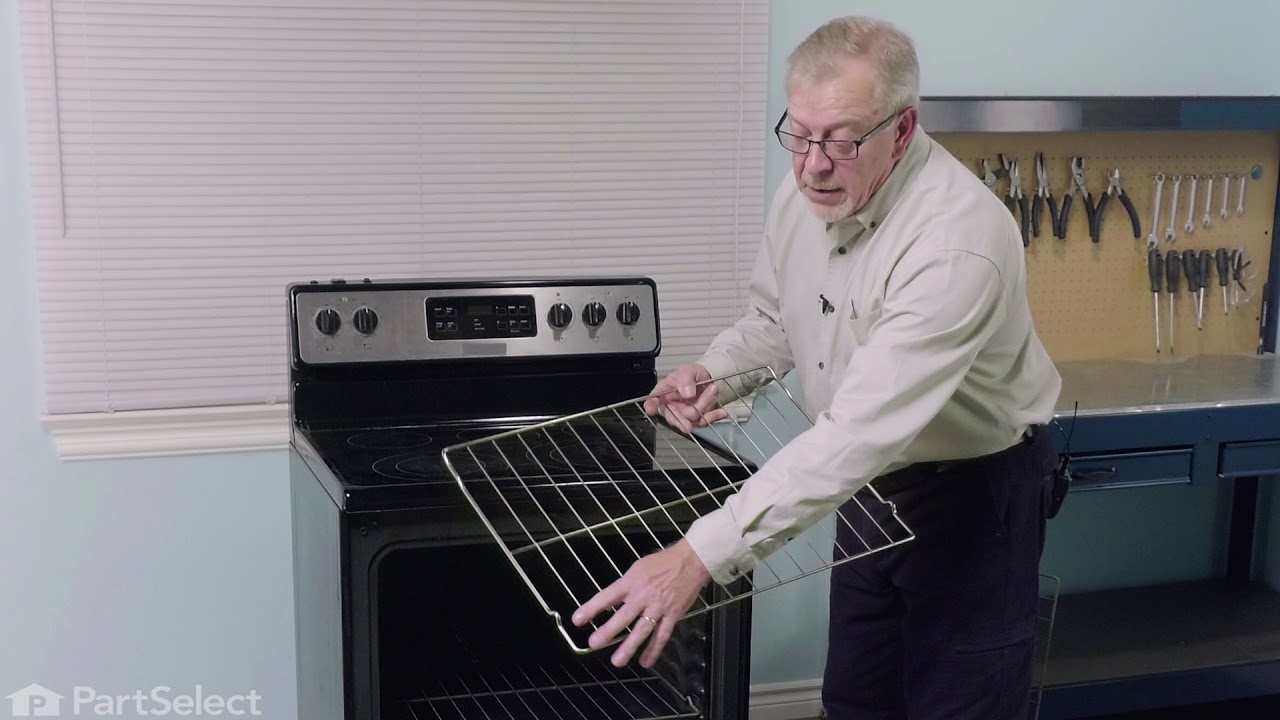
This part is found inside your oven. This oven rack comes in the color chrome and measures 24 inches in width and 16 inches in length. This is an extremely simple repair that requires no tools. The package you will receive will contain one rack. The rack may warp or become distressed over time and will need to be replaced. The rack is wha...Read moret holds your food inside the oven and allows you to adjust your food at different heights. Make sure your oven is unplugged before doing any maintenance. You will need to open the oven door and simply slide the new rack into place.
The Frigidaire light bulb lens covers the interior light bulb in an oven. No tools are necessary to replace this item. After unplugging the appliance, slide off the wire bracket to remove the existing light bulb lens. Be sure to remove all broken glass, if applicable, before installing the new lens. It is recommended to check the state of...Read more the light bulb while the lens is off. This part is made of glass. The lens is a genuine Frigidaire part, sourced directly from the manufacturer, and is sold individually.
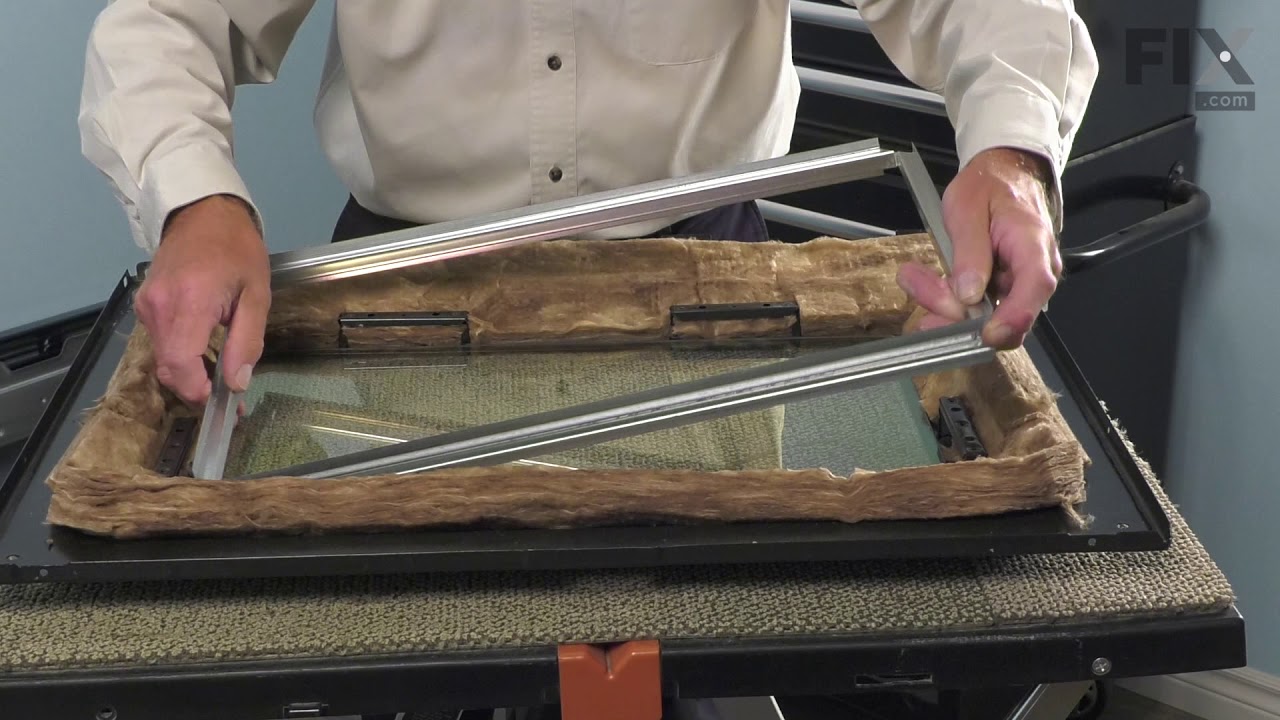
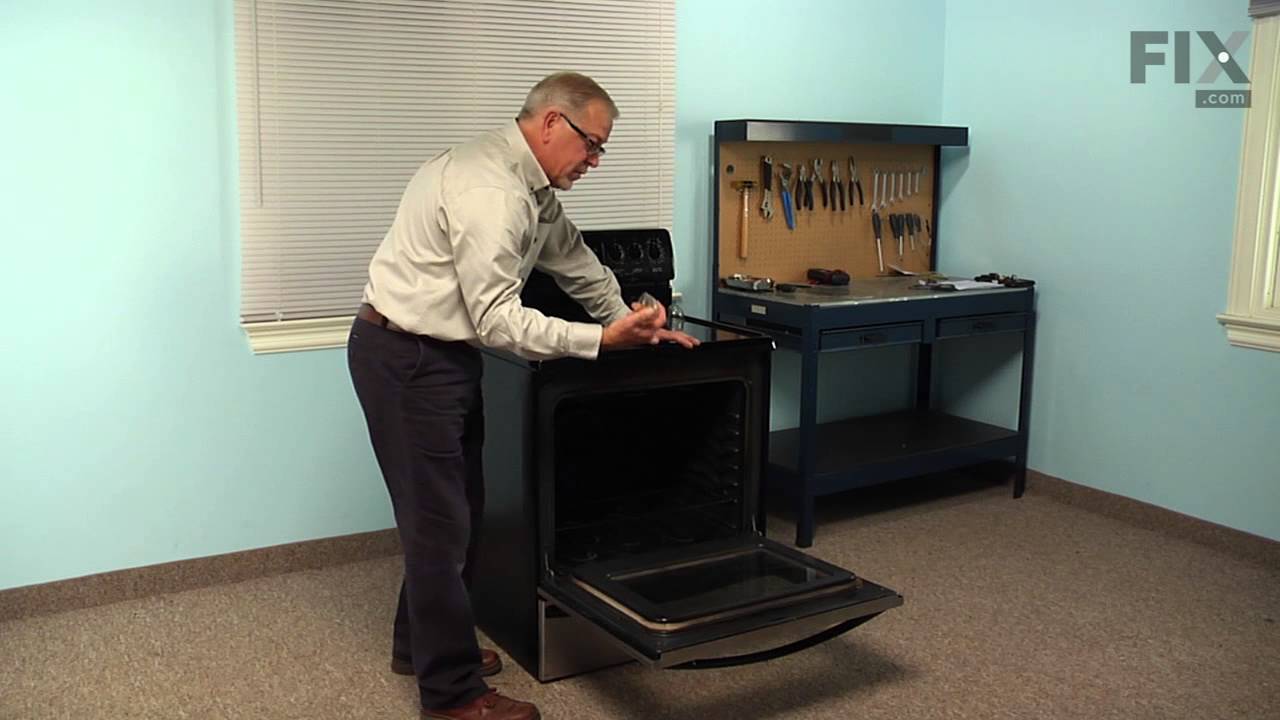
This tempered glass is supplied by the original manufacturer and measures 20 inches by 13 inches. It is an inner door glass, designed for use in ranges/ovens and has several purposes which include providing heat insulation, acting as protective barrier, and providing an opening to monitor the cooking/heating process. Over time the glass c...Read morean break or break from impact, thermal shock, or improper installation. If the glass is defective, it needs to be replaced promptly to avoid leaking, loss of insulation and potential harm to the user. Remove any fasteners or clips that secure the glass and carefully dispose of it. Position the new glass in the same position and secure it appropriately.
This rear drawer glide, also known as a storage drawer glide, is used in ranges. This helps hold the front side of the storage drawer and allows the drawer to easily slide in and out of the range. If your glide is damaged or missing, replacing it could solve any difficulty using the drawer. First, remove the storage drawer and locate the ...Read morerear glide on the side. Next, remove the glide by taking out the screws. Replace new glide by placing tabs into the cut-out. If you are replacing both rear drawer glides, then repeat the same on the other side. Refer to the diagram provided by the manufacturer for further installation instructions and guidance.
This front drawer glide supports the bottom storage or broil drawer, allowing it to slide smoothly in and out of the range. Designed to reduce friction and keep the drawer properly aligned, it helps ensure easy and stable operation. Replacing a worn or damaged glide can fix issues such as sticking, tilting, or uneven movement, restoring normal drawer function.
This bake element is located at the bottom of the oven and is responsible for generating consistent heat for baking and roasting. With a power rating of 3500 watts and a 6-pass configuration, it ensures even cooking performance across the oven cavity. If your oven is experiencing uneven baking or isn’t heating at all, replacing the bake e...Read morelement may resolve the issue. Designed for select models, installation is straightforward—just be sure to disconnect power before beginning.
This dual radiant surface element is designed for electric ranges and cooktops, offering two heating zones—9 inches and 6 inches—to accommodate a variety of cookware sizes. It delivers consistent, even heat for efficient cooking and serves as a direct replacement for damaged or underperforming elements. Operating at 240 volts, the unit fe...Read moreatures a durable all-metal temperature control rod that enhances heat stability and longevity. Compatible with multiple models across several brands, this component is ideal for restoring optimal performance to your cooktop. Installation should be performed with the appliance disconnected from power and may require basic tools.
The anti-tip bracket kit comes with one metal bracket and two installation screws, and is sourced directly from the genuine manufacturer. It prevents the freestanding oven, range, or stove from tipping when force or weight is applied to an open oven door. The bracket is secured to the floor and wall and fits over the rear leveling leg in ...Read morethe back of the appliance, in a cutout specifically designed for the anti-tip bracket. This part is very essential to the safe operation of the appliance. Failure to install the bracket properly can result in the oven tipping or falling and causing injuries.
This range indicator light lens is designed to cover and protect the appliance’s indicator light, allowing you to easily see when a burner or oven is in use. Made from clear, heat-resistant plastic, it helps shield internal components from grease, moisture, and everyday wear. Replacement is ideal if the original lens is cracked, discolored, or missing, helping restore visibility and maintain safe, reliable operation.
Ask our experts a question about this model and we'll get back to you as soon as possible!
We may have answered a similar question already! Search questions and answers left by others using simple keywords like "fit", "broken", "easy", or "quality" to find questions that match.
Search filter:
Clear Filter
Your search term must have 3 or more characters.
Sort by:
Prev
1
Next
Sorry, we couldn't find any existing answers that matched.Try using some different or simpler keywords, or submit your new question by using the "Ask a Question" button above!
Susan - For model number GLEFZ388GCB
May 22, 2025
Looking for lower coil heating element for oven REplacement part
Hello Susan, thank you for getting in touch. The broil element you are looking for is listed on our site with part number PS978285. Glad to be of assistance!
See how others fixed this model. Time, tools, difficulty, and steps that lead to victory!View More
Search repair tips from other customers using simple keywords like "replace", "fit", "remove", "inspect". DIY doesn't mean you have to do it alone!
Search filter:
Clear Filter
Your search term must have 3 or more characters.
Oven wouldn't operated. Error code F9
76 of 101 peoplefound this instruction helpful.
Richard from Centennial, CO
Really Easy
Less than 15 mins
Nutdriver
I called a repair place. They charged $54 to diagnose, (said it needed a new latch motor) then wanted $220 to complete the repair. I checked online prices and did it myself for about 15 minutes work and the latch motor itself ($44?).
Was necessary to uplug the range, pull it away from the wall and remove the back panel sheet m
... Read moreetal, then 3 screws that mount the motor. Replace motor, reattach sheet metal. Plug in. Done. Ready to bake cookies.
Read less
Was this helpful?
Thank you for voting!
Baking element burned through
48 of 51 peoplefound this instruction helpful.
Karen from Georgetown, KY
Really Easy
15 - 30 mins
Screw drivers
We removed the old element by removing the screws that attach it to the back of the oven. (make sure to secure the part that plugs into the actual element so that it won't pull into the back of the oven, we used clips to hold it). We removed the old element and placed the new one in position. Pushed the plugs into the element and screwed
... Read more the element into place. In our case, we had to also order the clock portion of the stove, as the arcing of the element when it burned out, fried the circuit. So we ordered a new clock. It was also simple to do. It is one unit and we simply removed the old clock, writing down where each colored wire went, and put in the new one, attaching the colored wires. Works like new! We received our parts in 1 day! I priced the repair with an appliance repair service, and figure we saved ourselves @ $150. The parts themselves were $10-$30 cheaper than the repairman quoted us to repair.
Read less
Was this helpful?
Thank you for voting!
Cracked oven door inner glass
76 of 135 peoplefound this instruction helpful.
Mitch from Fernandina Beach, FL
Easy
15 - 30 mins
Screw drivers
Repair was quite easy, as long as you have the instructions for removing the door. The screws that hold the bottom of the door to the fixed hinge are placed into the side of the hinge assembly after removal; this holds the door at a 45 degree angle for easy removal. After that, just place the door on a flat surface and dismantle the door
... Read morefrom the inside. The inner glass is contained in a metal frame with another piece of glass; this frame comes apart easily using the clips in each side. The door assembles easily after the glass is replaced; just take your time and give yourself enough room to lay out the parts as you go. Good luck!


 My Orders