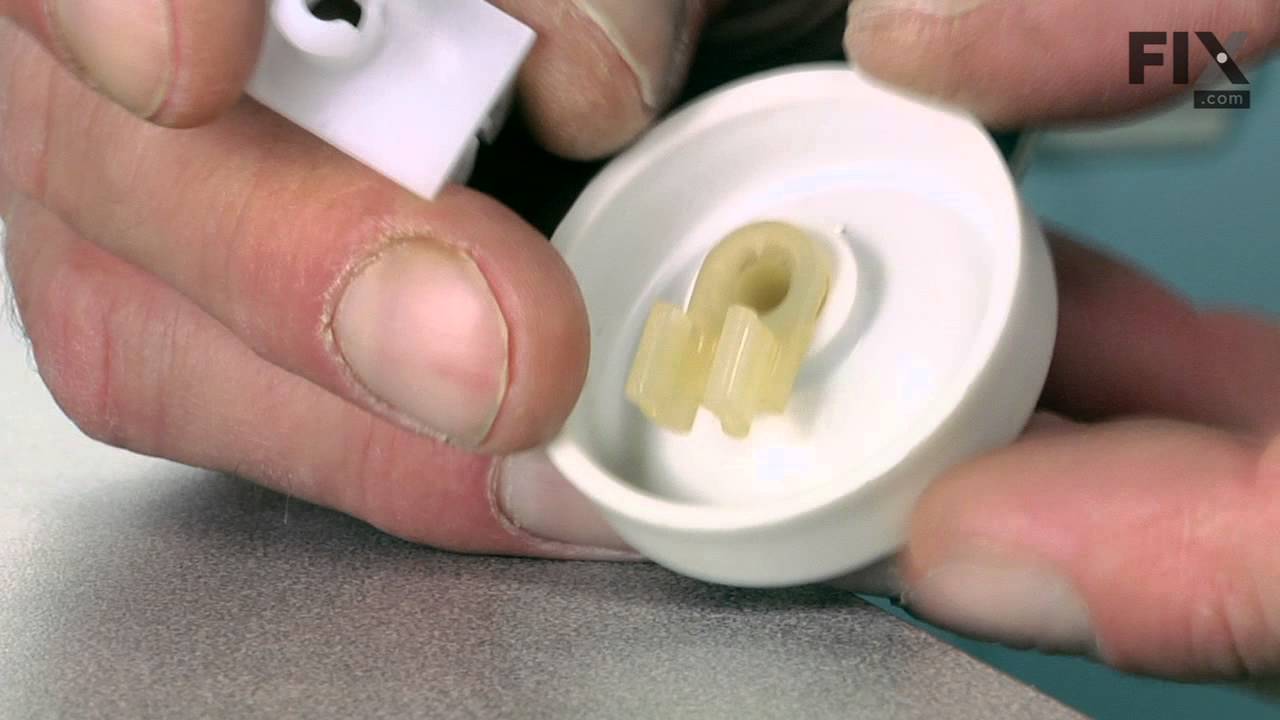
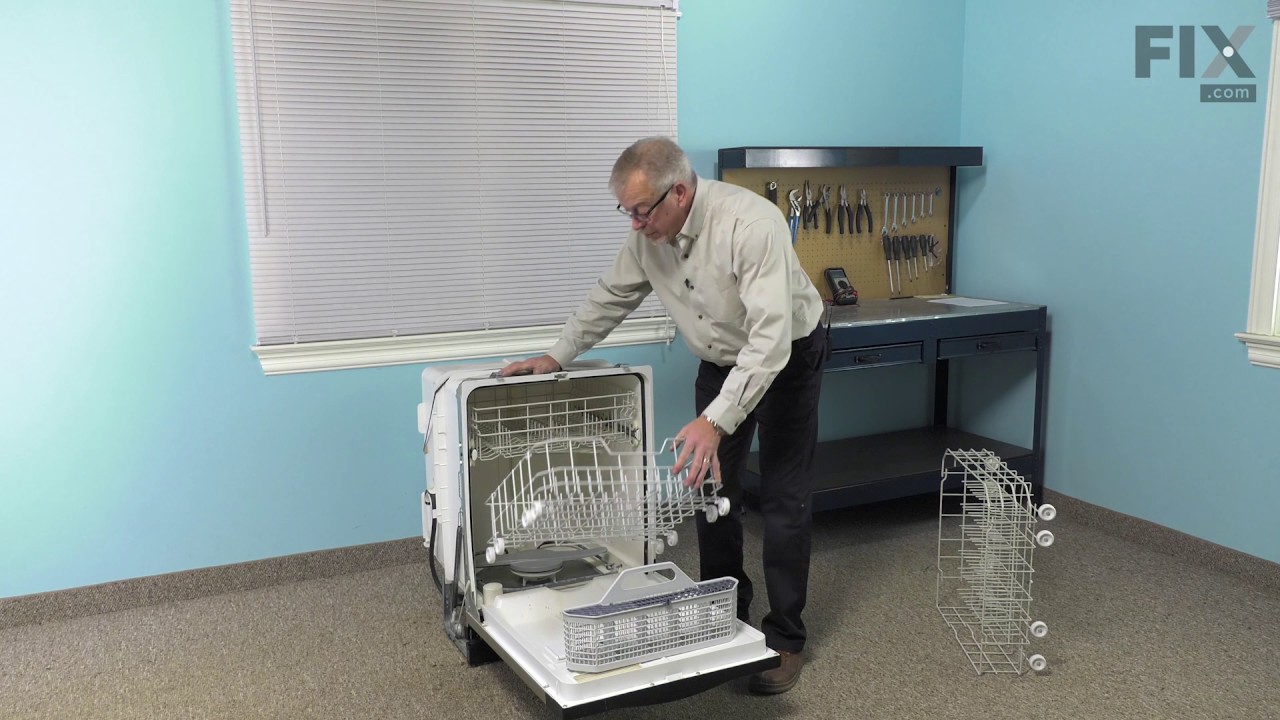
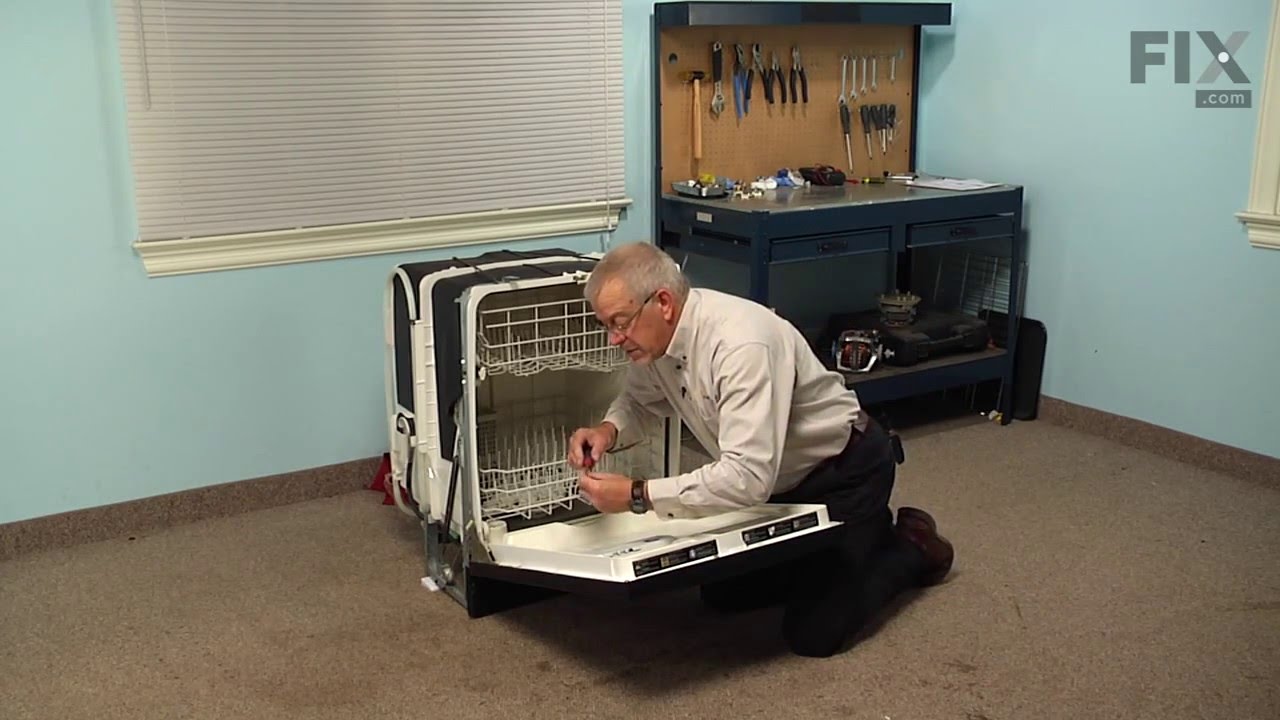
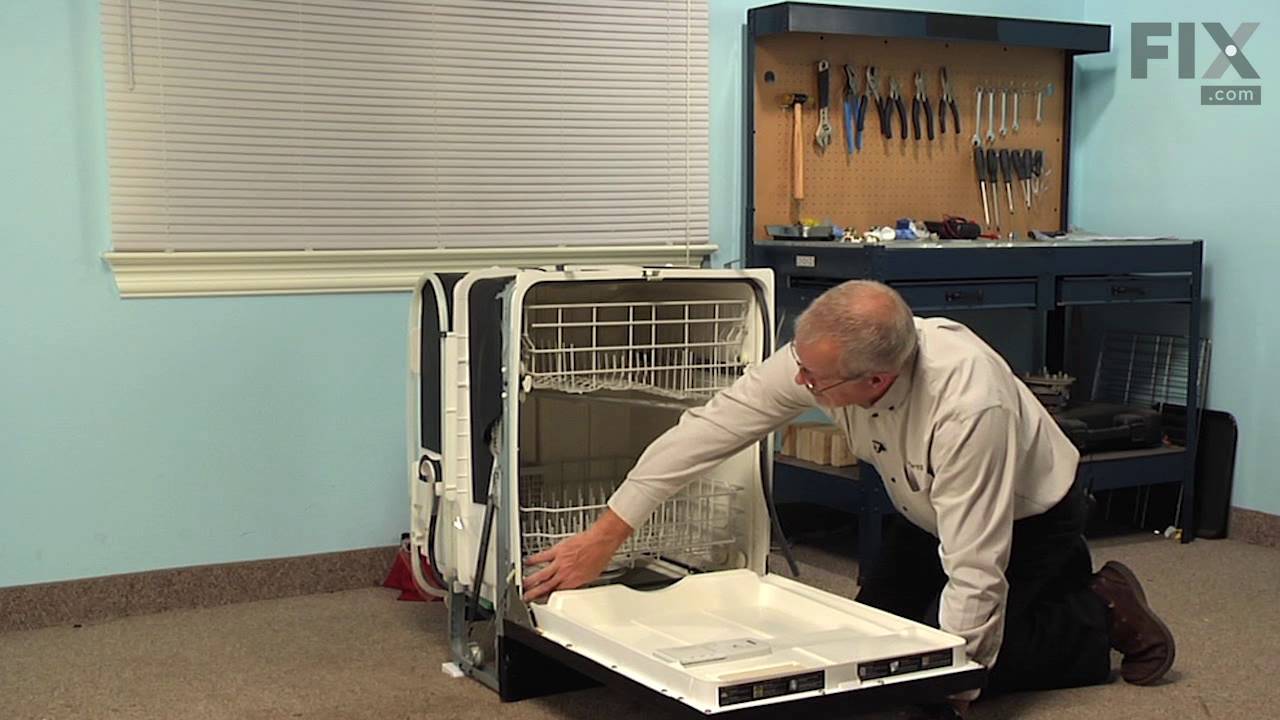
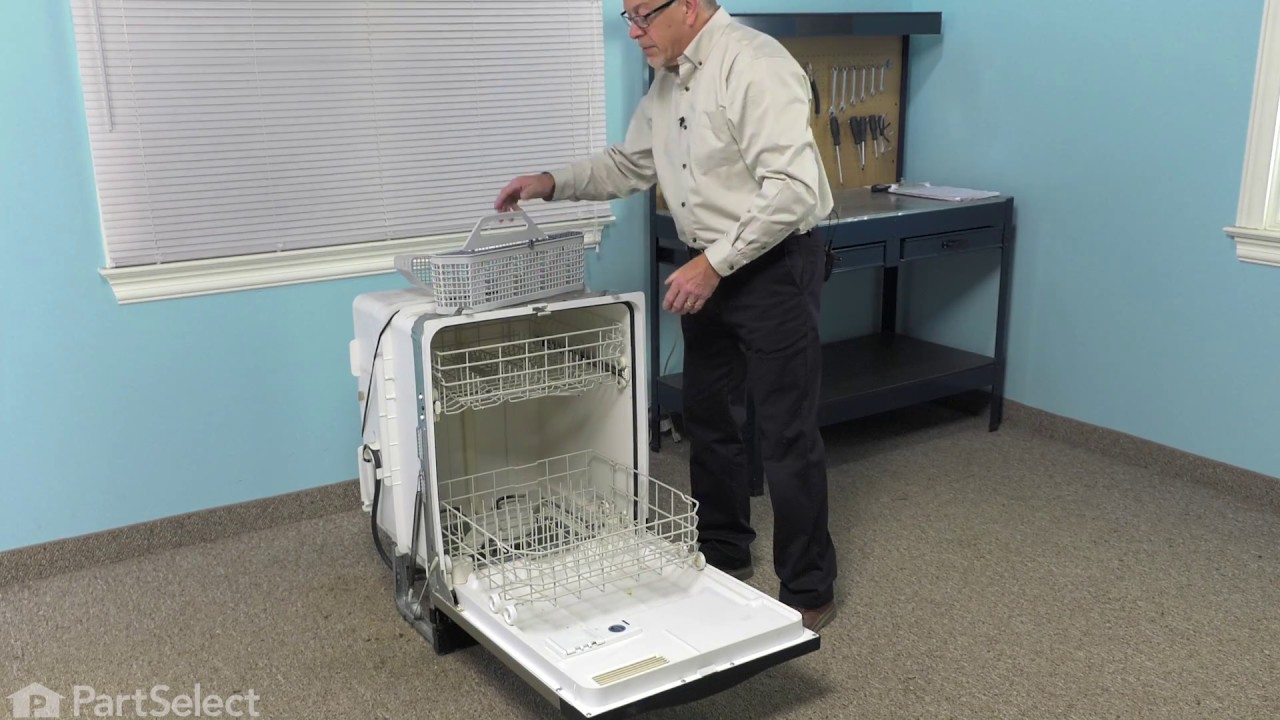
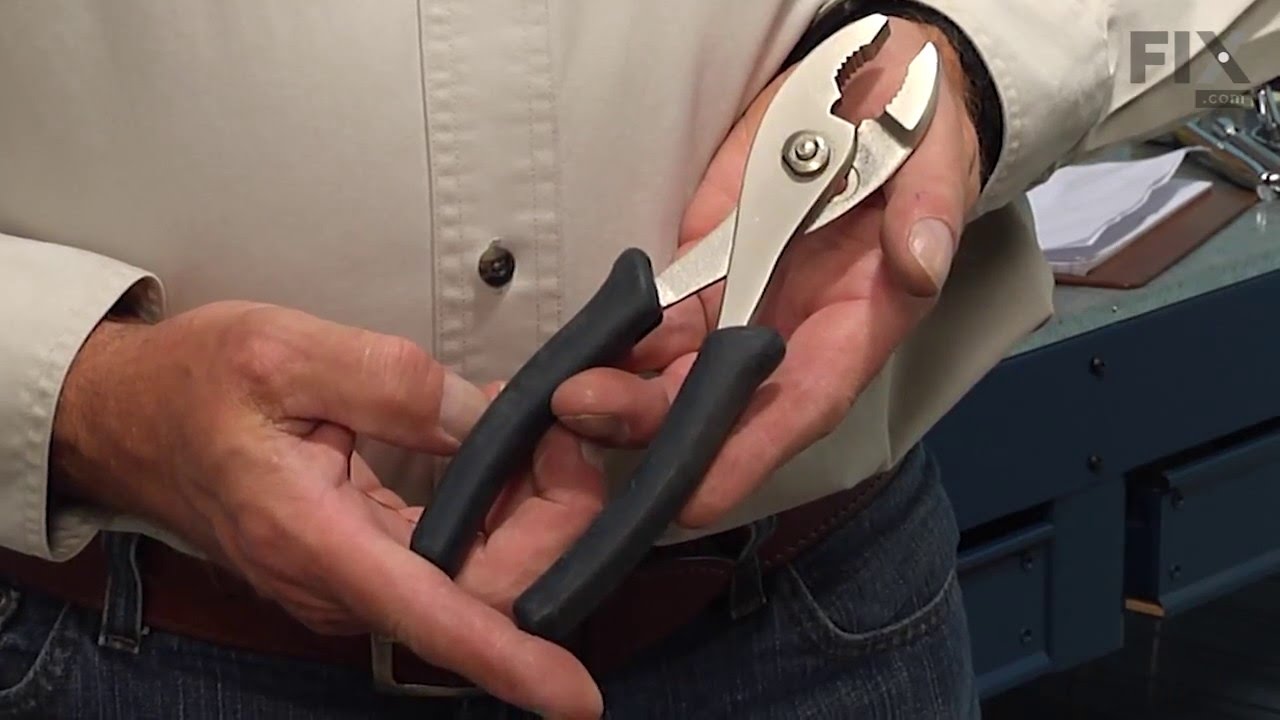
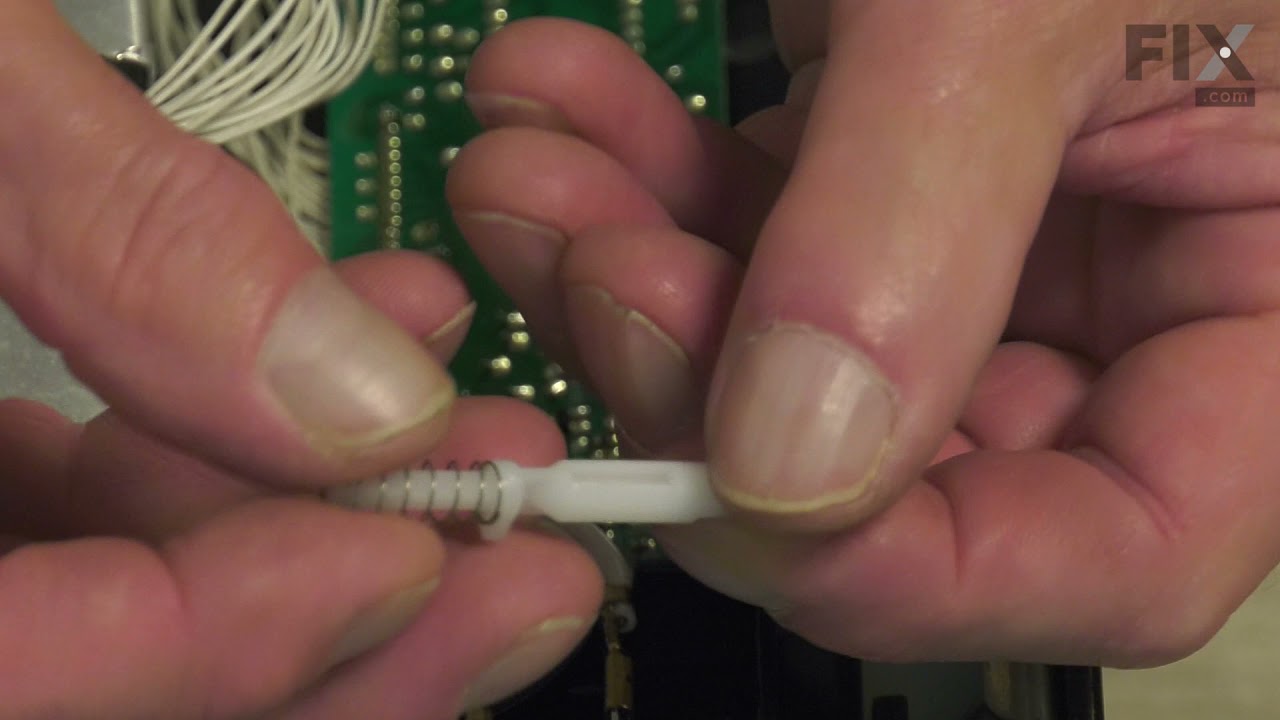
This lower rack wheel kit includes 8 wheels and 8 axles that allow the lower dishwasher rack to slide in and out smoothly. If your dishwasher door will not close, is noisy when operating, or the dishes are not cleaning properly, you might need to replace one or more of the wheels. Each wheel and axle are made of plastic, and fit into one ...Read moreanother so they can be clipped on to the lower dishwasher rack. Many of our customers found this repair to be quick and easy, and the only tool you should need to complete the repair is a pair of pliers.
This is a replacement axle for the wheel on your lower dish rack. The wheel must be ordered separately. All you need to complete this repair is a pair of needle nose pliers. Remove the rack stops and pull out the dish rack. Remove the axle and wheel, and use the pliers to undo the clip which holds them together. Replace the axle with your new part and reassemble.
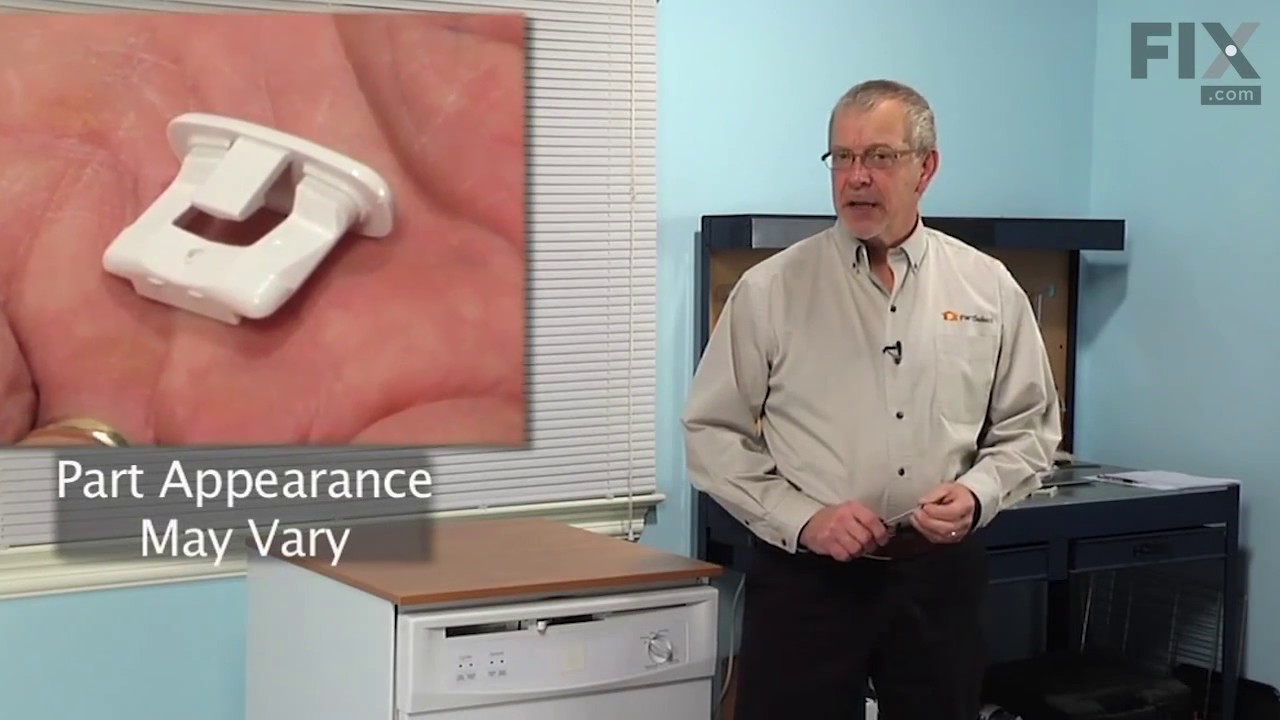
The Rack Slide End Cap is a white one-inch plastic part which replaces the end cap for your dishwasher rack, preventing your rack from sliding too far. If you find the dish rack is causing the door to not close properly, it may be due to the part being worn out or damaged. All you need to complete this repair is a small flat blade screw d...Read moreriver. Simply pop out the cap with a smaller flat-blade screwdriver and snap the new one into place. If the rear cap needs to be replaced you will need to remove both front caps and slide the rack completely off for full access. It is important to note that this part is sold individually, and more than one may be required, depending on your repair. An inexpensive part, it can be a good idea to purchase several at a time to have on-hand when needed.
This detergent dispenser assembly is attached to the inner door panel of a dishwasher. This part holds detergent and dishwasher rinse products in a covered container. If your dispenser will not open, close, dispense detergent properly, or the dishes are coming out of the dishwasher dirty, replacing this part can solve these problems. The ...Read moretools needed for this installation project are a #2 Phillips screwdriver and needle-nose pliers. To repair, first remove screws from the bottom of the inner door panel. Next, remove connecters, wires, and screws from the dispenser to access it and replace with new dispenser. Refer to the manual provided by the manufacturer for further installation instructions and guidance. Unplug dishwasher from power source as a safety precaution.
This water inlet valve should be located behind the lower kickplate panel in either the right or left corner. The attaching solenoids on the valve open and close according to the desired amount of water needed. This valve has a 3/8" inlet and comes with the mounting bracket.
The lower spray arm is mounted to the bottom of your dishwasher tub, and it rotates and sprays water to clean the dishes in the lower dish rack. This spray arm is made of gray plastic, and is approximately 20 inches in width. The lower spray arm will not spin if it has become clogged with debris and hard water deposits from your dishwashe...Read morer, if it has become jammed by silverware, causing it to melt, or if the bottom of the spray arm has become disconnected from the bottom of the tub. If the spray arm encounters any of these issues, it will need to be replaced. To replace the spray arm, remove the lower dish rack and simply unscrew the old arm. Screw the new spray arm in until it locks into place.
This genuine OEM lower rack assembly is compatible with various dishwashers. It is located at the bottom of the dishwasher. Each rack has a series of tines and dividers designed to accommodate different sizes and shapes of dishes. The assembly includes 8 rollers/wheels to allow users to easily slide the rack in and out of the dishwasher c...Read moreavity. The rack holds larger items such as plates and bowls and keeps them secure and stable while the dishwasher is running. If the rack or wheels are damaged, then you will need to replace the assembly to avoid damage to the interior of the dishwasher or to your dishes.
This is a handle actuator for your dishwasher. It is made of black plastic, and is sold individually. The handle actuator is found in the control panel, and it releases the door latch when you lift the handle. If your current handle actuator is cracked or broken, you may not be able to open your dishwasher door, or the door will not close...Read more properly. The dishwasher also may not be able to start, and if this is the case, you will need to replace this part.
This OEM-compatible screw is designed for use with many GE dishwashers. Measuring 8-16 HXW and 1/2" in length, this stainless steel screw secures the middle spray arm hub to the upper rack assembly, ensuring stable and effective spray arm performance.
Sold individually, this durable metal fastener requires a nutdriver for proper installation.
Your dishwasher’s middle spray arm is connected to the top dish rack, and moves the water around to clean the dishes. If your dishwasher is noisy, or it is not cleaning the dishes properly, you may need to replace the middle spray arm. You should also replace the part if the holes on the spray arm are clogged, or the arm itself is cracked...Read more or broken. To replace the middle spray arm, simply unscrew the old spray arm and screw in the new one. This part is sold individually and is made of white plastic. It is approximately 20 inches in width.
This is the tub gasket replacement for your dishwasher. The tub gasket fits around the perimeter of the door and forms a seal that prevents the dishwasher from leaking when it is filled with water. If the tub gasket is loose or damaged, you may notice your dishwasher leaking. The tub gasket can wear over time, or become stretched. In eith...Read moreer case it will need to be replaced to prevent a leak. The gasket is made of black rubber and is sold individually.
Ask our experts a question about this model and we'll get back to you as soon as possible!
We may have answered a similar question already! Search questions and answers left by others using simple keywords like "fit", "broken", "easy", or "quality" to find questions that match.
Search filter:
Clear Filter
Your search term must have 3 or more characters.
Sort by:
Prev
1
Next
Sorry, we couldn't find any existing answers that matched.Try using some different or simpler keywords, or submit your new question by using the "Ask a Question" button above!
Annette - For model number GLD4560R00SS
March 6, 2023
My sister washed is not getting the dishes clean.
Hello Annette, thank you for your question. According to our research, we would recommend checking the following parts: the lower spray arm, part number PS1020205, the middle spray arm, part number PS1015640, the upper spray arm, part number PS3511316, and the filter, part number PS958919. We hope this sorts out your problem!
When drain is stopped up how is the best way to clean & clear it . Please help
Hello Terry, Thank you for your inquiry. One of the best ways is to use a mixture of equal parts baking soda and vinegar. Lift the bottom spray arm out and pour into the filters at the bottom. Let it sit for 15 minutes and then pour hot water down the drain and run the rinse cycle. We hope this helps.
Was this helpful?
Thank you for voting!
Prev
1
Next
✖
Ask a Question
Ask our experts a question on this model and we'll respond as soon as we can.
See how others fixed this model. Time, tools, difficulty, and steps that lead to victory!View More
Search repair tips from other customers using simple keywords like "replace", "fit", "remove", "inspect". DIY doesn't mean you have to do it alone!
Search filter:
Clear Filter
Your search term must have 3 or more characters.
Lower rack wheel was melted
523 of 550 peoplefound this instruction helpful.
Mark from Huntingdon Valley, PA
Really Easy
Less than 15 mins
Unsnapped clip,and moved it 90 degrees. Slip wheel and clip off. Installed clip on new wheel. replaced new wheel. The wheel did not come with a new clip and was not suggested on the parts list. The existing clip was still OK but if it was not, I would have had to order a clip and wait. All in all, a good experience.
Was this helpful?
Thank you for voting!
The rear wheels were missing on the lower rack.
475 of 489 peoplefound this instruction helpful.
Teresa from Phenix City, AL
Really Easy
Less than 15 mins
The wheels came with a clip on part that clipped to the rack and the wheel snapped into that clip. I am a woman and it was easy for me to do. Thanks to Parts Select for being an easy to use and navigate site, for quick shipment and for good directions with the parts. Sincerely, Teresa from Alabama.
Was this helpful?
Thank you for voting!
soap door latch broken, wouldn't hold soap for later release in middle of cycle like it was supposed to.
100 of 108 peoplefound this instruction helpful.
James from Naperville, IL
Really Easy
15 - 30 mins
Screw drivers
Turned off power to unit, 'cuz it has a solenoid lead to open the soap door. Removed the phillips head screws that held the door together. The screw are located on the inside edge of the door, there are 10-12 of them. Spearated the door shells carefully, trying not to disturb the location of the wiring in the middle of the doo
... Read morer.
Found the 4 screws that hold the module assembly to the door from the inside, and removed them. Popped the assembly out, cleaned the gasket-seat area and placed the new one in place. Carefully tightened the 4 screws. It is easy to over-tighten them, so only turn them until you feel they are snug. Let the gasket do the work. Attached the two solenoid control wires in the same positions they were in before they were removed from the old assembly. Re-assembled the door halves, again taking care to not over-tighten the phillips-head screws. One got "spun" and I removed it and re-set it into some epoxy. Returned power to the dishwasher, and stopped washing dishes by hand. Note: the latch is now made with a plastic that is more dense, and likely will not fail as soon as the original one did. I think GE learned something about the durability of their component plastics since this was originally built.



 My Orders