


 My Orders




GEF365CHSA Frigidaire Range - Overview

Enter a part description. DIY Heroes keep it simple, eg. "belt" or "pump".
Search filter:
Clear Filter
Your search term must have 3 or more characters.

$51.29
In Stock
Infinite Burner Switch - Large Element
Part #316436001
The infinite burner switch controls the stove top eight-inch surface burner, which is the large surface element. If your surface element is not warming up, the element can be tested to determine whether or not it is defective. If your element is not defective, then it is more than likely that the infinite burner switch is the issue. Befor...Read moree you install the infinite burner switch you will need to unplug your range from the power supply, or shut off the home circuit breaker. The tools you will need to do this repair include a number one square head screwdriver and a pair of needle nose pliers.
Read less

$63.75
In Stock
Infinite Burner Switch - Small Element - 240V
Part #316436000
This is a part for your range. This switch controls the stovetop surface burner. If you notice that your stove top is not turning on or is not adjusting to the corresponding desired heat, it is mostly likely due to the burner switch needing to be replaced. You will need a #1 square-head screwdriver and needle-nose pliers. Disconnect the p...Read moreower from the range. You will need to move the range out from the wall to remove the upper back panel to access to this part. This is an OEM genuine part.
Read less

$23.05
In Stock
Indicator Light Lens
Part #318228310
This is a red indicator light lens for an oven that covers the indicator light for the surface element. The indicator light signifies when the element is on and heated. This part is sold individually. It is recommended to check other red indicator lights in case they need to be replaced because they often wear at the same rate. It is diff...Read moreicult to see the light without the red lens. This part does not include the light. If your light does not illuminate, you may want to consider ordering the light as well. Tools required for this repair are a 1/4 inch nut driver and a stubby Phillips screwdriver.
Read less

$26.35
In Stock

$59.16
On Order

$20.68
In Stock
SWITCH ROCKER
Part #5304527842
A light or fan that responds only when its control is moved may have a worn rocker switch. This replacement switch mounts in the appliance panel and controls power to the assigned feature. Its exact job varies by model, so check the wiring diagram before installation. First inspect the bulb or fan, wiring, terminals, and power supply beca...Read moreuse another fault may be responsible. Turn off the circuit breaker and confirm the appliance has no power. Allow the cooking area to cool and wear gloves around sharp panel edges. Label each wire, avoid pulling on the wire itself, and make sure every terminal fits tightly during reassembly.
Read less

$48.15
Special Order
Overlay - Black
Part #316101514
This part goes in front of the clock/timer to allow visual indication of where the buttons are on the oven. Example bake, broil & clean. Only available in white. Black version is no longer available.

$9.85
In Stock

$69.59
Special Order
Surface Indicator Light - 250V
Part #316022503

No Longer Available
CLOCK/TIMER
Part #316101001

$67.82
Special Order
PANEL
Part #316064030
$13.92
Special Order
SCREW
Part #5304501948
Common Symptoms of the GEF365CHSA
How this model fails, and the parts that fix it.
Element will not heat
Fixed by
these parts
these parts


Show All
Oven is too hot
Fixed by
these parts
these parts
Show All
Will Not Start
Fixed by
these parts
these parts
Show All
Oven not heating evenly
Fixed by
these parts
these parts
Show All
Will not program
Fixed by
these parts
these parts
Show All
Little to no heat when broiling
Fixed by
these parts
these parts
Show All
Watch our pros, then fix it yourself.
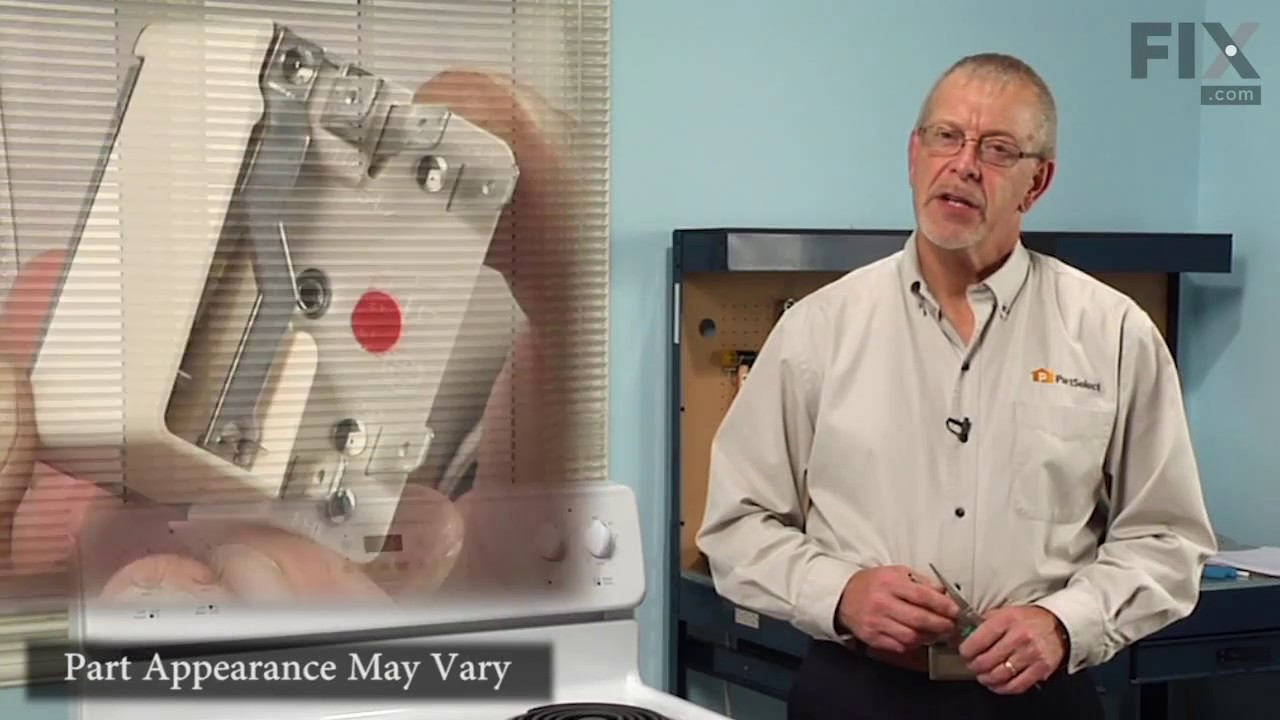
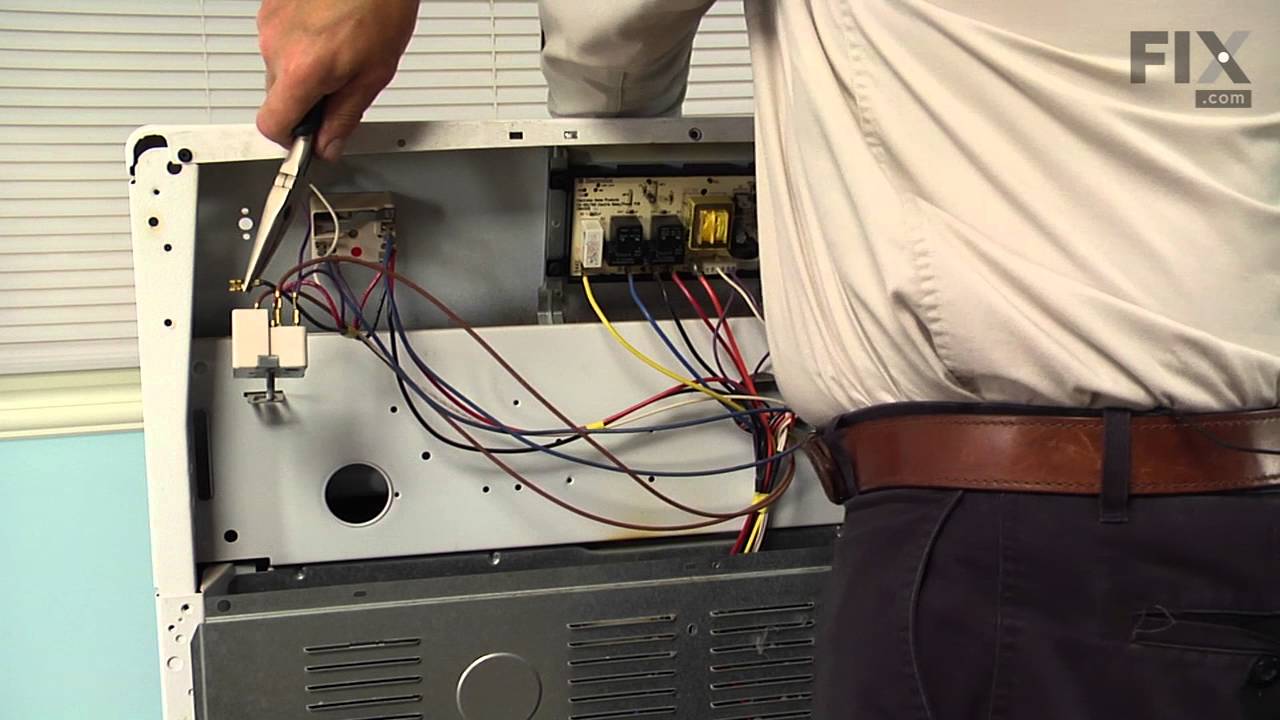
See how others fixed this model. Time, tools, difficulty, and steps that lead to victory!
View More