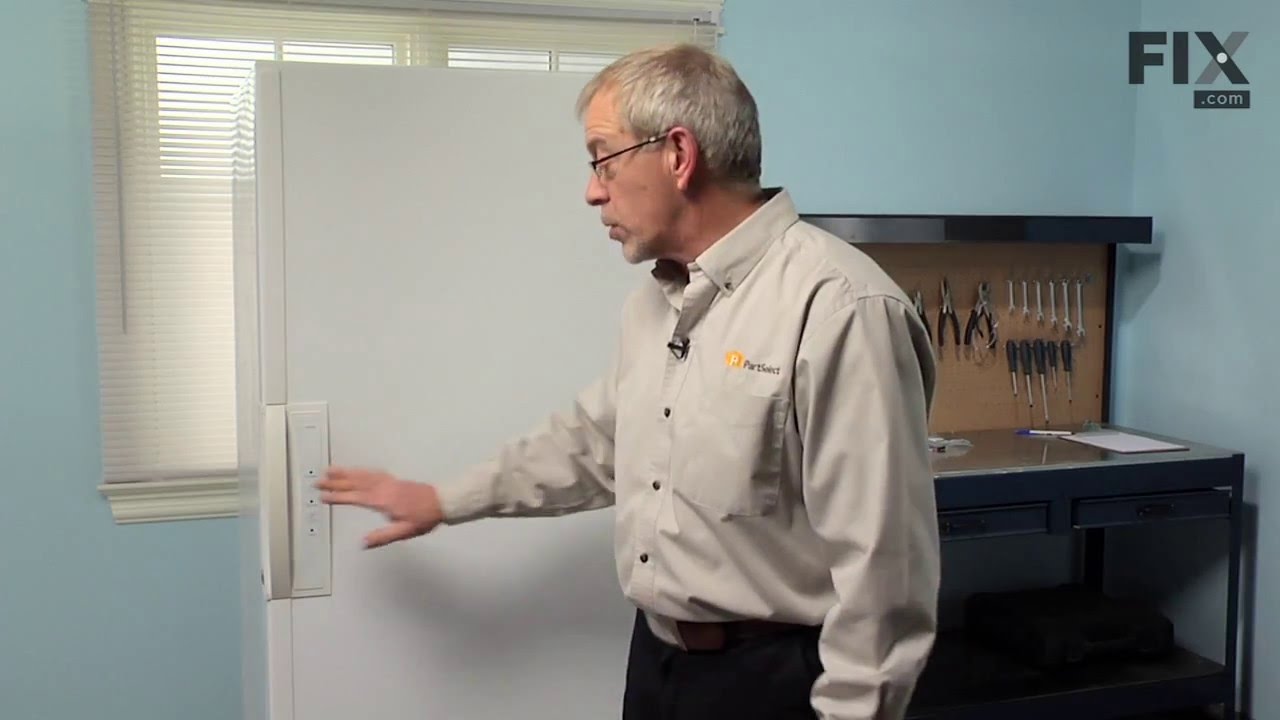
This freezer door key is designed for use with most upright and chest freezers. It is an authentic OEM replacement part. Your appliance has a lid or door that locks and unlocks, this key controls that function. If your key is lost or damaged this is the replacement you need. Be sure to store this key someplace safe, we also recommend that...Read more you store it away from the freezer. This part is made of plastic, is white in color, and it is sold individually.
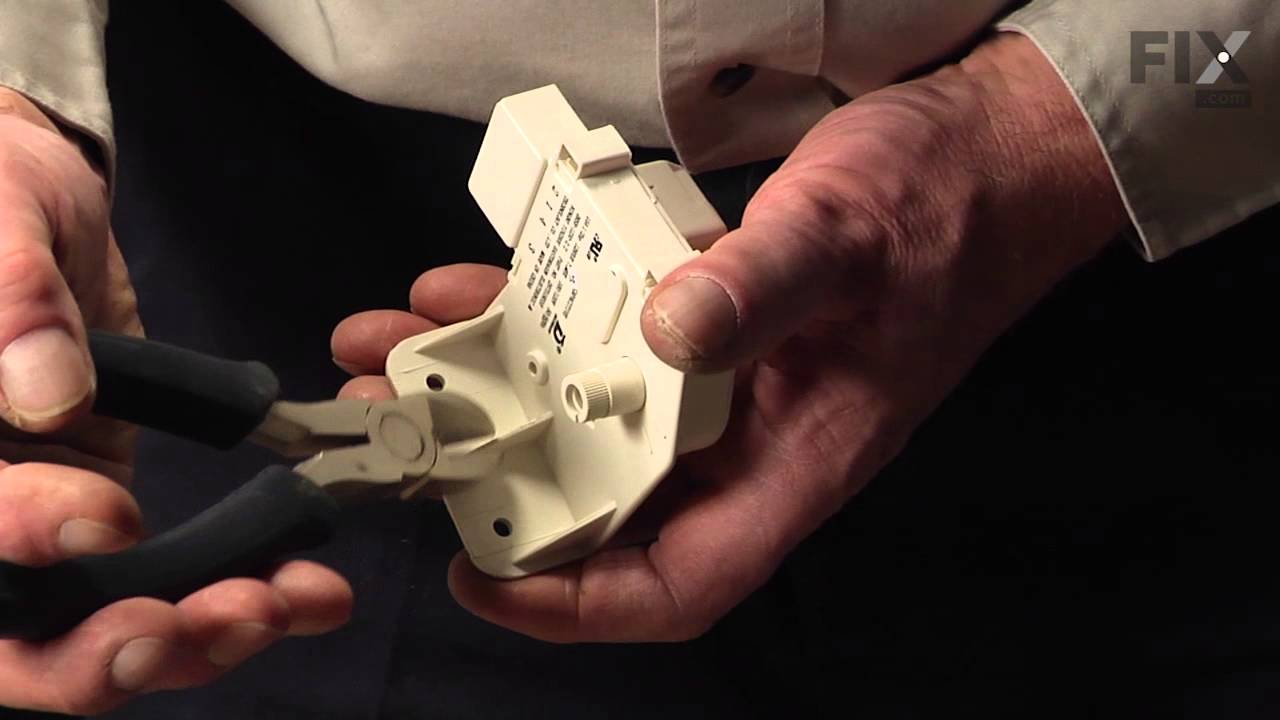
This is a 120 volt defrost timer manufactured for refrigerators. The defrost timer manages the automatic defrost systemin the unit. It acts like a clock by switching between activating the cooling cycle and the defrost heater to maintain the set thermostat temperature, preventing the unit from being too warm or cold. The defrost timer may...Read more need to be replaced if the fridge will not maintain its temperature or has frost buildup. Depending on the model, it could be located on the rear panel or ceiling of the fresh food compartment. Be sure to disconnect power to the refrigerator before replacing this part.
This door gasket, also known as a door seal, is sourced from the original equipment manufacturer for use in refrigerators and freezers. It is a flexible rubber strip that runs along the edge of the appliance door. It creates an airtight seal between the door and cabinet to prevent cold air from escaping, and warm air from entering the ref...Read morerigerator, to ensure that the temperature in the appliance remains constant. Over time, the door gasket can lose its elasticity or tear. In this case, you will likely notice frost build-up, increased noise, and inconsistent temperatures. Peel the faulty gasket off the refrigerator frame and remove any debris or residue on the surface. Carefully place the new seal along the edge of the door and press it firmly into place. Secure it with the appropriate fasteners and close the door to verify that there are no gaps between the door and cabinet.
This part helps maintain a constant temperature within the appliance. The temperature control thermostat regulates the temperature inside the refrigerator. It turns on and shuts off the compressor as needed to maintain the set temperature.
This evaporator fan blade is a genuine OEM part that is sourced directly from the manufacturer. The evaporator fan blade circulates air through the refrigerator to control the amount of cold air goes that goes to internal compartments of the unit. It may need to be replaced if the fridge is noisy or not cold enough. This part is made of p...Read morelastic and is sold individually. It will be necessary to disconnect power to the refrigerator and empty the freezer compartment of the refrigerator. The tools needed to complete this repair are a 1/4 inch nut driver and a pair of needle nose pliers.
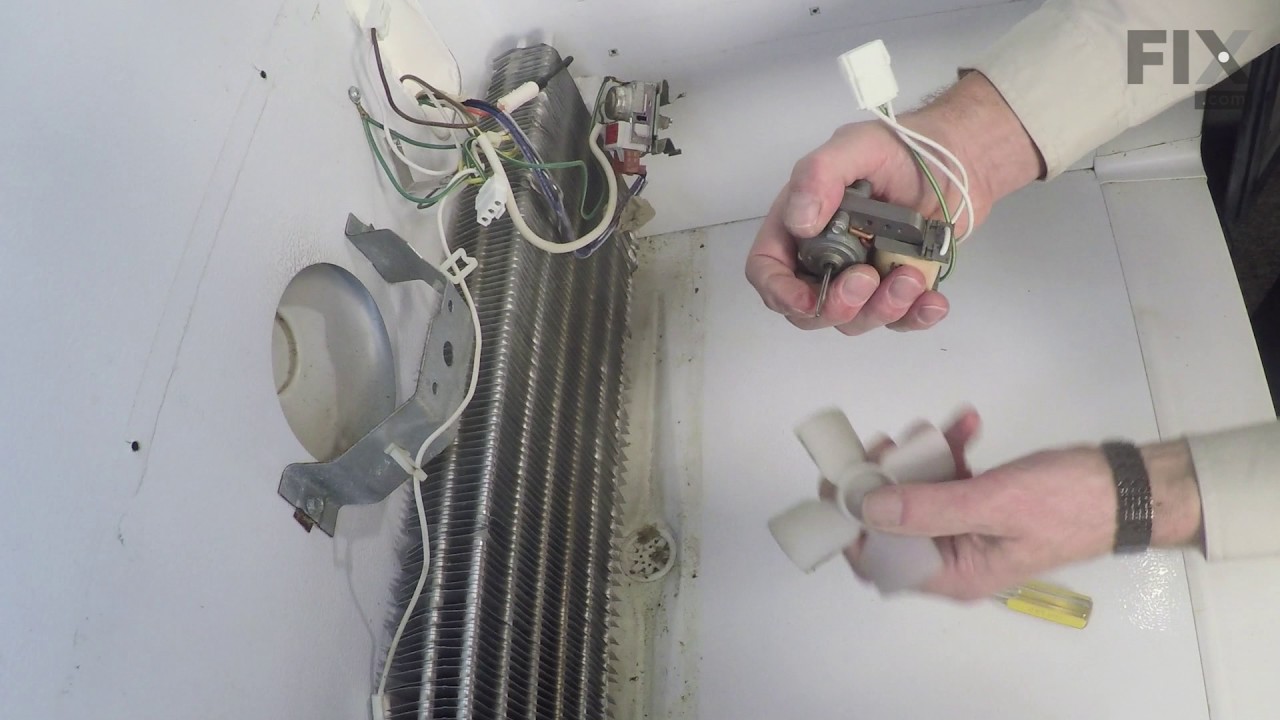
This evaporator fan motor is 115V. If you notice that your freezer is noisy or is too warm, you may need to replace the evaporator fan motor. This package comes with the evaporator fan motor itself, as well as a wire harness. The evaporator fan motor is in the back of the freezer, so you will need to remove your freezer shelves and the ba...Read moreck panel before you can access it. The function of the evaporator fan motor is to circulate air over the coils. The coils convert the heat into cool air, which is then circulated. Be sure to remove the power source from the freezer before you begin this repair.
Sold individually.
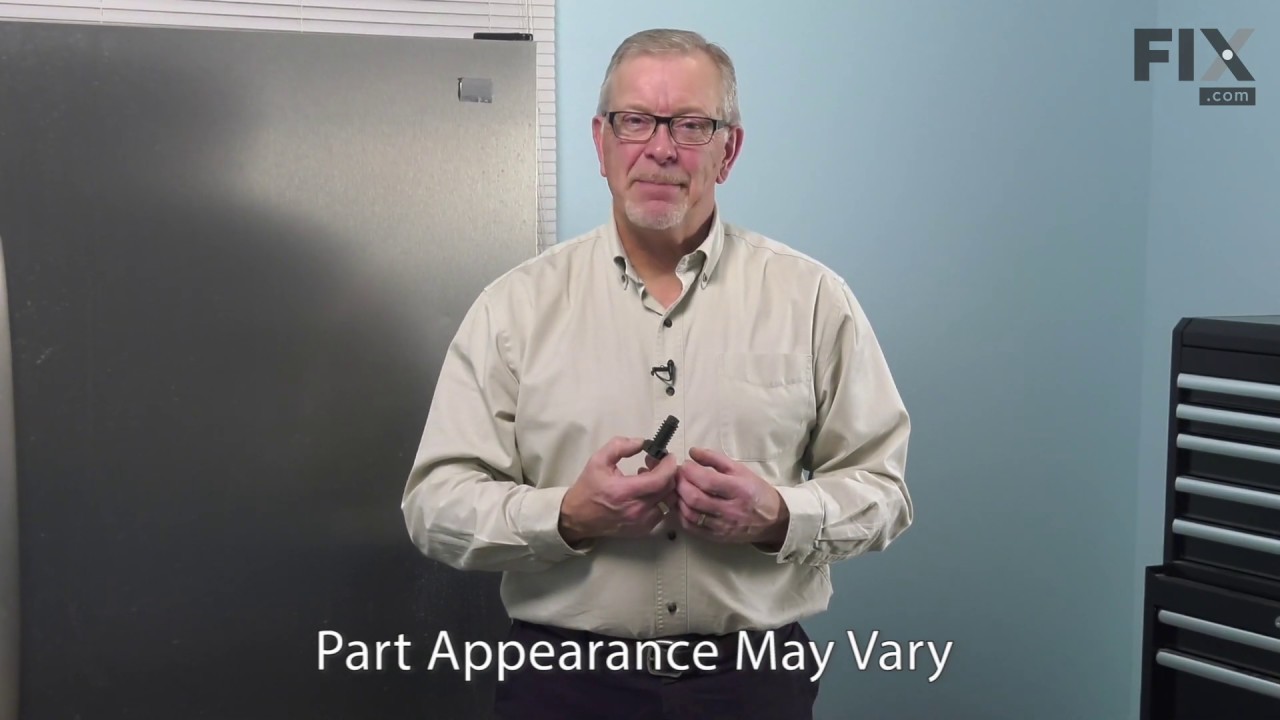
This is a genuine part. The handle mounting shoulder screw (no.10 ab) is made for use with many refrigerators. The metal screw helps to fasten the handle assembly to the outer door panel. The handle mounting shoulder screw is sold individually. For the repair, you will need a pair of pliers.
This part could be found underneath a fridge, dryer, or freezer. The original foot may be cracked, broken, or perhaps missing altogether. If you notice the appliance is uneven to the floor or wobbling, it may indicate that the levelling foot needs to be replaced. You will need pliers and a block of wood to perform this task. There will be...Read more one adjustable foot found in the package. Lift the dryer and place the wood to keep it propped up. You may need to use the pliers to remove the old foot. Screw the new foot into place using your hand. Once the new leveling foot is in place, lift the appliance and remove the block. Test the machine out to ensure it is now sitting level.
This genuine OEM hinge mounting screw is designed for use in Frigidaire and Electrolux refrigerators, providing a secure and reliable way to fasten door hinges to the cabinet. Built with a durable hex washer head and standard threading, it helps restore proper door alignment and maintain a tight seal to prevent cold air loss. Ideal for re...Read moreplacing worn, stripped, or corroded hardware, this heavy-duty screw ensures long-lasting stability and dependable everyday performance.
Ask our experts a question about this model and we'll get back to you as soon as possible!
We may have answered a similar question already! Search questions and answers left by others using simple keywords like "fit", "broken", "easy", or "quality" to find questions that match.
Search filter:
Clear Filter
Your search term must have 3 or more characters.
Sort by:
Prev
1
Next
Sorry, we couldn't find any existing answers that matched.Try using some different or simpler keywords, or submit your new question by using the "Ask a Question" button above!
Forent - For model number FFUH17F2NWA
November 8, 2022
We have an upright Frigidaire freezer that stopped working. There is a build up of ice at the bottom of the freezer. What could be the cause.
Hello Forent, thank you for contacting us. The most probable cause of the issue is a defective defrost heater assembly, part number PS10060305, and a problematic defrost timer, part number PS12585793. We would recommend defrosting the built-up ice before replacing the parts. If the compressor is not running, we would recommend replacing the start relay, part number PS2358826. We look forward to hearing from you if you need assistance with placing an order through our 7-days-a-week customer service. We hope this helps!
Is there any way to tell if you need a new thermostat OR a new defrost timer assembly before purchasing both parts?
Hi Kate, thank you for contacting us. Yes, you can test both parts using a multimeter and a manual advancement check to isolate the failure before buying any replacements. To test the defrost thermostat, set your multimeter to the lowest Ohm (O) setting or the continuity (beep) setting. Touch the multimeter probes to the two wires of the thermostat. If there is 0 ohms or a beep, the thermostat is good. If there is an infinite/OL/no beep, then the thermostat is dead and must be replaced. To check the defrost timer, find the circular dial/screw on the timer. Use a flathead screwdriver to turn it slowly clockwise until you hear a loud "click." This forces the fridge into defrost mode; the compressor and fans will shut off. Wait 10 to 15 minutes. If the coils heat up, the thermostat and heater are working perfectly. Your defrost timer is broken because it fails to advance into defrost mode automatically. We hope this information helps!
1 personfound this instruction helpful.
Was this helpful?
Thank you for voting!
Bill - For model number FFUH17F2NWA
September 13, 2025
how do I lower the temp on this freezer
Hi Bill, thank you for contacting us. To lower the temperature setting, turn the temperature control knob clockwise. Allow several hours for the temperature to stabilize between adjustments. We hope this information helps!
Was this helpful?
Thank you for voting!
Prev
1
Next
✖
Ask a Question
Ask our experts a question on this model and we'll respond as soon as we can.
See how others fixed this model. Time, tools, difficulty, and steps that lead to victory!View More
Search repair tips from other customers using simple keywords like "replace", "fit", "remove", "inspect". DIY doesn't mean you have to do it alone!
Search filter:
Clear Filter
Your search term must have 3 or more characters.
replacement freezer keys
77 of 91 peoplefound this instruction helpful.
CHARLOTTE from SEDALIA, MO
Really Easy
30 - 60 mins
I accidently threw away both freezer keys to our upright Gibson and G.E. Freezers!!!! I had no luck finding replacements locally, so I got on the internet and came across PartSelect.com. I called them on the telephone; and after giving the model numbers of my freezers, the keys were on their way!! I received the keys very quickly and bot
... Read moreh worked perfectly. I would highly recommend Partselect.com. Charlotte M. Bishop
Read less
Was this helpful?
Thank you for voting!
Ice and frost were forming in a frost free freezer
78 of 101 peoplefound this instruction helpful.
Louise from Ocala, FL
Easy
1- 2 hours
The old gasket was obviously gapping, partially from age and partially from damage during a move. To make the repair, I loosened the screws that are under the gasket and hold it in, but did not remove them. Once all were loose, I removed the old gasket, then starting at the top, ran a thin bead of food grade RTV under the portion of the
... Read more door that captures the gasket. I put the sealant on that edge only, then carefully worked one of the short edges of the gasket under the plastic and tightened all but the corner screws. I then ran the RTV down the inside of the hinge side of the door and repeated the process, this time tightening the top screw and the hinge side screw at the top, but leaving the bottom most screw loose. I repeated the process on the opening side of the door. The bottom was the hardest because the gasket seemed just a little long and it was hard to get the RTV up and behind the door portion, but after a couple tried I got a good bead of sealant then slid the gasket under the door capture and tightened all the remaining screws. After closing the door, it was obvious that there were places were it did not seal well. I used some cardboard strips, cut from the box the gasket came in, to place inside the freezer, between the hard plastic of the door and the inside of the gasket where it laps over the screws. This helped a lot, but there were still a couple small areas, so I used more cardboard, from the outside, between the main portion of the gasket and the rim of the gasket. This eliminated all the gaps. I let this sit overnight and this morning removed all the cardboard for a great sealing freezer.
Read less
Was this helpful?
Thank you for voting!
freezer would run then thaw then freeze. tap on the control knob, it would start running again
48 of 59 peoplefound this instruction helpful.
WILLIAM from URBANA, OH
Easy
15 - 30 mins
Screw drivers
Easy fix. I unplugged the freezer, unload items in freezer. took out shelves and baskets, Pulled off the control knob then removed all screws. removed inside panel, replaced part exactly as I took out old part. Put the panel back on, put everything back in place. Plugged freezer back in and turned the knob to 3. Let freezer run for a day
... Read more to see if I ordered the correct part. Problem is fixed. Thank you, PartSelect for making it so easy to find, order the correct part and for all the customers input to make the repair easy.



 My Orders