


 My Orders




ESD3492H Caloric Range - Overview

Enter a part description. DIY Heroes keep it simple, eg. "belt" or "pump".
Search filter:
Clear Filter
Your search term must have 3 or more characters.

$15.00
In Stock
Drip Bowl - 6 Inch
Part #W10196406RW
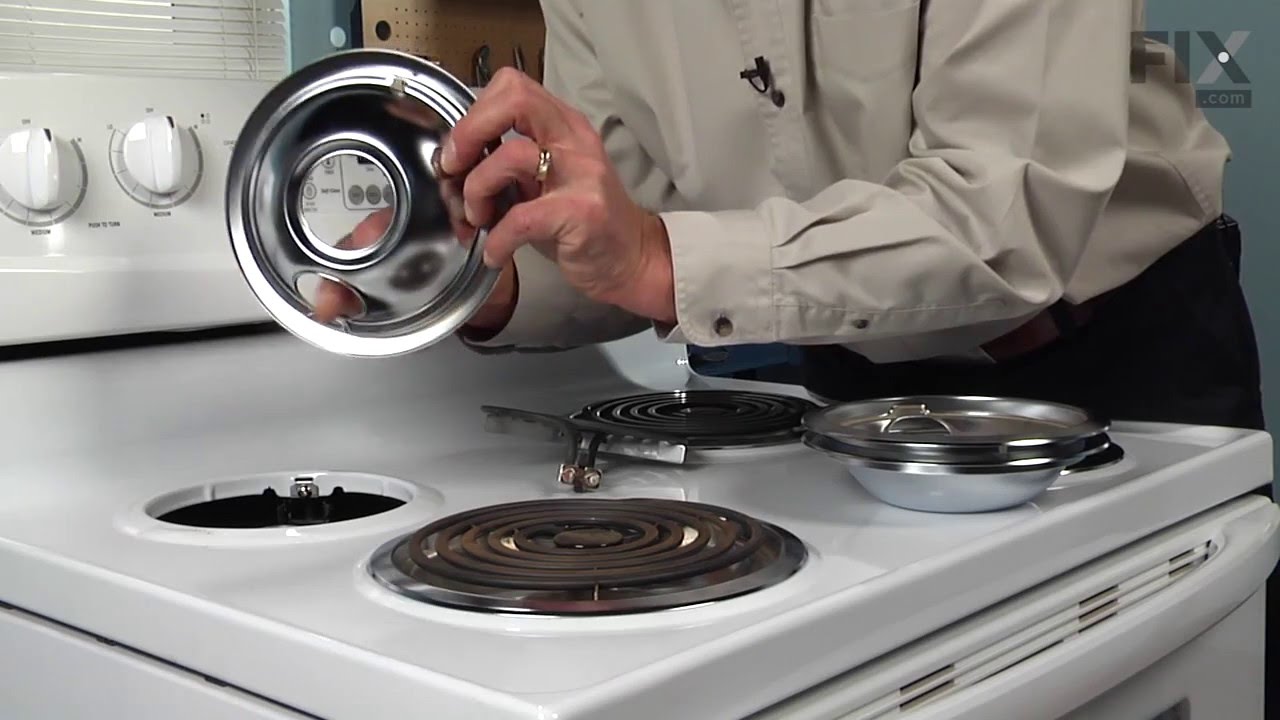
If your element will not heat, there could be an issue with your drip bowl. This chrome drip bowl is 8 inches in diameter, and fits most electric ranges. Before you replace the drip bowl, make sure the element is turned off and cool to the touch. Installation is easy, just remove the element, replace the current drip bowl, and replace the...Read more element. Make sure the small hole on the bowl lines up with the element socket. The manufacturer has substituted this part, it now has a hole in the center, and no longer has a solid bottom. For a step by step guide, click the video below.
Read less

$16.07
In Stock
Range Surface Burner Plug-In Block Kit
Part #330031
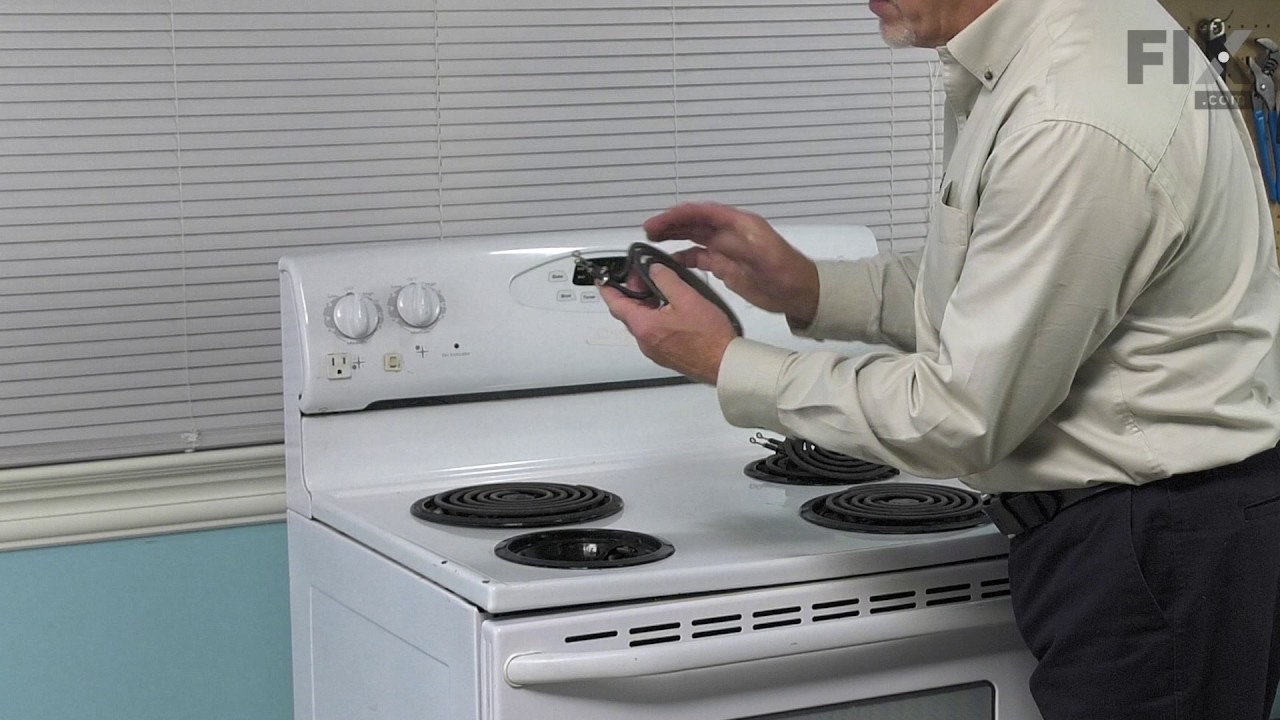
The surface burner plug-in block kit features a newer-style terminal block. This kit is designed for use with ranges and cooktops. This terminal block is how the coil element on your stove connects to the inner wiring of your appliance. Without this connection your burner element would not get the electrical current it needs to heat up. W...Read morehen your element will not heat at all, or if it is not heating properly it is likely an issue with the terminal block. You need to remove the element to replace this part. While you have the element out, inspect the element and the terminal for any corrosion, arcing, or discoloration. If you notice any damage to the element or the terminals we recommend you replace this part as well. This kit includes two metal brackets, two pre-crimped high-temperature wire leads, two ceramic wire nuts, two heat-shrinking insulators, and a mounting screw. Before you begin this repair, make sure you have unplugged your appliance.
Read less

$89.21
In Stock
Surface Element - 6 Inch
Part #WPW10259868
Get your cooktop working like new with this 6-inch coil burner. It heats up with 1500 watts of power—great for boiling, simmering, or everyday cooking. Easy to install with looped ends that connect quickly, and it even has a sleek black center for a polished look. If your old burner stopped heating, this is a simple fix to get back to cooking.

$74.98
Special Order
Range Broil Element
Part #WPY0063532
This broil element is found on the roof of the oven and allows for an even heat when cooking food. The element may have shorted out and not be heating the oven, which might indicate it will need to be replaced. Before beginning the repair make sure your oven has been unplugged. Open the oven door and pull the old racks out. You will need ...Read moreto remove the screws holding the old broiler in place at the top of the stove. This is an OEM part that comes right from the manufacturer.
Read less

$79.30
Special Order
Bake Element (13.5" long x 18.5" wide)
Part #WPY0063531
This bake element, used in ranges, supplies heat for baking purposes and is located at the bottom of the oven. The terminals have a depth of three inches. The element is 13 1/2 inches long and 18 1/2 inches wide. If there is little to no heat when baking, a burned-out bake element, or food is taking too long to cook, these symptoms could ...Read morebe solved by replacing this part. Remember to unplug the appliance from the power source or shut off from the house circuit breaker as a safety precaution. You will need a Phillips screwdriver to complete this repair. Refer to the manual provided by the manufacturer for further instructions.
Read less

No Longer Available
Burner Control Switch Kit - 8 Inch
Part #WPR0702021
This is an OEM part sourced directly from the manufacturer. This switch kit is designed to help you operate the 8? surface burner on your range or cooktop. This witch turns the surface burner on and off, and allows you to control how much heat the element is producing. The control knob attaches to this part for easy operation. This kit co...Read moremes with all of the hardware you will need to successfully install the replacement switch. Before beginning the repair make sure you have unplugged your appliance.
Read less

No Longer Available
Thermostat
Part #Y0063416
This part establishes and maintains the internal temperature of the oven cavity.

No Longer Available
Selector Switch
Part #Y0063008

No Longer Available
DISCONTINUED
Part #Y0059565
No Longer Available
No Longer Available
No Longer Available
Knob, selector
Part #0063439
Common Symptoms of the ESD3492H
How this model fails, and the parts that fix it.
Element will not heat
Fixed by
these parts
these parts


Show All
Little to no heat when broiling
Fixed by
these parts
these parts
Show All
Little to no heat when baking
Fixed by
these parts
these parts

Show All
Will Not Start
Fixed by
these parts
these parts
Show All
Oven not heating evenly
Fixed by
these parts
these parts
Show All
Watch our pros, then fix it yourself.
See how others fixed this model. Time, tools, difficulty, and steps that lead to victory!
View More