


 My Orders




EIDW6105GS1A Electrolux Dishwasher - Overview
Diagrams for EIDW6105GS1A
See every part. Know exactly what you need.


Enter a part description. DIY Heroes keep it simple, eg. "belt" or "pump".
Search filter:
Clear Filter
Your search term must have 3 or more characters.

$42.41
In Stock
Tine Bracket
Part #154428402
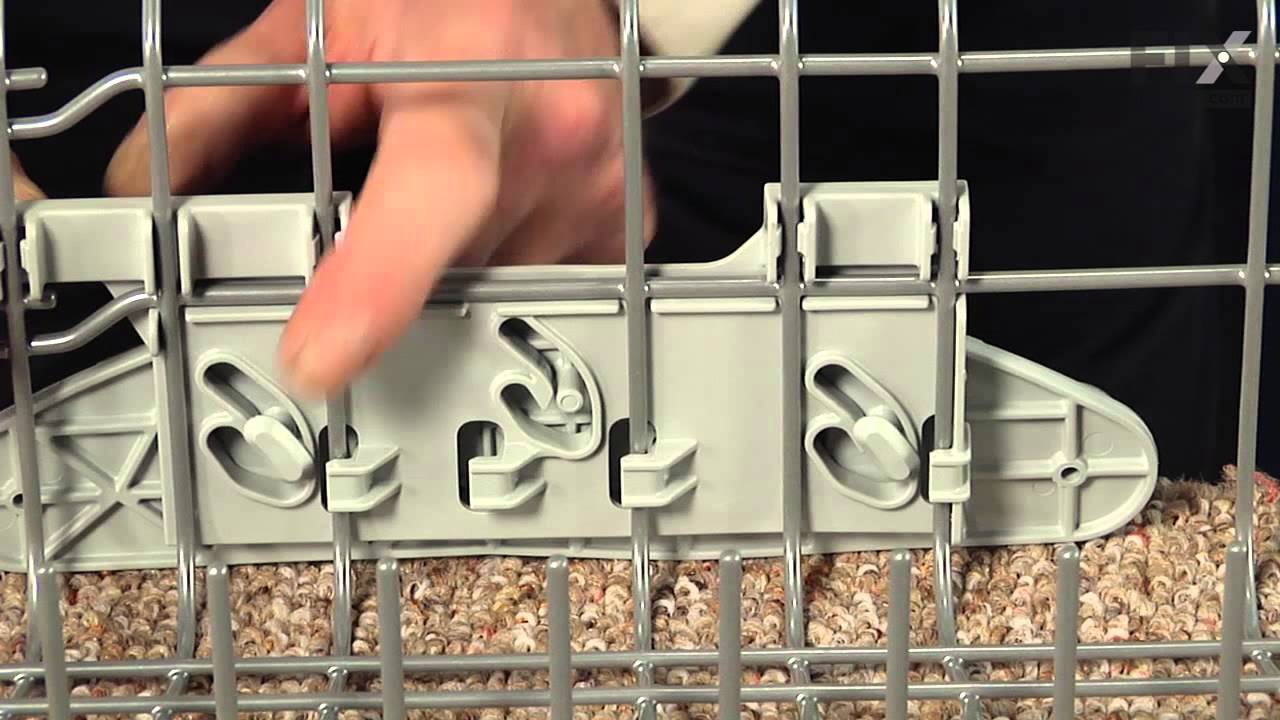
This is a bracket, but it may also be known as a dishrack row clip, or simply a tine clip, and it is used in conjunction with your dishwasher. The purpose of this part is to fasten to the rack and the tine row. This will give the tine the stability it needs to hold your glasses and bowls by firmly attaching to the rack. You will not need ...Read moreany tools to make this repair. This piece is sold individually, measures to be about 2 inches by 1 inch, and is gray in color.
Read less

$133.05
In Stock
Upper Rack Assembly - T3 PRO
Part #A01986801
Upper Rack Assembly - T3 PRO. This is the complete upper rack and the wash arm.

$62.65
In Stock
Detergent Dispenser
Part #5304507354
This part releases the detergent and rinse aid into the dishwasher. NOTE: Color may vary but the part will function the same as the original.

$25.25
In Stock
Mounting Screw
Part #5304453707

No Longer Available
Lower Dish Rack Roller
Part #154671301
The roller assembly is attached to the upper dishrack of your dishwasher. This is what allows you to easily move your dishrack in and out. The wheel may become damaged over time and will not allow you to easily slide the rack back and forth. To perform this repair, you will need to first open the dishwasher drawer. Remove the end caps of ...Read morethe upper rack and the rack should easily slide out. There are 4 wheels on either side of the dishwasher (8 in total). Check to make sure they are all in good shape in case you need to replace more than one at a time. Simply use your screwdriver to remove and re-install the new part.
Read less

No Longer Available
ROLLER ASSEMBLY
Part #154689501
This is an OEM dishrack roller assembly that fits on the lower rear of your dishwasher rack. This part is sold individually. Check the opposite lower dishrack assembly before ordering in case it needs to be replaced as well. The rollers attach to your lower dishrack and allow the rack to smoothly roll forward and backward when the dishwas...Read moreher door is open. Without the rollers, it would be difficult to access the rack to safely fill and empty the appliance with dishes. The front lower roller assembly will have a different part number than this part.
Read less

No Longer Available
Door Gasket - Black
Part #154859401
This gasket is a seal for your dishwasher and prevents leaking from occurring. The gasket can become worn down over time and you might notice some discoloration. This indicates a replacement is necessary. The gasket is found in between the opening of the dishwasher tub and the outside edge of the door. This seal is made of rubber and is b...Read morelack in color. This repair requires no tools. To ensure that it is properly sealed into place, shut the dishwasher door, and leave it shut for a few hours.
Read less

$6.55
In Stock
CLAMP, HOSE
Part #5304538466

No Longer Available

No Longer Available
Center Spray Arm with Manifold
Part #154508201
Spray arms rotate and spray water to clean the dishes inside the dishwasher tub. This part is located beneath the upper rack. The spray arm is meant to spray water and detergent forcefully over the dishes. If your dishes are not being cleaned properly, you should check if there is an issue with the spray arm. If the spray arm is made of p...Read morelastic, it can become warped or cracked. If it is a metal spray arm, it can pull open at the seams or get bent. Make sure the spray arms can move evenly and freely on their bearing rings and mounting brackets. Remove your spray arms and check to ensure they are straight and undamaged. This part includes the manifold.
NOTE: Clogged holes are a hint to check if there is a problem with the filter system that resulted in debris coming into the arms.
Read less

$79.32
Special Order
Middle Spray Arm Clip
Part #154613402
This clip is designed for use in your dishwasher. If you notice that your original clip is damaged, or the dishwasher is not cleaning dishes properly, you may need to replace it. The clip snaps on to the top dish rack. This product is gray in color and is made entirely of plastic. The clip also comes in black, however both the gray and bl...Read moreack models function in the same way. This product is approximately 6 inches in length, by 4 inches in width. This clip is an OEM part sourced directly from the manufacturer. This part is sold individually.
Read less

$19.68
Special Order
Manuals & Care Guides for EIDW6105GS1A
Click to downloadInstall
Installation Instructions
(1.65MB)
Install
Installation Instructions
(1.17MB)
Manual
Owner's Manuals
(3.96MB)
Wiring
Wiring Diagram
(1.54MB)
Common Symptoms of the EIDW6105GS1A
How this model fails, and the parts that fix it.
Not cleaning dishes properly
Fixed by
these parts
these parts


Show All
Leaking
Fixed by
these parts
these parts


Show All
Will not dispense detergent
Fixed by
these parts
these parts

Show All
Door latch failure
Fixed by
these parts
these parts
Show All
Not draining
Fixed by
these parts
these parts


Show All
Will Not Start
Fixed by
these parts
these parts

Show All
Will not fill with water
Fixed by
these parts
these parts

Show All
Door won’t close
Fixed by
these parts
these parts
Show All
Not drying dishes properly
Fixed by
these parts
these parts
Show All
Watch our pros, then fix it yourself.
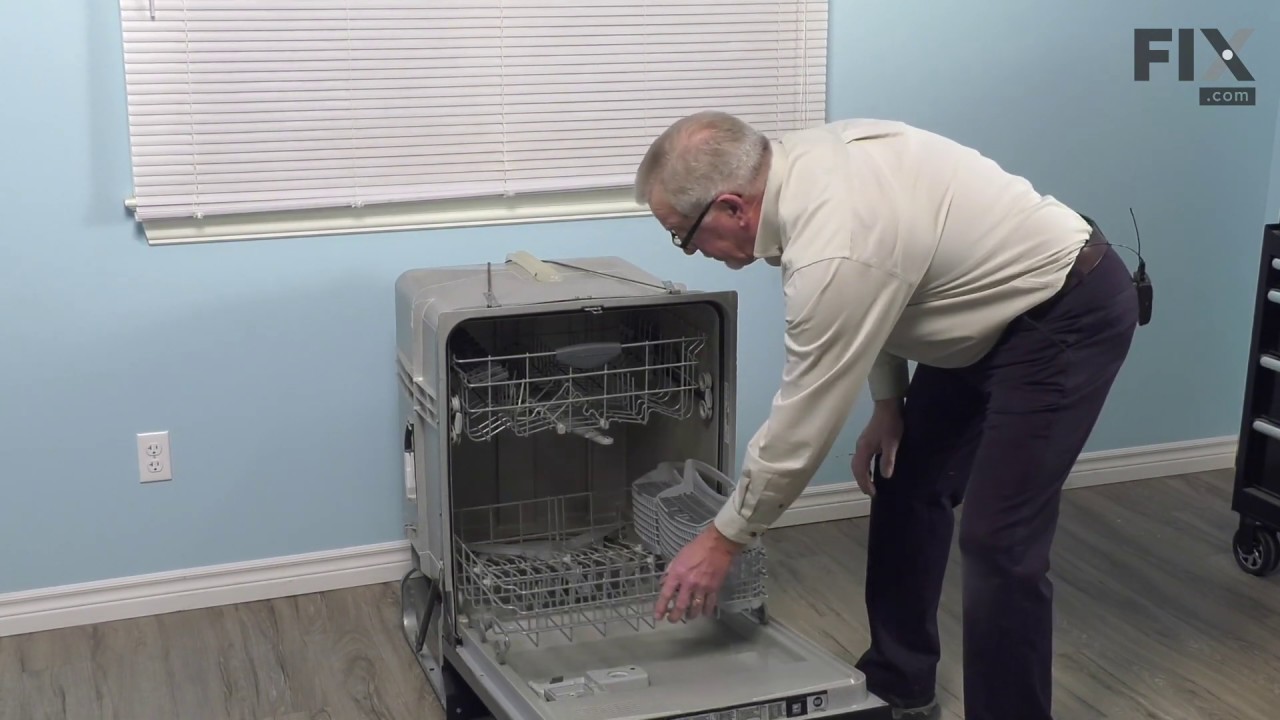
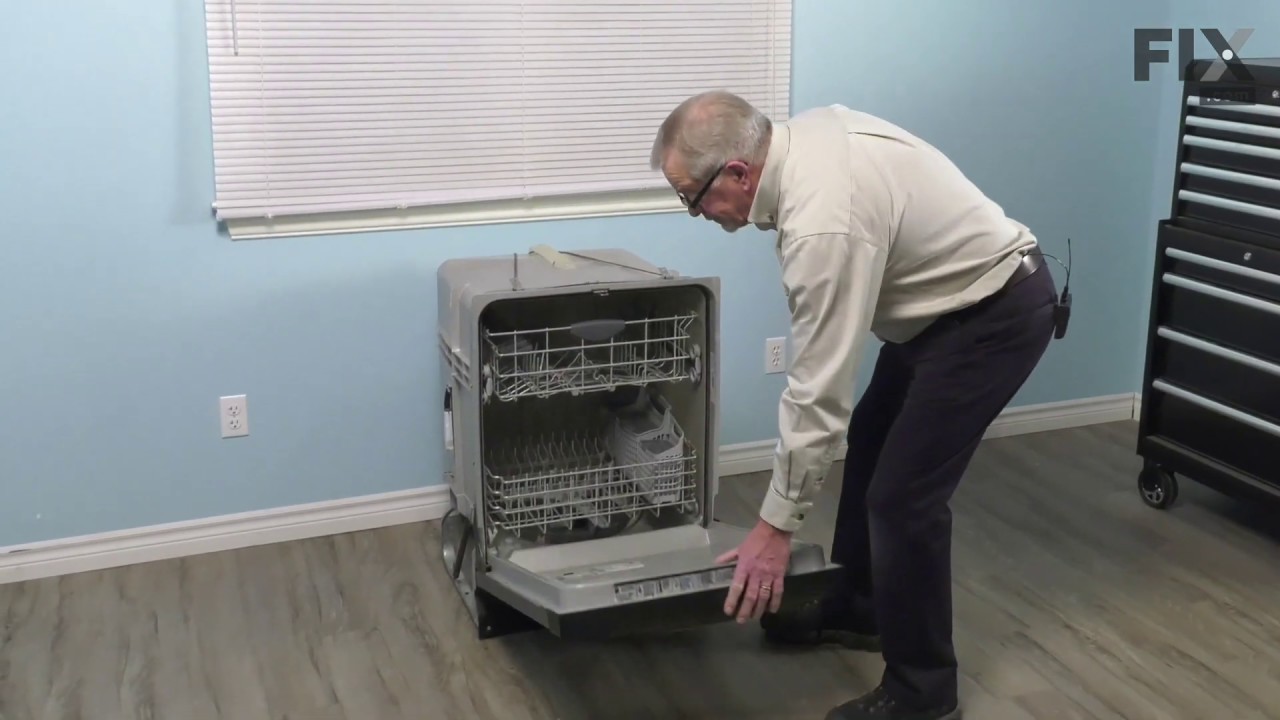
See how others fixed this model. Time, tools, difficulty, and steps that lead to victory!
View More