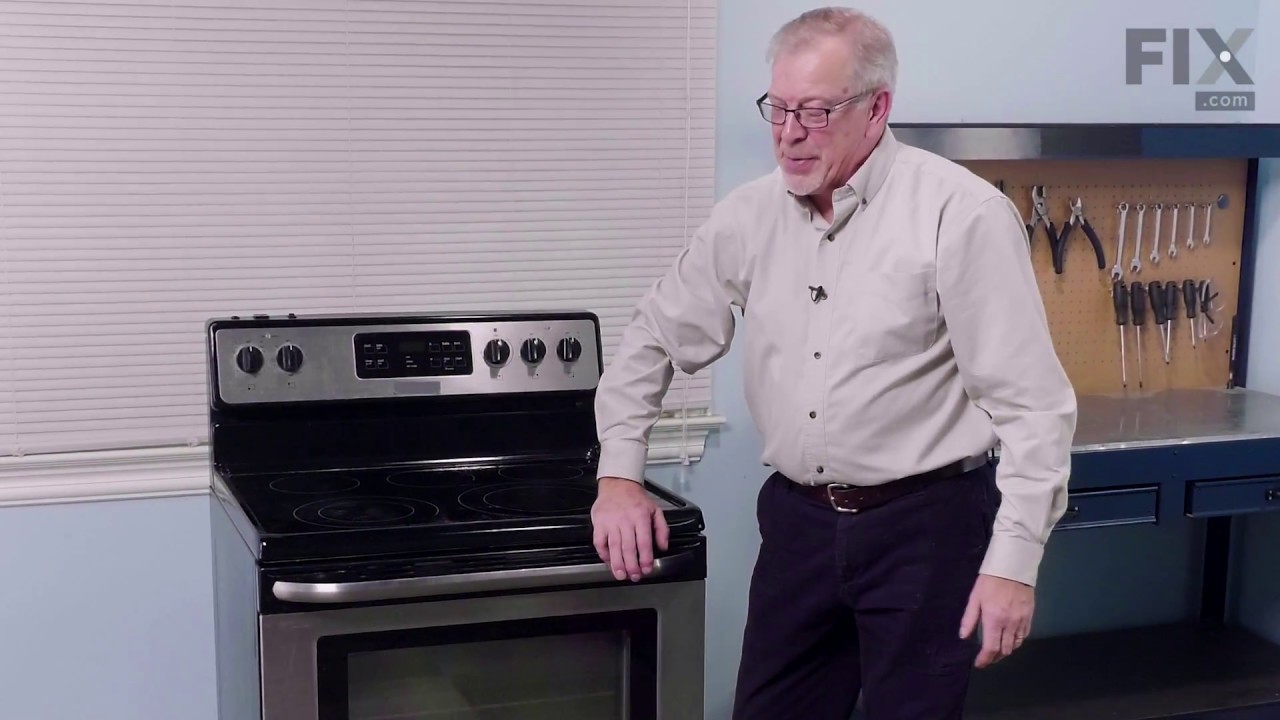
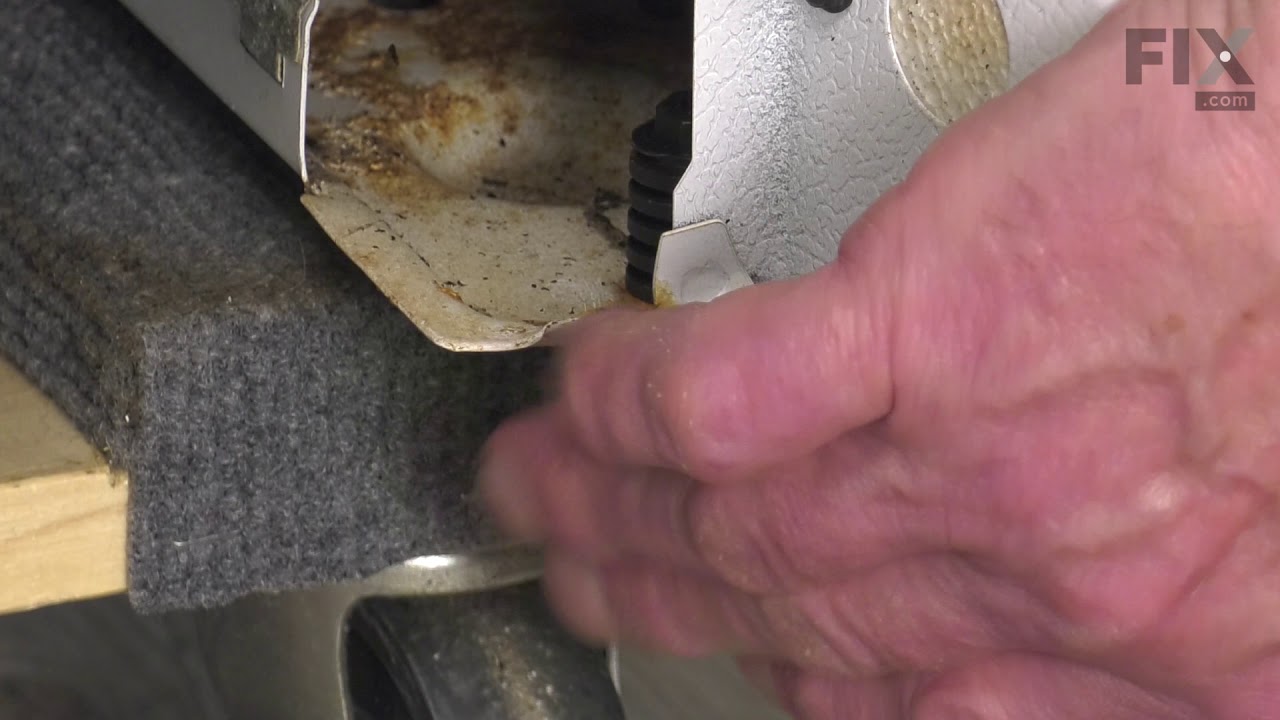
This genuine OEM oven probe is also known as an oven temperature sensor or range probe. This part is manufactured for a range, stove, or oven to detect the temperature within the oven cavity. The probe allows the oven to maintain the set temperature by sensing the temperature and sending the information to the ovens motherboard. You may n...Read moreeed to replace this part if oven is not heating or is heating unevenly. Be sure to disconnect power to oven before replacing, as it is an electrical part. Tools needed are 1/4 inch nut driver and needle nose pliers.
Terminal block kits are also known as terminal boards, or terminal strips, and they are found in a wide variety of household appliances. Most often in ranges, wall ovens, and dryers. This kit attaches the power cord to the inner wiring of your appliance. If the terminal block is faulty, your appliance will not get the power it needs to op...Read moreerate properly. When removing the old block pay close attention to the wire placement, this will make installing your new part much easier. If you notice any of the wires or wire terminals are corroded or damaged they will also need to be replaced.
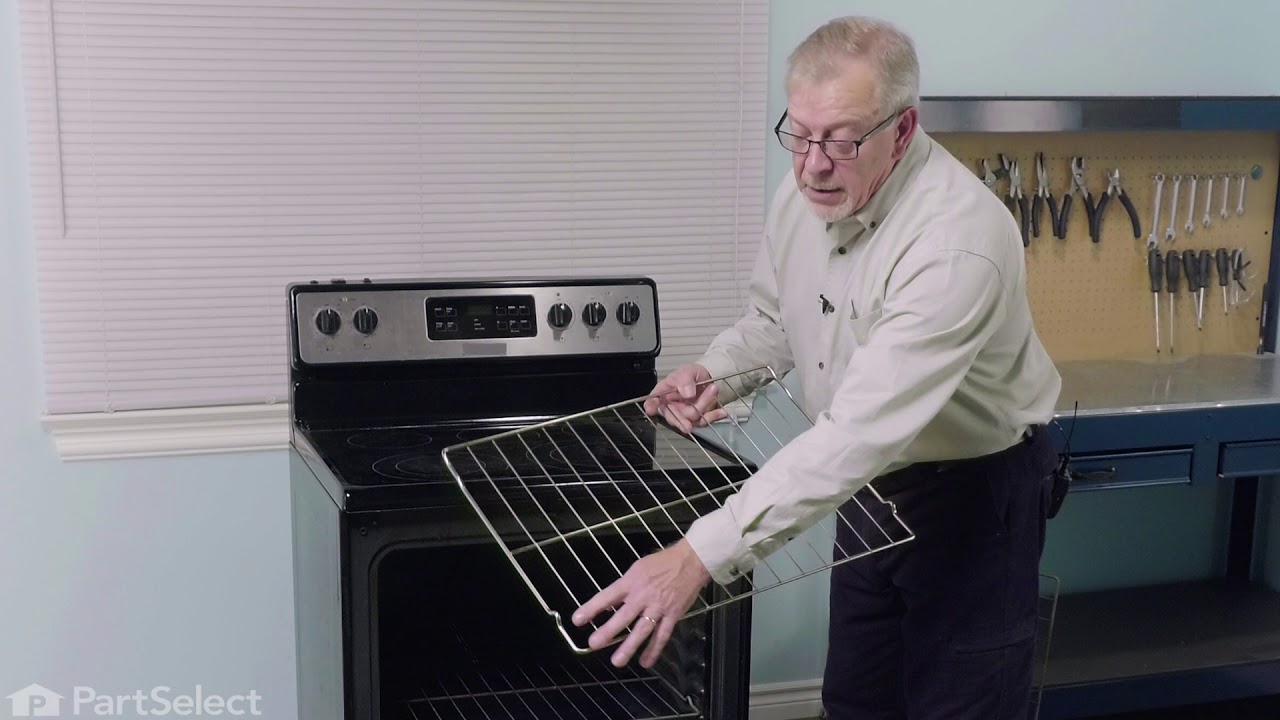
This part is found inside your oven. This oven rack comes in the color chrome and measures 24 inches in width and 16 inches in length. This is an extremely simple repair that requires no tools. The package you will receive will contain one rack. The rack may warp or become distressed over time and will need to be replaced. The rack is wha...Read moret holds your food inside the oven and allows you to adjust your food at different heights. Make sure your oven is unplugged before doing any maintenance. You will need to open the oven door and simply slide the new rack into place.
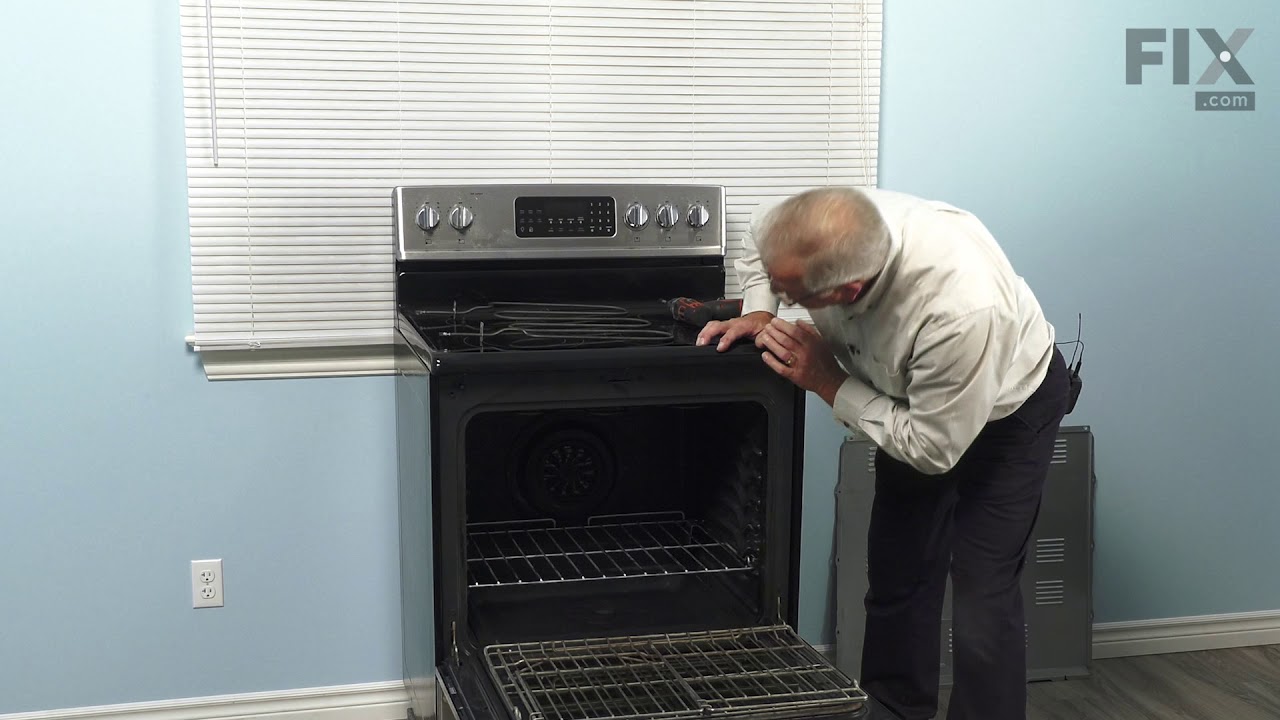
The anti-tip bracket kit comes with one metal bracket and two installation screws, and is sourced directly from the genuine manufacturer. It prevents the freestanding oven, range, or stove from tipping when force or weight is applied to an open oven door. The bracket is secured to the floor and wall and fits over the rear leveling leg in ...Read morethe back of the appliance, in a cutout specifically designed for the anti-tip bracket. This part is very essential to the safe operation of the appliance. Failure to install the bracket properly can result in the oven tipping or falling and causing injuries.
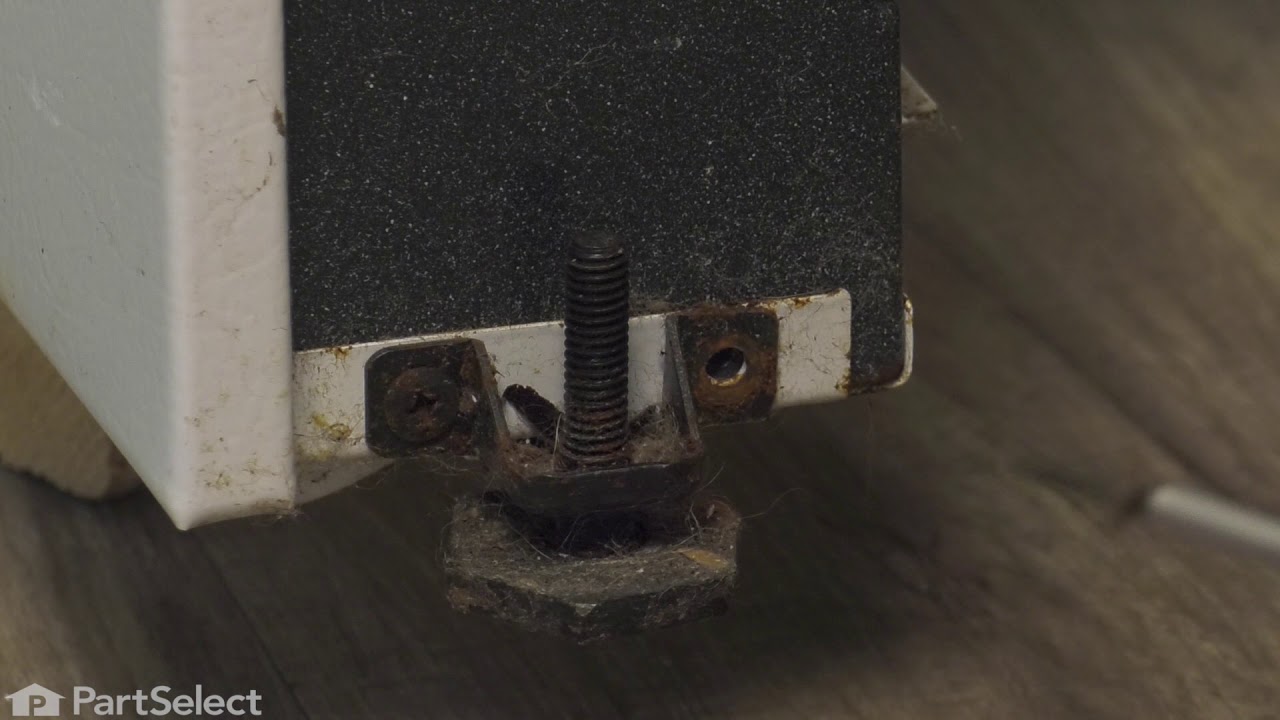
This part is sold individually. The leveling leg is black in color and measures approximately 2 inches in length. It is made of plastic. The leveling leg is found underneath your range and may crack or wear down over time. This will need to be replaced if it has broken or gone missing. If you notice your oven is wobbling or uneven it may ...Read morebe due to the leveling leg needing to be replaced. This part can be adjusted to accommodate different heights due to uneven flooring. This is a genuine OEM part sourced directly from the manufacturer.
This door trim kit provides a clean, finished look for your oven door while protecting the edges from wear. Designed as a three-sided frame for the sides and bottom, it enhances both the appearance and durability of the appliance. Replacing damaged or worn trim helps restore the oven’s overall look and ensures a secure, polished finish.
This oven door gasket creates a secure seal around the door to keep heat inside the oven for consistent cooking and energy efficiency. Made from high-quality, heat-resistant fiberglass with a tempered wire insert, it offers superior durability compared to standard seals. The gasket measures approximately 80 to 84 inches in length and incl...Read moreudes 16 mounting clips for easy installation—simply remove the old seal and press the new one into place. Replacing a worn gasket helps prevent heat loss, uneven cooking, and extended preheating times.
Ask our experts a question about this model and we'll get back to you as soon as possible!
We may have answered a similar question already! Search questions and answers left by others using simple keywords like "fit", "broken", "easy", or "quality" to find questions that match.
Search filter:
Clear Filter
Your search term must have 3 or more characters.
Sort by:
Prev
1
Next
Sorry, we couldn't find any existing answers that matched.Try using some different or simpler keywords, or submit your new question by using the "Ask a Question" button above!
Laura - For model number CEI30IF4LSB
January 28, 2024
The stove has started making a beeping noise and it shows a message that says “F68 ERR”. Please advise.
Hello Laura, thank you for contacting us. According to our research, the F68 means that the oven thinks there is an issue with the incoming line power from your house. We would recommend checking the checking the power cord and make sure you have 240 volts. If the issue persists, you may need to replace the terminal block, part number PS471605, to fix the issue. It attaches the power cord to the inner wiring of your appliance. If the terminal block is faulty, your appliance will not get the power it needs to operate properly. We hope this helps!
See how others fixed this model. Time, tools, difficulty, and steps that lead to victory!View More
Search repair tips from other customers using simple keywords like "replace", "fit", "remove", "inspect". DIY doesn't mean you have to do it alone!
Search filter:
Clear Filter
Your search term must have 3 or more characters.
Cord was not tightened enough by delivery crew.
109 of 174 peoplefound this instruction helpful.
Timothy from Spring Valley, AL
Really Easy
15 - 30 mins
Screw drivers, Socket set
PF alarm appeared on display. Noticed clicking when cord was moved. Had arced for some time and melted original block. New part slightly different. Only has 3 lugs, old one had six. Stack using washers provided. Take note of colors before disassembly. Use caution while working through access opening. The edges are sharp. Only tools neede
... Read mored are phillips screwdriver, deep socket for lug nuts. Nut driver optional. Hope this is helpful.
Read less
Was this helpful?
Thank you for voting!
Oven wouldn't operated. Error code F9
76 of 101 peoplefound this instruction helpful.
Richard from Centennial, CO
Really Easy
Less than 15 mins
Nutdriver
I called a repair place. They charged $54 to diagnose, (said it needed a new latch motor) then wanted $220 to complete the repair. I checked online prices and did it myself for about 15 minutes work and the latch motor itself ($44?).
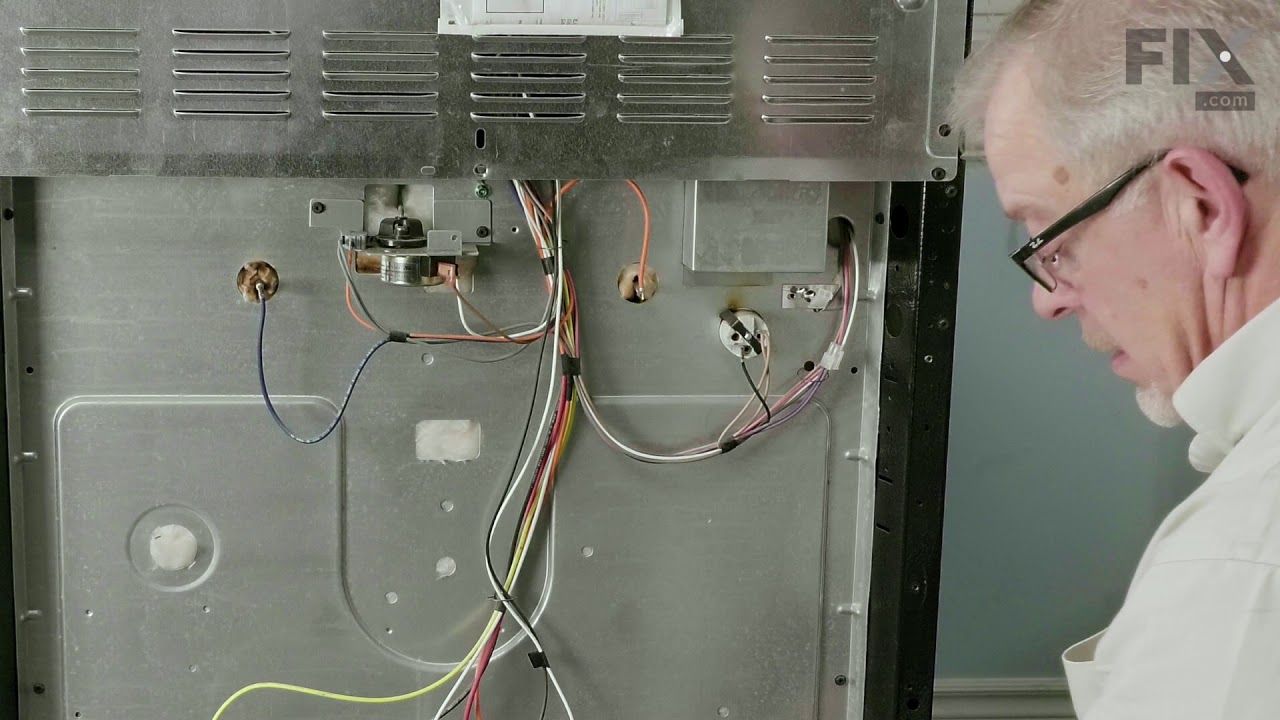
Was necessary to uplug the range, pull it away from the wall and remove the back panel sheet m
... Read moreetal, then 3 screws that mount the motor. Replace motor, reattach sheet metal. Plug in. Done. Ready to bake cookies.
Read less
Was this helpful?
Thank you for voting!
oven did not heat up
73 of 130 peoplefound this instruction helpful.
Tim from ASHAWAY, RI
Really Easy
15 - 30 mins
Socket set
Replaced the probe because that's what this site recommended.The oven still does not heat up.




 My Orders