



 My Orders




CEI30GF5GSF Electrolux Range - Overview
Diagrams for CEI30GF5GSF
See every part. Know exactly what you need.


Enter a part description. DIY Heroes keep it simple, eg. "belt" or "pump".
Search filter:
Clear Filter
Your search term must have 3 or more characters.

$33.95
In Stock
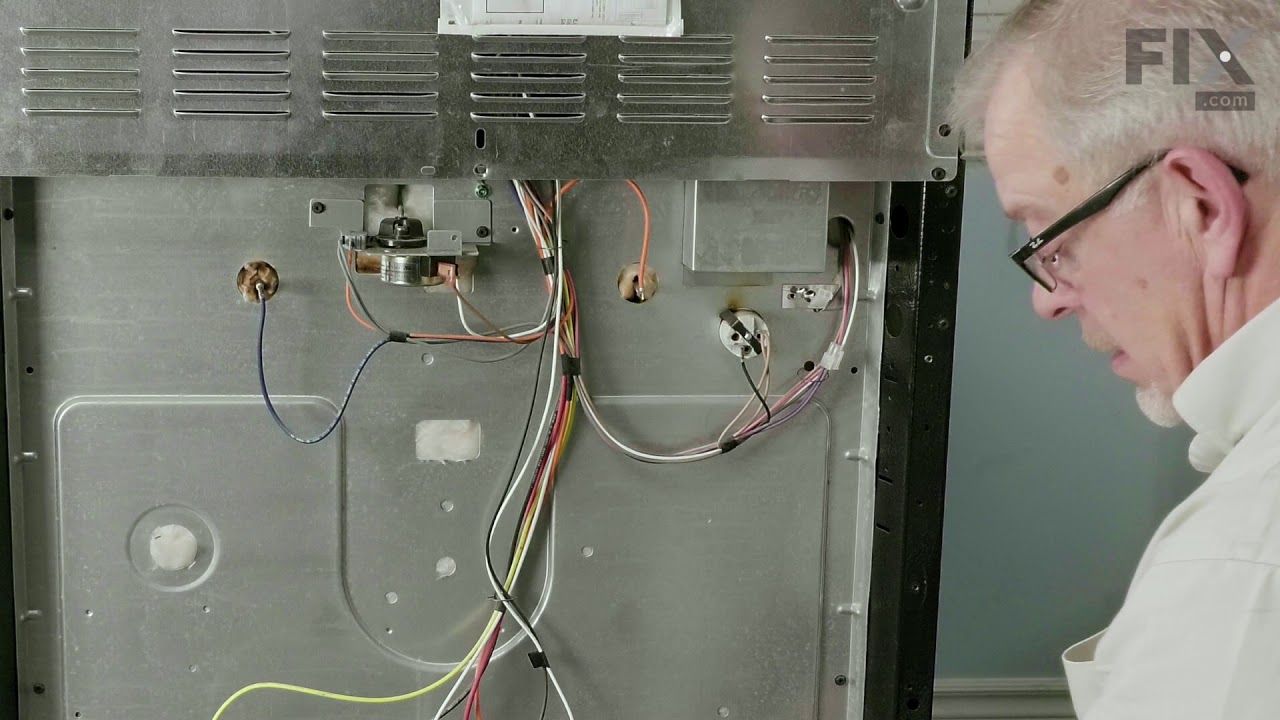
Temperature Sensor
Part #316490000
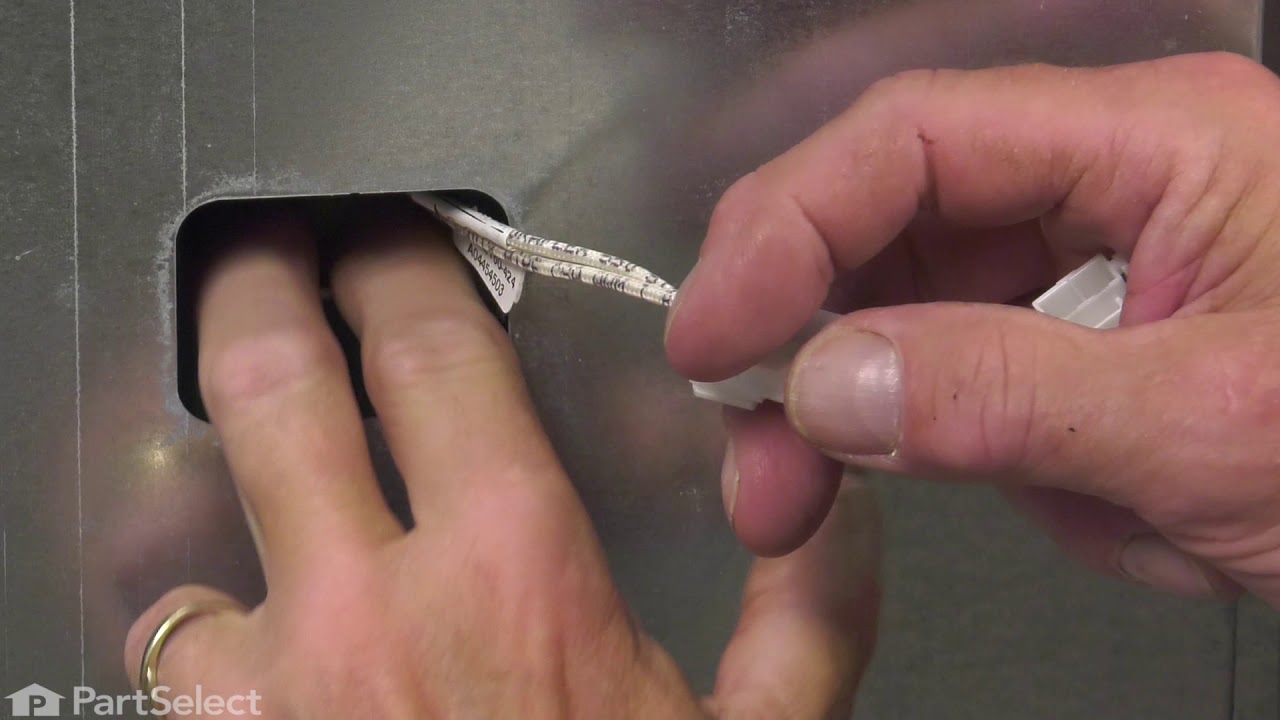
This genuine OEM oven probe is also known as an oven temperature sensor or range probe. This part is manufactured for a range, stove, or oven to detect the temperature within the oven cavity. The probe allows the oven to maintain the set temperature by sensing the temperature and sending the information to the ovens motherboard. You may n...Read moreeed to replace this part if oven is not heating or is heating unevenly. Be sure to disconnect power to oven before replacing, as it is an electrical part. Tools needed are 1/4 inch nut driver and needle nose pliers.
Read less

$92.52
In Stock
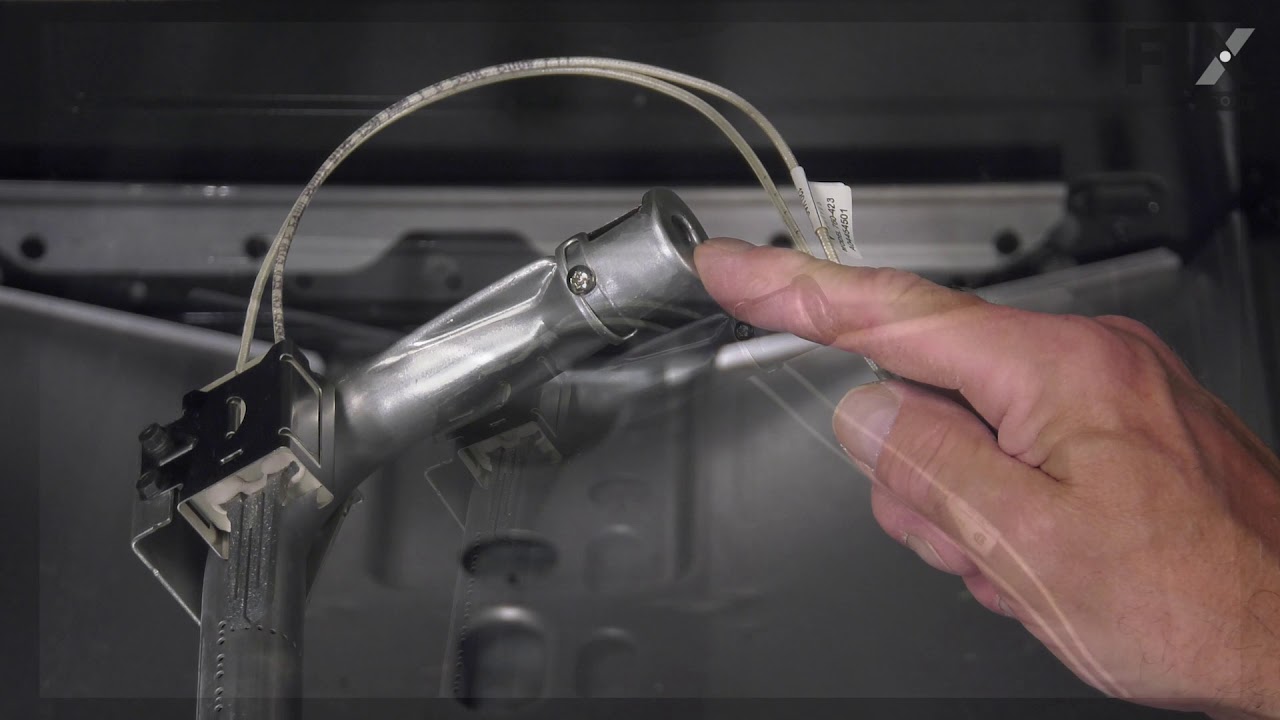
Oven Igniter
Part #316489403
The oven burner igniter simply ignites the gas so it can heat the oven burner. The igniter does this by drawing electrical currents through the oven safety valve to open it. If the element shortens out, is no longer glowing, or is only glowing red or orange, replacing the igniter is the solution. You will need a wire splicing tool to do t...Read morehis repair. First, disconnect the wire harness from the igniter by removing the access panel on the rear of the stove. Next, access the front of oven and take out the racks before removing the bottom of the oven. For the rest of the installation instructions refer to the diagram provided by the manufacturer. Remember to unplug your oven from the power source before beginning this project.
Read less

$81.35
In Stock
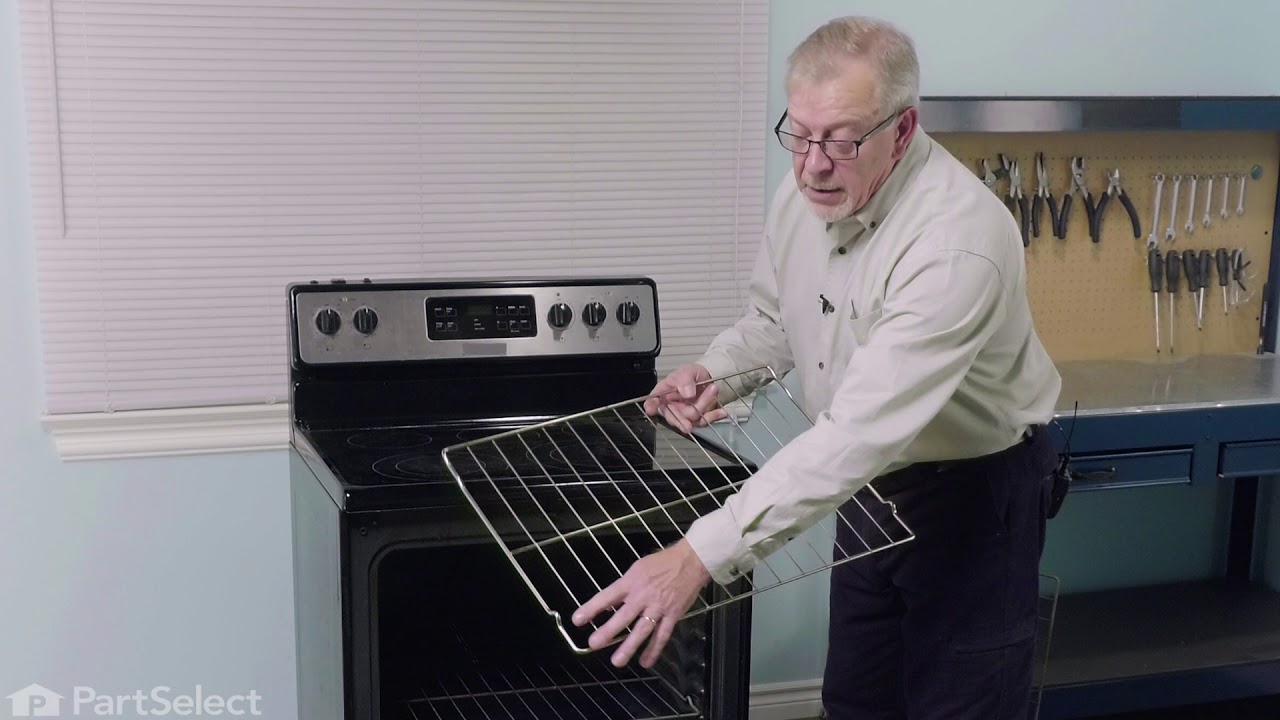
Oven Rack
Part #316496201
This part is found inside your oven. This oven rack comes in the color chrome and measures 24 inches in width and 16 inches in length. This is an extremely simple repair that requires no tools. The package you will receive will contain one rack. The rack may warp or become distressed over time and will need to be replaced. The rack is wha...Read moret holds your food inside the oven and allows you to adjust your food at different heights. Make sure your oven is unplugged before doing any maintenance. You will need to open the oven door and simply slide the new rack into place.
Read less

$27.51
In Stock

$42.82
In Stock
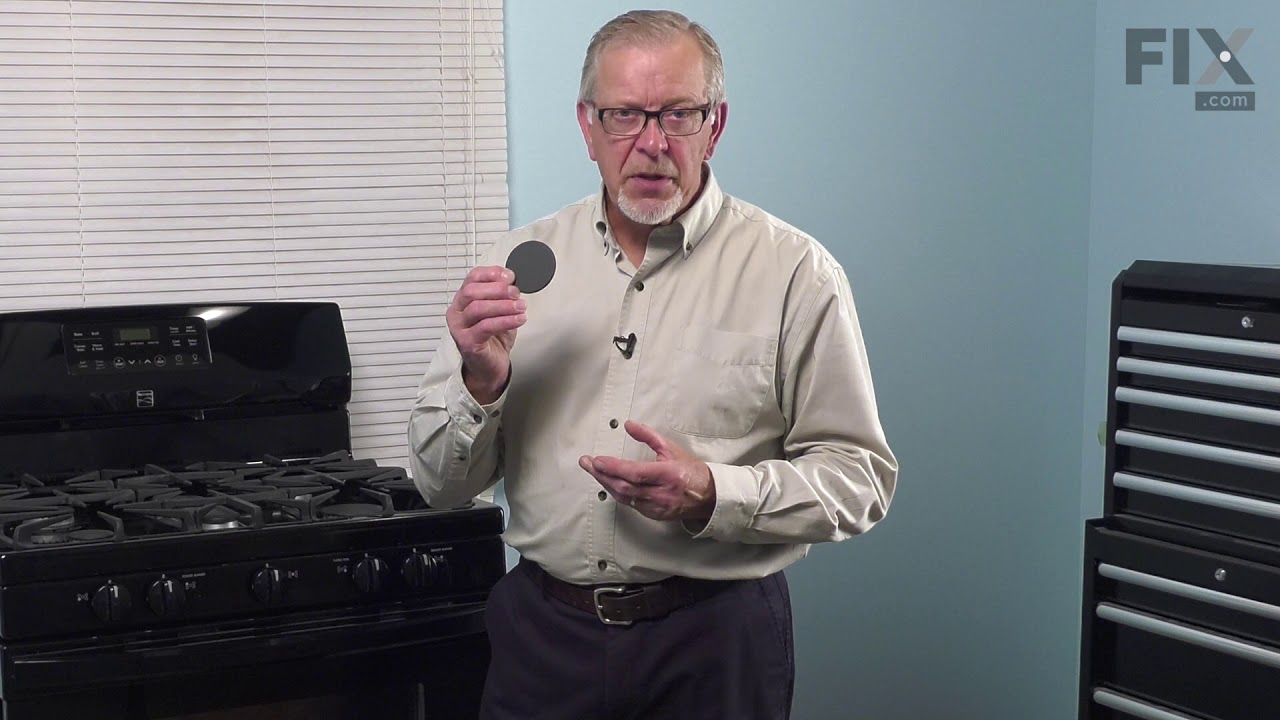
CAP
Part #5304508441
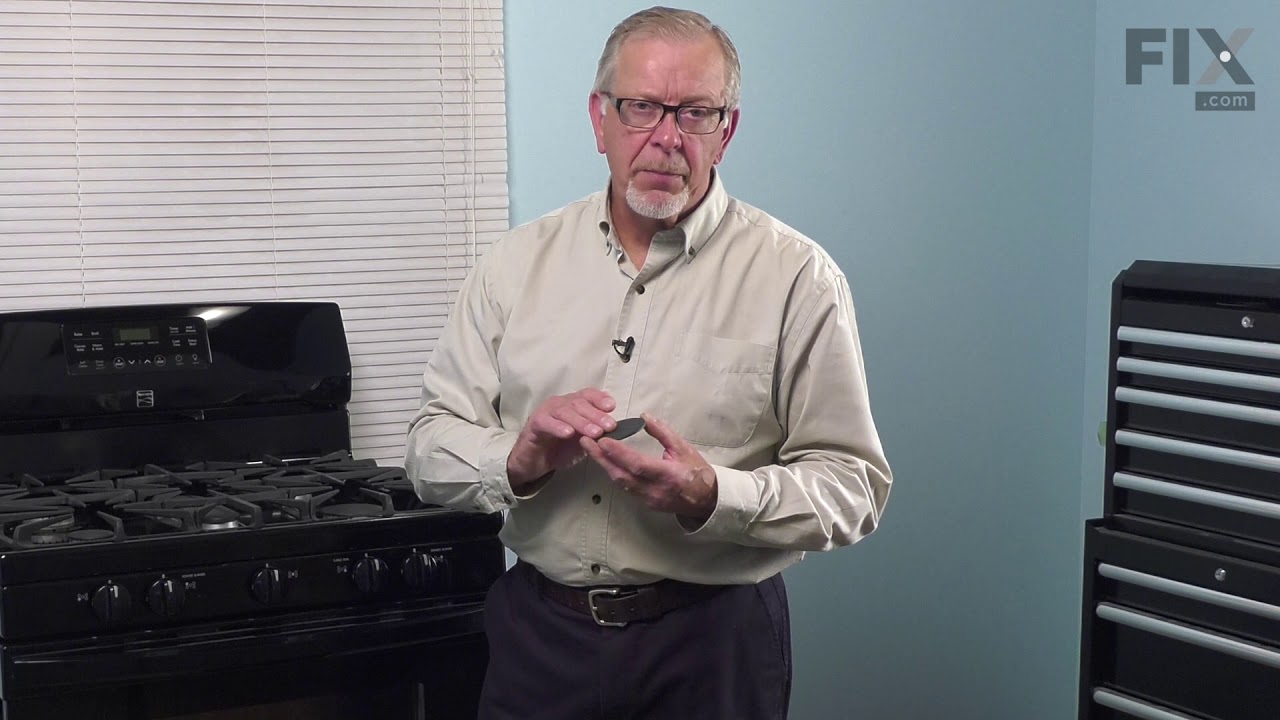
Sold individually. This part helps the flame to spread for even heat. Also protects your burner head from spills.

$26.68
In Stock
Anti-Tip Kit
Part #316112005
The anti-tip bracket kit comes with one metal bracket and two installation screws, and is sourced directly from the genuine manufacturer. It prevents the freestanding oven, range, or stove from tipping when force or weight is applied to an open oven door. The bracket is secured to the floor and wall and fits over the rear leveling leg in ...Read morethe back of the appliance, in a cutout specifically designed for the anti-tip bracket. This part is very essential to the safe operation of the appliance. Failure to install the bracket properly can result in the oven tipping or falling and causing injuries.
Read less

$12.05
In Stock
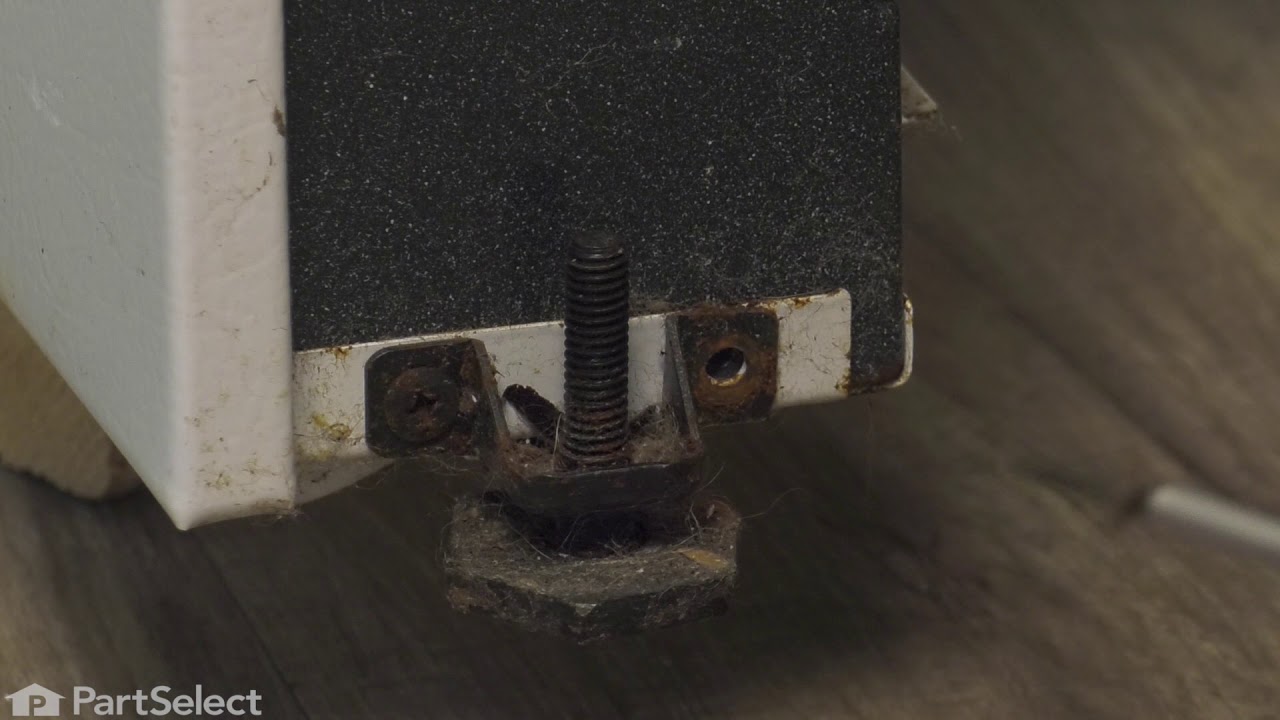
Leveling Leg Assembly
Part #5304509869
Sold Individually. These legs should be adjusted to make your appliance level on uneven flooring.

$21.79
In Stock
Igniter/Orifice Mounting Screw
Part #316240600
This part is the igniter/orifice mounting screw for your cooktop or range. It is approximately ½ an inch in length and is made of metal. The mounting screw connects the orifice to the cooktop. If the orifice is loose, or the screw is missing, this is the part that will replace it. This part is sold individually and is a genuine OEM part sourced directly from the manufacturer.

$23.05
In Stock
Steel Washer
Part #316008401
This steel washer is also known as the range washer and is used on your oven door. The measurements for the steel washer are a three quarter inch outer diameter, and a one quarter inch inner diameter. This washer is an OEM part, made of steel, which is sourced directly from the manufacturer. This specific steel washer is used with your ra...Read morenge, to secure the inner and outer door together and to secure the oven door handle back in place. Users have ranked this repair as a simple installation that should take you less than fifteen minutes to complete.
Read less

$36.30
In Stock
Left Front Orifice - 9.5K
Part #316527500
This orifice is a replacement fuel-delivery component designed to regulate gas flow to a burner. It plays a critical role in maintaining proper flame size and efficiency and is commonly replaced when flow becomes restricted or uneven.

$26.35
In Stock

$25.25
In Stock
Leveling Leg
Part #316272900
This part is sold individually. The leveling leg is black in color and measures approximately 2 inches in length. It is made of plastic. The leveling leg is found underneath your range and may crack or wear down over time. This will need to be replaced if it has broken or gone missing. If you notice your oven is wobbling or uneven it may ...Read morebe due to the leveling leg needing to be replaced. This part can be adjusted to accommodate different heights due to uneven flooring. This is a genuine OEM part sourced directly from the manufacturer.
Read less
Manuals & Care Guides for CEI30GF5GSF
Click to downloadInstall
Installation Instructions
(1.05MB)
Install
Installation Instructions
(4.73MB)
Manual
Owner's Manuals
(1.74MB)
Manual
Owner's Manuals
(6.13MB)
Wiring
Wiring Diagram
(0.85MB)
Common Symptoms of the CEI30GF5GSF
How this model fails, and the parts that fix it.
Little to no heat when baking
Fixed by
these parts
these parts


Show All
Oven is too hot
Fixed by
these parts
these parts
Show All
Gas igniter glows, but will not light
Fixed by
these parts
these parts


Show All
Oven not heating evenly
Fixed by
these parts
these parts
Show All
Element will not heat
Fixed by
these parts
these parts
Show All
Will Not Start
Fixed by
these parts
these parts

Show All
Gas smell
Fixed by
these parts
these parts
Show All
Door won’t close
Fixed by
these parts
these parts

Show All
Door won’t open after self cleaning cycle
Fixed by
these parts
these parts

Show All
Watch our pros, then fix it yourself.

See how others fixed this model. Time, tools, difficulty, and steps that lead to victory!
View More