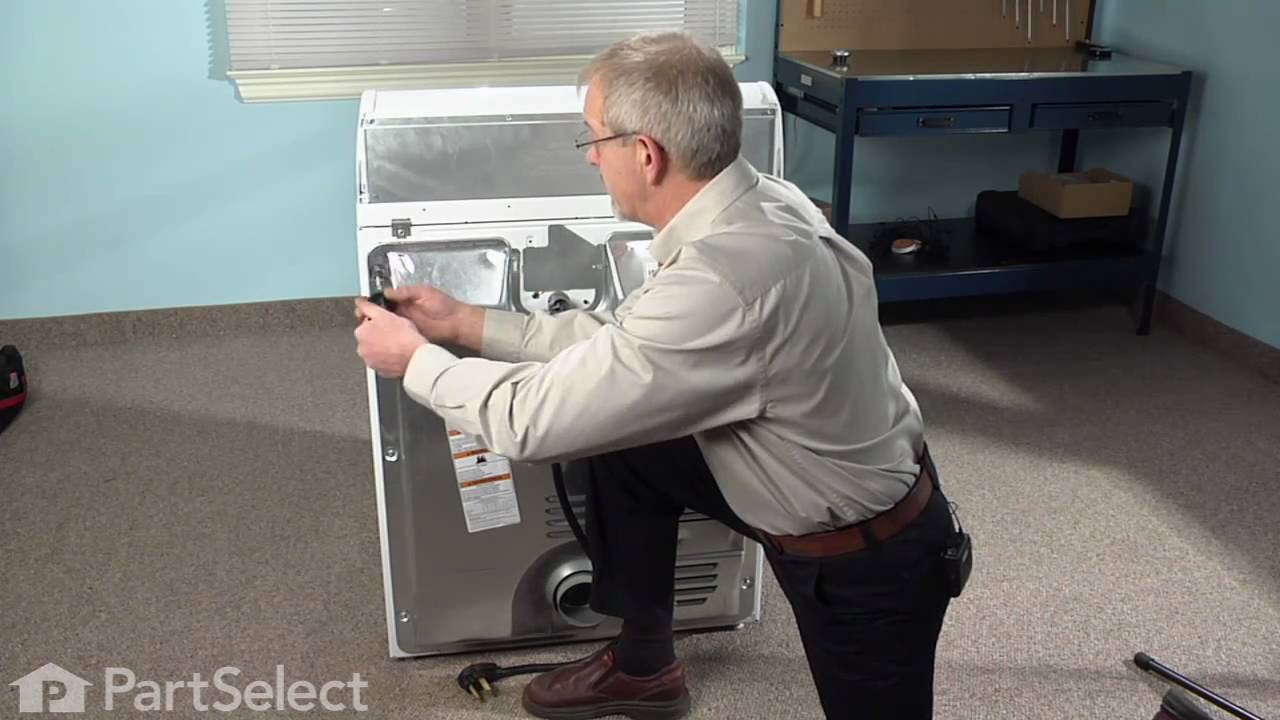
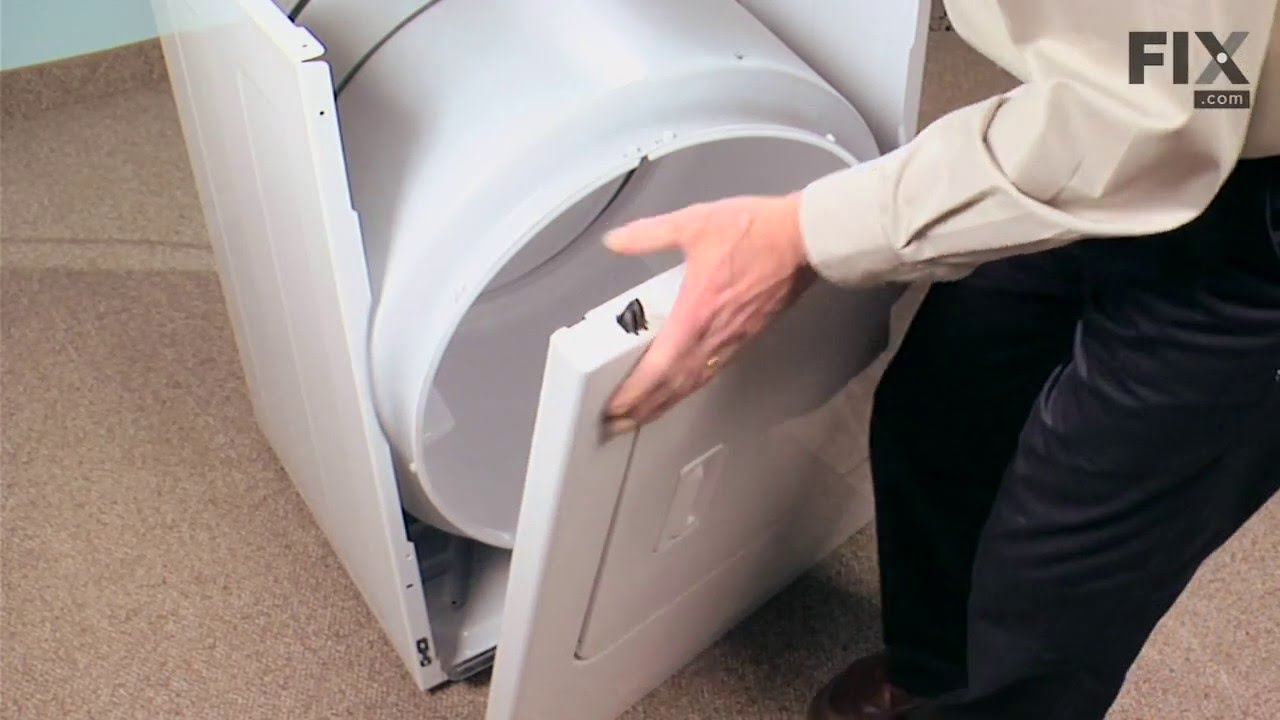
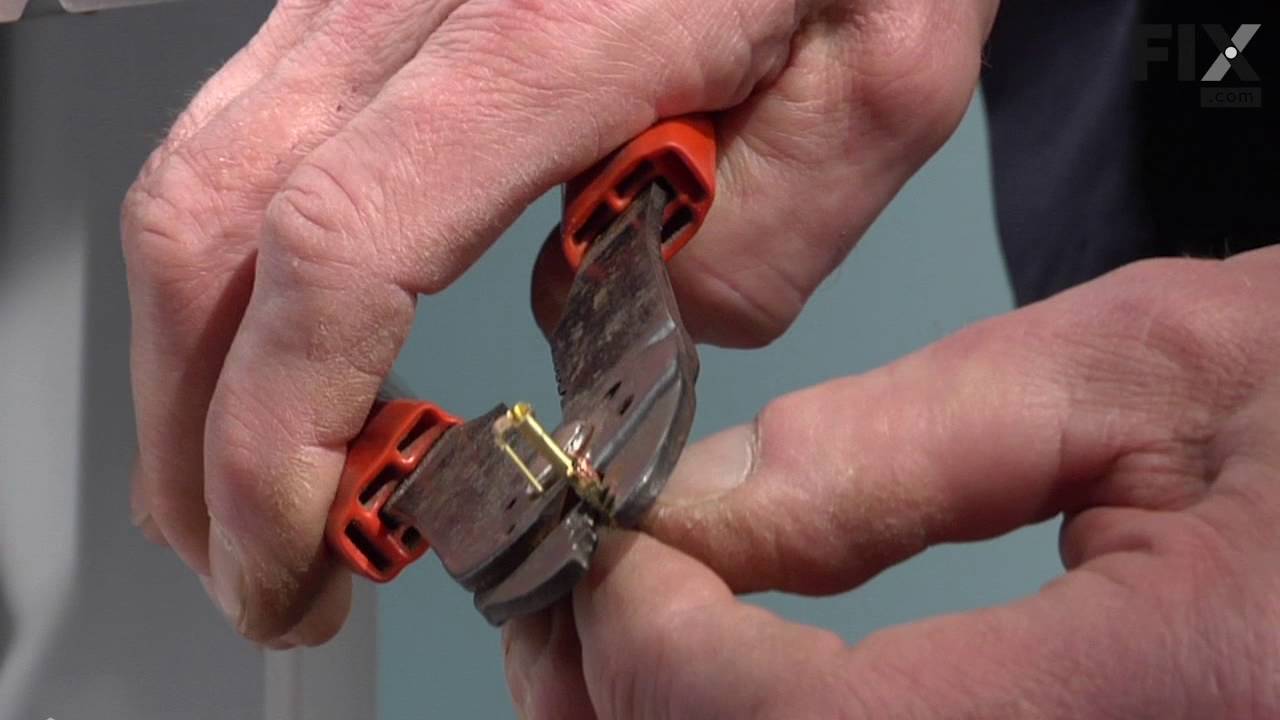
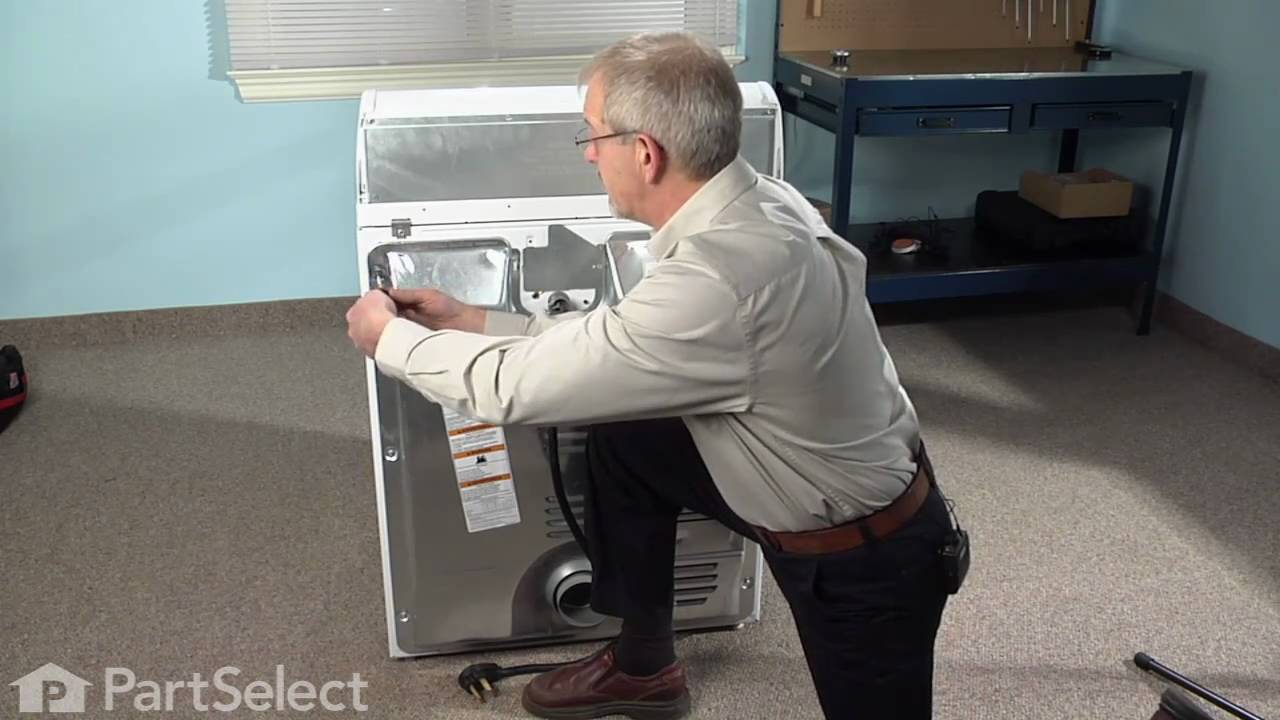
The Dryer Thermal Fuse (Thermal Cutoff, Temperature Fuse) is a 2 by ½ inch, white, plastic safety mechanism that stops the flow of electricity to the motor circuit when a dryer overheats. If the fuse is missing or broken, your dryer will not start. A thermal fuse fails when the exhaust temperature exceeds the fuse rating, that is when th...Read moree temperature rises above the temperature that the fuse is designed to handle. This can occur when a heating element is shorted, a regulating thermostat or thermister fails, or with a partially restricted exhaust vent. The fuse attaches to the blower wheel housing. It must be replaced when there is no longer continuity between the terminals. This is a one-time fuse, meaning it cannot be re-set. The replacement part features two 3/16 inch terminals.
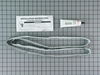
This dryer drum belt (Whirlpool Dryer Belt, Drive Belt) has four ridges, three grooves and is 1/4" wide, and 92 1/4 inches in length. It comes in black and is made of rubber. The belt transfers the rotation of the motor to turn the drum. The belt attaches to the drum, idler pulley, and motor pulley.
The heating element (Flat Can Heating Element 5400W, Heating Element, Whirlpool Dryer Heating Element, Dryer Heating Element) provides heat to the dryer. It is metal and measures 10.5 inches long, 7.5 inches wide, 2 inches deep. The element attaches to the heater housing. This part can break as a result of wear and tear. This can be mater...Read moreial fatigue or prolonged high temperature exposure. If broken your clothes may not dry because of a lack of heat. It must be replaced when there is no longer continuity between the terminals. First check the thermal fuse on the blower housing before deciding to replace the heating element.
This thermostat (Dryer Operating Thermostat, Dryer Cycling Thermostat, Cycling Thermostat, Dryer Thermostat) is used to maintain a temperature of 155 degrees in the dryer drum. The internal bias heater also allows this thermostat to provide a low heat temperature of approximately 140 degrees when the low temperature setting is selected. T...Read morehe part measures 2 by 1.5 inches, comes in black/silver and is constructed of plastic and metal. The thermostat attaches to the blower wheel housing.
The thermal cut-off (Dryer Thermal Cut-Off Fuse Kit, Dryer Thermal Cut-Off Kit) prevents the dryer from overheating when the dryer high limit thermostat fails in a closed circuit condition. This part fails when the heater housing does not have adequate airflow through it; this is normally caused by restriction in the exhaust vent, plugged...Read more lint screen, or broken blower wheel. If this part fails, the dryer may not produce any heat. This kit includes one high-limit thermostat with a limit of 250 degrees Fahrenheit, and one thermal cut-off fuse (309 degrees), jumper wires, and new female spade terminals. Both components are mounted on the heater housing, and measure approximately 2 inches long and 1.5 inches wide each. This kit comes in silver and is constructed of metal.
The drum support roller kit (Dryer Repair Kit) allows the dryer to tumble properly by supporting the drum cylinder. The idler pulley provides the tension required for a multi-ribbed belt. The belt attaches to the drum, idler pulley, and motor pulley. If your dryer is damaged, it may be making loud, squeaking, and/or squealing noises while...Read more the drum is turning. This is from normal wear and tear. The drum may eventually stop turning all together. This is a sign the part should be replaced. This is one complete maintenance kit. The kit includes the drum belt, drum support rollers, one idler pulley, four tri-rings, and one clip. The parts are constructed of plastic, metal, and rubber, and come in black/white/silver.
The drum support roller kit allows the dryer to tumble properly by supporting the drum cylinder. The kit includes two drum rollers, four tri-rings, and one palnut (or retaining washer). The kit does not include a belt or idler pulley and rollers are not sold individually. The drum support roller kit may need to be replaced if the dryer is...Read more noisy or will not tumble. The tools needed to complete this repair are a putty knife, Phillips screw driver, and a 5/16 nut driver. This is an OEM part sourced directly from the manufacturer.
A dryer high-limit thermostat (High Limit Thermostat, Hi-Limit Thermostat, Dryer High-Limit Thermostat) is a switch that is actuated by temperature change. This high limit thermostat acts as a safety mechanism to keep the dryer from overheating. If your thermostat is malfunctioning, your dryer may not heat. This thermostat is located bene...Read moreath the dryer vent at the back of the appliance. The terminal extension arm connects to the heater element terminal. You can test the high limit thermostat with a multimeter. Test the thermostat for continuity at room temperature. If your reading indicates a defective thermostat, it must be replaced. This model is made of metal and plastic, and comes in silver/black. This part features 1 high limit thermostat with a terminal extension arm.
This manufacturer-certified dryer lint filter is used to collect lint during the dryer cycle, to prevent damage to the machine and to prevent lint from sticking to clothes. This model comes in white and is easy to install. It slides into the lint filter slot in your dryer. If there is visible damage to the screen then it's time to replace...Read more the part. Check your user manual and model number to see if this is the right part for you. Make sure you empty the lint filter after every use of the dryer and check the filter slot for an excess buildup of lint, which can shorten the life of your filter and be a fire hazard. The screen is approximately 20 inches in length, not including the handle, and around 8.5 inches wide.
This part provides the tension required for a multi-ribbed belt. It also helps the belt rotate the drum and attaches to the idler pulley wheel. If your dryer will not start or tumble, takes too long to dry, or is noisy during operation, you may need to replace the idler pulley assembly. Make sure to disconnect power before installing this...Read more part, and wear work gloves to protect your hands. While the dryer is disassembled for this repair, consider replacing the drive belt as well. You will need a putty knife, a Phillips screwdriver, and a 5/16 nut driver for this repair.
If you notice that your dryer is noisy or will not tumble, you may need to replace the tri ring. This part is triangular, and is less than an inch in size. Tri rings can be found both on the idler pulley shaft, or on the rear drum roller shaft. In either case, you will need to remove the front panel of the dryer and the drum to access the...Read more part for repair. Once you have accessed the damaged tri ring, you will simply need to slip it off and replace it with the new one. This part is sold individually. Be sure to disconnect the power source from the dryer before you begin this repair.
If your washer shakes or vibrates loudly when it reaches its max speed, check that the leveling legs are even. To ensure that the washer is firmly on the ground using all four legs, adjust the legs so that the machine is level, and tighten the locking nuts on the legs that are threaded. Keep the washer as close to the floor as possible. Y...Read moreour model might have rear legs that level themselves, or it might have threaded legs all around. Make sure the rubber feet have not worn out. Replace any missing or damaged legs and feet. This replacement part is sold individually.
Ask our experts a question about this model and we'll get back to you as soon as possible!
We may have answered a similar question already! Search questions and answers left by others using simple keywords like "fit", "broken", "easy", or "quality" to find questions that match.
Search filter:
Clear Filter
Your search term must have 3 or more characters.
Sort by:
Prev
1
Next
Sorry, we couldn't find any existing answers that matched.Try using some different or simpler keywords, or submit your new question by using the "Ask a Question" button above!
Juanita - For model number CEDS832VQ1
March 23, 2024
Clothes dry on permanent cycle
But won’t dry on regular cycle
Hello Juanita, thank you for contacting us. Based on our understanding of the issue, we would suggest checking the timer, part number PS11749831, to solve the problem. Glad to be of assistance!
Is there a way to turn off the end cycle buzzer? Thank you!
Hi Dawn, sadly we could not find instructions on how to do this. We recommend contacting the manufacturer directly for this information. Thank you for your question and good luck with your repair!
Was this helpful?
Thank you for voting!
Prev
1
Next
✖
Ask a Question
Ask our experts a question on this model and we'll respond as soon as we can.
See how others fixed this model. Time, tools, difficulty, and steps that lead to victory!View More
Search repair tips from other customers using simple keywords like "replace", "fit", "remove", "inspect". DIY doesn't mean you have to do it alone!
Search filter:
Clear Filter
Your search term must have 3 or more characters.
Dryer was working, but no heat.
3067 of 3491 peoplefound this instruction helpful.
ANTHONY from CHESHIRE, CT
Easy
15 - 30 mins
Nutdriver, Pliers, Screw drivers
First I unplugged the dryer, then removed the back panel, this exposed most all of the wiring and I could see the heater coils. Not knowing what the problem was I started looking at the coils and could not see any broken parts. So then checked the thermal fuse for continuity I removed the two wires from it with a small pair of
... Read moreneedle nose pliers, it was held in place by two screws, once they were removed the fuse came out easily, I checked continuity with a volt meter placing the meter on X1 Ohms and could not get a reading. I replaced with a new one and put it all back together the way I took it apart. Then I plugged it in and it worked first time, I now have warm dry clothes.
Read less
Was this helpful?
Thank you for voting!
Dryer motor runs, but no heat
2308 of 2510 peoplefound this instruction helpful.
Gadi from Irvine, CA
Really Easy
30 - 60 mins
Nutdriver
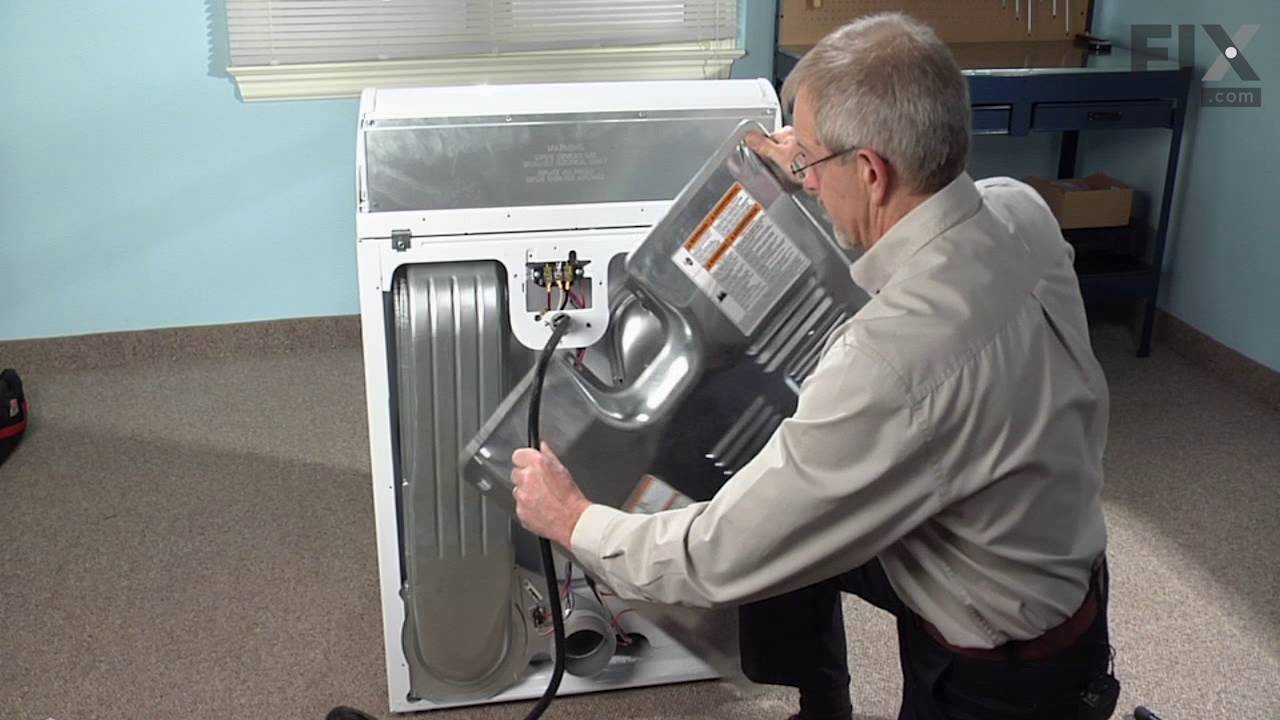
To reach the heating element you only need to open the back cover of the dryer (about 8 nut-head screws). Remember to disconnect the power.
To remove the heating element there are two small nut-head screws. Remove the two electric wires. Then you can pull the heating element away.
You can check the heating element wi
... Read moreth an ohm-meter or visually inspect it to see if the heating element spiral wire is broken.
Don't hurry to dispose the old element. My model includes a small electric safety part. You'll need to transfer it to the new heating element (that comes without it)..
Good luck.
Read less
Was this helpful?
Thank you for voting!
Dryer tub belt broke
1370 of 1493 peoplefound this instruction helpful.
Ray from Denton, TX
Easy
30 - 60 mins
Screw drivers, Socket set
Removed the two screws that attatch the lent channel to the top of the dryer, then lifted the top of the dryer by pushing in on the two locking tabs located at the front , left and right , corners of the dryer top with a small flat head screw driver. The top of the dryer will fold back out of the way. At this point I removed the two 1/4 i
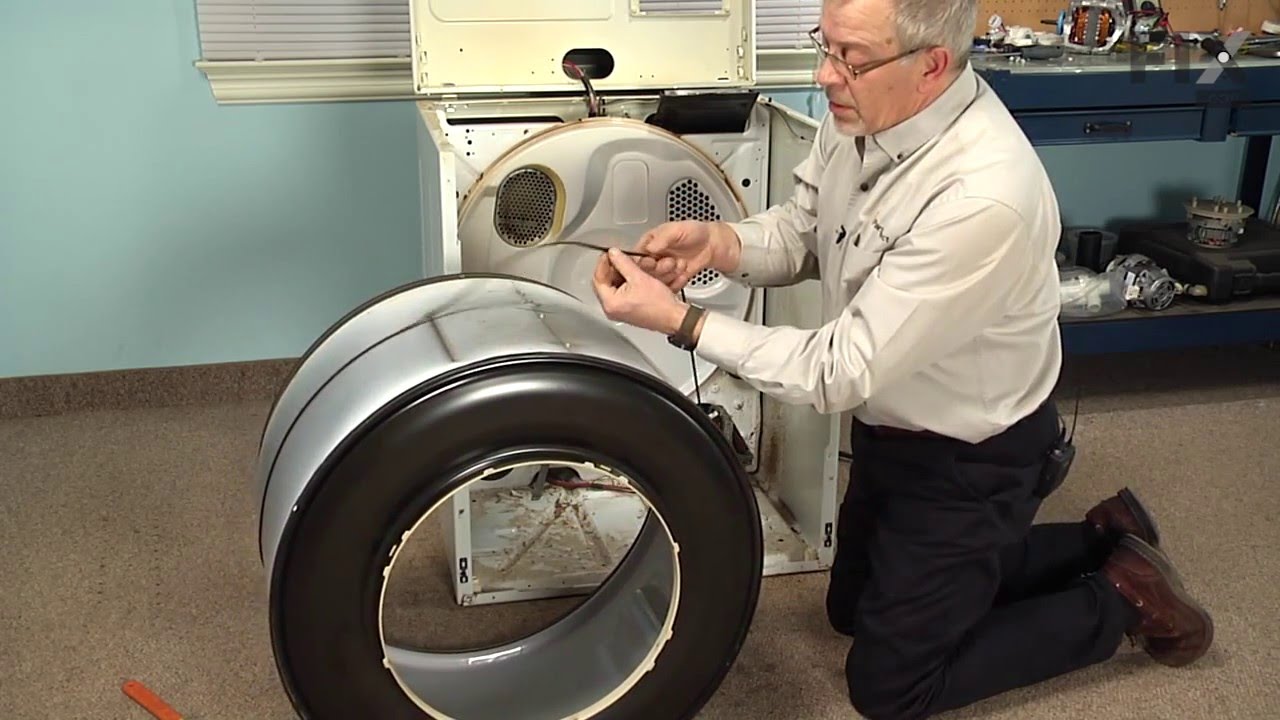
... Read morench screws that are located on the inside of the dryer front left and right corners that hold the front panel/door to the two side panels. Now I was able to lift the front panel up and set it to the side. The bottom of the front panel that contains the dryer door that I just removed was held on the bottom by two clips that slide into slots on the front panel and did not require any removal to disconnect the bottom of the front panel, just pull up on the front panel. Since the tub was held in place by floating on a seal at the back of the dryer and a seal on the front panel , which I just removed the tub is now free floating except for the two alignment roller wheels at the bottom of the tub. It is easier if you lay the dryer on its back at this point with front of the tub pointing up. I pulled the tub out and cleaned the years of built up lent and removed all the pieces of the old , destroyed, belt. Note, the belt tentioner is located at the front of the motor which on the bottom right hand side. If your belt is broke like mine the tensioner may/will fall to the back of the dryer when you tilt it back, but do not worry. Once the dryer was cleaned up I put the tub back in place , still on its back and made sure the two alignment rollers were in place and rolled freely when the tub was turned by hand. Another note, my original belt tensioner did not have a rolling wheel that the belt rode on , but was a semi-circle smooth surface that the belt remained in constant friction with when the dyer was running, so I made sure the replacement tensioner I ordered with my new belt did have a rolling wheel that the belt would ride on, which I believe will reduce wear and extend the belt life. The new belt came with a diagram of the belt and tensioner routing which was helpful. Note: do not take the tensioner wheel off/apart when trying to route the belt. Follow the instructions routing diagram. The tensioner is held in palce by inserting the bottom back half into the slot in the bottom floor of the dryer making sure it is aligned with the belt pully on the shaft of the dryer motor. The dryer is still on its back side. Now, it was easier for me to route the belt around the center of the tub, following the marks from the original belt, and hold in in place in a few spots with masking tape and then route it thru the tensioner and onto the front pully of the motor. Make sure you have the grooves of the belt against the tub and the grooves are aligned with the pully on the motor. Now you can remove the masking tape that was holding the belt around the tub and spin the tub by hand watching the belt making sure it is not in a bind and is traveling around the motor pully , tensioner and tub freely. Make sure the tub is still sealed on the back side wall. As you turn the tub by hand you can adjust the belt by hand so that is following the original marks around the tub left by the orignal belt. Also double check the two alingment rollers and make sure they are spinning and on track. Now put the front panel with the door on by sliding it onto the two clips that are one the bottom at each side and put the two screws in that hold the front panel to the two side panels. Now stand the dryer back up and spin the tub by hand again making sure it has a good seal on the back side and on the front panel. Pull the top back down and put the two screws in that hold the lent channle to the top. I am not sure when the belt started failing on my dryer, but was amazed at how quiet it runs now. Guess I was use to the extra noise made by a dryer that was about to die. This was a cheap and easy repair and glad I did it myself.



 My Orders