This complete lower rack assembly is a genuine replacement part designed for select GE dishwashers, including models sold under Hotpoint, Haier, Monogram, and Café brands. Engineered to securely hold plates, bowls, pots, and pans during the wash cycle, it ensures optimal water coverage and prevents breakage. Constructed from high-quality ...Read morematerials, the rack offers long-lasting durability and resistance to heat and detergent wear. Newer versions may feature an enhanced wheel assembly with protective coverings that keep the wheels aligned and prevent detachment, allowing for smoother sliding in and out of the dishwasher. Common signs that replacement is needed include difficulty moving the rack, rust or discoloration, broken tines, and poor cleaning performance due to misaligned dishware.
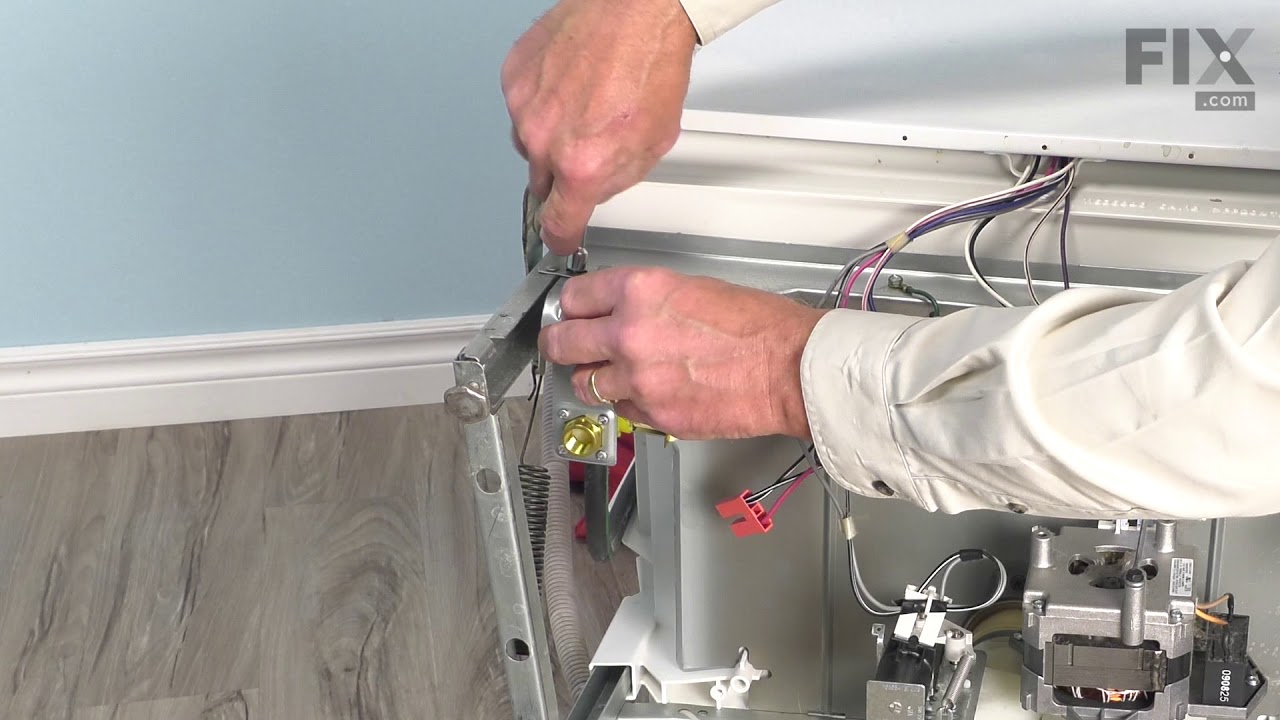
This water inlet valve should be located behind the lower kickplate panel in either the right or left corner. The attaching solenoid on the valve open and close according to the desired amount of water needed.
This detergent dispenser assembly is attached to the inner door panel of a dishwasher. This part holds detergent and dishwasher rinse products in a covered container. If your dispenser will not open, close, dispense detergent properly, or the dishes are coming out of the dishwasher dirty, replacing this part can solve these problems. The ...Read moretools needed for this installation project are a #2 Phillips screwdriver and needle-nose pliers. To repair, first remove screws from the bottom of the inner door panel. Next, remove connecters, wires, and screws from the dispenser to access it and replace with new dispenser. Refer to the manual provided by the manufacturer for further installation instructions and guidance. Unplug dishwasher from power source as a safety precaution.
The hinge link on your dishwasher connects the spring to the dishwasher door hinge. If the hinge link becomes cracked or damaged, you may not be able to shut or lock your dishwasher door properly. In this case, you will need to replace the hinge link. Pull out your dishwasher to inspect the hinge and spring, if the link is broken, it may ...Read morebe disconnected and on the ground already. If not, you can remove the hinge arm link by simply disconnecting it from the hinge and spring, then replacing it with the new part. The hinge arm link is a small piece of white plastic about an inch and a half long. It is sold individually, and is an OEM part from the manufacturer.
This genuine rinse-aid dispenser cap is an original replacement part from GE, designed for use with GE dishwashers. It covers the rinse agent port and securely seals the dispenser to keep the rinse aid contained until it's needed during the wash cycle. The cap is commonly replaced if it becomes lost or damaged. No tools are required for i...Read morenstallation, making it a quick and easy fix. This part is sold individually and is built to meet OEM standards for compatibility and performance.
This OEM-compatible screw is designed for use with many GE dishwashers. Measuring 8-16 HXW and 1/2" in length, this stainless steel screw secures the middle spray arm hub to the upper rack assembly, ensuring stable and effective spray arm performance.
Sold individually, this durable metal fastener requires a nutdriver for proper installation.
This part is the replacement door hinge cable for your dishwasher. The door hinge cable connects the door spring to the door hinge, and allows the door to open in a controlled fashion. If you open your dishwasher and the door drops down quickly, your door hinge cable may need to be replaced. Be sure to disconnect the water and power sourc...Read morees from the dishwasher before you begin this repair. The door hinge cable is sold individually.
Ask our experts a question about this model and we'll get back to you as soon as possible!
We may have answered a similar question already! Search questions and answers left by others using simple keywords like "fit", "broken", "easy", or "quality" to find questions that match.
Search filter:
Clear Filter
Your search term must have 3 or more characters.
Sort by:
Prev
1
2
Next
Sorry, we couldn't find any existing answers that matched.Try using some different or simpler keywords, or submit your new question by using the "Ask a Question" button above!
Julie - For model number CDWT280V05SS
October 1, 2021
Why does this model leave a cloudy residue on the dishes?
Hello Julie, Thank you for your inquiry. We have researched the model number you have provided and we would recommend using a rinse aid if you are not already doing so. If you do use a rinse aid, there are multiple reasons why there could be a film left on your dishes-check the temperature of the water coming into your dishwasher to make sure it is hot enough, we also recommend checking the following parts to fix your issue: the upper spray arm, the filter, the detergent and rinse aid dispenser, the drain pump and the drain tube. Good luck with your repair.
My dishwasher does not seem to fill with water. It runs a cycle, but when opened up, the dishes are not wet at all, and still dirty. I see that the Water Inlet Valve is the usual suspect, but is there an onboard diagnostic routine I can run to verify that this part has failed? Thanks!!!
Hi Jeff, thank you for your inquiry. Based on our research, the issue is most probably with the water inlet valve, part number PS3654179. You may need to replace it to solve the problem. In order to test the water inlet valve, set your multitester to the RX1 ohms setting to test for continuity. Place each of the multitester's leads on a terminal. Your multitester should display a reading between 200 and 500 ohms. If the test you conduct with your water inlet valve does not produce these results, then you should replace the component. Glad to be of assistance!
Hello Joe, Thank you for the question. The Filter sits below the Lower Spray Arm. Once you pull the Lower Arm off, the filter will be exposed so it can be cleaned. We hope this helps!
So I replaced the Water Inlet Valve P/N PS3654179 and it appears to fill with water, but then that stops after a minute or two and then the whole system just sits there and does nothing else. What would the next logical part be to address this? I can't find a flow chart, or any maintenance manual to tell me what should happen, and in what order. Is there some kind of onboard diagnostics to tell me what part has failed?
Hello Jeff, thank you for reaching out. Based on the description that you have provided, the issue is most probably with the control module, part number PS8756322. You may need to replace it. To enter the diagnostic mode, you may follow the following instructions. Put the dishwasher in the standby mode. Press the heated dry and select cycle button simultaneously. If performed correctly, the control board responds with two beeps, and all the LEDs illuminate for 4 seconds. To exit the service mode, press the start/reset button at any time. We hope this information helps!
See how others fixed this model. Time, tools, difficulty, and steps that lead to victory!View More
Search repair tips from other customers using simple keywords like "replace", "fit", "remove", "inspect". DIY doesn't mean you have to do it alone!
Search filter:
Clear Filter
Your search term must have 3 or more characters.
soap door latch broken, wouldn't hold soap for later release in middle of cycle like it was supposed to.
100 of 108 peoplefound this instruction helpful.
James from Naperville, IL
Really Easy
15 - 30 mins
Screw drivers
Turned off power to unit, 'cuz it has a solenoid lead to open the soap door. Removed the phillips head screws that held the door together. The screw are located on the inside edge of the door, there are 10-12 of them. Spearated the door shells carefully, trying not to disturb the location of the wiring in the middle of the doo
... Read morer.
Found the 4 screws that hold the module assembly to the door from the inside, and removed them. Popped the assembly out, cleaned the gasket-seat area and placed the new one in place. Carefully tightened the 4 screws. It is easy to over-tighten them, so only turn them until you feel they are snug. Let the gasket do the work. Attached the two solenoid control wires in the same positions they were in before they were removed from the old assembly. Re-assembled the door halves, again taking care to not over-tighten the phillips-head screws. One got "spun" and I removed it and re-set it into some epoxy. Returned power to the dishwasher, and stopped washing dishes by hand. Note: the latch is now made with a plastic that is more dense, and likely will not fail as soon as the original one did. I think GE learned something about the durability of their component plastics since this was originally built.
Read less
Was this helpful?
Thank you for voting!
Heating element rusted and cracked
89 of 95 peoplefound this instruction helpful.
Jason from Jersey City, NJ
Easy
15 - 30 mins
The hardest part for me was pulling the dishwasher out from under the countertop. Once it is out all you have to do is disconnect the power (or power off the fuse going to the dishwasher) then look underneath the dishwasher and you will see where the two ends of the heating element come through. Disconnect the wires connected to the ends
... Read moreby simply sliding off the connector. Then remove the plastic "nuts" that screw onto the ends of the heating element by turning them counterclockwise counterclockwise. Once the nuts are removed you can reach inside the dishwasher and remove the old heating element and replace it with the new one. Then simply replace the plastic nuts and reconnect the wires and you are good to go.
Read less
Was this helpful?
Thank you for voting!
Water leak, small puddle to front left of dishwasher
65 of 85 peoplefound this instruction helpful.
Greg from Burlington, VT
Easy
15 - 30 mins
Nutdriver, Socket set
You'll need to remove the front toe kick and (if installed, the GE Profile baffling for additional silencing action).
You will need to disconnect the right wire connection to access the right screw (and may need to use a flat head screwdriver). You can then remove the 2 screws that hold the Valve Water Inlet on.
... Read more>You will then need to loosen and the hose clamp that attaches the water line to the Valve Water Inlet. You may need to force it undone since the rubber connection is pretty secure around the water tube inlet.
Disconnect the plastic wire housing from the Valve Water Inlet and you should now have the Valve Water Inlet disconnected.
Reverse the order and reconnect everything and you should be good to go!
Double-check for any leaks prior to pushing everything back in :)



 My Orders