


 My Orders




CAV4000AWS Magic Chef Washer - Overview

Enter a part description. DIY Heroes keep it simple, eg. "belt" or "pump".
Search filter:
Clear Filter
Your search term must have 3 or more characters.

$13.92
In Stock
Lid Hinge
Part #WP35-2044
The lid hinge on your washer is connected to the lid and allows it to open and close. If you find you cannot open or close the lid to your washing machine properly, you may need to replace the lid hinge. This lid hinge is an inch and a half long, all white in color, and it is made entirely of plastic. To complete this repair, you will nee...Read mored a Phillips screwdriver and a putty knife to remove the top of the washer, in order to access the screws that hold the lid hinge in place. Be sure to disconnect the power to the washing machine before beginning this repair.
Read less

$19.30
In Stock
Lid Hinge Pin
Part #WP35-2045
This lid hinge pin allows a washing machine lid to pivot open and closed properly. The hinge pin may need to be replaced if the lid will not open or will not close. The part is white and made of plastic. This lid hinge pin is just over an inch long, is sold individually, and does not include the mounting screw (consider ordering mounting ...Read morescrew if it rusted or stripped). It is recommended to check the opposite lid hinge pin before ordering because hinges may wear at the same rate. Be sure to not tighten the mounting screw to pin too tightly to avoid breaking the new part.
Read less

$7.47
In Stock
Screw
Part #WP25-7893
This screw is less than an inch long. It is a metallic screw that is used for many clothes washers. Sold individually.

$49.50
Special Order
Lid Switch Actuator - Black
Part #WP43-0057
This is part of the lid switch actuator mechanism and activates the lid switch, when the lid is closed, to start the wash cycle and when the lid is open, it stops the cycle.

No Longer Available
Lid Switch Kit
Part #12001187
The lid switch kit is an assembly for replacing your washer lid switch. The function of this part is to detect if your washer lid is open or closed. If it detects that it is open it will prevent the washer from rotating and agitating until it is closed. This kit includes the bracket, actuator, switch, screws, and wire harness. To complete...Read more this installation, you will need a number two Phillips screwdriver, and a 5/16 nut driver. Before beginning this repair, make sure the power supply to your washer is disconnected. In order to install this part, you will need access to the rear of the unit.
Read less

$6.40
Special Order
Lid Switch Housing
Part #WP21001135

No Longer Available
Door Bumper
Part #35-0581
This bumper cushions the washer door from the cabinet. They are sold individually.

No Longer Available
SCREW
Part #25-7438

No Longer Available
LEVER- LID
Part #21001134

$7.47
Special Order
No Longer Available
DISPENSER-
Part #21001597
No Longer Available
BUSHING- I
Part #35-2063
Common Symptoms of the CAV4000AWS
How this model fails, and the parts that fix it.
Lid or door won’t close
Fixed by
these parts
these parts


Show All
Will Not Start
Fixed by
these parts
these parts
Show All
Will not drain
Fixed by
these parts
these parts

Show All
Will not agitate
Fixed by
these parts
these parts
Show All
Watch our pros, then fix it yourself.
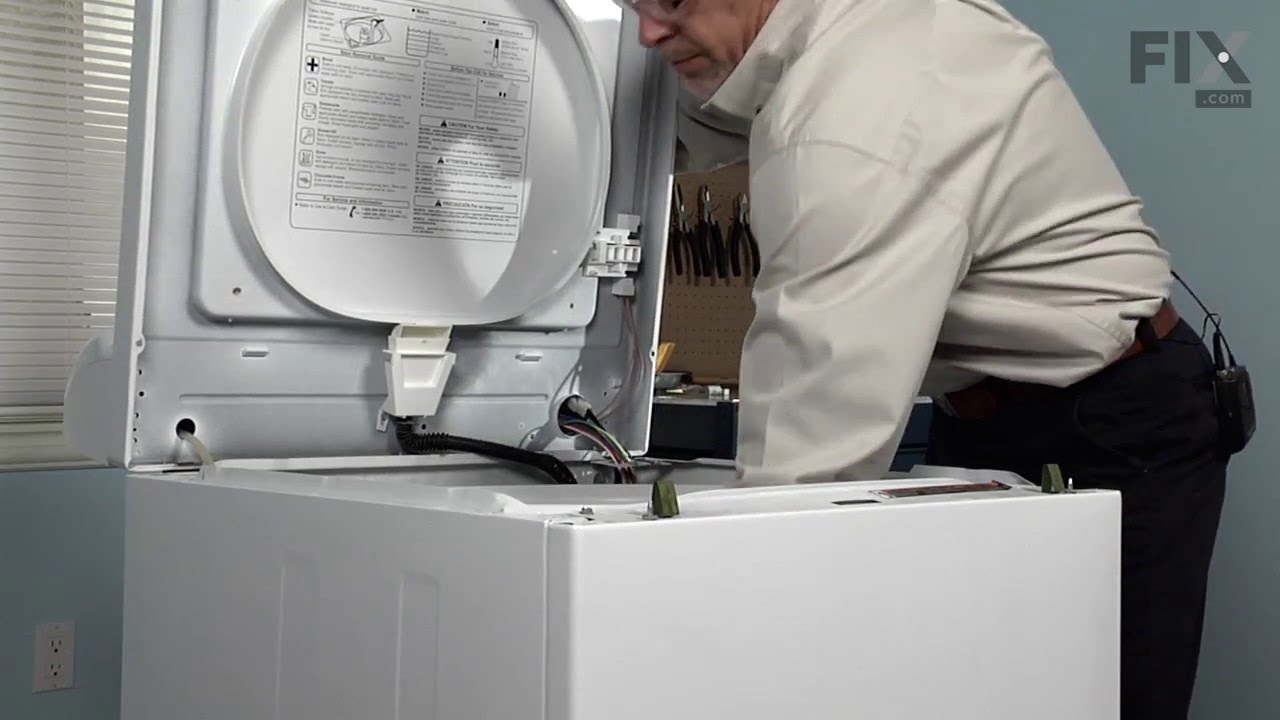
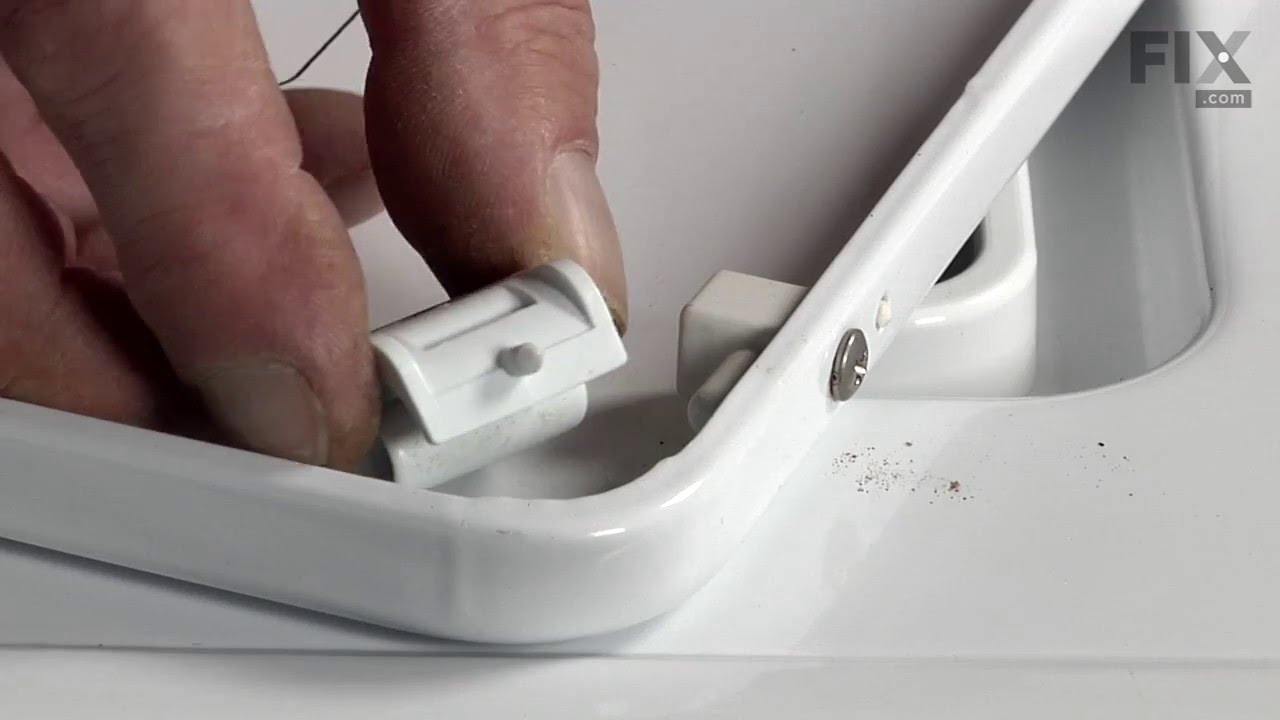
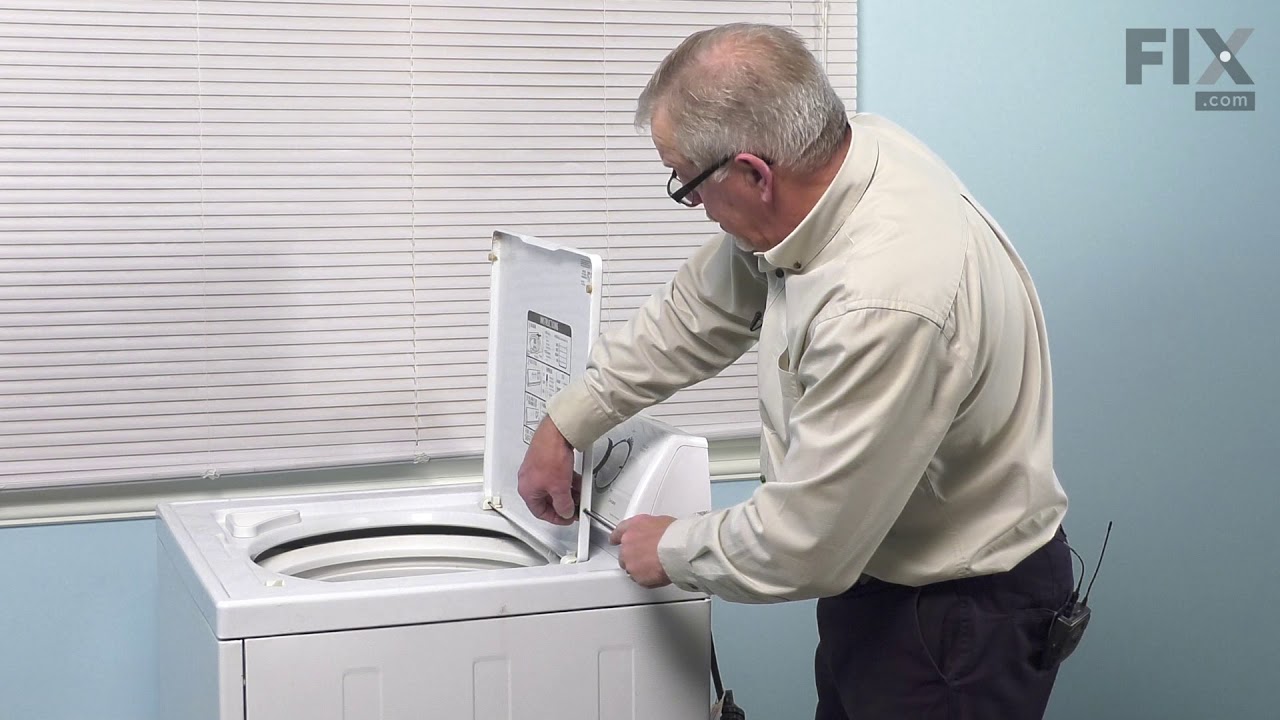
See how others fixed this model. Time, tools, difficulty, and steps that lead to victory!
View More
Search repair tips from other customers using simple keywords like "replace", "fit", "remove", "inspect". DIY doesn't mean you have to do it alone!
Search filter:
Clear Filter
Your search term must have 3 or more characters.
One of the plastic hinge pins brroke
518 of 524 people
found this instruction helpful.
I used a flat screw driver to push in on the releases so I could raise the top of the machine. I then used a torx tool to remove both parts of the hinge, and then used a #2 phillips screw driver, on the new screws I'd also ordered, to re-attach both of the hinge parts. Every thing went just as anticipated.
Other Parts Used:


Was this helpful?
Thank you for voting!
Hinge pin on one side and Lid hinge on the other
31 of 35 people
found this instruction helpful.
First I popped the lid up to about 70 degrees. Then removed the two hinges. Then removed and replaced the two hinge pins. The key is to then just start the two screws for the hinges, slip the pins in and then tighten the hinge screws. Total time was 5 minutes.
Other Parts Used:
Was this helpful?
Thank you for voting!