













BC30 - Overview
Models starting with BC30
Click on the best match to narrow your results.
- BC30 Haier Refrigerator
- BC30 (RY30061A) Ryobi Brush Cutter (Brushcutter)
- BC30 (RY30160) Ryobi Brush Cutter (Brushcutter)
- BC30 (RY30004A) Ryobi Brush Cutter (Brushcutter)
- BC30 (RY30004) Ryobi Brush Cutter (Brushcutter)
- BC30 (Type 1) Biesemeyer Table Saw Accessories (Fence)
- BC3000 (UT-15099-R) Homelite Trimmer (Trimmer)
- BC30B Weed Eater Trimmer (Gas Trimmer)
- BC30B (2006-05) Husqvarna Trimmer (Handheld Trimmer)
- BC30W (Type 1) Biesemeyer Table Saw Accessories (Fence)
Keep searches simple, eg. "belt" or "pump".

Fuel Line (25" Length)
PartSelect #: PS9008183
Manufacturer #: 530069247
This 25-inch fuel line carries fuel from the tank to the carburetor, ensuring proper engine operation. Made from durable clear plastic, it is designed to withstand regular use but may become clogged o...
$12.81
In Stock

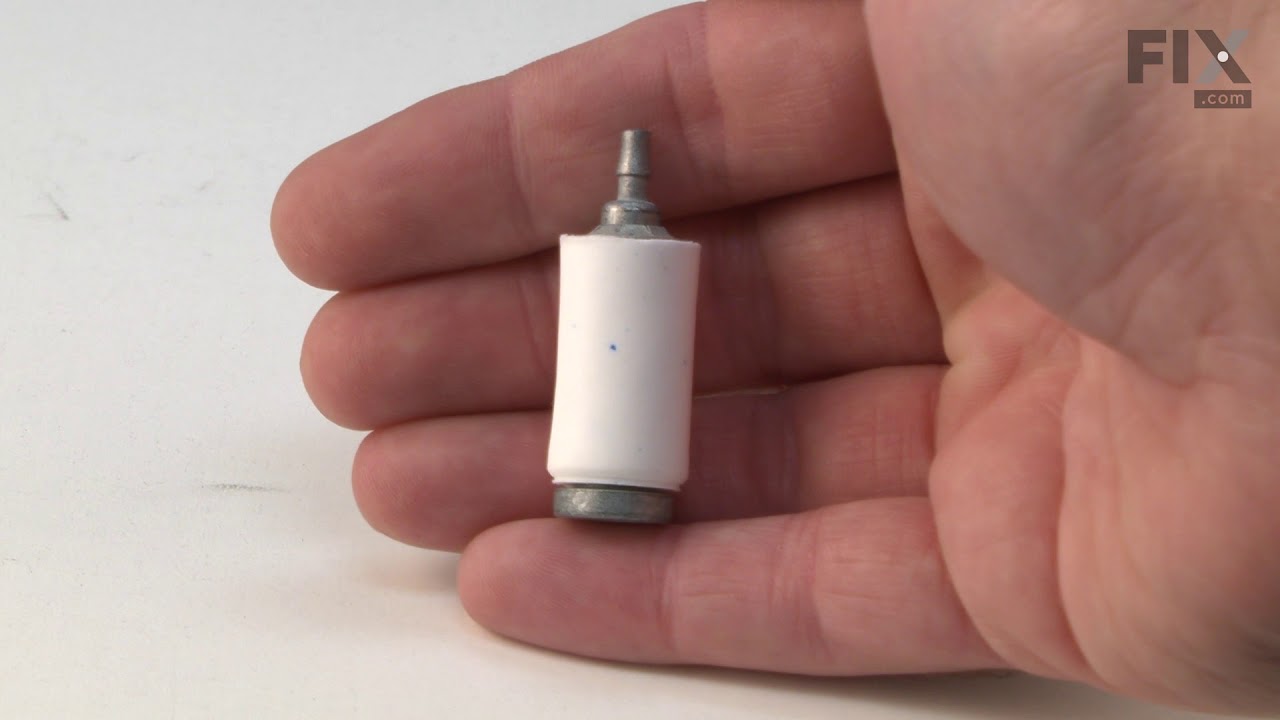
Engine Fuel Filter
PartSelect #: PS9285148
Manufacturer #: 530095646
This Genuine OEM fuel filter is designed to maintain the performance and longevity of your equipment by preventing dirt and debris from entering the carburetor. Located inside the fuel tank, this esse...
$9.62
In Stock

Fuel Tank With Cap
PartSelect #: PS9937937
Manufacturer #: 308181004
The Fuel Tank is an OEM replacement part.
It is compatible with the models shown below.
It includes the fuel lines, fuel cap and fuel filter.
If you need to order the fuel tank bumpers, they are so...
No Longer Available

Bump Knob
PartSelect #: PS12626741
Manufacturer #: 308042002
This spool retainer is sourced from the equipment manufacturer for use in trimmers. It is a plastic knob, measuring 2 inches in diameter, with a threaded metal bolt in the center. The retainer has a r...
No Longer Available

Fuel Cap
PartSelect #: PS9005717
Manufacturer #: 530014347
The Fuel Cap with retainer, often simply known just as the fuel cap, keeps fuel from splashing out of your tank and debris from entering it. Black in color, it is sold individually and made of plastic...
$12.05
In Stock

Walbro Gasket/Diaphragm Kit
PartSelect #: PS9285128
Manufacturer #: 530069844
This is an authentic OEM replacement kit for use with lawn and garden equipment. Each kit includes the carburetor, cylinder, crankcase, and muffler gaskets. The carburetor gasket seals the area betwee...
$28.55
In Stock

Spark Plug
PartSelect #: PS8996057
Manufacturer #: 503235111
Compatible with over 150 models of lawn equipment, this Spark Plug has been sourced directly from the original manufacturer. It is sold individually, made of metal and ceramic components, and is not p...
$11.28
In Stock

Spring
PartSelect #: PS16389744
Manufacturer #: 638033001
This OEM spring, also known as a recoil or rewind spring, is housed in a container and is used to retract the starter rope on various lawn equipment models. Over time and through use, the spring will ...
$6.40
In Stock

PRIMER BULB
PartSelect #: PS18786686
Manufacturer #: 561635001
This is a genuine Ruixing replacement part, it is sold individually. By pressing the bulb, it will purge the carburetor of air. Fuel will be forced up from the fuel tank through the fuel line then in...
$6.40
In Stock

Grommet
PartSelect #: PS12667978
Manufacturer #: 98792
This is a genuine OEM replacement part, sold individually. This Bumper helps keep the fuel tank in place, and minimizes vibration of the fuel tank. This part is used with a variety of string trimmers,...
No Longer Available

Rope Kit
PartSelect #: PS9008182
Manufacturer #: 530069232
The chainsaw starter rope is a three-foot-long white rope that is approved by the original equipment manufacturer, and which wraps around the recoil pulley and is pulled to start the engine. Installat...
$7.65
In Stock

Carburetor
PartSelect #: PS12601615
Manufacturer #: 308054013
This carburetor assembly in your lawn equipment mixes air and fuel to create a combustible mixture for the engine. A broken carburetor assembly can cause engine issues like running too lean or too ric...
$40.31
Special Order
Exact Part matches for your search term
[Viewing 1 of 1]
Fence Assy
This part number matches the current model number BC30
PartSelect #: PS12021924
Manufacturer #: BC30
No Longer Available
Common Symptoms of models starting with BC30
[Viewing 2 of 2]Will Not Start
Fixed by
these parts
these parts


Show All
Engine stops after a few seconds or minutes
Fixed by
these parts
these parts
Show All
")
Keep searches simple. Use keywords, e.g. "leaking", "pump", "broken" or "fit".
installing fuel through fuel tank wall
To start, remove the plastic carburetor grill. DO NOT remove the carburetor. The fuel line has to be sliced down to fit through the tank hole and get it in far enough up into the tank to grab with needle nose pliers.( need long needle nose pliers which I didn't have) I placed about six inches of the plastic tubing in the jaws of vice so t
... Read more
hat half of the tube was squeezed in the vice jaws. I then used a razor blade to shave off the exposed tube. I slipped the shaved end of the tube up through the tank hole far enough to grab with long tweezers and pulled it up to where I could grab it in the tank with needle nose pliers. I put light lube oil on the remaining tubing and pulled it through. It takes a steady firm pull to pull it in. Install the filter and pull the tube back down into the tank. I also used a small diameter drill bit and with my fingers slightly reamed the tube ends to ease the tube over the filter and carburetor nipples. To prime the engine, spray starting fluid into the carburetor and start. Repeat until the engine will run on fuel. It took me hours to figure this out, but will take less than an hour with this method.
Read less
Parts Used:
 – Part Number: 530069247")
-
RICHARD from BROCKTON, MA
-
Difficulty Level:Difficult
-
Total Repair Time:More than 2 hours
-
Tools:Pliers, Screw drivers
10 of 16 people
found this instruction helpful.
Was this instruction helpful to you?
Thank you for voting!
fuel line leaks
As others have said , simply remove old tank and tubes and replace in reverse order., being sure tube from filter goes to primer bulb.
Parts Used:

-
john from Massena, NY
-
Difficulty Level:Really Easy
-
Total Repair Time:Less than 15 mins
-
Tools:Screw drivers
15 of 35 people
found this instruction helpful.
Was this instruction helpful to you?
Thank you for voting!
No directions on how the line went counterclockwise or clockwise
Put the head on the line that they sent was too thick and brittle and was constantly breaking so I put the line that I have always used and it worked perfectly
Parts Used:

-
tom from LINCOLN PARK, MI
-
Difficulty Level:Really Easy
-
Total Repair Time:15 - 30 mins
4 of 6 people
found this instruction helpful.
Was this instruction helpful to you?
Thank you for voting!