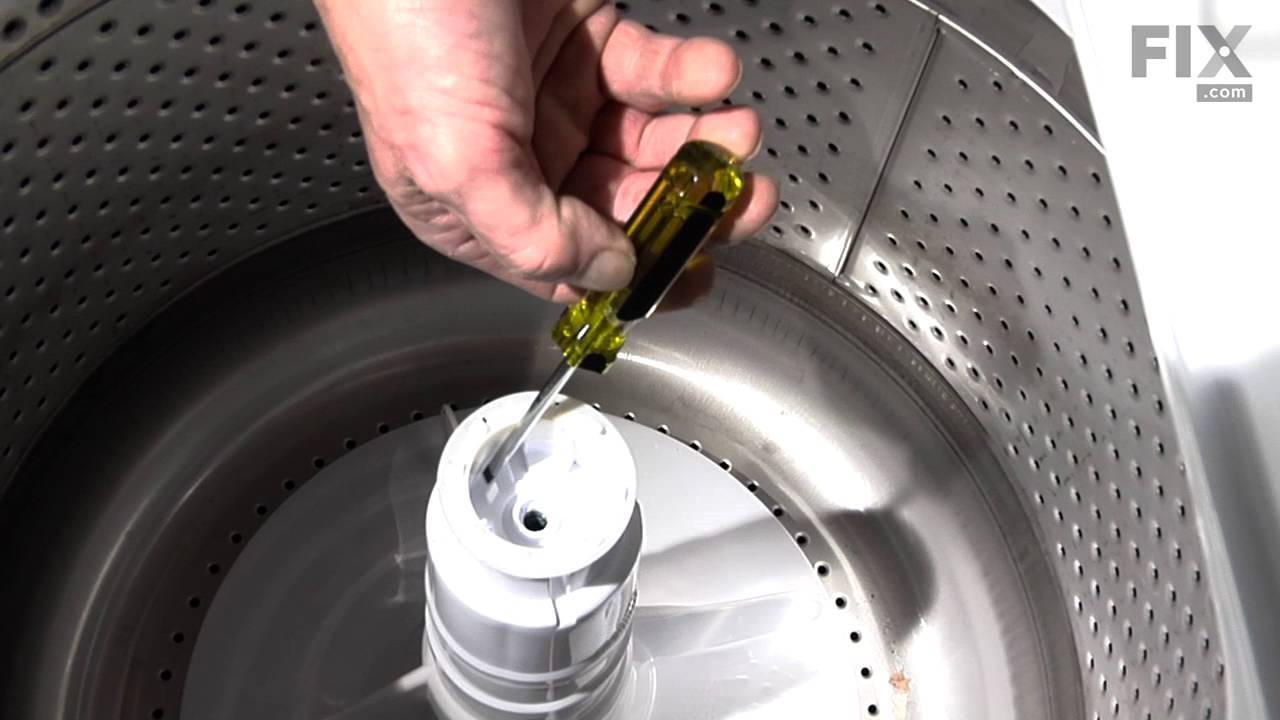
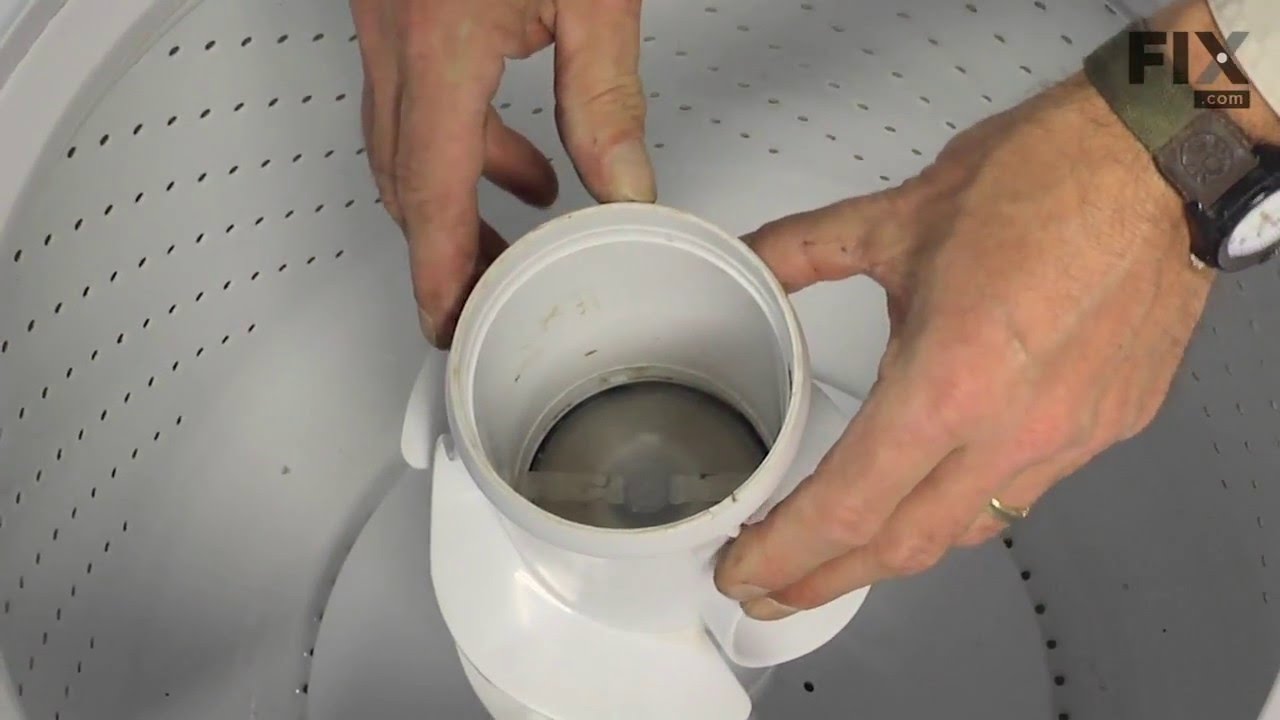
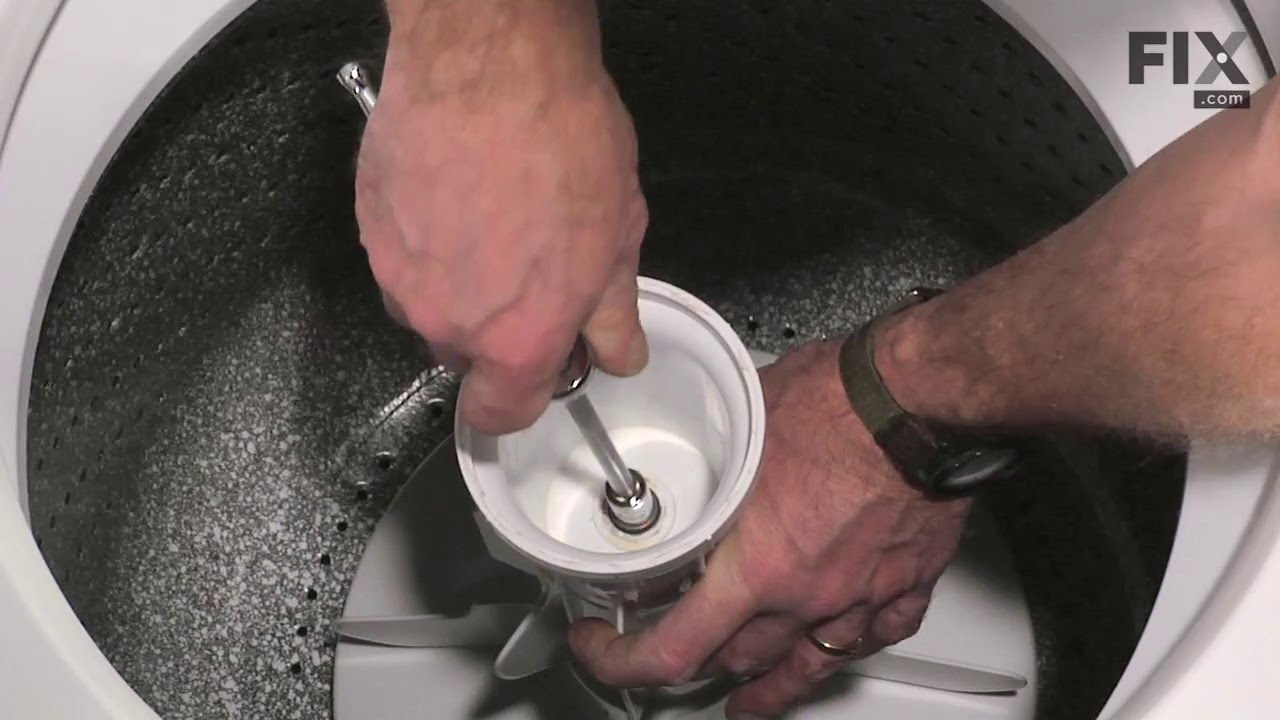
This kit is used for replacing the agitator directional cogs (Agitator Dogs, Agitator Repair Kit, Washer Agitator Dogs, Agitator Dog Ears). The agitator is what creates the thrusting motion in your washer to tumble your clothes during the washer cycle. Your agitator will rotate one way, and not the other. The agitator dogs are what preven...Read moret the agitator from rotating in both directions, while allowing it to rotate in one direction. Your agitator cogs may be malfunctioning if you can manually rotate the agitator in both directions. If broken they will need to be replaced. Cogs can be found by simply removing the softener dispenser and then removing the agitator cap. The are attached to the agitator. This replacement part features 4 agitator directional cogs. There are 4 cogs per package that are made up of high-quality plastic. This part comes in white/beige.
This direct drive motor coupling (Direct Drive Washer Motor Coupling, Motor Coupling, Washer Motor Coupling, Coupling Kit) provides a cushioned connection between the transmission and the motor shaft. It attaches to the direct-drive transmission and the motor shaft. If this part is defective it will affect the agitator in your washer beca...Read moreuse of its direct connection with the motor. Your washer may not agitate, spin slowly, or not spin at all. The coupling must be replaced when there is no longer a consistent connection between the transmission and the motor shaft. The coupling can wear over time because of its location between two major parts of the dryer. It is subject to material fatigue over time from normal use, or breakage caused by frequent overloading. The part measures approximately 2 inches in diameter, and is constructed of plastic and metal. This model comes in black/white.
The suspension spring supports the outer tub and keeps the tub steady during loads that could cause an unbalance. If this part breaks, is worn down or has stretched out and lost its spring, it could cause the load to be off-balance which can lead to excessive shaking, moving, noise, and leaks. For this repair, you will need a 1/4 nut driv...Read moreer, a putty knife, a flat blade screwdriver, and a pair of needle-nose pliers. Disconnect the power supply, fill hoses, and drain hose to give you safe and easy access (have a container nearby for water left in drain hose). This item is sold individually, which is important as you may need to repair multiple springs in your appliance, which carries three suspension springs. As an inexpensive part, we recommend purchasing several at a time, as they can be very useful to have on-hand.
A clutch assembly (Clutch, Washer Clutch) is found in your washing machine and is responsible for spinning the basket during the spin cycle. The clutch lining can wear over time. If the clutch lining is worn out, the clutch assembly will not rotate properly to release the brake. If you notice a burning smell, or the machine shaking and mo...Read moreving more than normal, this could indicate there is an issue with your clutch. If the washer spins when the washer basket is empty but not when it’s full, or if the assembly begins to turn blue, you may need to replace the clutch assembly. This assembly includes a brake cam driver, blue springs for large capacity washers, a black spring for compact washers, and the installation instructions. It’s constructed of plastic and metal, and comes in beige/silver.
This part is found in your washer. The pin on the lid pushes on the lever of the lid switch to tell the machine that the lid is closed. This part includes the green grounding wire. If your machine is having trouble starting, is not agitating, spinning, or is not draining properly, this could be because the lid switch has broken. You will ...Read moreneed a 5/16-inch nut driver for this repair. The package will contain one lid switch. You will need to access the back of the washer, and remove the two Phillips screws that hold the top back panel in place. Slide the panel forward to release. Use your nut driver to loosen the screw that holds the ground wire in place. Lift the lid of the washer to release the old lid switch.
This is a genuine OEM thrust spacer for your washer, and is also commonly known as a retainer ring. The spacer is about 2.5 inches in diameter, is made of plastic, and is white in color. It is used in the agitator assembly of many direct drive washing machine models. The spacer is fitted between the agitator and the agitator auger to supp...Read moreort it as it moves. This part is sold individually. Although it is not included in this part, you should have some dual-action agitator grease for the repair as well.
This tub spring is also known as suspension spring, balance spring, or counterweight spring. It is sold individually. The function of the part is to counterbalance the weight of the motor on the front of the front-load washer so the washer tub sits straight and even during the spin cycle. You may need to replace the spring if tub is sitti...Read moreng tilted forward. A broken spring will result in the tub being off-balance during the spin cycle which can cause further damage to washer parts. It is recommended to check all suspension springs as they often wear at the same rate. Tools needed for repair are a Phillips screw driver, flat blade screw driver, and a pair of pliers.
This agitator repair kit comes with a long cam, a thrust spacer and four dogs ears (agitator cogs). This repair kit is used to move the upper agitator and it connects the base of the agitator with the agitator top (mover). This part has been updated by the manufacture.
This hose clamp is used in a wide variety of household appliances. Most often it is found in washers, dishwashers, refrigerators, freezers, dehumidifiers, garbage disposals, or air conditioners. This clamp is used to securely attach a hose to another part of your appliance, which helps prevent leaks from those connections. Depending on th...Read moree appliance, it can attach hoses to drain pumps, water inlet valves, pressure switches, and injector nozzles. We recommend you refer to model-specific diagrams for appropriate uses and exact placement. This hose clamp is made of metal, and is sold individually. To access and replace this part you will need a nut driver, pliers, and screwdrivers. Before you begin any repair work, make sure you have unplugged your appliance, and shut off the water supply if applicable.
Ask our experts a question about this model and we'll get back to you as soon as possible!
We may have answered a similar question already! Search questions and answers left by others using simple keywords like "fit", "broken", "easy", or "quality" to find questions that match.
Search filter:
Clear Filter
Your search term must have 3 or more characters.
Sort by:
Prev
1
2
Next
Sorry, we couldn't find any existing answers that matched.Try using some different or simpler keywords, or submit your new question by using the "Ask a Question" button above!
Barry - For model number ATW4475TQ0
July 5, 2021
Why does the water come out whatever temperature it wants? No matter what temperature setting it’s on it switches back and forth.
Hello Barry, Thank you for the question. This is normally caused by a defective Water Valve opening the incorrect port or a temperature Switch. We hope this helps!
WASHER MACHNE on exlarge load the water does not fill compelt its like 3 gallon of water is missing ,do you have any idea what it may be ty
Hi Paul, thank you for reaching out. Ensure that the water level is set correctly for the load size. If the water level is too low, the washer may not fill properly. If the issue persists, you may need to replace the water level switch, part number PS3408149. We hope this solves your problem!
My house lost power and pipes froze. When the heat and water turned back on, water came out the bottom when the hot water was hooked up. Any thoughts?
Hi Lee, thank you for reaching out. According to our research, the leakage might be caused by a damaged or loose tub-to-pump hose, part number PS334685. We would suggest checking the hose kit for any physical damage and making sure there is no loose connection. We hope this helps!
My washer isn't washing. Water will run in but the agitator isn't working nor does the water drains out
Hi Stiffi, thank you for the great question. Based on our understanding of the issue, we would suggest you replace the timer, part number PS11746676. Before replacing the timer, make sure the door is properly locked. We hope this information is useful!
See how others fixed this model. Time, tools, difficulty, and steps that lead to victory!View More
Search repair tips from other customers using simple keywords like "replace", "fit", "remove", "inspect". DIY doesn't mean you have to do it alone!
Search filter:
Clear Filter
Your search term must have 3 or more characters.
No movement from Basket & agitator
1124 of 1228 peoplefound this instruction helpful.
Jeff from Wayne, NJ
Easy
30 - 60 mins
Pliers, Screw drivers, Socket set
The job looked intimidating but turned out to be very easy. First take off the water pump by removing the two clips that hold it in place. Place a shallow pan under the pump to catch the water that is in the pump and hoses. Open the hose clamps with a pair of pliers or channel locks (better) and slide the hoses off of the water pum
... Read morep. The motor comes off next. Unplug the electrical connector from the motor and two wires from the capacitor. Remove the two screws holding the clamps in place and then pop off the two clamps. You will need to hold up the motor with one hand while you remove the clamps or it will fall to the floor once the clamps are removed. One piece of the coupling assemble will be attached to the motor and the other will be attached to the gearcase drive shaft. If you want to clean up the mess created by the shredded rubber center piece of the coupling assembly you will have to take off the motor mounting plate. It is held on by two bolts and removing it makes installing the coupling easier but probably not necessary. Push the back half of the coupling on to the gearcase drive shaft until the shaft is flush with the face of the coupling. Install the new rubber center piece on to the coupling then re-install the motor mounting plate. Install the other half of the coupling on to the motor shaft and lift the motor up to the coupling. You have to rotate the motor shaft by spinning the fan blades until the coupling lines up so you can slide it into the other half of the coupling. Then just reattach the motor, connectors and water pump in the reverse order of disassembly.
Read less
Was this helpful?
Thank you for voting!
washer wouldn't agitate
955 of 1057 peoplefound this instruction helpful.
mike from Kent, WA
Easy
15 - 30 mins
Screw drivers, Socket set
First pry off the cap of the agitator. Then using a socket remove the bolt that holds the plastic cup in place. Remove this cup by prying it loose from the two tabs that hold it in place. Once this cup is removed you can get to the broken cogs. Slip the new cogs into the underside of the cup, and slide the cup back down in the a
... Read moregitator housing using the slots on the side for a guide. (You may want to remove the entire agitator and assemble everything upside down, then flip it all back over to mount, so the cogs don't fall out). Tighten the bolt, snap the cap back in place on top of the agitator and your'e done. Easy repair.
Read less
Was this helpful?
Thank you for voting!
Washer not agitating
645 of 683 peoplefound this instruction helpful.
Craig from Polk City, FL
Really Easy
Less than 15 mins
Socket set
On top of the agitator is a flat cap that is held in place by the friction of an o-ring, there are no fasteners. I would imagine one could get under the lip with a small screwdriver or butter knife to pop it off but I chose simply using my fingernails so as to not disfigure the cap. Under the cap you will find the head of the only bolt
... Read morethat holds the assembly together it is a 7/16 head and because it is in a 4" deep well your will need a 6" extension for your ratchet. Once the bolt is out the top of the agitator, the assembly with the cogs removes by hand. Set the assembly upside down on the counter, slide the black plastic ring off, pull the cogs out with your fingertips, install the new cogs put a new black ring on and set the assembly back in the agitator. Reinstall bolt. As the bolt is down in a tube, you cannot set it in place with your fingers and it will fall out of the socket. To hold the bolt in the socket during positioning you can either put a gob of Vaseline on the bolt head to hold it in the socket or form a small piece of paper over the bolt head and set it into the socket, the friction of the paper will hold the bolt into the socket. Took me less then 10 minutes, good luck



 My Orders