


 My Orders




AS22 - Overview
Models starting with AS22
Click on the best match to narrow your results.
- AS226N2K1 Frigidaire Air Conditioner
- AS227J2K1 Frigidaire Air Conditioner (Room)
- AS227K2K1 Frigidaire Air Conditioner (Room)
- AS227L2K1 Frigidaire Air Conditioner (Room)
- AS229CSBGB Maytag Refrigerator
- AS229FBBGB Maytag Refrigerator
- AS229FSBGB Maytag Refrigerator
- AS229FSXPB Maytag Refrigerator
- AS229FWWGB Maytag Refrigerator
- AS229FWXPB Maytag Refrigerator
- AS229SEBGB Maytag Refrigerator
- AS229SEXPB Maytag Refrigerator
- AS22BRXAN00 Whirlpool Refrigerator
- AS22BRXAW00 Whirlpool Refrigerator (Side-by-side)
- AS22M8A Admiral Refrigerator (Side-by-side)
- AS22M8DA (DN33B) Admiral Refrigerator
- AS22M8DA (DN34A) Admiral Refrigerator
- AS22M8DA (DN34B) Admiral Refrigerator
- AS22M8DA (DN34D) Admiral Refrigerator
- AS22M8DA (DN34C) Admiral Refrigerator
- AS22M8DA (DN33A) Admiral Refrigerator
- AS22M8DA Admiral Refrigerator (Admiral Refrigerator As22m8da)
- AS22M8DA-DN34A Admiral Refrigerator (Admiral Refrigerator Model AS22M8DA-DN34A (AS22M8DADN34A, AS22M8DA DN34A) Parts)
- AS22M8DA-DN34B Admiral Refrigerator (Admiral Refrigerator Model AS22M8DA-DN34B (AS22M8DADN34B, AS22M8DA DN34B) Parts)
- AS22M8DA-DN34C Admiral Refrigerator (Admiral Refrigerator Model AS22M8DA-DN34C (AS22M8DADN34C, AS22M8DA DN34C) Parts)
- AS22M8DA-DN34D Admiral Refrigerator (Admiral Refrigerator Model AS22M8DA-DN34D (AS22M8DADN34D, AS22M8DA DN34D) Parts)
- AS22M8DV (DN33D) Admiral Refrigerator
- AS22M8DV (DN33A) Admiral Refrigerator
- AS22M8DV (DN34B) Admiral Refrigerator
- AS22M8DV (DN33B) Admiral Refrigerator
- AS22M8DV (DN34A) Admiral Refrigerator
- AS22M8DV (DN33C) Admiral Refrigerator
- AS22M8DV Admiral Refrigerator (Admiral Refrigerator As22m8dv)
- AS22M8DV-DN33A Admiral Refrigerator (Admiral Refrigerator Model AS22M8DV-DN33A (AS22M8DVDN33A, AS22M8DV DN33A) Parts)
- AS22M8DV-DN33B Admiral Refrigerator (Admiral Refrigerator Model AS22M8DV-DN33B (AS22M8DVDN33B, AS22M8DV DN33B) Parts)
- AS22M8DV-DN33C Admiral Refrigerator (Admiral Refrigerator Model AS22M8DV-DN33C (AS22M8DVDN33C, AS22M8DV DN33C) Parts)
- AS22M8DV-DN33D Admiral Refrigerator (Admiral Refrigerator Model AS22M8DV-DN33D (AS22M8DVDN33D, AS22M8DV DN33D) Parts)
- AS22M8V Admiral Refrigerator (Side-by-side)
- AS22N8DE Admiral Refrigerator (Side-by-side)
- AS22N8DM Admiral Refrigerator (Side-by-side)
Enter a part description. DIY Heroes keep it simple, eg. "belt" or "pump".
Search filter:
Clear Filter
Your search term must have 3 or more characters.

$19.54
In Stock
Light Bulb - 40W
Part #8009
This an authentic OEM 40-Watt replacement light bulb, used in a number of household appliances. It is specially designed to withstand extreme temperatures, which is why these replacement bulbs are most often used to light the inside of refrigerators and ranges. It features a standard socket base, which means you simply unscrew the burnt-o...Read moreut bulb and screw in the replacement. Depending on the appliance you may require a screwdriver or nut driver to access the light bulb. We recommend you wear work gloves while handling this replacement part. It is constructed of glass and metal and is sold individually. Depending on the appliance and location of the bulb within it, you may want to consider disconnecting power and using a flashlight for easier access to unscrewing and re-screwing in your bulb during this repair.
Read less

$95.17
In Stock
Replacement Ice Maker
Part #D7824706Q
This ice maker (Ice Maker Assembly, Refrigerator Ice Maker) produces ice cubes that are ejected into the storage bucket. It is located in the freezer section of your appliance, mounted on the freezer wall. The ice maker can break from normal wear and accidental damage. If this happens, your refrigerator may no longer make ice cubes, or ma...Read morey not make enough cubes, and the part should be replaced. This model measures approximately 11 inches long and 5 inches wide. It’s constructed of plastic and metal, and comes in black/white/silver. This assembly includes the ice mold and the control device.
Read less

$9.62
In Stock
Refrigerator Door Cam
Part #WPW10329686
The Door Cam is a black plastic part which helps the door pivot shut while keeping the door and hinge in proper alignment. Lubricating this part upon installation may help it move easier. It attaches onto the door hinge and should be replaced if broken or if there is noticeable damage. Refer to your model number and user manual to ensure...Read more this is the correct part for you. To do this repair you will need a 5/6 nut driver, a 5/16 socket, and a ratchet. For safety purposes, do not forget to turn off your appliance before making this repair. Note that this piece is black, and as per the manufacturer requires a new screw to mount the door cam which is sold individually. Please also note that this is the closing cam for the lower door, and the upper door cam is sold as a separate kit.
Read less

$70.95
In Stock
Icemaker Control Assembly
Part #W10190935
The “Icemaker Control Assembly” (Module & Motor Assembly, Ice Maker Control Module, Icemaker Module, Refrigerator Ice Maker Module) is what controls the actions of your ice maker. The control turns the timing cams and the ejector blades. It controls most of the basic parts and functions such as the heater, water inlet valve, the cube size...Read more, and cube ejection. If your ice maker control is broken it can no longer properly control the ice maker functions. It may not produce any ice, make small ice cubes, or have intermittent operation. This can occur due to normal wear and tear. The icemaker control assembly is attached to the ice maker mold, and is under the white cover. Test the icemaker control assembly by using a multimeter. If this reveals the assembly to be defective, you will need to replace this part. It is approximately 4.25 inches square, beige, and is constructed of plastic and metal. This replacement part features one icemaker control assembly, including the control module and the motor.
Read less

No Longer Available
Water Filter
Part #EDR7D1
This is the replacement water filter for your refrigerator. It is white in color with a red cap and is approximately 3 inches wide and 6 inches tall. The water filter reduces contaminants and improves taste in your refrigerator water supply. It is recommended to replace the water filter every six months to maintain effectiveness. You will...Read more find the water filter at the back, top portion of your fresh food compartment. To remove the filter, simply twist it to the left until it can be removed. Then, remove the cap on the new filter, line up the arrow with the indentation, and twist to the right until it is secure. You may want to put a towel down below the filter when completing this repair, to catch any spills or drips. When you replace the water filter, hold down the dispenser trigger for a few minutes so that all the air is purged from the water lines, and the water tank fills up. This is an OEM part and is sold individually.
Read less

$34.74
In Stock
Defrost Timer
Part #W10822278
The Defrost Timer (Defrost control) acts like a clock by switching on the defrost heater circuit after a predetermined amount of compressor run time. This allows the defrost circuit to clear the evaporator of ice or frost to maintain proper airflow. If this part is not working, it can lead to temperature increases in your refrigerator. If...Read more the compressor circuit fails, no cooling will take place; if the defrost circuit isn't activated, ice will quickly build up on the evaporator coils and reduce airflow and efficiency. If the timer doesn't advance or if the contacts have no continuity, the timer will need to be replaced. This part is located inside of the control housing on most models, and is approximately 3 inches long and 2.5 inches wide. This part is constructed of plastic and metal, and comes in white. It features 1 defrost timer, along with all necessary mounting hardware and installation instructions
Read less

$30.53
In Stock

$45.29
In Stock
Refrigerator Capacitor
Part #WPW10662129
This capacitor (Refrigerator and Freezer Compressor Run Capacitor, Run Capacitor) provides the voltage or energy current required to start the compressor and keep it running. It allows the compressor in your appliance to easily cycle on and off. This capacitor mounts directly onto the compressor starting relay. If the capacitor is faulty ...Read morethe compressor may get unusually hot and draw excessive amperage. It the compressor overheats, it may fail to run until it cools down again. The compressor may also get noisy from overheating. If this part is totally electrically open, it is defective (often due to overheating) and needs to be replaced. The part measures 1 inch by 1-1/2 inches, and is constructed of plastic with two metal wire terminals. This item includes 1 capacitor, sold individually. This part comes in black.
Read less

$34.74
In Stock
Refrigerator Bimetal Defrost Thermostat
Part #WPW10225581
If you have ice building up in your freezer, or if your freezer is getting too warm during the defrost cycle you may need to replace the bi-metal defrost thermostat. The function of the defrost bi-metal thermostat is to clip onto the evaporator and protect your evaporator from overheating during the defrost cycle. If your refrigerator doe...Read mores not defrost properly you can test both the thermostat and the heater to figure out which part is at fault. For this repair, you will need a Phillips screwdriver, a 1/4 inch nut driver, a flat blade screwdriver, a pair of wire strippers, a roll of electrical tape, and a few butt splice connectors.
Read less

$53.20
In Stock

$22.52
In Stock
Door Closing Cam Kit
Part #4318165
This door closing cam kit is intended for use with the bottom of refrigerator and freezer door hinges. The cam helps with the closing of the doors and to keep them slightly in position when opened.

$25.75
In Stock
Shelf Support Stud - White
Part #4388538
This kit contains two options - One that is a push and turn and the other that is a screw in.
Common Symptoms of models starting with AS22
How this model fails, and the parts that fix it.
Ice maker not making ice
Fixed by
these parts
these parts


Show All
Fridge too warm
Fixed by
these parts
these parts


Show All
Leaking
Fixed by
these parts
these parts


Show All
Door won’t open or close
Fixed by
these parts
these parts


Show All
Light not working
Fixed by
these parts
these parts


Show All
Freezer section too warm
Fixed by
these parts
these parts

Show All
Will Not Start
Fixed by
these parts
these parts


Show All
Ice maker won’t dispense ice
Fixed by
these parts
these parts

Show All
Fridge and Freezer are too warm
Fixed by
these parts
these parts
Show All
Noisy
Fixed by
these parts
these parts


Show All
Freezer not defrosting
Fixed by
these parts
these parts

Show All
Clicking sound
Fixed by
these parts
these parts
Show All
Fridge runs too long
Fixed by
these parts
these parts
Show All
Fridge too cold
Fixed by
these parts
these parts
Show All
Not dispensing water
Fixed by
these parts
these parts


Show All
Too warm
Fixed by
these parts
these parts
Show All
Freezer too cold
Fixed by
these parts
these parts
Show All
Frost buildup
Fixed by
these parts
these parts
Show All
Ice maker dispenses too much ice
Fixed by
these parts
these parts

Show All
Door Sweating
Fixed by
these parts
these parts

Show All
Ice maker dispenses too little ice
Fixed by
these parts
these parts
Show All
Won’t start
Fixed by
these parts
these parts
Show All
Watch our pros, then fix it yourself.



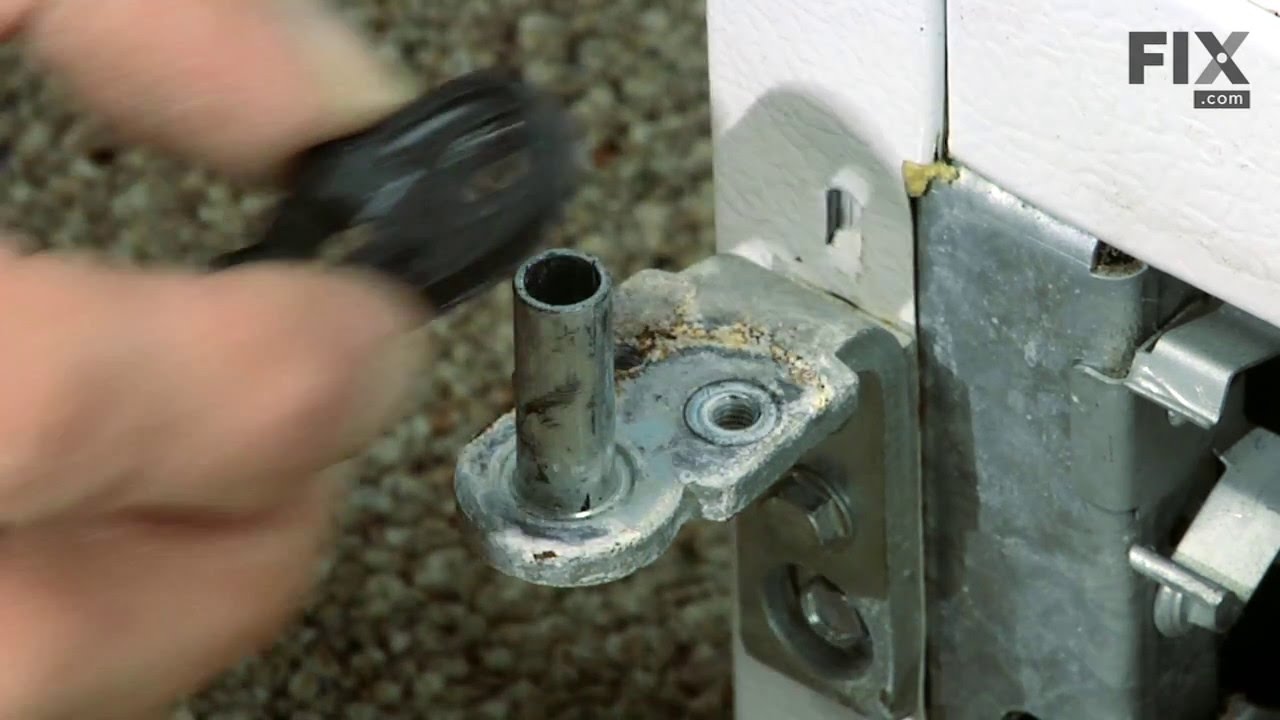

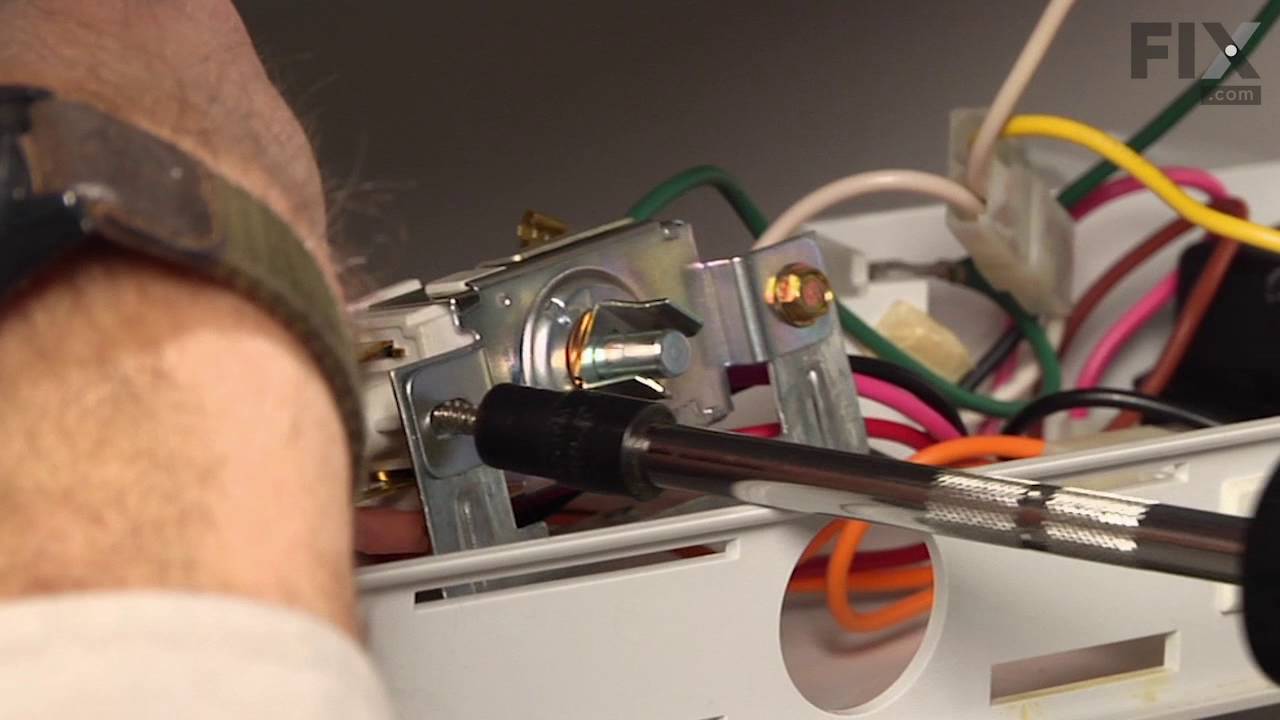

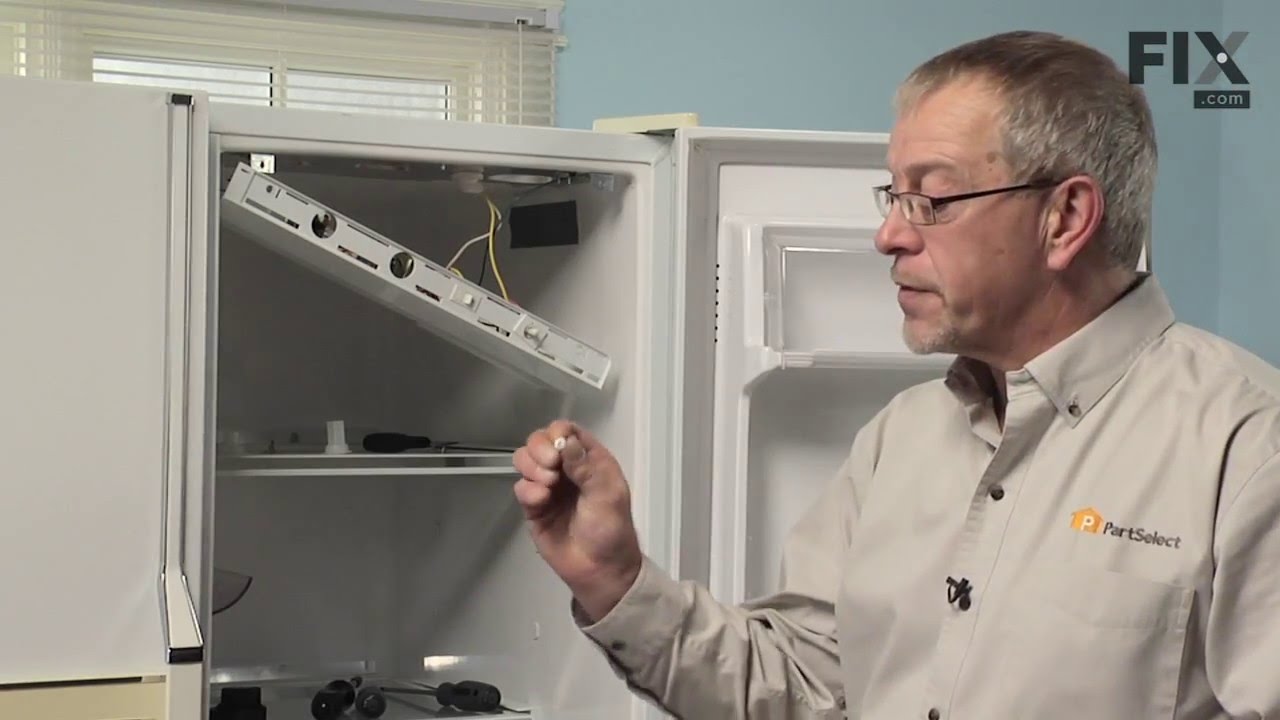
See how others fixed this model. Time, tools, difficulty, and steps that lead to victory!
View More