


 My Orders




AS22M8DA (DN33A) Admiral Refrigerator - Overview
Diagrams for AS22M8DA
See every part. Know exactly what you need.


Enter a part description. DIY Heroes keep it simple, eg. "belt" or "pump".
Search filter:
Clear Filter
Your search term must have 3 or more characters.

$30.53
In Stock

$16.07
In Stock
Light Bulb - 7W
Part #W10857122
Sold individually. This bulb is a 7-watt appliance incandescent light bulb. This appliance light bulb is two inches long. It is used for many clothes dryers. You will need a Phillips screwdriver and needle-nose pliers. Unplug the power from your dryer. You will find the light bulb by opening your dryer door and locating the casing surroun...Read moreding the bulb on the top of the inside of the door. You will need to remove the single screw holding it in place to access the bulb. Twist the old bulb out of place. Use your pliers if the base of the bulb is still inside the socket once the glass part of the bulb has been removed. Check to make sure that the socket itself is not damaged. If the socket is damaged it will need to be replaced as well. Screw your new bulb into place.
Read less

$7.47
In Stock

No Longer Available
Kickplate Clip
Part #WP60100-1
This kickplate clip is an inch long and is made of metal. Two are needed per refrigerator.

$23.60
In Stock
Refrigerator Water Tube Connector/Union 5/16 To 5/16
Part #WP2300868
Sold Individually. - * Part may differ in appearance, but functions same as original.

$8.55
In Stock

$17.15
Special Order
Refrigerator Leveler
Part #W11117769
This is an OEM part that is made of metal and sold individually. The leveling leg is generally used with refrigerators, dryers, freezers, ranges, cooktops, and microwaves. The leveling leg is meant to keep your appliance steady and level to the floor. If you notice your appliance is uneven to the floor it may need to have the leveling leg...Read more replaced. You will notice that the bottom of the leveling leg has a smooth surface to ensure moving your appliance does not require as much effort. This part screws into a pre-drilled hole underneath the appliance.
Read less

No Longer Available
Ice and Water Actuator Switch
Part #55440-2
When your appliance motor isn't working like it used to, this GE replacement part is here for you. This high-quality part, specifically designed for your motor, could be the solution you're looking for. It's thoughtfully crafted with durable, heavy-duty materials that can stand the test of time, ensuring your motor keeps running smoothly ...Read morefor years to come. Efficiency is key in any home appliance, and this part is designed to contribute significantly towards maintaining your appliance?s optimal functionality. It fits seamlessly, working perfectly within your motor setup to help restore its original performance. Choosing this GE part doesn't just mean a temporarily fixed motor. It means ensuring the longevity of your appliance. After all, GE is a brand that professionals trust for its reliability and superior performance ? a choice that's both smart and practical. So, breathe new life into your appliance motor with this GE replacement part. Please do check your motor's model, as compatibility information may vary. Know that with this part in place, your appliance could be running like new in no time!
Read less

$120.55
Special Order
Cold Control Thermostat
Part #WP61001673
This cold control thermostat cycles on and off regularly to keep your refrigerator cold.

$7.47
Special Order
Screw
Part #WP1163283

No Longer Available
Ice Door Chute Insulation
Part #68557-1
This is part of the ice door chute and acts as a barrier (insulator) when the chute is not being used. It helps keep the ice cold once the ice cubes are conveyed from the container to the discharge opening.

No Longer Available
Paddle Trim
Part #68763-1
Common Symptoms of the AS22M8DA
How this model fails, and the parts that fix it.
Light not working
Fixed by
these parts
these parts

Show All
Leaking
Fixed by
these parts
these parts

Show All
Not dispensing water
Fixed by
these parts
these parts

Show All
Fridge too warm
Fixed by
these parts
these parts

Show All
Fridge too cold
Fixed by
these parts
these parts
Show All
Watch our pros, then fix it yourself.

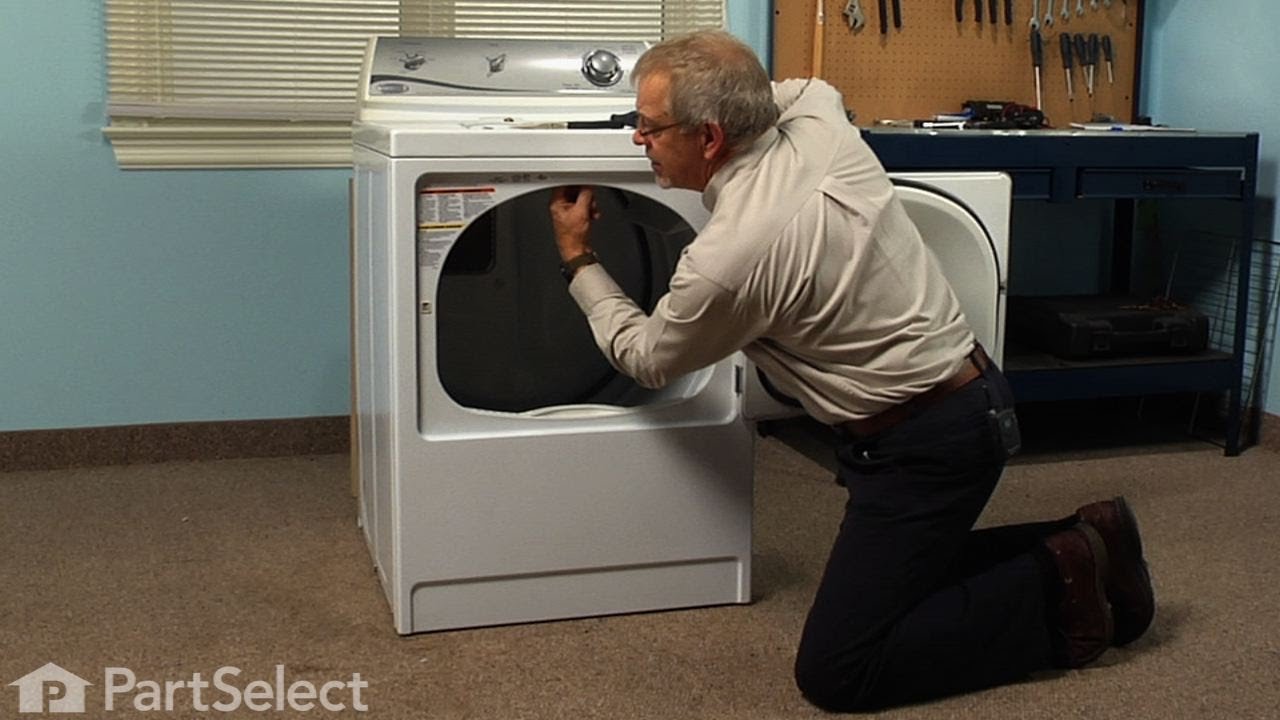
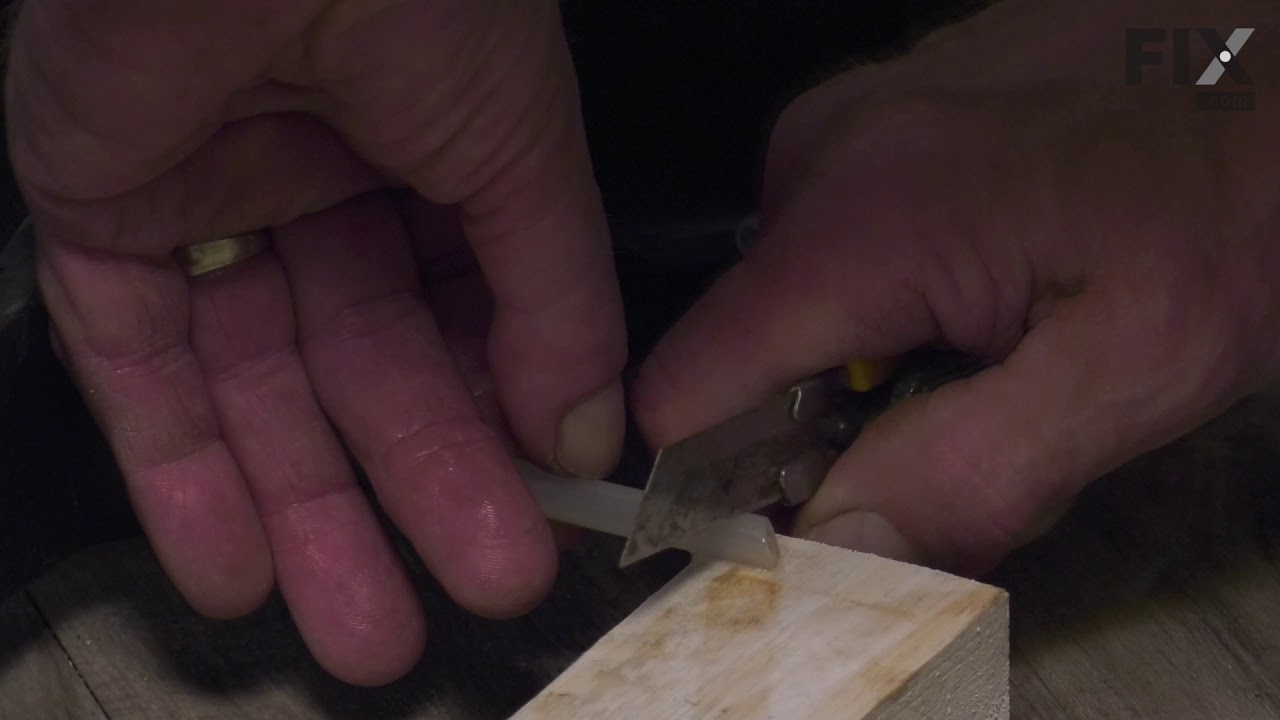
See how others fixed this model. Time, tools, difficulty, and steps that lead to victory!
View More