


 My Orders




AKT36 Amana - Overview
Models starting with AKT36
Click on the best match to narrow your results.
- AKT3630E (PAKT3630E1) Amana Cooktop
- AKT3630E (P1143717N E) Amana Cooktop
- AKT3630E-P1143717NE Amana Cooktop (COOKTOP)
- AKT3630WW (P1143717NWW) Amana Cooktop
- AKT3630WW (PAKT3630WW1) Amana Cooktop
- AKT3650E (PAKT3650E1) Amana Cooktop
- AKT3650E (10) Amana Cooktop
- AKT3650E (P1143731N E) Amana Cooktop
- AKT3650E-10 Amana Range (Amana Range/Stove/Oven Model AKT3650E-10 (AKT3650E10, AKT3650E 10) Parts)
- AKT3650E-P1143731NE Amana Cooktop (COOKTOP)
- AKT3650SS (PAKT3650SS0) Amana Cooktop
- AKT3650SS (PAKT3650SS1) Amana Cooktop
- AKT3650SS (10) Amana Cooktop
- AKT3650SS-10 Amana Range (Amana Range/Stove/Oven Model AKT3650SS-10 (AKT3650SS10, AKT3650SS 10) Parts)
- AKT3650WW (P1143731NWW) Amana Cooktop
- AKT3650WW (PAKT3650WW1) Amana Cooktop
- AKT3650WW (10) Amana Cooktop
- AKT3650WW-10 Amana Range (Amana Range/Stove/Oven Model AKT3650WW-10 (AKT3650WW10, AKT3650WW 10) Parts)
Enter a part description. DIY Heroes keep it simple, eg. "belt" or "pump".
Search filter:
Clear Filter
Your search term must have 3 or more characters.

$142.40
In Stock
Element with Limiter 6 Inch - 1200W
Part #W10823711
This is a radiant surface element with limiter, and it works in conjunction with your range. The function of this part is to give heat to the surface directly above it, on cooking area stove top.This model is sold individually and is 1200 watts. The main reason for needing to replace this part is if your element will not heat. Before orde...Read morering, make sure to test your stove top radiant element for continuity to make sure it is the problem. To make this installation you will need a Phillips screwdriver, and a 14-inch nut driver.
Read less

$57.38
In Stock
Dual Surface Burner Switch Kit
Part #12002125
This switch is used to operate the dual surface burner.

No Longer Available
Cooktop Cleaner
Part #W10355051
This bottle of non-abrasive cooktop cleaner breaks down and gets rid of the hardest baked-on stains and residue without causing any harm to your appliance. The bottle is 10 oz and does not require a large amount of product to do the job. This cleaner is perfectly safe to use on any glass, ceramic, stainless steel, chrome, or porcelain coo...Read morektop surface. The cleaner is creamy in texture and provides a protective coat of silicone on smooth surfaces. To apply, use a gentle scrub, sponge, or rag and gently press in a circular motion until the stains are removed.
Read less

$137.75
In Stock
6 Inch Element with Limiter
Part #W10823704
This element can be used for the left front or right rear.

$11.77
In Stock
Appliance Scraper
Part #WA906B
Use this scraper for your ceramic/glass cooktop. It has a retractable blade and is an all-purpose tool for cooktops, mirrors, windows and tile. Use it to also remove paint, paper, dirt, stickers and more.

$105.35
In Stock
Radiant Surface Burner Element 1500W
Part #W10823699
This surface element is made for under glass set-ups and supplies the heat to a cooking area on top of the range. It has an outside diameter of approximately 7 inches (1500 watts), and is a genuine OEM part sourced directly from the manufacturer. Before you replace your faulty element, make sure the element is cool, and the power is disconnected from your range.

$74.08
In Stock

$151.04
In Stock
Dual Radiant Element with Limiter
Part #W10823726
With the dual element you are able to adjust the size of the burner you want to use to match your pots/pans.

$100.78
In Stock
Dual Element Infinite Control Switch
Part #12002422
This is a Dual Element Infinite Control Switch that serves as a surface element control switch for a dual-sized element, brought to you by the reputable brand, Whirlpool. Expertly crafted, this switch is a genuine OEM part that aligns perfectly with specific models from Whirlpool, ensuring the best performance for your appliance. As every...Read more model has its unique specifications, it is encouraged to counter-check your model specifications with this part before making your purchase. Please be aware that while parts may appear similar, even slight variations in size and shape can have significant impact. This top-quality Dual Element Infinite Control Switch is set to exceed your expectations in enhancing your appliance's functionality. Trust in the reliability of Whirlpool and ensure the perfect fit for your model today.
Read less

$11.77
On Order
CLEANER
Part #W10336909

$8.55
Special Order

$151.52
In Stock
Surface Ribbon Element with Limiter - 8"
Part #W10823710
This is a 2000 watt 240 volt surface element.
Common Symptoms of models starting with AKT36
How this model fails, and the parts that fix it.


Watch our pros, then fix it yourself.
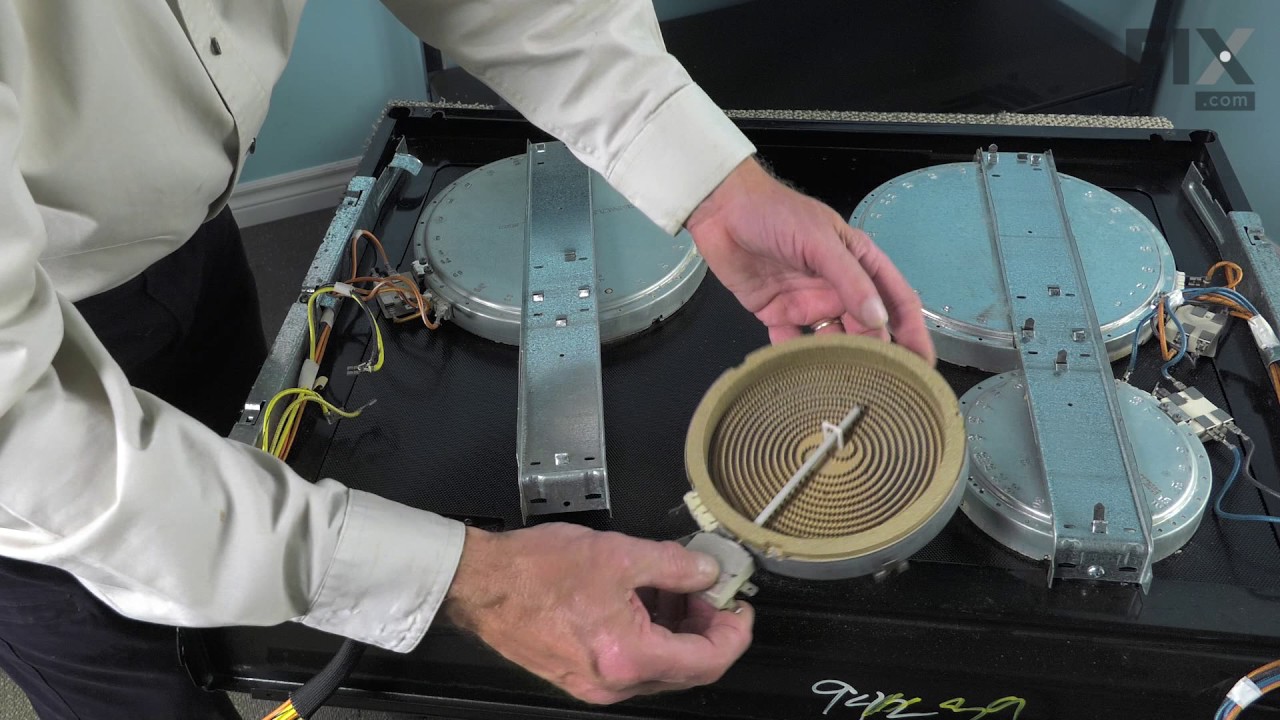
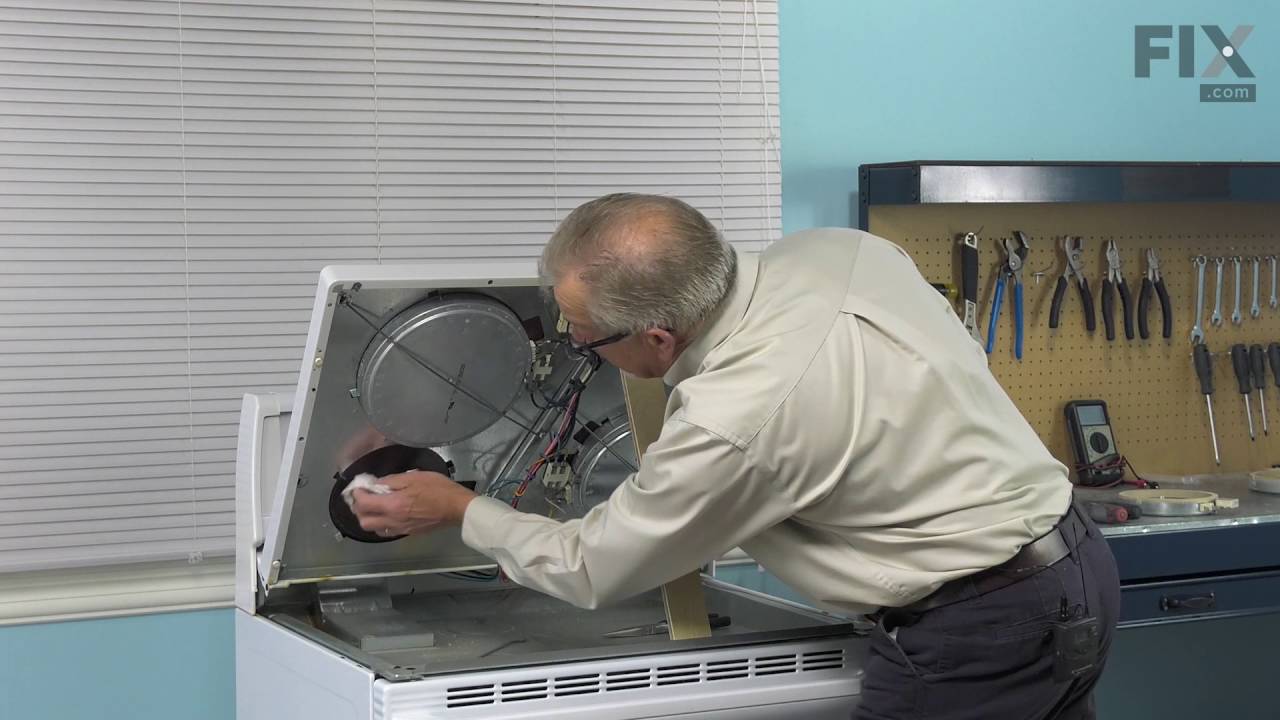
See how others fixed this model. Time, tools, difficulty, and steps that lead to victory!
View More