


 My Orders




AGE - Overview
Models starting with AGE
Click on the best match to narrow your results.
- AGE07AH (ACWAGEE) LG Air Conditioner (Residential Hvac)
- AGE07AHG1 General Electric Air Conditioner (Room)
- AGE07AJG1 General Electric Air Conditioner (Room)
- AGE07DHG1 General Electric Air Conditioner (Room)
- AGE12D General Electric Air Conditioner (GE Air Conditioner Model AGE12D Parts)
- AGE12DBG1 General Electric Air Conditioner (ROOM AIR CONDITIONER)
- AGE12DHG1 General Electric Air Conditioner (Room)
- AGE12DJG1 General Electric Air Conditioner (Room)
- AGE14D General Electric Air Conditioner (GE Air Conditioner Model AGE14D Parts)
- AGE14DAG1 (ACW6GEE) LG Air Conditioner (Residential Hvac)
- AGE14DAG1 General Electric Air Conditioner (Room)
- AGE14DAG2 General Electric Air Conditioner (Room)
- AGE14DHG1 General Electric Air Conditioner (Room)
- AGE14DJG1 General Electric Air Conditioner (Room)
- AGE18D General Electric Air Conditioner (GE Air Conditioner Model AGE18D Parts)
- AGE18DA General Electric Air Conditioner (GE Air Conditioner Model AGE18DA Parts)
- AGE18DAG1 General Electric Air Conditioner (Room)
- AGE18DAG2 General Electric Air Conditioner (Room)
- AGE18DHG1 General Electric Air Conditioner (Room)
- AGE18DJG1 General Electric Air Conditioner (Room)
- AGE21D General Electric Air Conditioner (GE Air Conditioner Model AGE21D Parts)
- AGE21DAG1 General Electric Air Conditioner (Room)
- AGE21DAM1 General Electric Air Conditioner (Room)
- AGE21DAM2 General Electric Air Conditioner (Room)
- AGE21DHM1 General Electric Air Conditioner (Room)
- AGE21DJM1 General Electric Air Conditioner (Room)
- AGE34 (0600800005) Bosch Chainsaw (Connecting Piece)
- AGE34 (0600802005) Bosch Chainsaw (Connecting Piece)
- AGE939 Amana Dryer (Gas)
- AGE959 Amana Dryer (Gas)
Enter a part description. DIY Heroes keep it simple, eg. "belt" or "pump".
Search filter:
Clear Filter
Your search term must have 3 or more characters.

$28.42
In Stock
M Series New Style Coil Kit
Part #279834
When the igniter reaches a high enough temperature, these coils (Coil Valve, Dryer Gas Valve Coil Kit, Dryer Valve Coil Kit, Gas Valve Solenoid) work together to open the gas valve and allow the gas to enter the burner. This is a safety mechanism to ensure that there are no unsafe buildups of gas inside your appliance. The coils are attac...Read morehed to the dryer gas valve. If the dryer does not heat or heats intermittently, the coil may not be opening the gas valve. Both coils must be operational for the valve to open. No continuity would indicate a defective coil, but they can be intermittent and fail when they get hot. Both coils should be replaced when one of them is broken. This part can break as a result of material fatigue from normal use. This part measures approximately 1 inch in diameter and 1 inch in height, and is constructed of plastic and metal. It comes in black/beige. This part features a 3-terminal boost/hold coil and a 2-terminal secondary coil
Read less

$13.92
In Stock
Multi Rib Belt
Part #WP40111201
This dryer drum drive belt attaches to the motor pully and works the drum as the motor rotates. The belt has a length of 93- 3/6 inches, and wraps all the way around the dryer drum, around a tension pulley, and then around the drive motor pully. Replacing the rib belt could solve symptoms such as a screeching noise when the dryer tumbles,...Read more a broken belt (dryer will not tumble if its broken), no heat or not enough heat, or the dryer will not start. The tools needed for this repair are a nut driver and a putty knife. Remember to unplug the dryer before installing the part and protect your hands by wearing gloves.
Read less

$21.45
In Stock
Idler Pulley Wheel w/ Bearing
Part #WPY54414
The idler pulley wheel helps the belt to rotate the drum in your dryer. If your dryer will not start, will not tumble, or is noisy during operation, the idler pulley wheel may need to be replaced. This part is located beneath the drum of the dryer, so the drum will need to be removed before you can access the idler pulley wheel. It is als...Read moreo recommended to remove the blower housing and motor from the dryer itself, for easier access to the idler pulley wheel. It is connected by a set of two 5/16 screws. This two-inch-wide idler pulley wheel is beige or black in color and is made of plastic. This pulley wheel comes with its own metallic bearing in its center. Be sure to shut off power to the dryer before beginning this repair.
Read less

$35.80
In Stock
Dryer Radiant Flame Sensor
Part #WP338906
If your gas dryer is not heating up or igniting, then replacing the flame sensor, located in the burner assembly, could solve it. This part senses heat from the igniter to monitor if it is hot enough to ignite gas to light the burner. Once the igniter is hot enough it will open the valve and allow gas to flow. This is a safety mechanism t...Read moreo prevent dangerous levels of gas from building up. To repair, the main top of the dryer should be lifted, as well as the front panel to access the component. This flame sensor assembly is made of both plastic and metal.
Read less

$25.75
In Stock
Dryer Door Catch Kit
Part #LA-1003
This door catch kit is designed for use in dryers. This is an authentic OEM replacement part. This catch assembly ensures the door of your appliance will close, and remain closed. It allows your appliance to both start and complete a full drying cycle. There are two pieces included in this kit, one catch, and one strike. You open and clos...Read moree the door on such a regular basis that this mechanism can wear out. It is a fairly common part to replace. You will need to remove the door of your dryer to install the replacement catch assembly.
Read less

$12.85
In Stock
Retaining Ring
Part #WP23748
The metal retaining ring, which is under an inch long, holds the rear wheels on the axels of the dryer. The main reason why it would need to replaced is if the retaining ring has sprung out of place or is damaged. Some the symptoms could be that your dryer does not tumble, it makes a loud buzzing noise, or if it pumps, but will not spin. ...Read moreThe tools needed for this project are a putty knife, 5/16 nut driver, and snap ring pliers. Refer to the installation video and diagram for further instructions and guidance. Customers ranked this replacement project as easy.
Read less

$7.47
In Stock

$24.67
In Stock
Door Switch Kit
Part #W10169313
This part replaces two terminal switches in a dryer and prevents the dryer from running when the door is open. This includes two connectors. If your dryer will not shut off, start, or does not tumble, replacing the door switch can solve this appliance problem. The tools needed for replacement are a screw driver and wire strippers. Make su...Read morere to attach the two wires to the right two poles of the new switch, to do this you can check the resistance of the switch. Unplug the dryer before installing this part, also refer to the diagram provided by the manufacturer.
Read less

$7.47
In Stock

$16.07
In Stock
Light Bulb - 7W
Part #W10857122
Sold individually. This bulb is a 7-watt appliance incandescent light bulb. This appliance light bulb is two inches long. It is used for many clothes dryers. You will need a Phillips screwdriver and needle-nose pliers. Unplug the power from your dryer. You will find the light bulb by opening your dryer door and locating the casing surroun...Read moreding the bulb on the top of the inside of the door. You will need to remove the single screw holding it in place to access the bulb. Twist the old bulb out of place. Use your pliers if the base of the bulb is still inside the socket once the glass part of the bulb has been removed. Check to make sure that the socket itself is not damaged. If the socket is damaged it will need to be replaced as well. Screw your new bulb into place.
Read less

$68.86
In Stock
Blower Wheel
Part #56000
If your dryer is noisy, will not tumble, or is not producing enough heat, you may need to replace the blower wheel. This part is white in color, and is made of plastic. This part is approximately 8 inches in diameter. The blower wheel is located near the bottom of your dryer cabinet. To access it for this repair, you will need to remove b...Read moreoth the front panel and the front bulkhead assembly. Before you begin this repair, be sure to disconnect the power source to the dryer. To complete this repair, you will need a 5/16 inch nut driver, a 1/4 inch nut driver, a pair of locking pliers and a 7/8 socket with a short extension and a ratchet.
Read less

$74.08
Special Order
Idler Pulley Shaft
Part #WP56461
This shaft is made to fit the center of the idler pulley wheel of many clothes dryers. It is less than two inches long, and is made of metal.
Common Symptoms of models starting with AGE
How this model fails, and the parts that fix it.
Noisy
Fixed by
these parts
these parts


Show All
Not Heating
Fixed by
these parts
these parts


Show All
Door won’t close
Fixed by
these parts
these parts

Show All
Drum Not Spinning
Fixed by
these parts
these parts
Show All
Won’t Start
Fixed by
these parts
these parts

Show All
Will not agitate
Fixed by
these parts
these parts

Show All
Burning smell
Fixed by
these parts
these parts
Show All
Door Pops Open
Fixed by
these parts
these parts
Show All
Too hot
Fixed by
these parts
these parts

Show All
Running With Door Open
Fixed by
these parts
these parts
Show All
Spins slowly
Fixed by
these parts
these parts
Show All
Watch our pros, then fix it yourself.
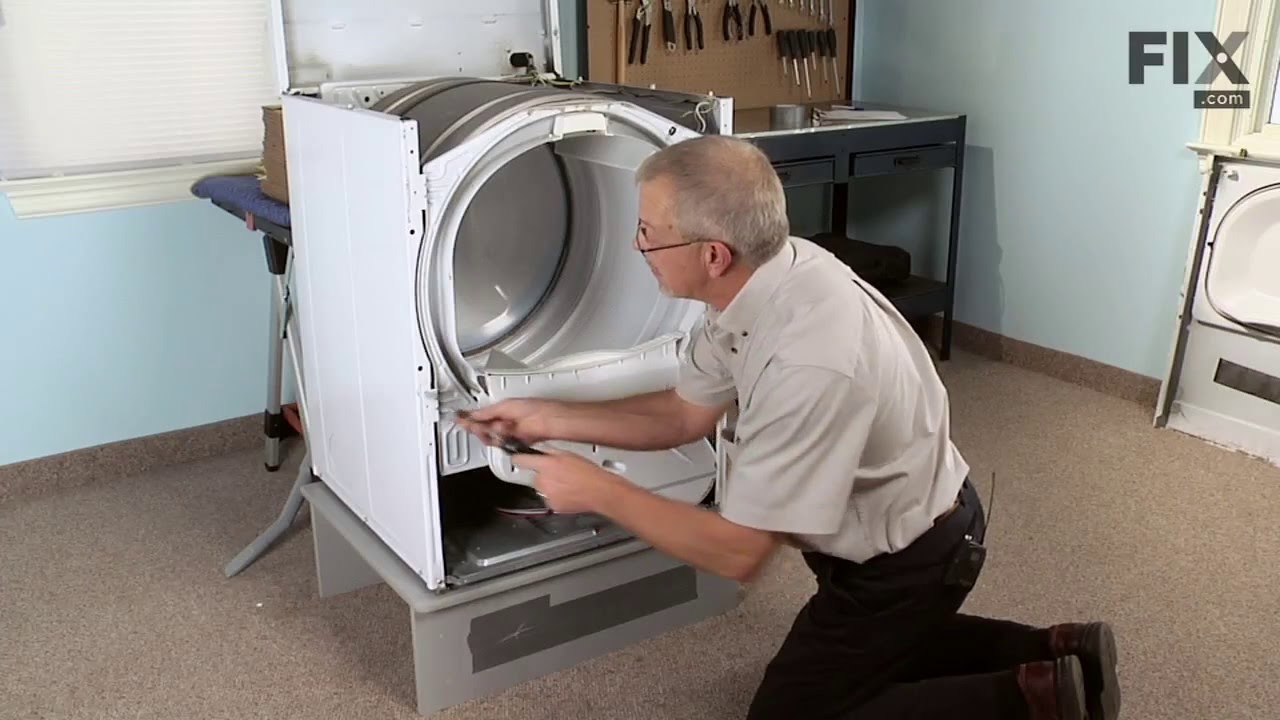
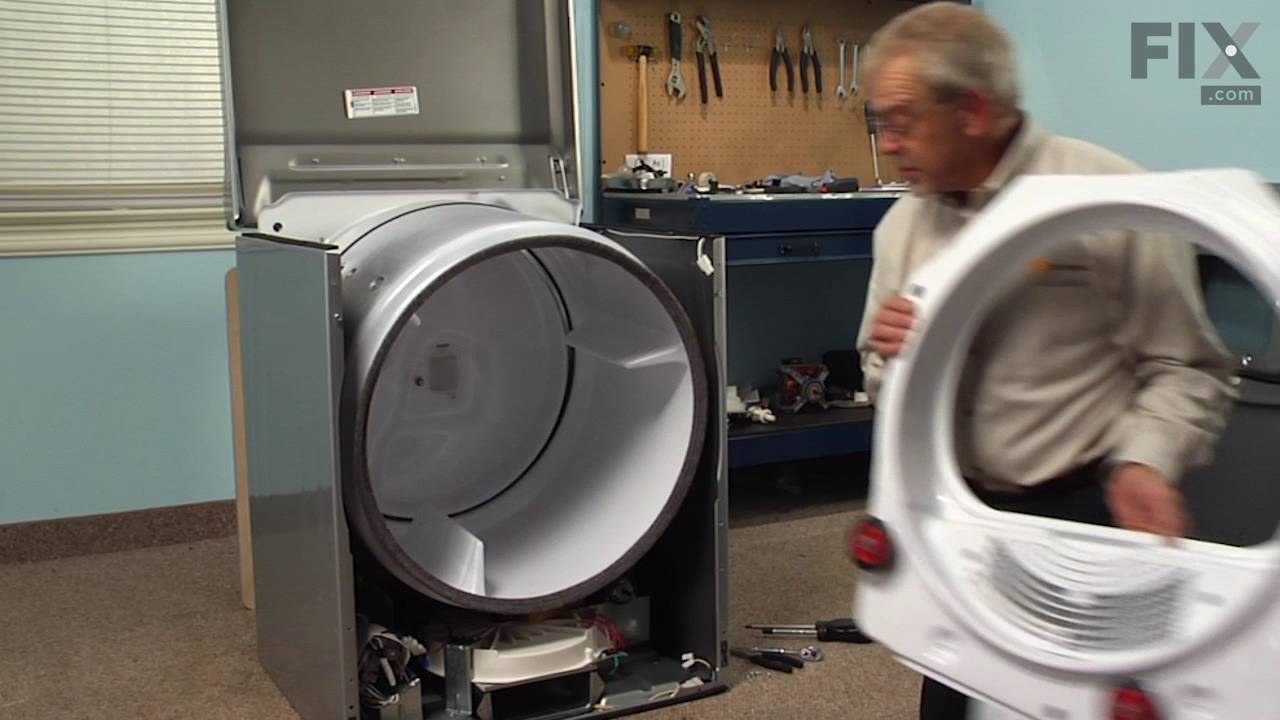
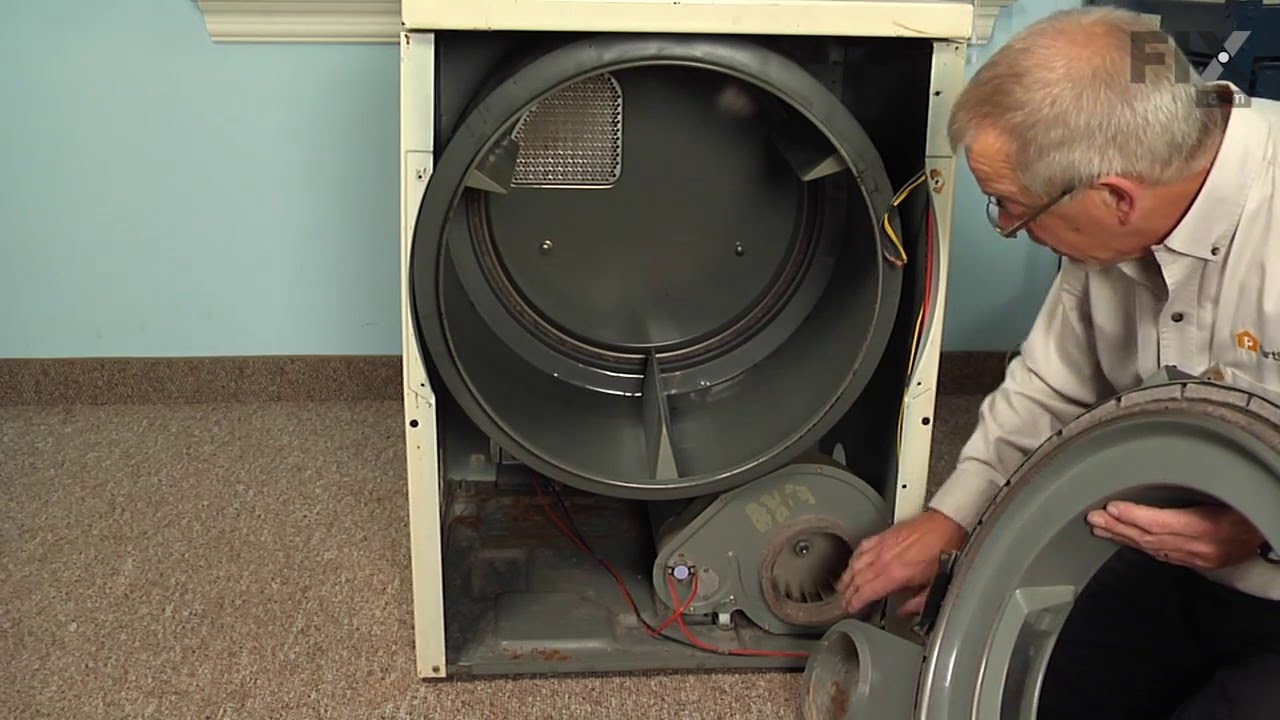
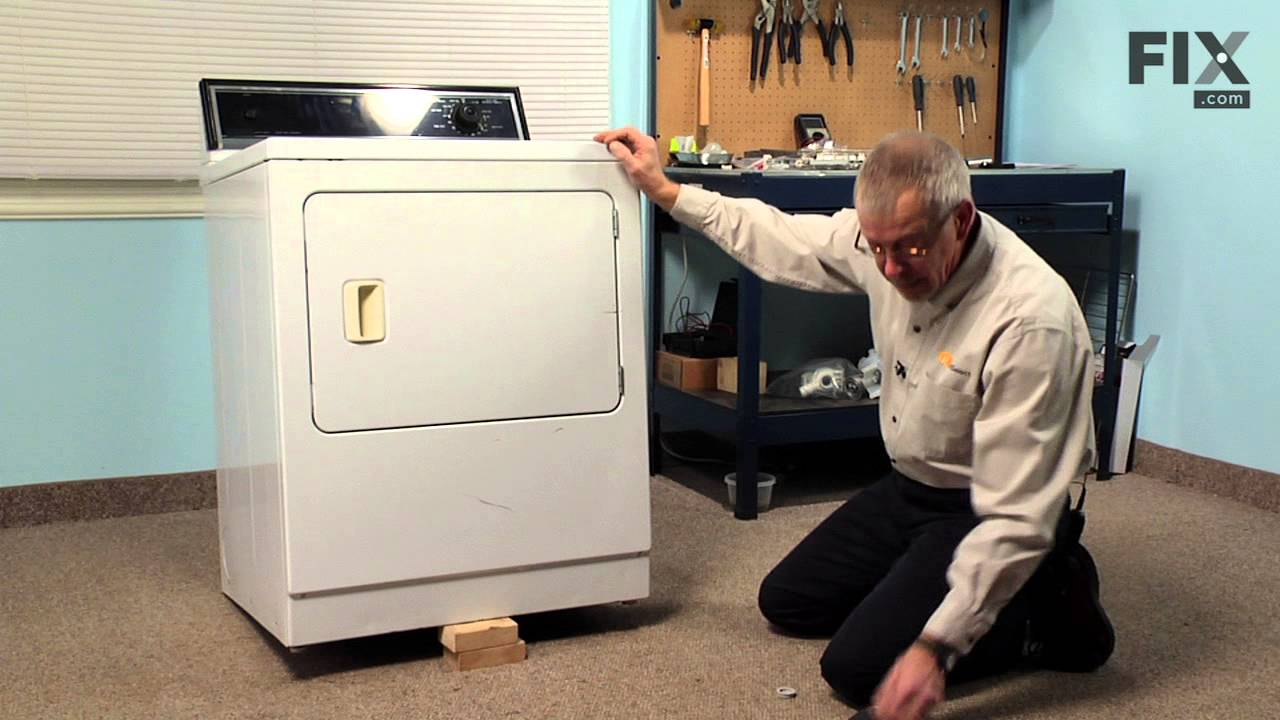
See how others fixed this model. Time, tools, difficulty, and steps that lead to victory!
View More
Search repair tips from other customers using simple keywords like "replace", "fit", "remove", "inspect". DIY doesn't mean you have to do it alone!
Search filter:
Clear Filter
Your search term must have 3 or more characters.
Dryer flame goes out after about 8-minutes from start and won’t work again until a 15-minute rest.
218 of 246 people
found this instruction helpful.
There was no problem with lint build-up within the dryer & the exhaust vent. I removed the gas cycling thermostat & thermal fuse from system & dryer still was not operating correctly. The radiant sensor & hi-limit thermostat both seemed to be operating correctly. That left either of the two coils as the culprits. I replaced both coils
... Read more
& the problem was corrected.
Read less
Other Parts Used:
Was this helpful?
Thank you for voting!