


 My Orders




AEW3 Amana Wall Oven - Overview
Models starting with AEW3
Click on the best match to narrow your results.
Enter a part description. DIY Heroes keep it simple, eg. "belt" or "pump".
Search filter:
Clear Filter
Your search term must have 3 or more characters.

$19.54
In Stock
Light Bulb - 40W
Part #8009
This an authentic OEM 40-Watt replacement light bulb, used in a number of household appliances. It is specially designed to withstand extreme temperatures, which is why these replacement bulbs are most often used to light the inside of refrigerators and ranges. It features a standard socket base, which means you simply unscrew the burnt-o...Read moreut bulb and screw in the replacement. Depending on the appliance you may require a screwdriver or nut driver to access the light bulb. We recommend you wear work gloves while handling this replacement part. It is constructed of glass and metal and is sold individually. Depending on the appliance and location of the bulb within it, you may want to consider disconnecting power and using a flashlight for easier access to unscrewing and re-screwing in your bulb during this repair.
Read less

$43.18
In Stock
Long Oven Sensor
Part #12001656
This long oven sensor is also commonly known as a temperature sensor. It is designed for use with ovens and ranges. It is similar to a thermostat; it measures and regulates the internal temperature of your oven cavity. There is an adapter at one end, a probe at the other, and they are connected by an insulated wire. The probe is approxima...Read moretely 7 inches long. You can test the sensor with a multi-meter for functionality. You need to check the model-specific manual to determine what the proper resistance is for your specific appliance. This oven sensor comes with two wire harness adapters and a set of instructions.
Read less

$7.47
In Stock

$117.51
In Stock
Door Hinge
Part #WP74008014
The hinges control the rate that the oven door opens and closes, and allows the door to stay open at an angle. This hinge can be used on either the left or right hand side of your oven, and is approximately 20 1/2 inches long. If your oven door will not open or close easily, you may need to replace this part. It may be a good idea to repl...Read moreace both hinges at the same time. If a spring has become loose on one hinge, the other hinge is likely to have the same issue. The repair is simple and only requires a Phillips screwdriver and a small bent nail. For a full step-by-step guide, check out the video below.
Read less

$27.36
In Stock
Range Terminal Block
Part #WPW10245259
This part is for oven ranges, it connects individual wires and protects the device from electrical surges, voltages, and current. With this part, the house power is connected to the range wire harness. Some symptoms replacing the terminal block could be a solution for are little to no heat when baking, element will not heat and/or it will...Read more not start. This part will prevent loosening and will reduce damage caused by corrosion (by two different metals). Refer to the instructional diagram for further replacement guidance and exact placement. You must unplug the appliance before installing this part and wear gloves to protect your hands.
Read less

$49.50
In Stock
2 Piece Broiler Pan
Part #4396923
This broiler pan and roasting rack set is designed to help reduce mess while cooking by allowing grease to drain away from food. Its durable porcelain-coated construction stands up to high temperatures and makes cleanup simple. With approximate dimensions of 16 3/4 inches long, 12 3/4 inches wide, and 1 3/4 inches high, it offers a convenient size for everyday broiling and roasting.

$86.01
In Stock
Oven Rack
Part #WPW10282527
This oven rack is used for the inside your oven range to provide a stable surface for your cookware for baking/broiling. The oven rack measures approximately 23.5” x 16”, is made of metal and is chrome in color. This oven rack is a genuine OEM part and is sold individually.

$95.48
In Stock
Bake Element
Part #WPW10310258
This bake element for your oven, range, or stove provides heat from the bottom of the appliance to cook or bake your food items. You may need to replace this part if your oven is not heating properly. This bake element is approximately 22 inches wide. Disconnect power to your appliance before completing the repair because you will be work...Read moreing near electrical wiring harnesses. The wiring harnesses feature slip-on terminals for easy installation. Be sure to hold the wiring harness forward so they do not fall behind the panel, as they are difficult to retrieve. This is an authentic OEM bake element.
Read less

$57.38
In Stock
Range Light Cover Lens
Part #WP9781049
The light cover lens in your oven is designed to protect the light bulb. If your light cover lens is damaged, you will need to replace it. This part is made of clear glass and is roughly 3 inches in diameter. Many of our customers have rated this repair as easy, and it should take less than 10 minutes to complete. In order to do this repa...Read moreir, simply unscrew the old light cover lens, and replace it with the new one. If your old light cover lens is damaged, be careful of any broken glass when completing this repair.
Read less

$7.47
In Stock

$83.73
In Stock
SEAL- DOOR
Part #WP71001841
This oven door gasket prevents heat from escaping the oven cavity when in use. This is a very easy repair that should only take a few minutes. The door gasket may damage or rip over time due to repeated use. If you notice that hot air is escaping from your oven, it is likely that the gasket needs to be replaced. You will need to open the ...Read moreoven door and remove the old seal by pulling it out of place with your hands. The old gasket will be secured with clips that will come out when you pull the entire piece out. The new gasket will have hooks all along the rim, which will line up with the oven door. Simply line up the hooks and push into place outlining the door of the inside of the oven. No tools required.
Read less

$7.47
In Stock
Common Symptoms of models starting with AEW3
How this model fails, and the parts that fix it.
Little to no heat when baking
Fixed by
these parts
these parts


Show All
Oven is too hot
Fixed by
these parts
these parts
Show All
Oven not heating evenly
Fixed by
these parts
these parts

Show All
Will Not Start
Fixed by
these parts
these parts
Show All
Element will not heat
Fixed by
these parts
these parts
Show All
Door won’t close
Fixed by
these parts
these parts

Show All
Touchpad does not respond
Fixed by
these parts
these parts
Show All
Will not program
Fixed by
these parts
these parts
Show All
Little to no heat when broiling
Fixed by
these parts
these parts

Show All
Door won’t open after self cleaning cycle
Fixed by
these parts
these parts
Show All
Watch our pros, then fix it yourself.

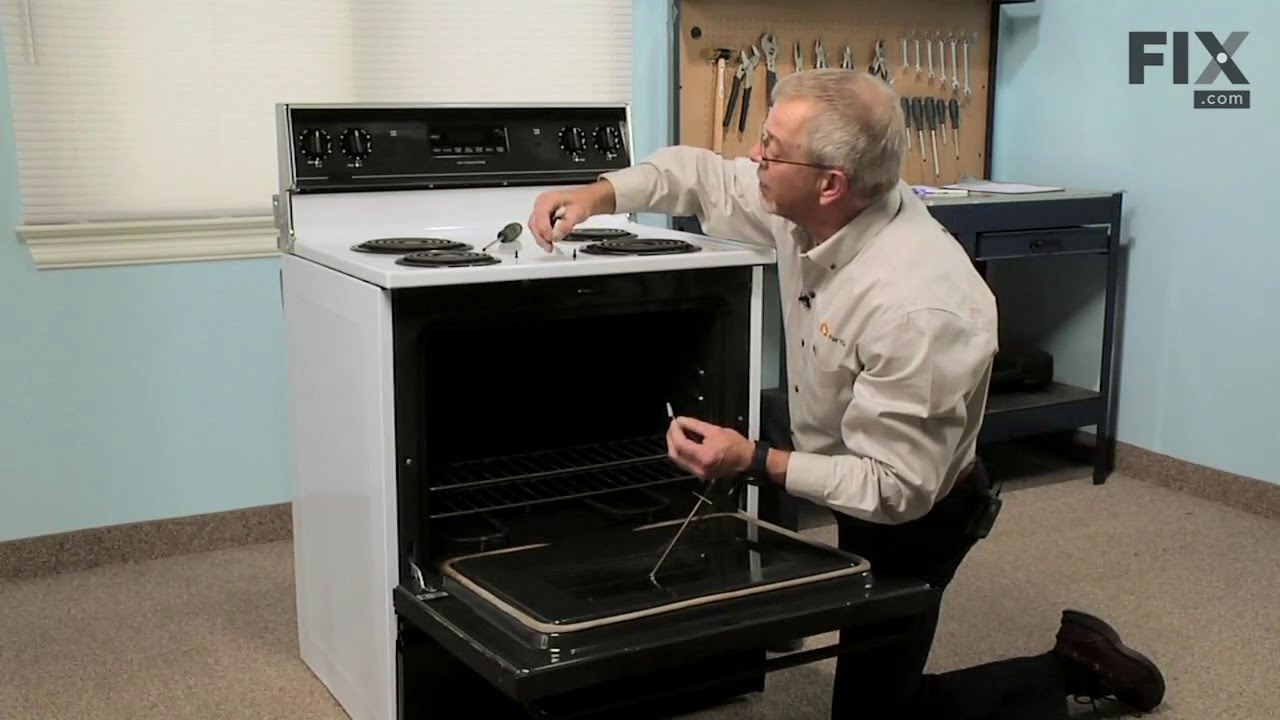
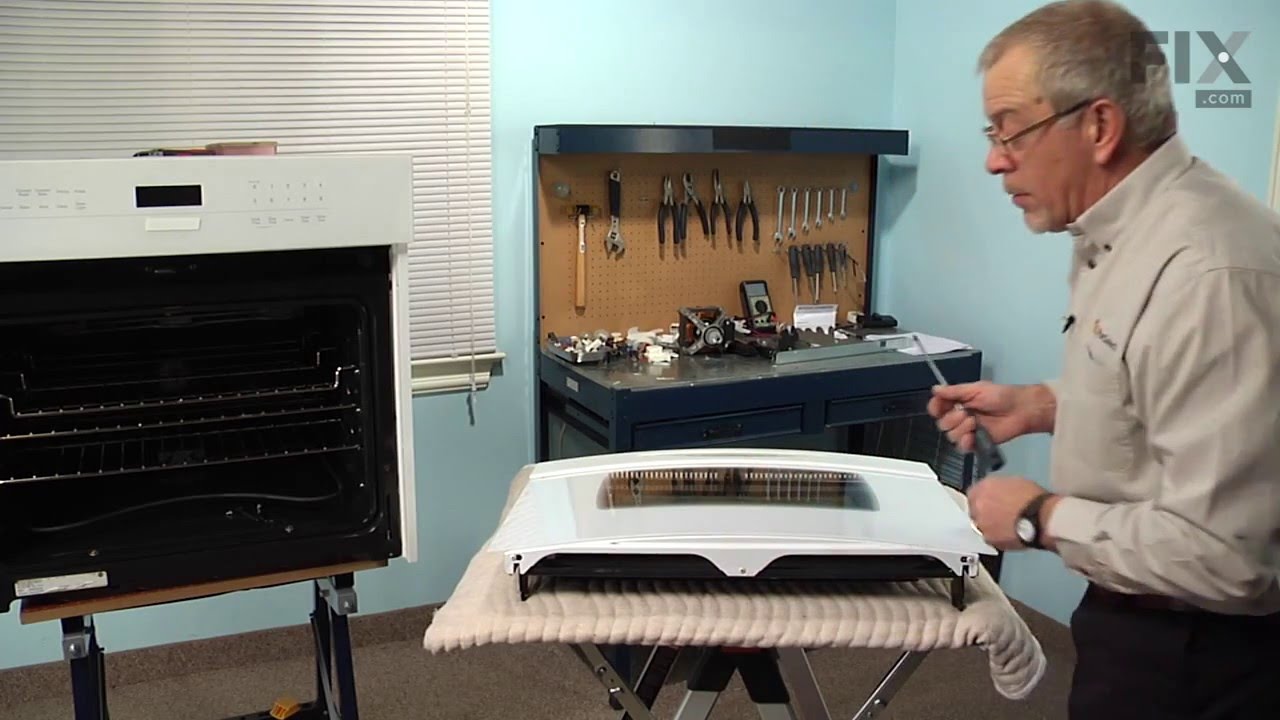

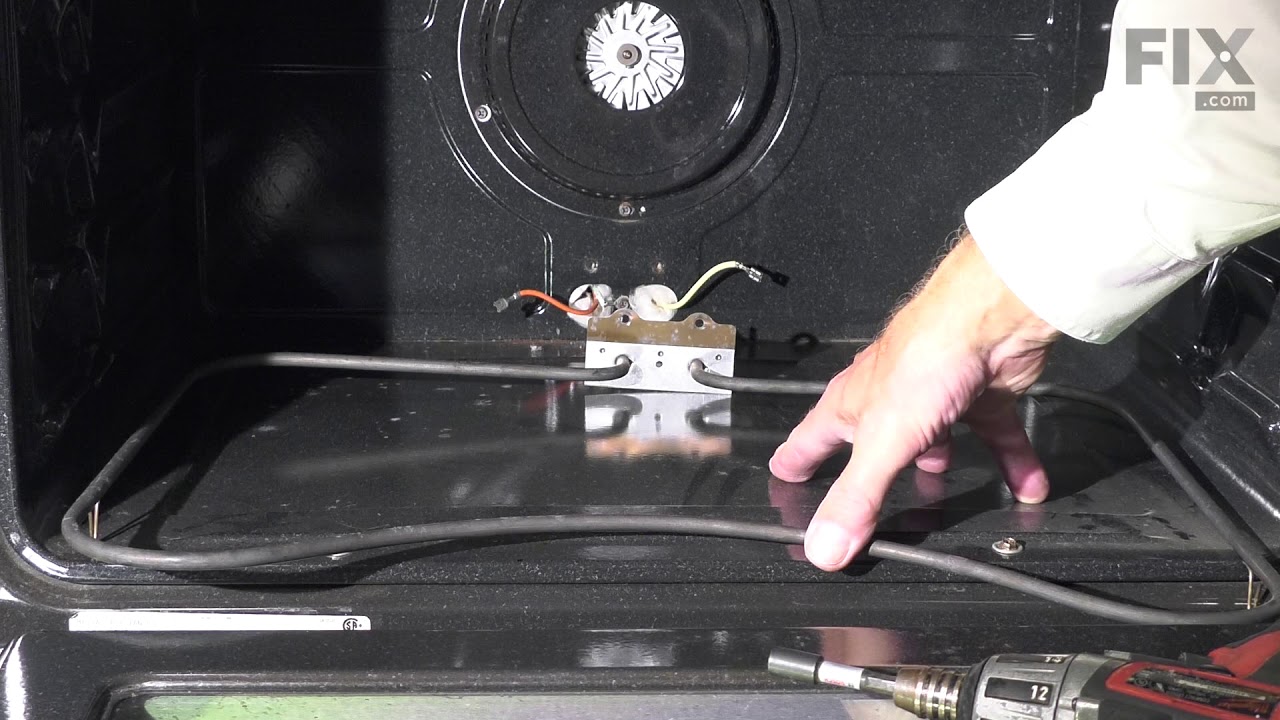

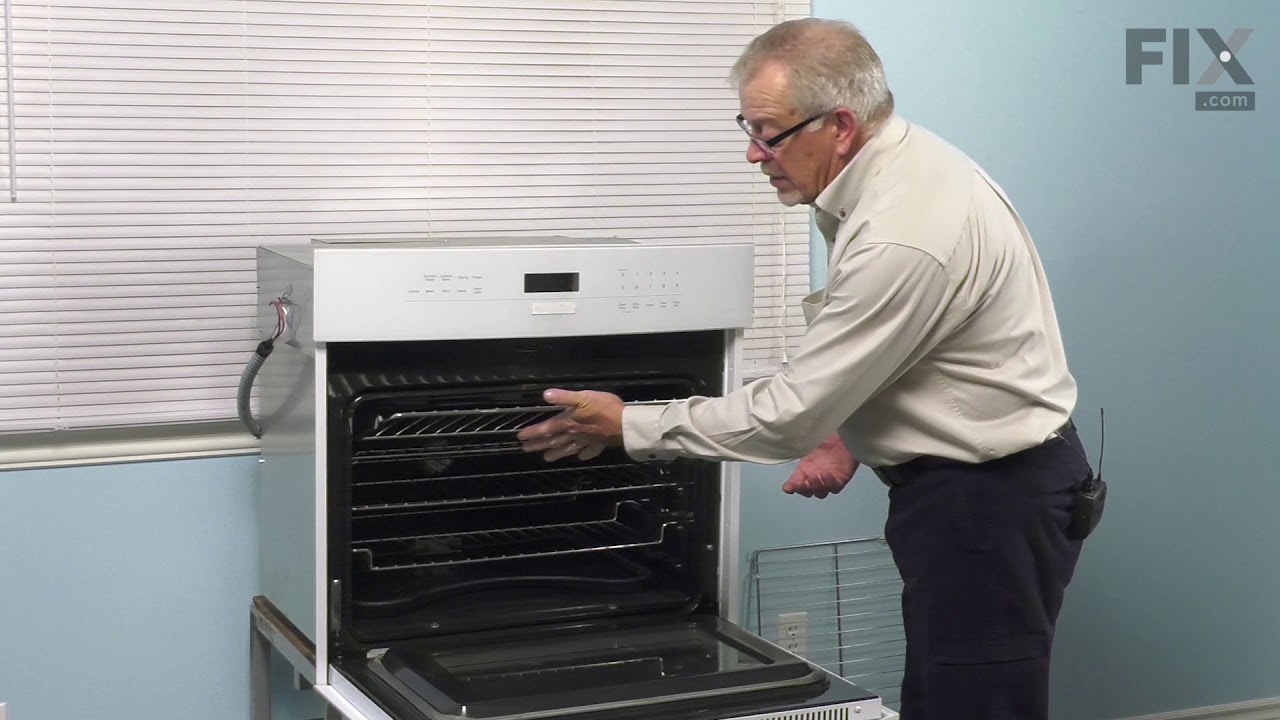
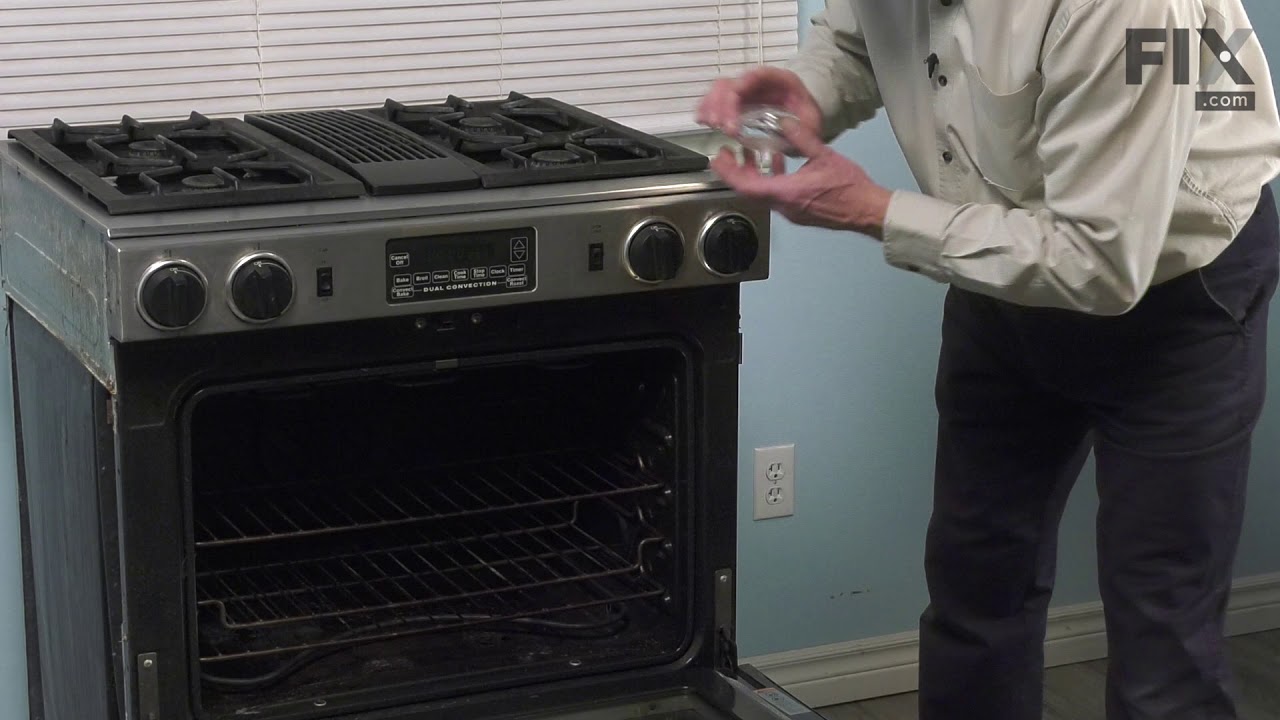
See how others fixed this model. Time, tools, difficulty, and steps that lead to victory!
View More