


 My Orders




AEC6540KFB01 Maytag Dryer - Overview
Diagrams for AEC6540KFB01
See every part. Know exactly what you need.


Enter a part description. DIY Heroes keep it simple, eg. "belt" or "pump".
Search filter:
Clear Filter
Your search term must have 3 or more characters.

$7.47
In Stock

$9.62
On Order

$27.36
In Stock
Range Terminal Block
Part #WPW10245259
This part is for oven ranges, it connects individual wires and protects the device from electrical surges, voltages, and current. With this part, the house power is connected to the range wire harness. Some symptoms replacing the terminal block could be a solution for are little to no heat when baking, element will not heat and/or it will...Read more not start. This part will prevent loosening and will reduce damage caused by corrosion (by two different metals). Refer to the instructional diagram for further replacement guidance and exact placement. You must unplug the appliance before installing this part and wear gloves to protect your hands.
Read less

$131.91
In Stock

$90.40
In Stock
ELMNT-SURF
Part #W11047722
This 2500-watt radiant surface element is a genuine OEM replacement designed for select Whirlpool electric ranges and compatible brands such as Maytag, KitchenAid, and Amana. Positioned beneath the cooktop, it delivers consistent heat to the cooking surface, supporting efficient and even temperature control. Common symptoms of a failing e...Read morelement include uneven heating or complete lack of heat. Featuring plug-in terminals for straightforward installation, this part can be replaced using basic hand tools. For safety, always unplug the appliance or shut off the circuit breaker before beginning the repair. Model verification is recommended to ensure compatibility.
Read less

$11.77
In Stock
Appliance Scraper
Part #WA906B
Use this scraper for your ceramic/glass cooktop. It has a retractable blade and is an all-purpose tool for cooktops, mirrors, windows and tile. Use it to also remove paint, paper, dirt, stickers and more.

$95.91
In Stock

$9.62
In Stock
Plate Nut
Part #WP3400029
This size 10 plate nut with 32 threads per inch is located in your household appliances. It securely fastens various parts together, such as panels, brackets, and accessories, to the frame. It features a built-in washer and is also known as a captured nut or a caged nut. If the secured components feel loose, wobbly, or are coming apart, i...Read moret may indicate that the nut has lost its grip or become stripped. To maintain stability and safety, it is crucial to replace a broken or faulty plate nut. Refer to your user guide to access the plate nut on your specific appliance model, which could be near the console, along the door, or on the tub support. Once located, loosen it using a wrench or pliers. Keep in mind that this OEM fastener is sold individually, so make sure to determine the quantity needed before making a purchase. It is also advisable to keep spare plate nuts on hand for future repairs.
Read less

$7.47
In Stock
Nut
Part #WP7103P027-60

$167.80
In Stock
Radiant Surface Element with Limiter - 1800W
Part #WP8273993
Introducing the Samsung Main Control Board, designed specifically for fitting Samsung Range models. This essential appliance part is responsible for managing all the major functions of your range, ensuring seamless performance and operation. Sourced directly from the trusted and globally recognized electronics brand, Samsung, this product...Read more upholds the brand's commitment to quality, reliability, and longevity. Keeping your range running efficiently, it ensures accurate temperature control, precise timing and smooth operation of control settings. Replacing this integral component could bring a renewed lease of life to your Samsung range. Upgrade your kitchen today with Samsung?s superior performance Main Control Board.
Read less

$50.56
Special Order
Cooktop Mounting Bracket & Screw
Part #8186533

$12.85
On Order
Spring
Part #WPW10225448
Common Symptoms of the AEC6540KFB01
How this model fails, and the parts that fix it.
Element will not heat
Fixed by
these parts
these parts


Show All
Will Not Start
Fixed by
these parts
these parts
Show All
Little to no heat when baking
Fixed by
these parts
these parts
Show All
Touchpad does not respond
Fixed by
these parts
these parts
Show All
Oven not heating evenly
Fixed by
these parts
these parts
Show All
Watch our pros, then fix it yourself.


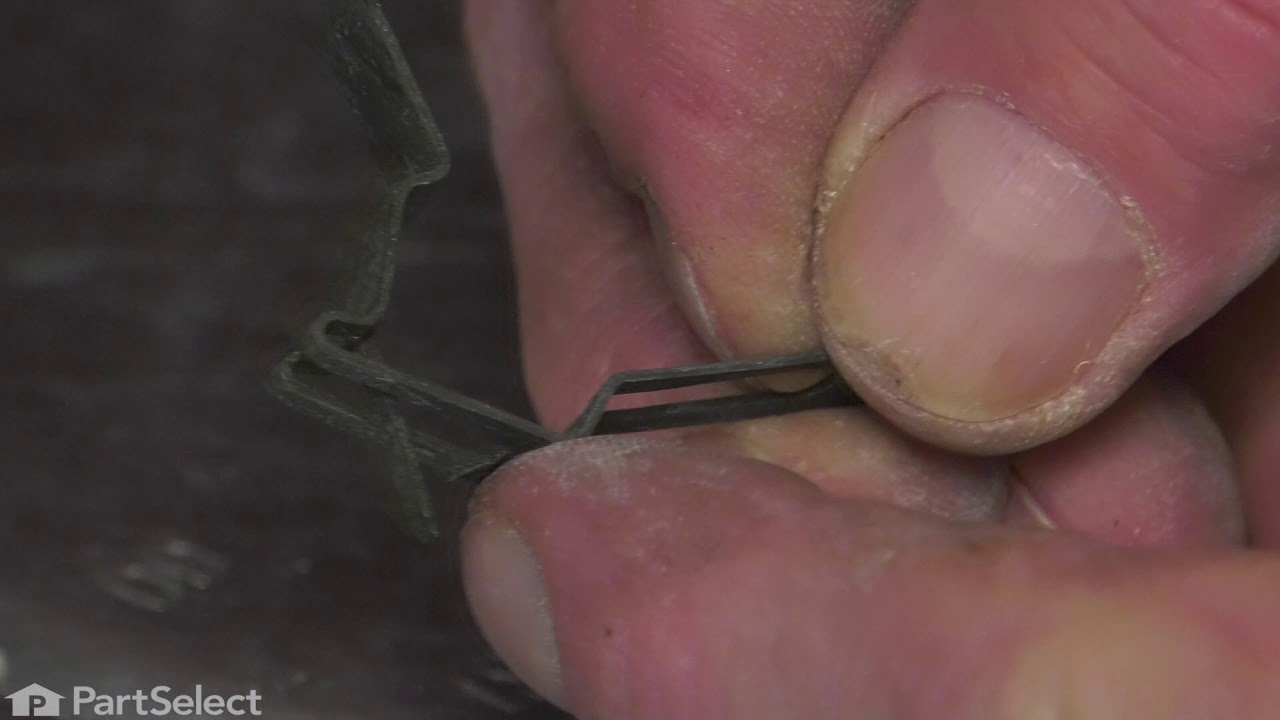
See how others fixed this model. Time, tools, difficulty, and steps that lead to victory!
View More