


 My Orders




AD02 - Overview
Models starting with AD02
Click on the best match to narrow your results.
- AD0202XM0 Whirlpool Dehumidifier
- AD0202XM1 Whirlpool Dehumidifier
- AD0202XM2 Whirlpool Dehumidifier
- AD0202XV0 Whirlpool Dehumidifier
- AD0252XA0 Whirlpool Dehumidifier
- AD0252XA1 Whirlpool Dehumidifier
- AD0252XW0 Whirlpool Dehumidifier
- AD0252XZ0 Whirlpool Dehumidifier
- AD0252XZ1 Whirlpool Dehumidifier
- AD025SG0 Whirlpool Dehumidifier
- AD025SJ0 Whirlpool Dehumidifier
- AD02W Makita Cordless Drill (12V Max Lithium-Ion Cordless 3/8" Right Angle Drill Kit)
- AD02ZW Makita Drill (Drill)
Enter a part description. DIY Heroes keep it simple, eg. "belt" or "pump".
Search filter:
Clear Filter
Your search term must have 3 or more characters.

$7.47
In Stock
Screw
Part #WP488729
Metallic screw that is less than an inch long. Does not include the plastic washer.

No Longer Available
Dehumidifier Float
Part #WP1172075
If the bucket is full indicator on your dehumidifier is on but the bucket is empty, you may have a problem with the float. If you notice that the float is warped or damaged, it should be replaced. This device is located near the bucket and prevents the dehumidifier from overflowing. You will need to open up the dehumidifier to complete th...Read moreis repair. This product is approximately 4 inches in length. Many of our customers have rated this repair as easy. To complete the repair simply remove the clips that hold the float in place, attach the new float, and replace the clips.
Read less

$7.47
Special Order
Water Inlet Hose Washer
Part #WP16123
If your clothes washer is leaking, it is likely that there could be an issue with one of the hoses. If the hoses are in working order, you should check the washers connecting the hose to your unit. Rubber washers are tasked with enhancing the seal between the hose and washer. A faulty or damaged washer will not be able to perform this pro...Read moreperly, and water will be able to leak from the poor connection. This OEM part is sold individually, so make sure you order the quantity that is needed. The washer measures 1 1/16 inches x 5/8 inches.
Read less

$8.55
Special Order
Range Hex Nut
Part #WP488130
This hex nut is an authentic Whirlpool part that is sourced directly from the original equipment manufacturer, and will fit a variety of appliances including ovens, microwaves, refrigerators, air conditioners, and dishwashers. It is a metal part with a threaded hole to fasten parts in the appliance together. It is common for this part to ...Read morewear out; it is recommended to order a spare. To replace this part the tools needed are a nut driver or wrench. This nut features a built-in external tooth lock washer, which is used to help keep the nut in place.
Read less

No Longer Available
Bucket and Float Kit
Part #8201783
This bucket and float kit, also known as water tank assembly, is for a dehumidifier is 14.5 inches long and 8.5 inches wide. The water tank extracts, traps, and contains the moisture from the air, which dehumidifies your room. The kit contains one bucket, one flat, and two screws for installation. The bucket is white and made of plastic. ...Read moreYou may need to replace this part if your dehumidifier is no longer trapping the water properly. This is an authentic part from the genuine manufacturer, and you cannot order the parts individually.
Read less

$7.47
In Stock
Refrigerator Single Hex Head Screw
Part #WP489069
Sold individually. The size of this screw is 1/4" hex head and 10-12 x 1/2".

$87.26
In Stock
Compressor Relay and Overload Kit
Part #4387535
The compressor relay and overload kit is an assembly for your refrigerator. The function of the overload is to protect the compressor from overheating by being mounted to the side of the compressor. The purpose of the relay is to boost the compressor. This assembly comes with two smaller plastic pieces that are less than two inches by one...Read more inch. One is black and the other is white. The kit also comes with a red wire tubing. The most common reason for needing to replace the overload and relay is if your fridge is too warm or will not start.
Read less

$8.55
Special Order

$73.04
In Stock
Refrigerator Start Relay Combination
Part #WP2262181
Start relay and overload for production compressor only. The start relay boosts the compressor, and then shuts off as soon as the motor gets up to speed. The overlay provides added protection against excessive current and against excessive temperature use.

No Longer Available
Dehumidifier Humidistat Control
Part #WP1168670
The humidistat control, used in dehumidifiers, switches the dehumidifier on and off automatically to maintain humidity. If the switch does not work, the humidifier will not maintain the temperature properly. For this repair, screwdrivers are the only tools needed. First remove the knob and the screws from the top. Pry back the plastic ret...Read moreainers on one side of the old humidistat and remove wires before installing the new part and reattaching the two wires that connect to it. Remember to unplug the humidifier from the power source before installation.
Read less

No Longer Available

$7.47
In Stock
Common Symptoms of models starting with AD02
How this model fails, and the parts that fix it.
Will Not Start
Fixed by
these parts
these parts


Show All
Leaking
Fixed by
these parts
these parts

Show All
Fridge too warm
Fixed by
these parts
these parts
Show All
Watch our pros, then fix it yourself.
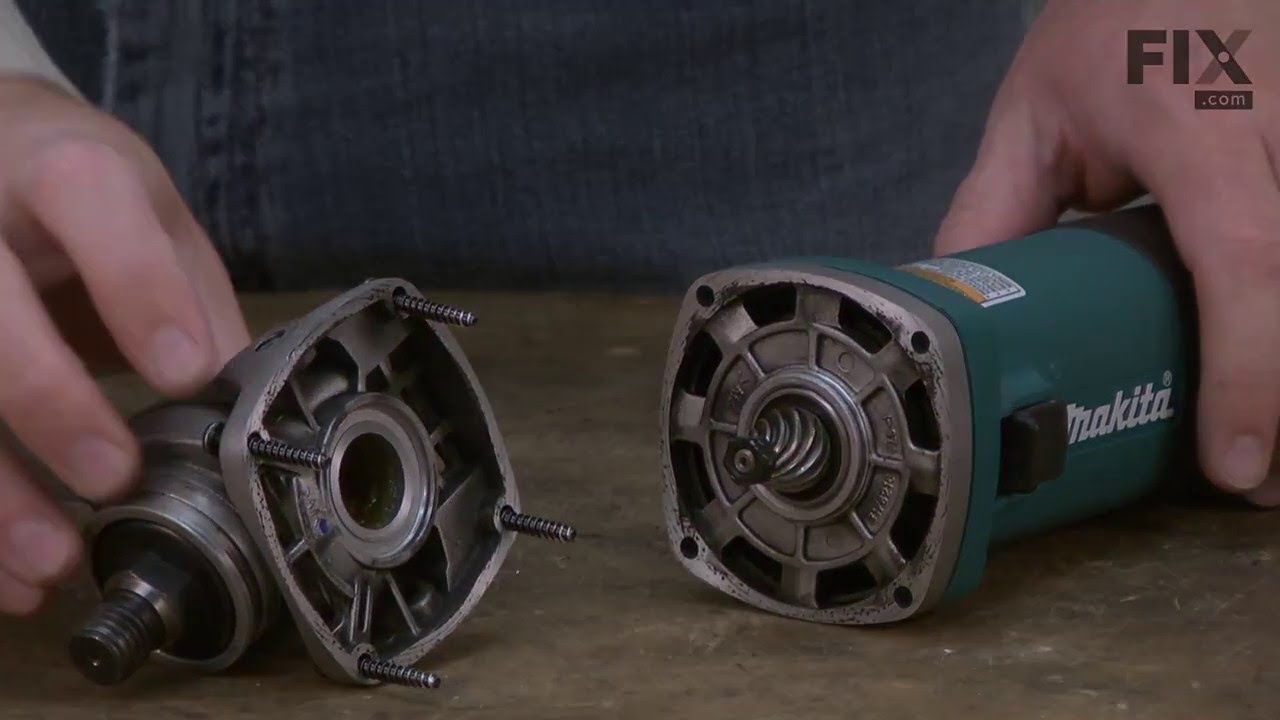
See how others fixed this model. Time, tools, difficulty, and steps that lead to victory!
View More