


 My Orders




A125 - Overview
Models starting with A125
Click on the best match to narrow your results.
- A125 (39A-125-100) Cub Cadet Lawn Tractor Accessories (Windshield)
- A125 ( 39A-125-100 ATT ) Cub Cadet Lawn Tractor Accessories (Windshield)
- A125 Majestic Fireplace & Insert
- A125 Shakespeare Spinning Reels (Alpha Reel)
- A1250 Kenmore Upright Vacuum (Kenmore Vacuum Cleaner Model A1250 Parts)
- A1251 Kenmore Upright Vacuum (Kenmore Vacuum Cleaner Model A1251 Parts)
- A125B Jenn-Air Cooktop
- A125W Jenn-Air Range (RANGE ACCESSORIES)
Enter a part description. DIY Heroes keep it simple, eg. "belt" or "pump".
Search filter:
Clear Filter
Your search term must have 3 or more characters.

$12.85
In Stock
Cartridge Male Contact Spade
Part #Y708572
This cartridge assembly male contact spade is made of metal. These are sold individually, though each range uses four contact spades.

$53.20
In Stock
Range Burner Cartridge Terminal Block
Part #WPY708730
No spades or wiring come with this part. To order the spades or wiring, please research by model# of appliance.

$135.62
In Stock
Burner Element - Right Front
Part #W10823698
This surface element is for ranges.
The surface element supplies the heat to a cooking area on top of the range.
Unplug the range or shut off the house circuit breaker for the range before installing this part. Wear work gloves to protect your hands.

$8.55
Special Order

$7.47
In Stock

$24.67
In Stock
Range Terminal Block Insulator
Part #708834
This part fits inside your range's terminal block to act as an insulator for the contact spade.

$137.75
In Stock
ELMNT-SURF
Part #W10823702
Introducing the Whirlpool ELMNT-SURF 6" Radiant Surface Burner with Limit Switch. This genuine OEM part plays a paramount role in ensuring your kitchen range functions at its optimum. Carefully designed, it supplies the heat necessary for a cooking space atop your range. Due to minor variations in size and shape, it's crucial to verify th...Read moree compatibility with your model before committing. For safe installation, remember to unplug the range or initiate a shut down on your house circuit breaker. Using sturdy work gloves during this process will ensure your hands are well-protected.
Read less

$8.17
In Stock
Refrigerator Screw
Part #WP12990527

No Longer Available
CLIP
Part #Y708910
This wiring clip is an inch long, and is made entirely of metal. This clip is used with ranges and cooktops.

No Longer Available
USE WPL 5700M527-60
Part #Y700648

No Longer Available
SUPPORT
Part #Y04100171
No Longer Available
WIRE
Part #5112P328-60
Exact Part matches for your search term
No Longer Available
Common Symptoms of models starting with A125
How this model fails, and the parts that fix it.


Watch our pros, then fix it yourself.
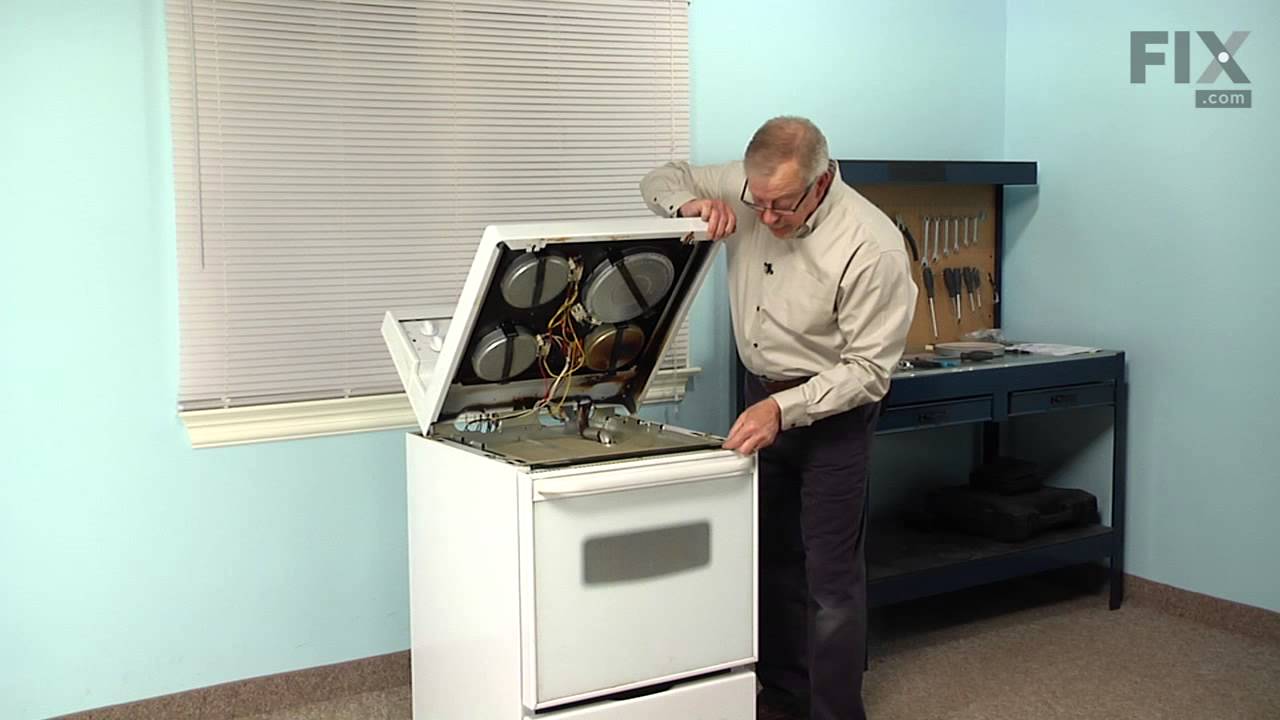
See how others fixed this model. Time, tools, difficulty, and steps that lead to victory!
View More
Search repair tips from other customers using simple keywords like "replace", "fit", "remove", "inspect". DIY doesn't mean you have to do it alone!
Search filter:
Clear Filter
Your search term must have 3 or more characters.
The top would not heat,large or small eye.
29 of 50 people
found this instruction helpful.
Removed the bottom cover and replaced the burned contact spade. Cleaned the wires and adjust the contact holder.
Other Parts Used:
Was this helpful?
Thank you for voting!