



EasyApplianceParts is now PartSelect! We've merged our sites to provide a better shopping experience for you.   Full Details

Find Parts

Parts Departments

Top Model Types

Top Brands

Repair Help

Expert Repair Videos

Keep typing for more specific results...

A125W Jenn-Air Range - Overview

Diagrams for A125W

See every part. Know exactly what you need.

Enter a part description. DIY Heroes keep it simple, eg. "belt" or "pump".

Search filter:
Clear Filter
Your search term must have 3 or more characters.
Burner Element - Right Front – Part Number: W10823698
$135.62
In Stock
Burner Element - Right Front
★★★★★
★★★★★
(3)
Part #W10823698
This surface element is for ranges. The surface element supplies the heat to a cooking area on top of the range. Unplug the range or shut off the house circuit breaker for the range before installing this part. Wear work gloves to protect your hands.
Refrigerator Screw – Part Number: WP488234
$8.55
Special Order
Refrigerator Screw
Part #WP488234
This screw is sold individually. Size: 8-32 x 1/4 inch.
Range Terminal Block Insulator – Part Number: 708834
$24.67
In Stock
Range Terminal Block Insulator
Part #708834
This part fits inside your range's terminal block to act as an insulator for the contact spade.
ELMNT-SURF – Part Number: W10823702
$137.75
In Stock
ELMNT-SURF
★★★★★
★★★★★
(3)
Part #W10823702
Introducing the Whirlpool ELMNT-SURF 6" Radiant Surface Burner with Limit Switch. This genuine OEM part plays a paramount role in ensuring your kitchen range functions at its optimum. Carefully designed, it supplies the heat necessary for a cooking space atop your range. Due to minor variations in size and shape, it's crucial to verify the compatibility with your model before committing. For safe installation, remember to unplug the range or initiate a shut down on your house circuit breaker. Using sturdy work gloves during this process will ensure your hands are well-protected.
Refrigerator Screw – Part Number: WP12990527
$8.17
In Stock
Refrigerator Screw
Part #WP12990527
WIRE – Part Number: 5112P328-60
No Longer Available
WIRE
Part #5112P328-60
GLASS FRAM – Part Number: 74005882
No Longer Available
GLASS FRAM
Part #74005882
N/L/A 11/05/03 – Part Number: 04100332
No Longer Available
N/L/A 11/05/03
Part #04100332
BRACKET, ANTI-ROTATION – Part Number: 04100171
$10.70
Special Order
BRACKET, ANTI-ROTATION
Part #04100171
SCREW – Part Number: 707113
No Longer Available
SCREW
Part #707113
WIRE – Part Number: 700645
No Longer Available
WIRE
Part #700645
BRACKET – Part Number: 700648
$36.85
Special Order
BRACKET
Part #700648

Exact Part matches for your search term

USE WPL A126W – Part Number: A125W
No Longer Available
USE WPL A126W
This part number matches the current model number A125W
Part #A125W

Common Symptoms of the A125W

How this model fails, and the parts that fix it.

Watch our pros, then fix it yourself.
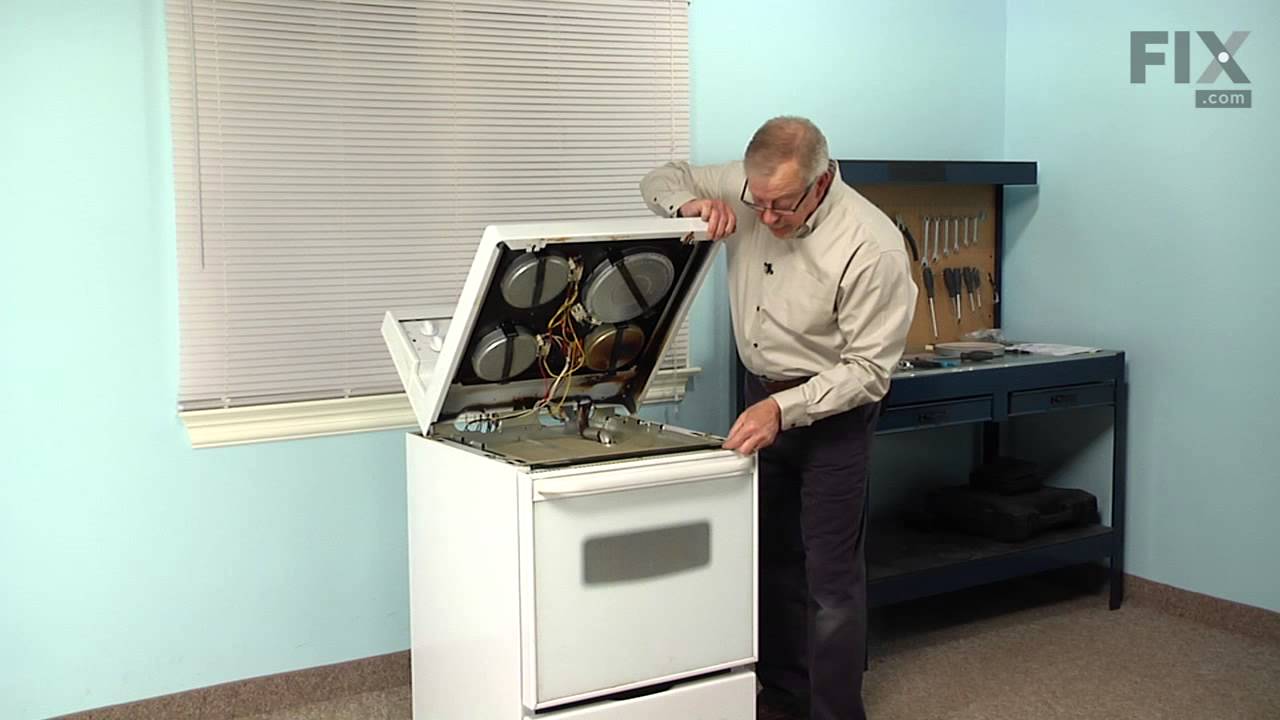
See how others fixed this model. Time, tools, difficulty, and steps that lead to victory! View More

Search repair tips from other customers using simple keywords like "replace", "fit", "remove", "inspect". DIY doesn't mean you have to do it alone!

Search filter:
Clear Filter
Your search term must have 3 or more characters.
No heat on burner
35 of 51 people found this instruction helpful.
  • paul from trumbull, CT
  • Really Easy
  • Less than 15 mins
  • Screw drivers, Socket set
Turned off electricity! Pulled stove out -lifted up glass top(carefully) simply removed burned out coil and replaced it with new one.
Was this helpful?
Thank you for voting!
6" burner on the radiant surface started smoking and burned out.
25 of 38 people found this instruction helpful.
  • Johnny from Henderson, NC
  • Really Easy
  • Less than 15 mins
  • Nutdriver
Remove plug in unit from stove top. Turn over and remove the 7 screws from the 4 sides only. Turn back over holding unit together manually. Remove the glass top gently and lay it aside. Remove two wires that are plugged into the old unit, remembering which belongs where. You might want to remove one at a time and connect to new unit. Place new unit in between the three guides. Make sure the other unit is aligned also. Place glass top back unto unit and replace the 7 screws. Put unit back into stove top and test. Finished in less than 15 minutes with no issues.
Was this helpful?
Thank you for voting!
Defective Surface Burner Element - 1800W
23 of 35 people found this instruction helpful.
  • Robert from Daytona Beach, FL
  • Really Easy
  • 30 - 60 mins
  • Screw drivers
First discount Ac from wall, then take out 2 screws on the front of the range top and lift up the top of the range surface, then while holding up the surface top take out the front burner and replaced new burner element.Let the surface top down and screw in the two screws. the surface top of the range is hinged so it would be good to hav e someone to hold the top up while you replace the element or use a piece of wood to hold it up,this is a piece of cake to repair. would like to thank parts select for their service. I have ordered from them before and they back up their products
Robert
Was this helpful?
Thank you for voting!