



 My Orders




911427 Kenmore Cooktop - Overview
Models starting with 911427
Click on the best match to narrow your results.
- 91142701100 Kenmore Cooktop
- 91142702100 Kenmore Cooktop
- 91142704100 Kenmore Cooktop
- 91142709100 Kenmore Cooktop
- 91142711100 Kenmore Cooktop
- 91142712100 Kenmore Cooktop
- 91142719100 Kenmore Cooktop
- 9114272590 Kenmore Cooktop
- 9114272591 Kenmore Cooktop
- 9114272790 Kenmore Cooktop
- 9114272791 Kenmore Cooktop
Enter a part description. DIY Heroes keep it simple, eg. "belt" or "pump".
Search filter:
Clear Filter
Your search term must have 3 or more characters.

$15.00
In Stock

$16.07
In Stock
Chrome Burner Bowl - 8 Inch
Part #WB31K10266
This burner drip bowl, also referred to as a drip pan or burner pan, is a genuine OEM replacement part that is designed to fit ranges. The bowl is located beneath the burner where it catches food particles and other items that may fall during the cooking process. It prevents these substances from making contact with and potentially damagi...Read moreng the burner or cooktop surface. Each bowl has a diameter of 8 inches. It also comes with a chrome finish that gives the bowl a sleek and modern appearance, helps to protect the bowl from corrosion, and makes it easier to wipe off spills and drips.
Read less

$37.91
In Stock
Range Terminal Block
Part #WB17X5113
This kit includes one ceramic block with 6" wire leads, 2 wire nuts and 2 heat shrink with mounting bracket.

$11.77
In Stock
Porcelain Drip Bowl - 6 Inch
Part #WB31M20
This is a replacement drip bowl for your range. It is black in color and is approximately 6 inches in diameter. The bowl is made of porcelain and is sold individually. The drip bowl rests under the burner and catches drips and spills. To change out the drip bowl, simply remove the burner, then replace the bowl. This is an OEM part sourced directly from the manufacturer.

$12.85
In Stock
Porcelain Drip Bowl - 8 Inch
Part #WB31M19
This 8" drip bowl is intended for use with loop style surface mount burner element units.

$123.58
In Stock
Dual Radiant Element - 9 Inch
Part #WB30T10099
This is a large dual haliant element with a limiter or sensor for glass cooktops and freestanding ranges. It is a 2500-watt part. The inner diameter measures 9 inches, while the outer diameter measures 10 inches. If there is no heat generated from your element, you may need to replace this part. You may also need to check your socket or i...Read morenfinite switch. It is located under the glass cooktop of your appliance. Be sure to unplug or cut the circuit breaker to your appliance before starting this repair. Before replacing this part, be sure your appliance is getting enough power. If it is receiving less than the required 220 volts of alternating current, the surface element will not work.
Read less

$86.46
In Stock
Infinite Control Switch
Part #WB24T10119
This part is sold individually and is for ranges. The control switch turns the surface element on and off and determines the temperature of the element. This will need to be changed if the control switch has failed and the cooktop is not turning on. It is found underneath the glass cooktop. Before beginning, make sure the circuit breaker ...Read moreis off. You will need to remove the cooktop from the counter. To do this you will need to go underneath and see what kind of brackets are holding it in place. The brackets will vary depending on the make and model and type of countertop is it laying on. These brackets will need to be removed.
Read less

$16.05
In Stock

$133.95
In Stock
Large Haliant Burner with Limiter - 8"
Part #WB30T10045
This haliant burner element is a gneuine OEM replacement part for your stove. This element is 8 inches in diameter. The element lies underneath the stovetop, and will need to be replaced if it stops heating. To complete this repair you will need a 1/4 inch nut driver and a flat blade screwdriver. To access the element, open the oven door and unscrew the two screws under the lip of the cooktop.

$129.32
In Stock

No Longer Available
Switch Seal
Part #WB2X9504
This part goes between the infinite switch (under the cooktop) and the knob.

No Longer Available
Exact Part matches for your search term

No Longer Available
No Longer Available
Common Symptoms of models starting with 911427
How this model fails, and the parts that fix it.


Watch our pros, then fix it yourself.
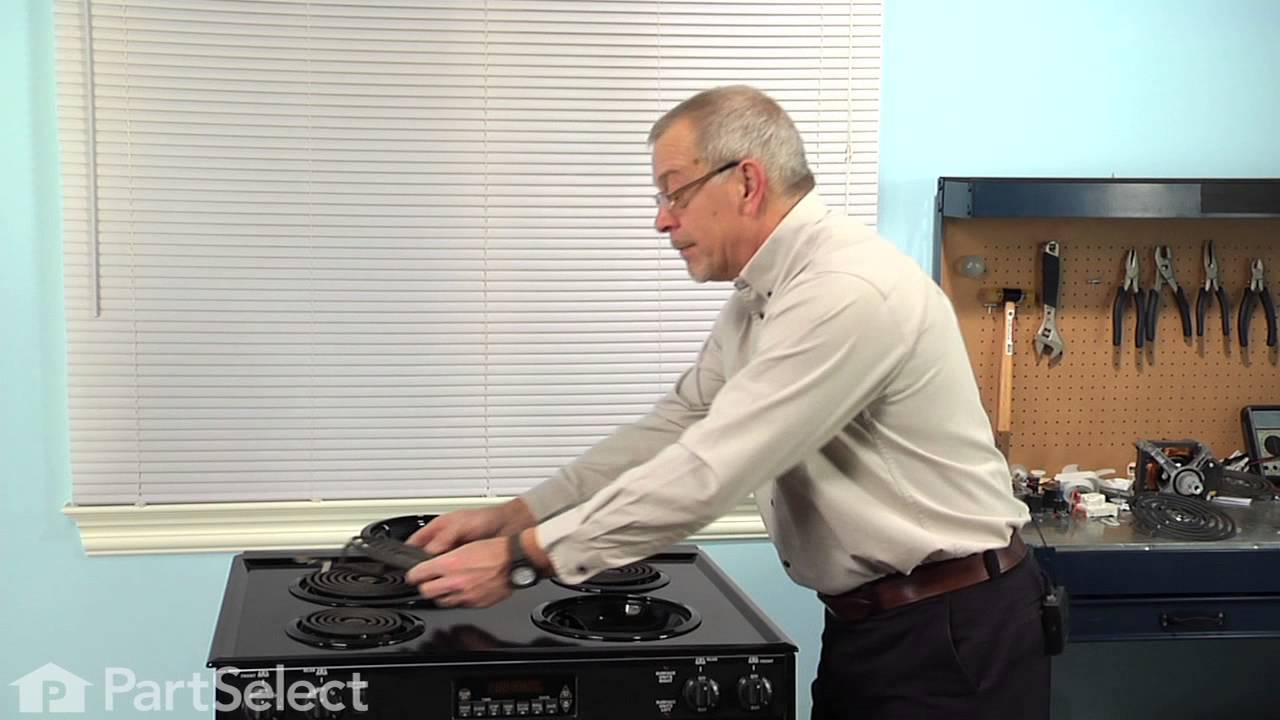
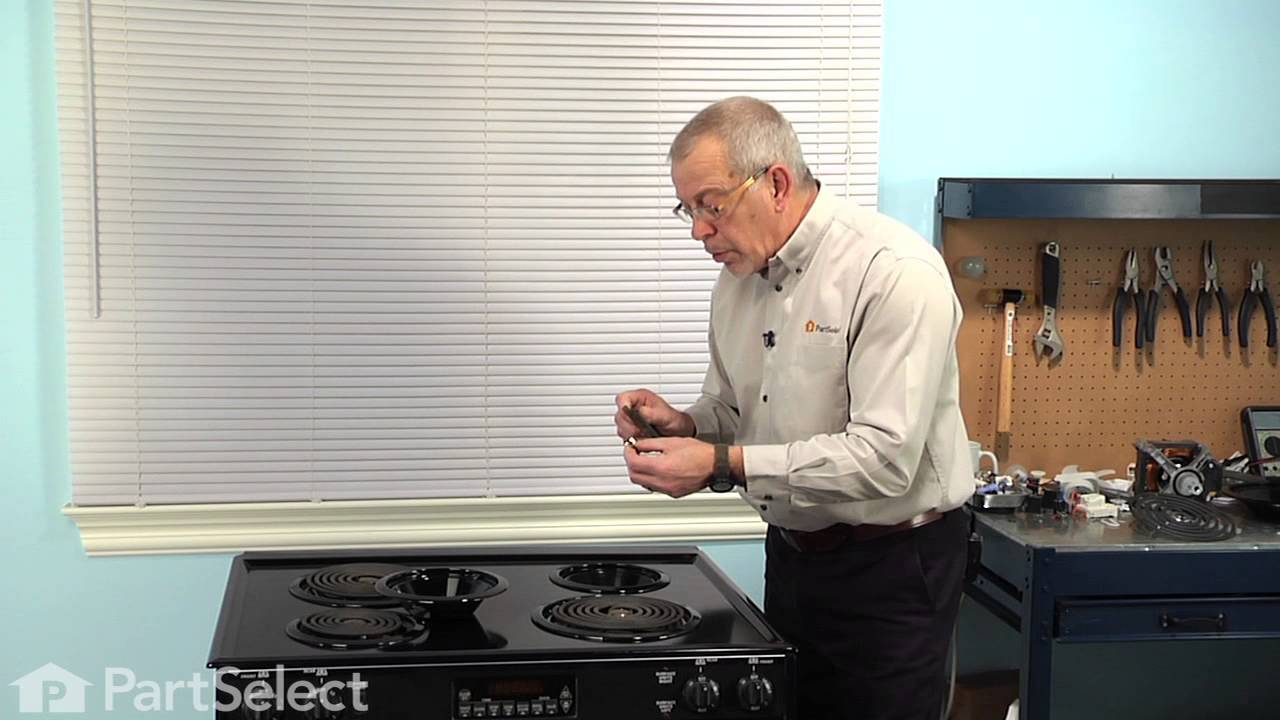
See how others fixed this model. Time, tools, difficulty, and steps that lead to victory!
View More