



 My Orders




86150-3 General Electric Freezer - Overview
Diagrams for 86150-3
See every part. Know exactly what you need.


Enter a part description. DIY Heroes keep it simple, eg. "belt" or "pump".
Search filter:
Clear Filter
Your search term must have 3 or more characters.

No Longer Available
White Touch up Paint
Part #5303321319
This is white touch up paint for refrigerators, microwaves, ranges, dryers, and freezers. It is used to cover, or touch up, nicks and scratches on the appliance from wear and tear. It is an 18ml bottle that contains paint and a small brush for easy application. It is a little over 2 inches tall. This is an OEM part that is sourced directl...Read morey from the genuine manufacturer, and is meant to be an exact match to the color of the appliance. If the appliance is not white, please see other colors such as almond or black.
Read less

No Longer Available
Compressor Start Relay
Part #216008900

No Longer Available
Interior Drain Plug
Part #216502600
This is a plastic OEM drain plug that is attached to the drain system of your appliance and is compatible with several different makes and models of refrigerators, freezers, and air conditioners. This drain plug is used to prevent water from leaking out of the incorrect drain system within the appliance and is normally removed for cleanin...Read moreg and maintenance. If you notice water leaking inside of your appliance, the plug may be improperly positioned or may need replacing. To replace, simply pull off the damaged plug and insert the new plug in its place.
Read less

$21.86
In Stock

No Longer Available
SUPPORT-REAR SHELF
Part #216474600
This part is found in freezers. The stud may have broken over time and may no longer be supporting the shelf. If your shelf is not staying in place or you are not able to adjust heights, it may be due to the support being broken. To complete this repair, you will need to open the fridge and remove the drawer and the shelf. To remove the o...Read moreld stud, you will need a 3/4-inch wrench to twist it off. The new part should push into place and will need to be turned with your wrench to be secured into place.
Read less

$41.90
In Stock
SHELF
Part #5304509722
Better freezer organization begins with shelf trim that stays firmly attached. A damaged front strip can leave the shelf unstable, create rough edges, or allow small items to shift. Check the trim length, color, attachment style, and shelf location before ordering because similar pieces may differ. Match the replacement to the full freeze...Read morer model. Remove food from the shelf, clean and dry the mounting edge, and snap the new trim into place carefully. Make sure it is secure before reloading the shelf.
Read less

No Longer Available

No Longer Available
Top Hinge Kit
Part #216835200

$23.01
In Stock
Compressor Mounting Grommet
Part #216498900

No Longer Available
Recessed Handle
Part #297034202

No Longer Available
Overload Protector
Part #5303276514
This part provides protection for the compressor motor against excessive current and excessive temperature use.

No Longer Available
Temperature Control Thermostat
Part #216260400
A thermostat that regulates the temperature of the freezer.
Common Symptoms of the 86150-3
How this model fails, and the parts that fix it.
Will Not Start
Fixed by
these parts
these parts

Show All
Frost buildup
Fixed by
these parts
these parts


Show All
Freezer section too warm
Fixed by
these parts
these parts
Show All
Won’t start
Fixed by
these parts
these parts
Show All
Watch our pros, then fix it yourself.
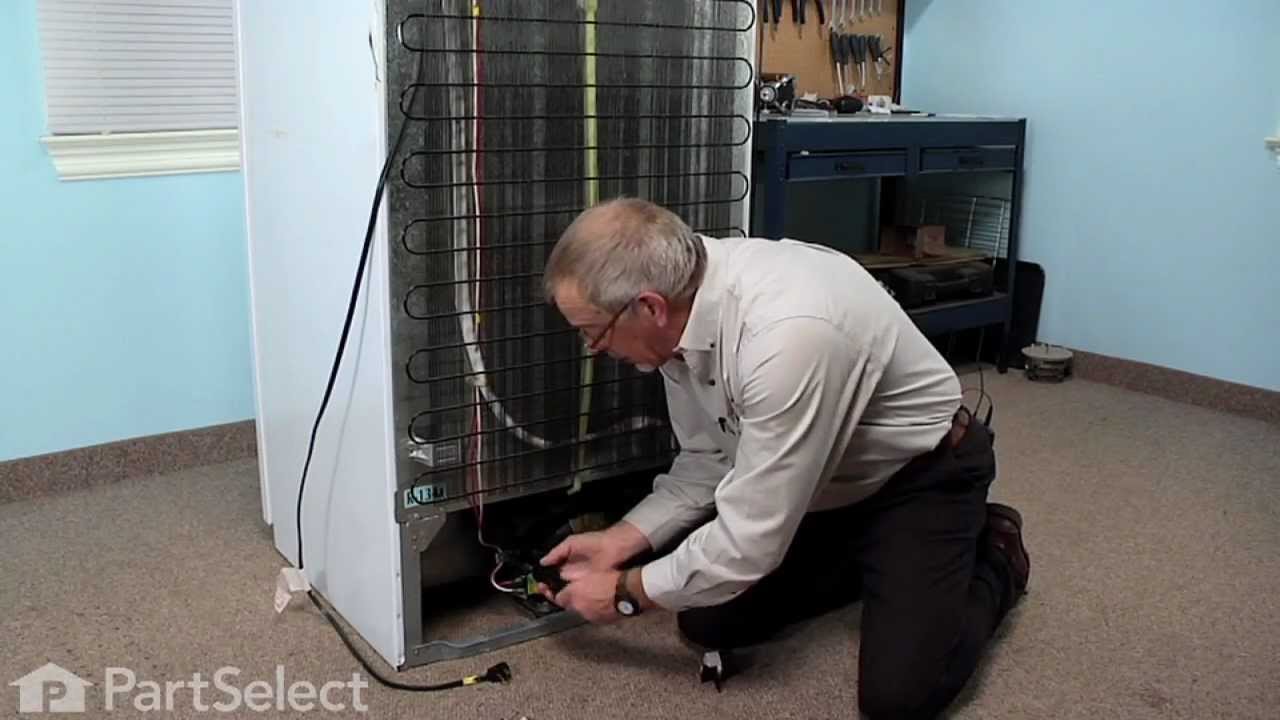
See how others fixed this model. Time, tools, difficulty, and steps that lead to victory!
View More