


 My Orders




8419 - Overview
Models starting with 8419
Click on the best match to narrow your results.
Enter a part description. DIY Heroes keep it simple, eg. "belt" or "pump".
Search filter:
Clear Filter
Your search term must have 3 or more characters.

$15.00
In Stock
Multi Rib Belt - 92-1/4"
Part #341241
This dryer drum belt (Whirlpool Dryer Belt, Drive Belt) has four ridges, three grooves and is 1/4" wide, and 92 1/4 inches in length. It comes in black and is made of rubber. The belt transfers the rotation of the motor to turn the drum. The belt attaches to the drum, idler pulley, and motor pulley.

$6.40
In Stock
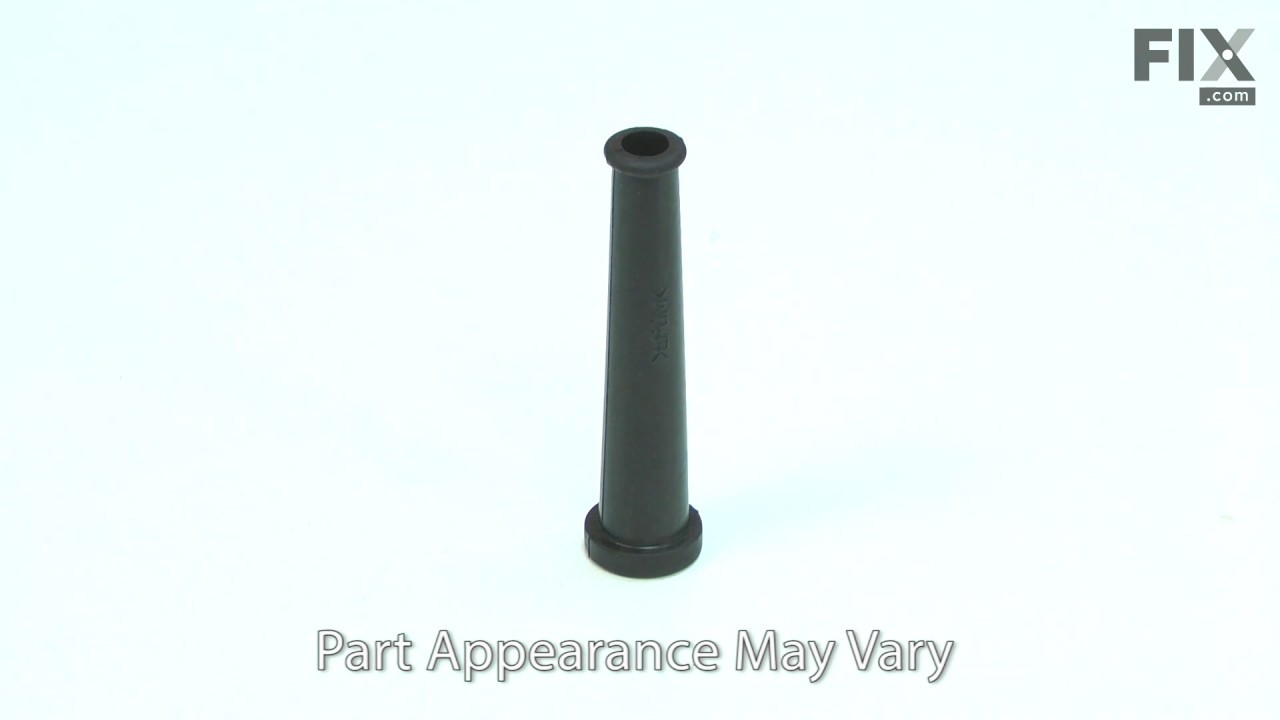
Cord Guard
Part #682502-4
This cord guard is a genuine Makita replacement part, and it is a direct replacement for a damaged or missing cord guard. Power tool cords undergo a lot of stress, and these cord guards help to alleviate some of that stress at the weakest point--right where the cord enters the tool. Over time cord guards will deteriorate and eventually re...Read morequire replacement. Keeping a strong cord guard on your tool will help will cord life. This cord guard is compatible with the tools listed below, but it is not guaranteed to fit any other power tools.
Read less

$25.76
In Stock
Ball Bearing
Part #211031-6
Included in Part Number 516306-1. rnThis Ball Bearing is sealed on both sides. This genuine Makita replacement part is sold individually. rnrn • Ball bearings minimize friction between rotating parts in your tool. The balls or rollers bear the load and spin, distributing the weight evenly, while the minimal contact area of the balls re...Read moreduces friction. This reduces wear on the tool, allowing it to run smoothly. rn • Bearings experience constant wear when the tool is in operation from pressure, heat, vibration and friction. Because of this, many Bearings need periodic maintenance or replacement.
Read less

$6.40
In Stock
Rubber Pin 6
Part #263005-3
This is a genuine item that is supplied directly from the original equipment manufacturer for use with Makita power tools. It is an identical replacement for a missing or damaged rubber pin that was originally installed on a new unit, please make sure to refer to the appropriate diagrams of your model for the correct location and applicat...Read moreion of this hardware. Keep in mind this high-quality item is made of durable rubber material and is sold individually.
Read less

$6.40
In Stock
Rubber Pin
Part #263002-9
This manufacturer sourced replacement pin is made out rubber and it is sold individually. It acts as a cushion/spacer in a variety of Makita power tools. This is a standard piece of hardware and it has multiple applications based on your tool. Please refer to diagrams for correct application.

$6.40
In Stock
Pan Head Screw M4x18
Part #911133-5
Genuine Makita replacement part.
This pan-head phillips screw includes a washer. It is sold individually.

$6.40
Special Order
Pan Head Screw M5x40
Part #911261-6
Genuine Makita replacement part. rnThis phillips pan-head screw includes a washer. It is sold individually.

$6.40
In Stock
Rivet 0-5
Part #953106-2

$6.40
Special Order
Retaining Ring S-10
Part #961006-2

$6.96
Special Order
Dust Seal 20
Part #213301-9

$6.40
Special Order
Dust Seal 8
Part #213002-9

No Longer Available
Side Handle, Hr2511,t1
Part #273479-0
Exact Part matches for your search term

No Longer Available
No Longer Available
No Longer Available
No Longer Available
Common Symptoms of models starting with 8419
How this model fails, and the parts that fix it.
Drum Not Spinning
Fixed by
these parts
these parts

Show All
Noisy
Fixed by
these parts
these parts
Show All
Heat stays on after drum has stopped
Fixed by
these parts
these parts
Show All
Won’t Start
Fixed by
these parts
these parts
Show All
Not Heating
Fixed by
these parts
these parts
Show All
Too hot
Fixed by
these parts
these parts
Show All
Touchpad does not respond
Fixed by
these parts
these parts
Show All
Watch our pros, then fix it yourself.

See how others fixed this model. Time, tools, difficulty, and steps that lead to victory!
View More