


 My Orders




8019 - Overview
Models starting with 8019
Click on the best match to narrow your results.
Enter a part description. DIY Heroes keep it simple, eg. "belt" or "pump".
Search filter:
Clear Filter
Your search term must have 3 or more characters.

$6.88
In Stock
Purge Bulb
Part #12318140630
The Primer Pump, aka the Pump Bulb, is a clear, individually sold, plastic part, sourced from the original equipment manufacturer. It has an Outer Diameter of 0.616 Inches, 15.66mm and is 0.558 Inches and 14.19mm in height. This part is used to pump fuel from the tank to the carburator and is rated Easy to install.
This part installs on...Read moreto the primer assembly. If the part dries out or starts leaking that means it is broken (likely due to fatigue or general wear) and must be replaced. Check the model number to ensure you are choosing the right part.
Read less

$9.83
Special Order
Fuel Filter
Part #A369000440
This OEM Fuel Filter is a white and silver, steel part, sold individually. It requires a pair of pliers to install and is ranked as Easy to repair by our customers. This part attaches inside of the fuel tank, and is used to clean the fuel of debris.
This part should be changed regularly as part of good engine maintenance. If the engine ...Read moresounds like it is not getting enough fuel or is underperforming, remove the filter to heck for a blockage. If there is a blockage or the part is leaking, then it likely needs a replacement.
Read less

$7.47
In Stock
Seal-oil
Part #299819S
This OEM Oil Seal is an individually sold rubber part which is attached around the axis shaft on the crankcase housing to provide a proper seal. A broken seal will lead to a leak, and the part should be replaced. Installation is rated as "Medium" difficulty by customers, and will require a screwdriver, wrenchset and seal puller. Refer to ...Read moreyour make, model and diagrams to ensure you've chosen the correct part. This model comes in black and grey.
Read less

$6.40
In Stock
Gasket-intake
Part #27355S
This is an authentic manufacturer sourced replacement part designed for use with a variety of lawn and garden equipment. This carburetor intake gasket which provides an air tight seal for the carburetor. Over time gaskets tend to deteriorate and would need to be replaced. It is made out of compound material and it is sold individually. You would need a screwdriver to replace this item.

$6.40
In Stock
Gasket-breather
Part #27549S
The Breather Gasket is OEM and used to provide an airtight seal for the breather assembly. It is a gray part, attached between the breather cap and engine. Installation is rated "Easy" and will require a wrench set and socket set. If broken, damaged, or worn due to fatigue, there may be oil leaking from it, and the engine may be running r...Read moreough from an unwanted vacuum sucking in air. If this happens, replace the part. Refer to your make, model and diagrams to ensure this is the correct part for you.
Read less

$6.71
In Stock
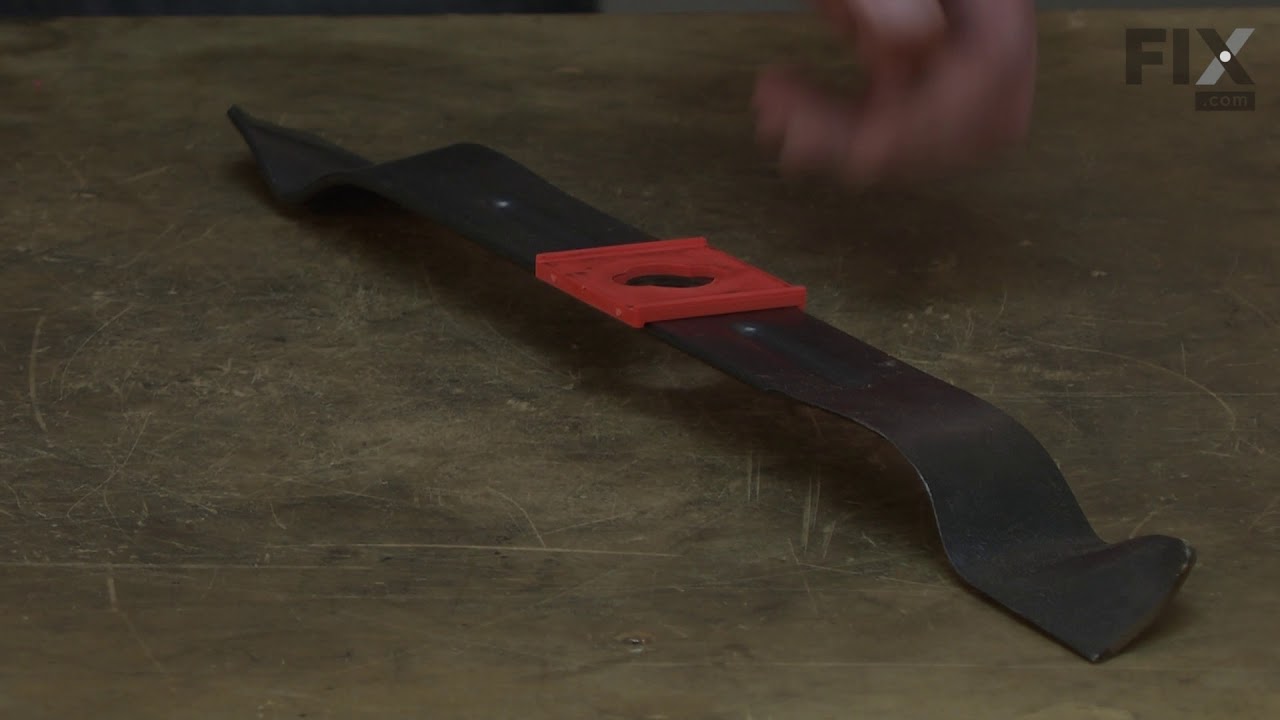
Blade Insulator
Part #241381-01
This is a genuine Black and Decker replacement part, it is sold individually. It is made of plastic. The purpose of the 241381-01 Blade Insulator is to keep the 092715-00 spacer from coming in contact with the blade and to eliminate vibration.

$6.40
In Stock
Engine Spark Plug Boot
Part #66538S
This spark plug boot is a genuine OEM Briggs & Stratton replacement designed to fit securely over the spark plug, protecting the connection from moisture, dirt, and debris. Its durable, elbow-style design helps ensure reliable ignition and easy installation, making it an ideal replacement when a cracked, loose, or worn boot causes hard starting, misfires, or inconsistent engine performance.

$6.06
In Stock
Trimmer Nut
Part #90050000005
This OEM nut is a 5mm, gold, metal nut, which is sold individually. It can be installed with a Wrench or Socket and Torque Wrench by torquing to the manufacturer specifications. This nut is used to secure another part in place, and should be replaced if damaged due to fatigue (such as damaged threads or rounded ends).
This nut can have v...Read morearious uses on various equipment, and as such the difficulty of the installation can vary, but generally this is an easy repair.
Read less

$8.41
In Stock
Breather Assembly
Part #A356000040
This breather, also known as a fuel tank vent, is a genuine OEM replacement part used in trimmers and edgers. It is responsible for managing the pressure and air flow inside the fuel system, by acting as a valve for the fuel tank. It allows clean air to enter the tank, while preventing dirt and debris from entering as well. Over time, the...Read more breather can crack or become clogged leading to restricted air flow, inconsistent fuel supply, fuel leakage, hard starting, and engine stalling. Locate the breather on or near the fuel tank and disconnect the hoses and fasteners attached to it. Depending on your model you may need to remove the fuel tank to complete this replacement. Place the new breather in position and reattach the hoses and fasteners. Test the new part by gently blowing into the breather to confirm that the air flow is not restricted.
Read less

$7.04
In Stock
Shunted Carbon Brush
Part #242273-00
Dewalt genuine replacement part, that is sold individually. 2 are needed for the tools listed below. It is always best to replace both brushes, even if only one is worn. Worn brushes frequently are the cause behind a motor running poorly. Replacing brushes can fix a motor that's operating intermittently. New brushes can restore a mot...Read moreor's electric braking. Carbon brushes are one of the most commonly replaced power tool parts. This is because carbon brushes are wear items, meaning that through friction and use they will gradually wear away until they need replacing. Worn brushes are a common causes of intermittent motor function, reduced electric braking and reduced motor power. A worn-out brush will often be worn down near to the wire lead and can be cracked, pitted, or burned. When replacing carbon brushes, be sure to inspect your armature for burns, cracks, or other damage which can indicate larger motor problems.
Read less

$6.40
In Stock
Fuel Cap Assembly
Part #A033000070
This fuel cap assembly is a genuine OEM part and is designed for use with outdoor handheld power equipment. Replacing your fuel cap is as simple as removing the old one and screwing the new cap on. This fuel cap keeps the fuel within the tank during operation, preventing leaks, and ensures that no dirt or debris enter the carburetor, filt...Read moreer, fuel lines or engine. Made of plastic with a cork seal underneath, this fuel cap is sold as an individual part, and has an approximately 2-inch diameter.
Read less

$6.40
In Stock
Gasket
Part #V107000010
This individually sold fuel gasket is designed for use with handheld lawn and garden equipment and is the seal for the gas cap. This gasket is a genuine OEM part made of a composite material and will eventually become brittle because it interacts with gas and oil, meaning it will need replacing before it becomes debris in the fuel tank. T...Read morehis gasket not only prevents debris from entering the fuel tank, but it also prevents any leaks. To replace, simply unscrew your gas cap and remove the old gasket from the cap, and then replace it with the new.
Read less
Exact Part matches for your search term

$12.85
Special Order
No Longer Available
$981.39
Special Order
$362.23
Special Order
Common Symptoms of models starting with 8019
How this model fails, and the parts that fix it.

Watch our pros, then fix it yourself.
See how others fixed this model. Time, tools, difficulty, and steps that lead to victory!
View More
Search repair tips from other customers using simple keywords like "replace", "fit", "remove", "inspect". DIY doesn't mean you have to do it alone!
Search filter:
Clear Filter
Your search term must have 3 or more characters.
Fan broke.
1 person
found this instruction helpful.
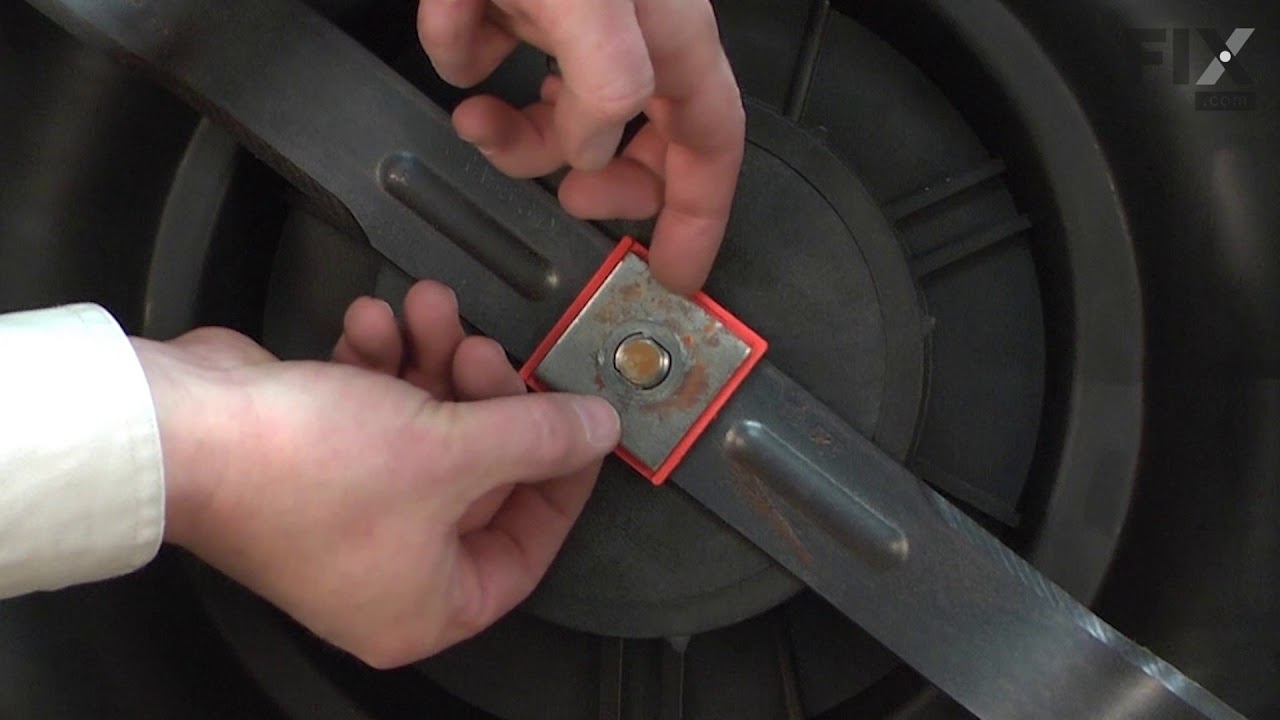
Removed bolt holding lawnmower blade and took out washer, spacer, blade and fan. Cleaned up underside of mower then replaced fan, blade, new insulator, washer and bolt.
Other Parts Used:

Was this helpful?
Thank you for voting!