


 My Orders




7957904 Kenmore Refrigerator - Overview
Models starting with 7957904
Click on the best match to narrow your results.
- 79579042310 Kenmore Refrigerator (Refrigerator)
- 79579042311 Kenmore Refrigerator (Kenmore Refrigerator 79579042311)
- 79579042312 Kenmore Refrigerator (Refrigerator)
- 79579042313 Kenmore Refrigerator (Bottom-Mount Refrigerator)
- 79579042314 Kenmore Refrigerator (Kenmore Refrigerator 79579042314)
- 79579043310 Kenmore Refrigerator (Refrigerator)
- 79579043311 Kenmore Refrigerator (Kenmore Refrigerator 79579043311)
- 79579043312 Kenmore Refrigerator (Bottom-Mount Refrigerator)
- 79579043313 Kenmore Refrigerator (Refrigerator)
- 79579044310 Kenmore Refrigerator (Refrigerator)
- 79579044311 Kenmore Refrigerator (Kenmore Refrigerator 79579044311)
- 79579044312 Kenmore Refrigerator (Refrigerator)
- 79579044314 Kenmore Refrigerator (Kenmore Refrigerator 79579044314)
- 79579049310 Kenmore Refrigerator (Refrigerator)
- 79579049312 Kenmore Refrigerator (Refrigerator)
- 79579049313 Kenmore Refrigerator (Kenmore Refrigerator 79579049313)
- 79579049314 Kenmore Refrigerator (Kenmore Refrigerator 79579049314)
Enter a part description. DIY Heroes keep it simple, eg. "belt" or "pump".
Search filter:
Clear Filter
Your search term must have 3 or more characters.

$24.67
In Stock
Refrigerator Door Switch
Part #6600JB1010A
The interior light in your refrigerator is controlled by a switch that is activated when the door is opened and closed. If your refrigerator light will not turn on, or stays on when the door is closed, you could have a faulty switch. The switch is spring-loaded and is a generally closed type of switch meaning there should be no continuity...Read more when the button is pushed, and continuity through the switch when it is no longer engaged. This plastic, white, OEM switch is sourced directly from the manufacturer, is sold individually and is easy to replace. The repair usually takes less than 15 minutes and requires a flat-blade screwdriver and needle-nose pliers.
Read less

$15.00
In Stock
Bushing
Part #4984JJ3003A
This refrigerator door hinge bushing is a durable white plastic component that provides a smooth pivot point for the hinge pin, helping keep the door properly aligned and sealed. It is commonly used to correct doors that sag, make noise, or are difficult to open or close due to a worn or damaged bushing. The bushing installs at the door h...Read moreinge pivot point and typically requires removing the hinge bracket with a 10?mm socket. Color is white, and size and dimensions may vary by refrigerator model.
Read less

$227.76
In Stock
Refrigerator Ice Maker Assembly
Part #AEQ72909603
This ice maker assembly is for refrigerators. This Ice maker assembly contains the complete ice maker and housing. The assembly may include multiple parts; refer to your parts diagram for a complete list of parts included.

$42.06
On Order
Freezer Handle Support
Part #DA61-08247A
This freezer handle support is a 2.5-inch by 1-inch white plastic bracket designed to provide support and stability to the right side of the freezer door handle. It is an authentic manufacturer replacement part that distributes the force placed on the handle during use to prevent excessive stress on one area of the handle. The handle supp...Read moreort also secures the handle to the freezer door. You can find it on the inner right side of the freezer door handle. Over time the screw that secures the handle support may wear down or become stripped, or the plastic bracket may crack, causing the handle support to become unstable and unable to support the door handle. To access the faulty handle support bracket, first unthread the screws that secure it to the freezer door handle. Detach the handle and remove the screws that secure the handle support to the freezer door. Align the new handle support with the attachment points on the freezer door and secure it with the appropriate screws. Attach the handle to the new support and ensure it is securely fastened. Be careful not to not to overtighten the screws, to avoid stripping the mounting holes and damaging the handle support. Screws are sold separately. Please note that this support is for the right side of the handle. The left-side support is sold separately.
Read less

$37.54
Special Order
Push Button Switch
Part #6600JB3007E
This is a genuine replacement switch. It is a push button style switch that is designed for use in your refrigerator. When the door of your appliance is opened the switch is released, and the light comes on. When you close the door the switch is pressed in, and the light turns off. You may need a putty knife to remove your old switch.

$87.98
In Stock
Decor Assembly, Tray
Part #ACW74118101
This cover seals the front of the pantry drawer in your fridge, offering both functionality and a decorative touch. It has a clear color and is sourced directly from the original manufacturer. Please keep in mind that this cover is sold individually, so it is important to determine how many you will need for your repair.

$102.31
In Stock
Door Bin
Part #MAN62749601
This door bin, also known as a door basket, is an authentic manufacturer replacement part made for your LG fridge. It is made of clear plastic and it fits on to mounting brackets inside of the door fridge. The door bin provides storage for various food items such as condiments, bottles, and jars. If door bin cracks or breaks you will need...Read more to replace it to avoid falling food items and potential damage to the door frame.
Read less

$109.40
In Stock
Evaporator Fan Motor
Part #4681JB1027C
This is a genuine OEM evaporator motor that directly powers the evaporator mechanism within your refrigerator. This mechanism is responsible for pulling air over the evaporator coils, which are cold, and circulating that cold air back throughout the appliance. Without this motor, the interior of your refrigerator would build up frost, str...Read moreain the compressor, and simply not cool your fridge enough. A warm fridge, frost buildup or unusual noises are all signs that this fan needs replacing, and over time or through excessive dust building up, motor issues will arise and can cause it to fail. This fan motor is sold as an individual part, so it does not come with any securing screws or the fan blade itself. Replacing the evaporator fan motor will require your user manual and Philips-head and flathead screwdrivers. You need to gain access to the evaporator cover, which you will need to locate using your user manual schematics. Once the cover is removed and you disconnect the wire harnesses within it, you can disassemble the fan mechanism on its inside portion. With the fan mechanism disassembled, remove the old mechanism and install the new one, with the securing screws and wire harnesses.
Read less

$492.75
Special Order
Compressor
Part #TCA38151706
This part must be installed by a licensed and trained LG technician that is able to perform a software update, which is required for the installation of this compressor. Part number CJT30000002 is needed to perform the update.
Also, the three pins on the side of the new compressor may be oriented differently than the original. If diff...Read moreerent, when installing the new compressor the compressor electrical connector must be rotated 45 degrees counter-clockwise.
Read less

$34.74
Special Order
Refrigerator Push Button Switch
Part #6600JB3007A

$34.74
In Stock
ROLLER ASSEMBLY
Part #AHJ73130001
This roller assembly supports smooth movement of drawers or internal components, reducing friction and strain. Quiet, easy motion improves usability and helps prevent wear. Replacing a worn roller restores smooth, reliable operation.

$34.74
On Order
Temperature Sensor
Part #6500JB2002X
This is a temperature sensor for various models of LG refrigerators. Temperature sensors are used to adjust the level of cooling depending on the internal temperature of the refrigerator. If your refrigerator is warm or not cooling consistently, ensure your evaporator fan is not blocked, before replacing this sensor. To replace this senso...Read morer, you will need a screwdriver and a set of pliers, and simply need to unplug the old sensor, and plug in the new one. This temperature sensor is a genuine OEM part that is sold individually and does not come with any other parts or accessories.
Read less
Common Symptoms of models starting with 7957904
How this model fails, and the parts that fix it.
Light not working
Fixed by
these parts
these parts


Show All
Door won’t open or close
Fixed by
these parts
these parts


Show All
Ice maker not making ice
Fixed by
these parts
these parts

Show All
Noisy
Fixed by
these parts
these parts


Show All
Fridge too warm
Fixed by
these parts
these parts

Show All
Fridge and Freezer are too warm
Fixed by
these parts
these parts

Show All
Ice maker won’t dispense ice
Fixed by
these parts
these parts
Show All
Watch our pros, then fix it yourself.
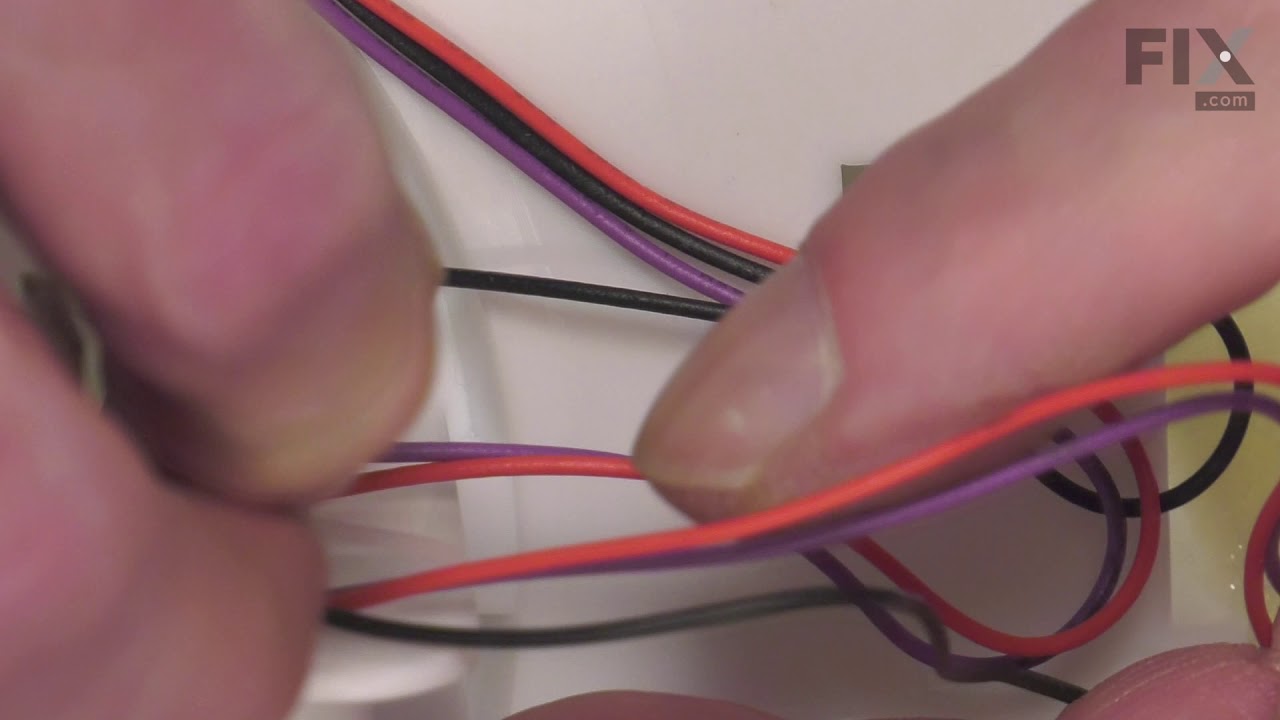
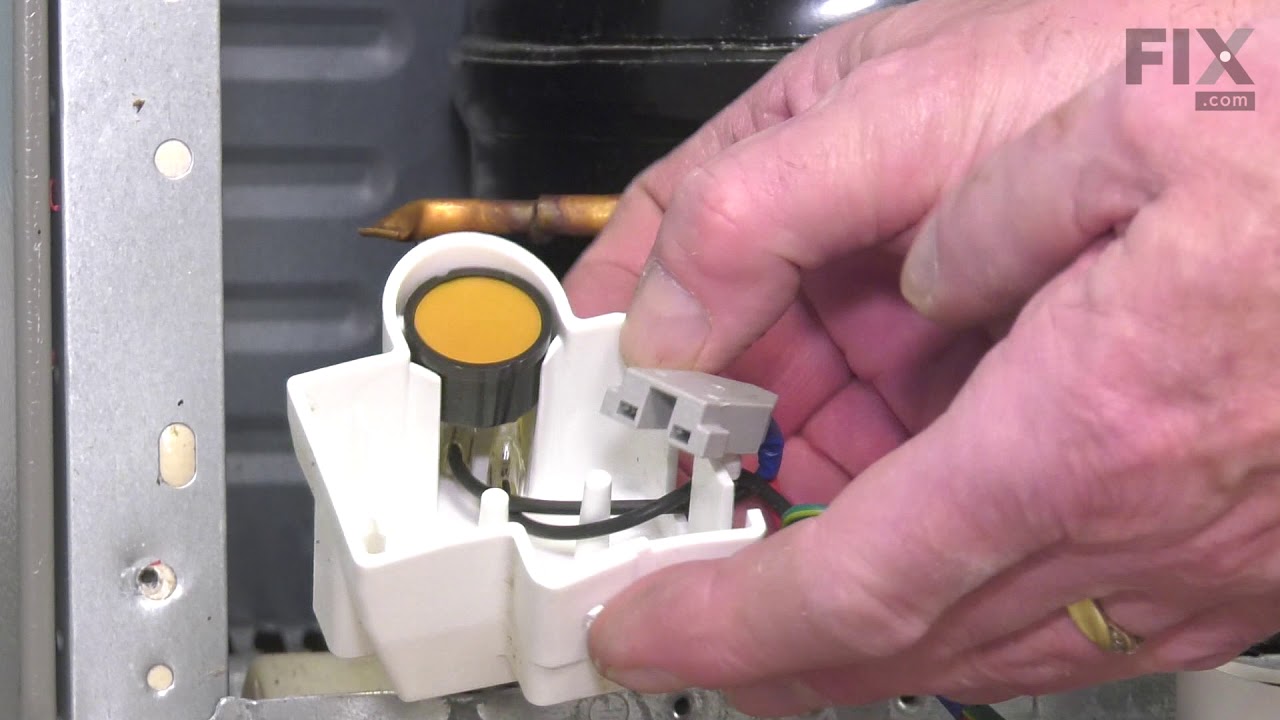
See how others fixed this model. Time, tools, difficulty, and steps that lead to victory!
View More