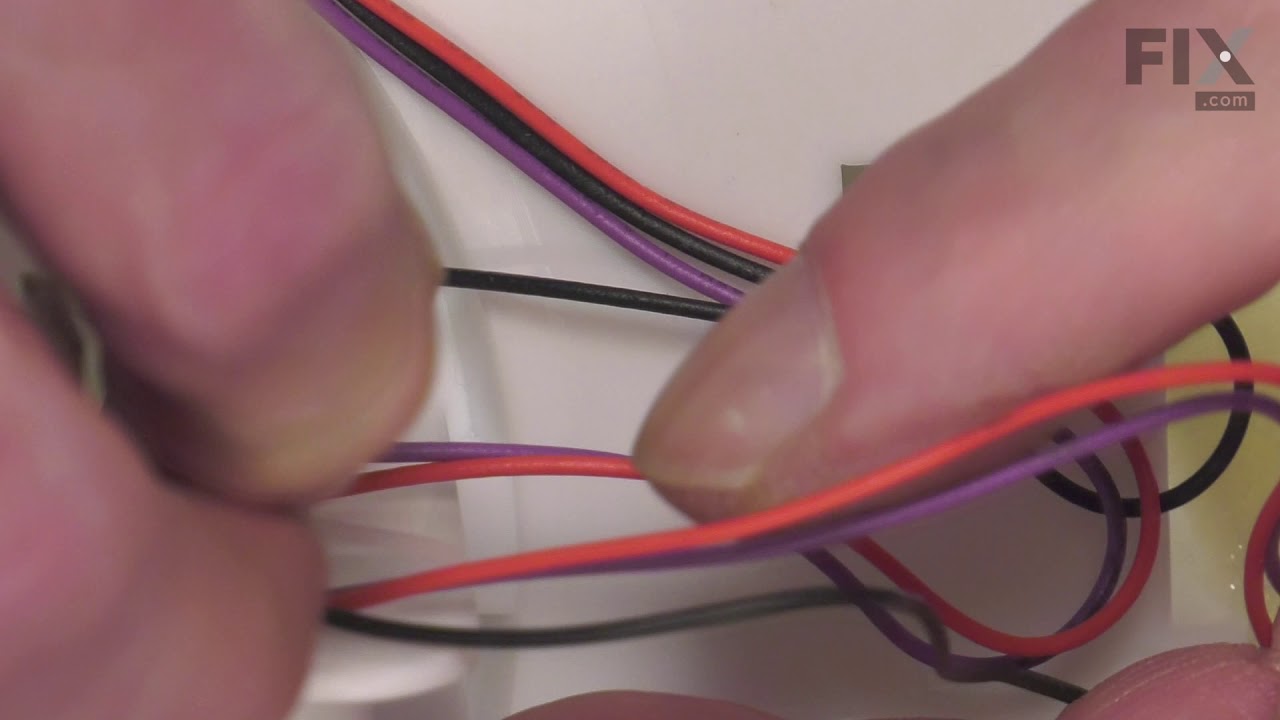
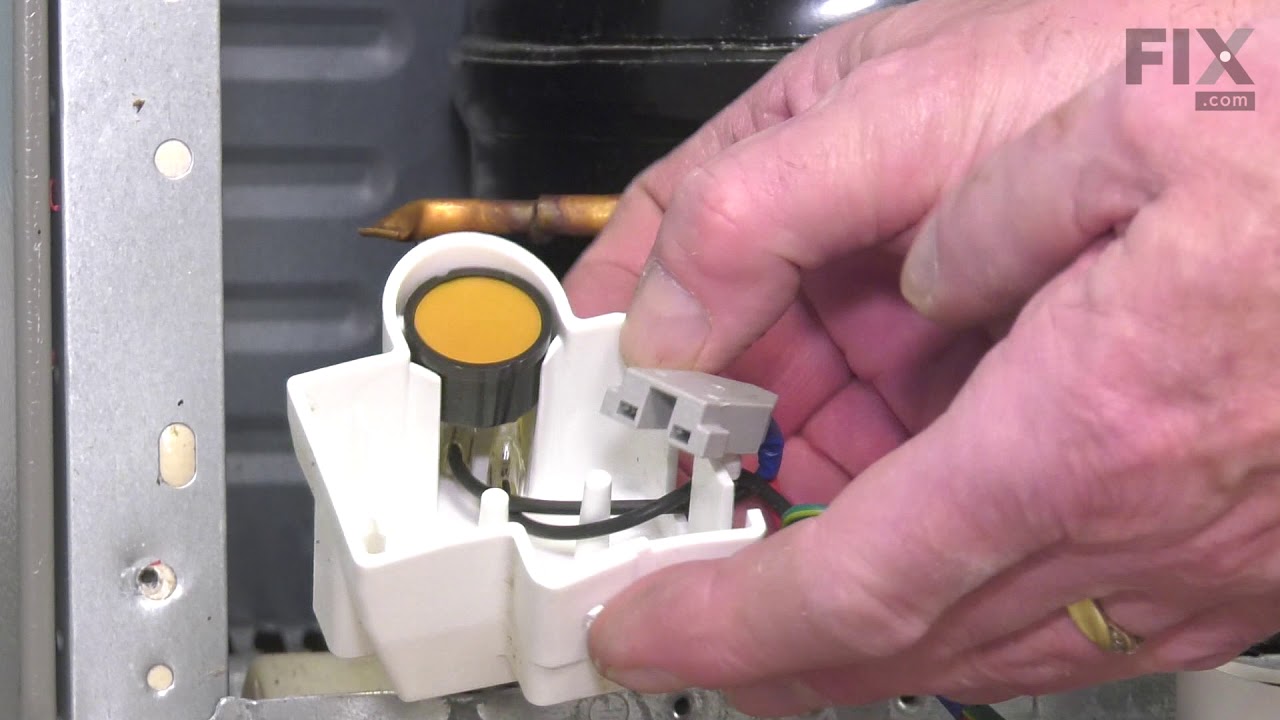
The interior light in your refrigerator is controlled by a switch that is activated when the door is opened and closed. If your refrigerator light will not turn on, or stays on when the door is closed, you could have a faulty switch. The switch is spring-loaded and is a generally closed type of switch meaning there should be no continuity...Read more when the button is pushed, and continuity through the switch when it is no longer engaged. This plastic, white, OEM switch is sourced directly from the manufacturer, is sold individually and is easy to replace. The repair usually takes less than 15 minutes and requires a flat-blade screwdriver and needle-nose pliers.
This refrigerator door hinge bushing is a durable white plastic component that provides a smooth pivot point for the hinge pin, helping keep the door properly aligned and sealed. It is commonly used to correct doors that sag, make noise, or are difficult to open or close due to a worn or damaged bushing. The bushing installs at the door h...Read moreinge pivot point and typically requires removing the hinge bracket with a 10?mm socket. Color is white, and size and dimensions may vary by refrigerator model.
This ice maker assembly is for refrigerators. This Ice maker assembly contains the complete ice maker and housing. The assembly may include multiple parts; refer to your parts diagram for a complete list of parts included.
This freezer handle support is a 2.5-inch by 1-inch white plastic bracket designed to provide support and stability to the right side of the freezer door handle. It is an authentic manufacturer replacement part that distributes the force placed on the handle during use to prevent excessive stress on one area of the handle. The handle supp...Read moreort also secures the handle to the freezer door. You can find it on the inner right side of the freezer door handle. Over time the screw that secures the handle support may wear down or become stripped, or the plastic bracket may crack, causing the handle support to become unstable and unable to support the door handle. To access the faulty handle support bracket, first unthread the screws that secure it to the freezer door handle. Detach the handle and remove the screws that secure the handle support to the freezer door. Align the new handle support with the attachment points on the freezer door and secure it with the appropriate screws. Attach the handle to the new support and ensure it is securely fastened. Be careful not to not to overtighten the screws, to avoid stripping the mounting holes and damaging the handle support. Screws are sold separately. Please note that this support is for the right side of the handle. The left-side support is sold separately.
This cover seals the front of the pantry drawer in your fridge, offering both functionality and a decorative touch. It has a clear color and is sourced directly from the original manufacturer. Please keep in mind that this cover is sold individually, so it is important to determine how many you will need for your repair.
This door bin, also known as a door basket, is an authentic manufacturer replacement part made for your LG fridge. It is made of clear plastic and it fits on to mounting brackets inside of the door fridge. The door bin provides storage for various food items such as condiments, bottles, and jars. If door bin cracks or breaks you will need...Read more to replace it to avoid falling food items and potential damage to the door frame.
This is a genuine OEM evaporator motor that directly powers the evaporator mechanism within your refrigerator. This mechanism is responsible for pulling air over the evaporator coils, which are cold, and circulating that cold air back throughout the appliance. Without this motor, the interior of your refrigerator would build up frost, str...Read moreain the compressor, and simply not cool your fridge enough. A warm fridge, frost buildup or unusual noises are all signs that this fan needs replacing, and over time or through excessive dust building up, motor issues will arise and can cause it to fail. This fan motor is sold as an individual part, so it does not come with any securing screws or the fan blade itself. Replacing the evaporator fan motor will require your user manual and Philips-head and flathead screwdrivers. You need to gain access to the evaporator cover, which you will need to locate using your user manual schematics. Once the cover is removed and you disconnect the wire harnesses within it, you can disassemble the fan mechanism on its inside portion. With the fan mechanism disassembled, remove the old mechanism and install the new one, with the securing screws and wire harnesses.
This part must be installed by a licensed and trained LG technician that is able to perform a software update, which is required for the installation of this compressor. Part number CJT30000002 is needed to perform the update.
Also, the three pins on the side of the new compressor may be oriented differently than the original. If diff...Read moreerent, when installing the new compressor the compressor electrical connector must be rotated 45 degrees counter-clockwise.
This roller assembly supports smooth movement of drawers or internal components, reducing friction and strain. Quiet, easy motion improves usability and helps prevent wear. Replacing a worn roller restores smooth, reliable operation.
This is a temperature sensor for various models of LG refrigerators. Temperature sensors are used to adjust the level of cooling depending on the internal temperature of the refrigerator. If your refrigerator is warm or not cooling consistently, ensure your evaporator fan is not blocked, before replacing this sensor. To replace this senso...Read morer, you will need a screwdriver and a set of pliers, and simply need to unplug the old sensor, and plug in the new one. This temperature sensor is a genuine OEM part that is sold individually and does not come with any other parts or accessories.
This handle screw, also known as a mounting screw is designed for LG fridge door handles. It Is responsible for securing the handle to the fridge door and ensuring that it remains firmly attached. A secure door handle allows you to easily open and close the refrigerator as needed. Over time the screw may break, become corroded, or the thr...Read moreeads may wear down. If this happens, the handle may become loose or wobbly, or detach completely from the door. It is recommended to replace the handle screw if it is no longer in good working condition in order to avoid potential damage to the door panel. Each handle screw is sold individually.
Ask our experts a question about this model and we'll get back to you as soon as possible!
We may have answered a similar question already! Search questions and answers left by others using simple keywords like "fit", "broken", "easy", or "quality" to find questions that match.
Search filter:
Clear Filter
Your search term must have 3 or more characters.
Sort by:
Prev
1
Next
Sorry, we couldn't find any existing answers that matched.Try using some different or simpler keywords, or submit your new question by using the "Ask a Question" button above!
Teresa - For model number 79579042312
December 3, 2024
I moved into a house that had a Kenmore Elite refrigerator. Since moving in the refrigerator has developed an odor inside the refrigerator. I have cleaned the refrigerator 4 times in 4 months. I don’t keep much food in the refrigerator so I can try and find where this odor is coming from. I have put fresh coffee grounds and baking soda to take odor out-hasn’t helped. I can’t find a filter or tray. Any idea how I can get this odor out?
Hello Teresa, Thank you for your inquiry. There is a drain tube in the bottom of your refrigerator part# PS12374710 that usually drains into a tray so we recommend checking this tube to see where it is draining to, but this could also be coming from one of the fan motors as well. We recommend checking both fan motors to see if they show any signs of visible damage. We hope this helps you.
I bought the reverse door kit for this Kenmore refrigerator. It did not come with the bottom hinge. Is it reversable or do I need to buy another part?
Thanks
Hi Deanna, thank you for contacting us. You just need to remove the bottom hinge from the right side and install it on the left side, instead of buying the new part. We hope this information helps!
Was this helpful?
Thank you for voting!
Mike - For model number 79579042312
25 days ago
Icemaker appears to not be getting water to it. I cannot turn the water cutoff valve to the off postiion but it looks like there is no water in the line above the valve. I'm thinking i need to replace that manual valve as well as the gate valve to the icnemaker?
Hello Mike, thank you for reaching out to us. The stuck manual shut-off valve needs to be replaced before you can diagnose anything else. If there's no water in the line above the valve, the ice maker is simply starved of supply, and no amount of refrigerator-side repairs will fix it until water flow is restored. If water reaches the back of the fridge but the ice maker still doesn't fill within 24 hours, the electric water inlet valve, part number AJU73753101, on the refrigerator itself may also need replacement. We hope this information helps!
See how others fixed this model. Time, tools, difficulty, and steps that lead to victory!View More
Search repair tips from other customers using simple keywords like "replace", "fit", "remove", "inspect". DIY doesn't mean you have to do it alone!
Search filter:
Clear Filter
Your search term must have 3 or more characters.
Remove and replace light switch
45 of 90 peoplefound this instruction helpful.
Debbie from Waltham, MA
A Bit Difficult
30 - 60 mins
Pliers, Screw drivers
Video makes it look easy. Kenmore refrigerator does not have "groove" along the right hand side of switch that allows for pushing down on release. Used a thin screwdriver to get under to push while holding switch edge with pliers. Kept slipping. Tape sides to avoid scratching inside of refrigerator.
Was this helpful?
Thank you for voting!
old bushing worn and broken
23 of 43 peoplefound this instruction helpful.
Jerry from CORSICANA, TX
Really Easy
30 - 60 mins
Screw drivers, Socket set
removed the upper freezer door to access screws to remove lower door. laid bottom door on its side, removed bad bushing, put new bushing in, put bottom door back on refridge, put upper door back on fridge. Door worked easy as when new. good closure of door and story..Happy customer, and wife even happier.....thank you....
Was this helpful?
Thank you for voting!
Icemaker quit releasing ice from tray and water was pouring and freezing in ice storage bin
13 of 24 peoplefound this instruction helpful.
Amber from PEORIA, IL
Really Easy
15 - 30 mins
Screw drivers
This couldn't have been easier. Two tiny screws in the front needed unscrewed, and then two plastic clips in the middle just had to be popped lose. Finally, you unplugged the power cord. Then, you just needed to reverse the process by plugging the new ice maker in, popping the clips in place, and screwing the two holes back in and turning
... Read more the whole thing on. Voila! Perfect ice cubes again. And for only a little over $100.



 My Orders