EasyApplianceParts is now PartSelect! We've merged our sites to provide a better shopping experience for you.   Full Details

Find Parts

Parts Departments

Top Model Types

Top Brands

Repair Help

Expert Repair Videos

Keep typing for more specific results...

79092583510 Kenmore Range - Overview

Diagrams for 79092583510

See every part. Know exactly what you need.

Enter a part description. DIY Heroes keep it simple, eg. "belt" or "pump".

Search filter:
Clear Filter
Your search term must have 3 or more characters.
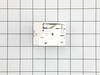
Infinite Burner Switch - Small Element - 240V – Part Number: 316436000
$63.75
In Stock
Infinite Burner Switch - Small Element - 240V
★★★★★
★★★★★
(10)
Part #316436000
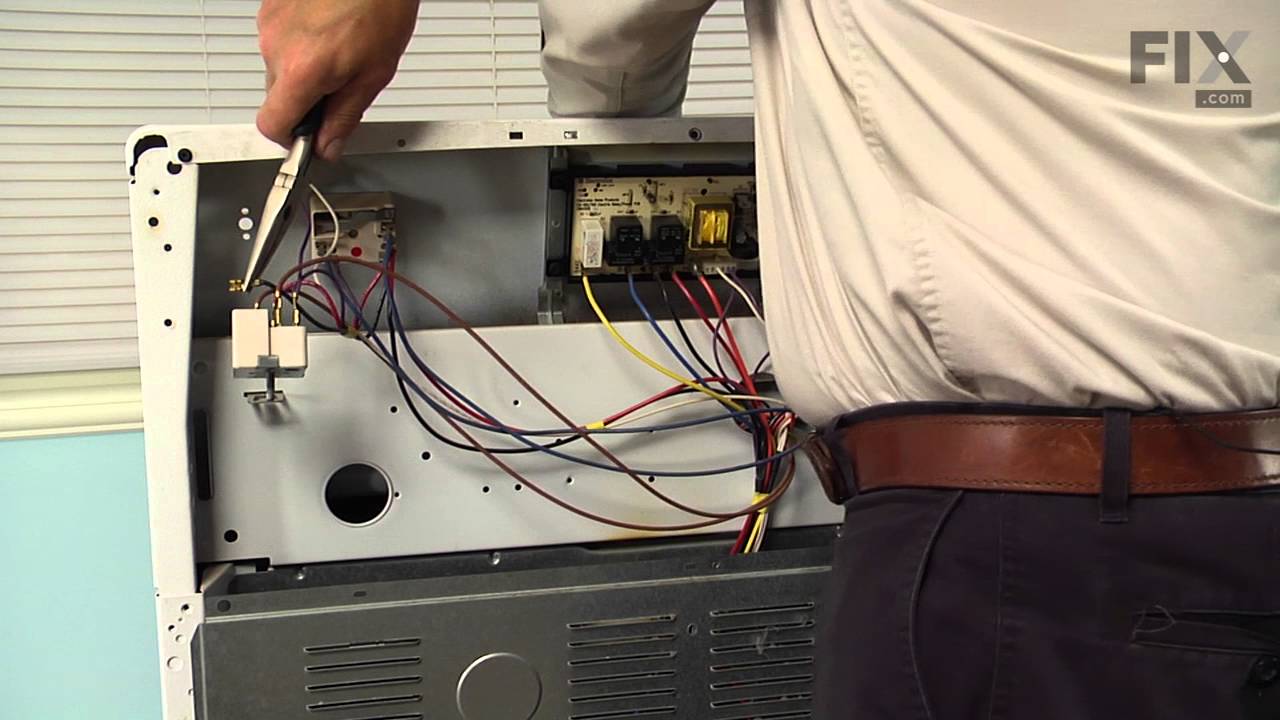
This is a part for your range. This switch controls the stovetop surface burner. If you notice that your stove top is not turning on or is not adjusting to the corresponding desired heat, it is mostly likely due to the burner switch needing to be replaced. You will need a #1 square-head screwdriver and needle-nose pliers. Disconnect the power from the range. You will need to move the range out from the wall to remove the upper back panel to access to this part. This is an OEM genuine part.
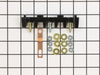
Main Terminal Block Kit – Part Number: 5304409888
$40.60
In Stock
Main Terminal Block Kit
★★★★★
★★★★★
(14)
Part #5304409888
Terminal block kits are also known as terminal boards, or terminal strips, and they are found in a wide variety of household appliances. Most often in ranges, wall ovens, and dryers. This kit attaches the power cord to the inner wiring of your appliance. If the terminal block is faulty, your appliance will not get the power it needs to operate properly. When removing the old block pay close attention to the wire placement, this will make installing your new part much easier. If you notice any of the wires or wire terminals are corroded or damaged they will also need to be replaced.
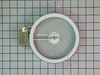
Radiant Element with Limiter - 1200W – Part Number: 318178110
$96.75
In Stock
Radiant Element with Limiter - 1200W
★★★★★
★★★★★
(16)
Part #318178110
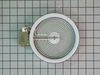
This is a six-inch radiant element with limiter. It works in conjunction with your stove top range. The purpose of this part is to heat up the cooking area that is located on top of the range, also known as your stove top. If you suspect that your surface element is not properly heating then you may want to test the element for continuity. This model is sold individually and is 1200 watts. The tools you will need for this installation include a Phillips screwdriver and a 14-inch nut driver.
Light Lens Indicator – Part Number: 316557300
$20.85
In Stock
Light Lens Indicator
★★★★★
★★★★★
(4)
Part #316557300
This range indicator light lens is designed to cover and protect the appliance’s indicator light, allowing you to easily see when a burner or oven is in use. Made from clear, heat-resistant plastic, it helps shield internal components from grease, moisture, and everyday wear. Replacement is ideal if the original lens is cracked, discolored, or missing, helping restore visibility and maintain safe, reliable operation.
Steel Washer – Part Number: 316008401
$23.05
In Stock
Steel Washer
Part #316008401
This steel washer is also known as the range washer and is used on your oven door. The measurements for the steel washer are a three quarter inch outer diameter, and a one quarter inch inner diameter. This washer is an OEM part, made of steel, which is sourced directly from the manufacturer. This specific steel washer is used with your range, to secure the inner and outer door together and to secure the oven door handle back in place. Users have ranked this repair as a simple installation that should take you less than fifteen minutes to complete.
SCREW – Part Number: 316021109
$26.35
In Stock
SCREW
Part #316021109
Sold Individually.
Light Indicator - 125v – Part Number: 316022500
$59.35
In Stock
Light Indicator - 125v
Part #316022500
Meat Probe Sensor – Part Number: 5304504202
$86.02
In Stock
Meat Probe Sensor
★★★★★
★★★★★
(3)
Part #5304504202
This meat probe sensor is an authentic manufacturer replacement part for cooking appliances that have a built-in meat probe feature. It is plugged into the receptacle assembly for use inside the appliance. The sensor measures the internal temperature of meat during the cooking process and sends the readings to the control panel where they can be viewed in real time. This ensures that the food is cooked to your desired level of doneness. Over time the internal sensor components may become faulty or the probe can fail due to mechanical damage resulting in inaccurate temperature readings, and failure to communicate with the control panel. Follow the sensor cable to the insertion point in the oven cavity and disconnect the faulty sensor. Install the new sensor into the insertion point and reattach the connectors to complete the repair.
Levelling Leg with Rubber Pad – Part Number: 318175503
$33.95
Special Order
Levelling Leg with Rubber Pad
Part #318175503
Sold Individually.
PROBE – Part Number: 5304525427
$46.18
In Stock
PROBE
Part #5304525427
This OEM-manufactured metal temperature sensor, or oven probe, measures and regulates the temperature within the oven. If you find that your food is being overcooked, undercooked, or is not cooking evenly, the sensor may be faulty. You can verify this by testing it with a multimeter or looking out for an error code on the control board. If you do not replace the broken sensor, your oven will run too hot or too cold. To replace the sensor, you first need to turn off the power to the oven and let it cool down. Access the probe inside the oven cavity, it is commonly attached to the rear wall. Using a screwdriver or pliers, remove any screws or clips that are securing the sensor in position. You may also need to unscrew or unclip the wire attached to the probe from the back of the oven. This sensor is sold as a single unit.
Door Spacer – Part Number: 318165800
$31.47
In Stock
Door Spacer
Part #318165800
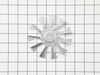
Convection Fan Blade – Part Number: 318398302
$41.17
In Stock
Convection Fan Blade
Part #318398302
This convection fan blade is designed for use with various makes and models of range and oven and is sold as an individual part. Made of metal and measuring approximately 4.75-inches in diameter, this genuine OEM fan blade works with the convection motor to circulate and distribute heat evenly throughout the oven. If your oven is not getting hot enough or the heat is not circulating properly, or if the fan blade in your oven has become warped, damaged, or chipped, it needs to be replaced immediately. To replace the fan blade, disconnect your range from the power and locate the fan assembly. With the appropriate screwdriver and wrench, remove any assembly covers and the securing nut from the blade. Once the nut is removed, install the new blade and secure it and re-install the cover.

Questions And Answers for 79092583510

Ask our experts a question about this model and we'll get back to you as soon as possible!

Sort by:
  • 1
Sorry, we couldn't find any existing answers that matched.Try using some different or simpler keywords, or submit your new question by using the "Ask a Question" button above!
Joan - For model number 79092583510
September 29, 2025
The turbo burner has gone out on our stove need to order replacement
Chris Boyle Profile
Hello Joan, thank you for getting in touch. According to our research, the turbo burner element you are looking for is part number PS18375114. We hope this helps.
$42.95
In Stock
HEATING ELEMENT,MIDDLE,TURBO
Was this helpful?
Thank you for voting!
  • 1

Common Symptoms of the 79092583510

How this model fails, and the parts that fix it.

Watch our pros, then fix it yourself.

See how others fixed this model. Time, tools, difficulty, and steps that lead to victory! View More

Search repair tips from other customers using simple keywords like "replace", "fit", "remove", "inspect". DIY doesn't mean you have to do it alone!

Search filter:
Clear Filter
Your search term must have 3 or more characters.
Cord was not tightened enough by delivery crew.
109 of 174 people found this instruction helpful.
  • Timothy from Spring Valley, AL
  • Really Easy
  • 15 - 30 mins
  • Screw drivers, Socket set
PF alarm appeared on display. Noticed clicking when cord was moved. Had arced for some time and melted original block. New part slightly different. Only has 3 lugs, old one had six. Stack using washers provided. Take note of colors before disassembly. Use caution while working through access opening. The edges are sharp. Only tools neede d are phillips screwdriver, deep socket for lug nuts. Nut driver optional. Hope this is helpful.
Was this helpful?
Thank you for voting!
burned out burner
70 of 99 people found this instruction helpful.
  • Lori from Winter Haven, FL
  • Easy
  • Less than 15 mins
  • Pliers, Screw drivers
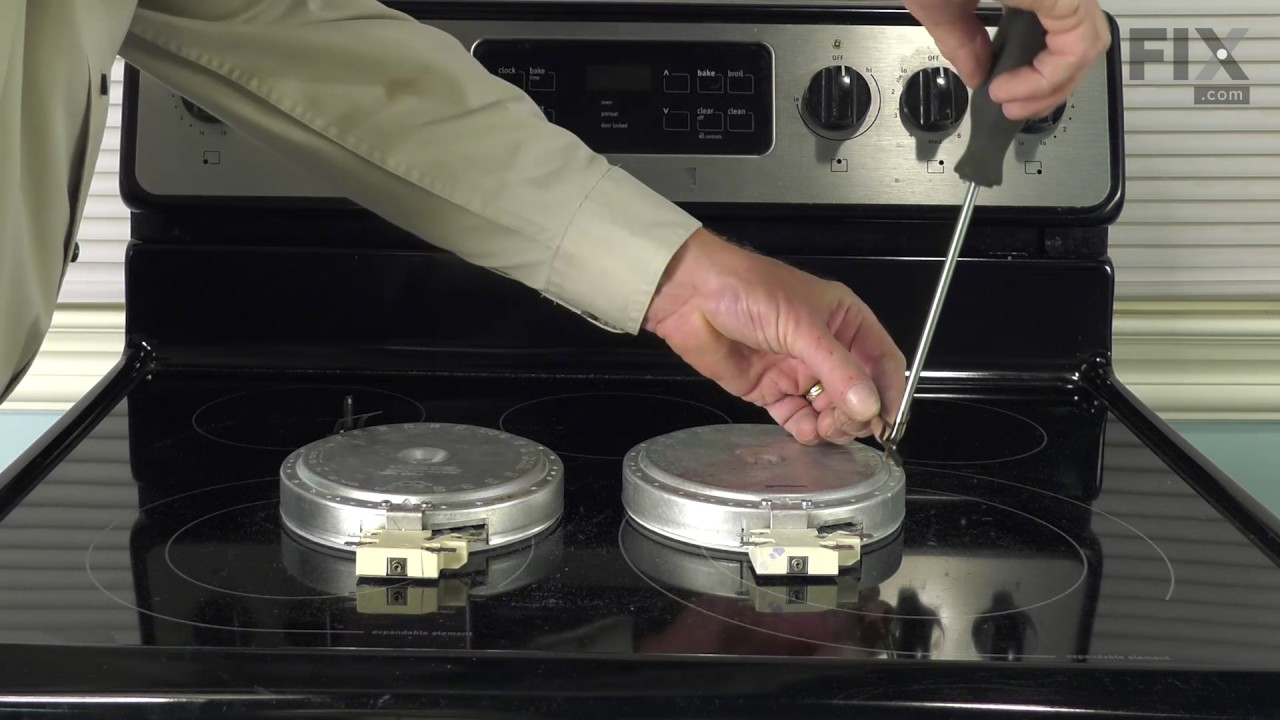
First we removed two screws under the rim of the range top to open the lid. Lifted the lid and removed the screws from the bracket that holds the elements, Be careful with the clips that hold the element in, if you break them or bend them there aren't any more! Also note which holes they were in, they are marked according to the differ ent sizes of elements. Disconnected the wires, needed needlenose pliers to grip them...connected new element, popped it back in place, replaced bracket, closed top ...Easy peasy!!!
Was this helpful?
Thank you for voting!
Switch Was Making A Arcing Sound When Burner Was On
59 of 83 people found this instruction helpful.
  • Gerald from Paris, TN
  • Easy
  • 15 - 30 mins
  • Screw drivers
Removed the back cover of the range. Removed the knob from the front of the switch. Removed 2 screws holding switch to range. Removed wires one at a time and connected to proper poles on replacement switch and reinstalled new switch on range

Was this helpful?
Thank you for voting!