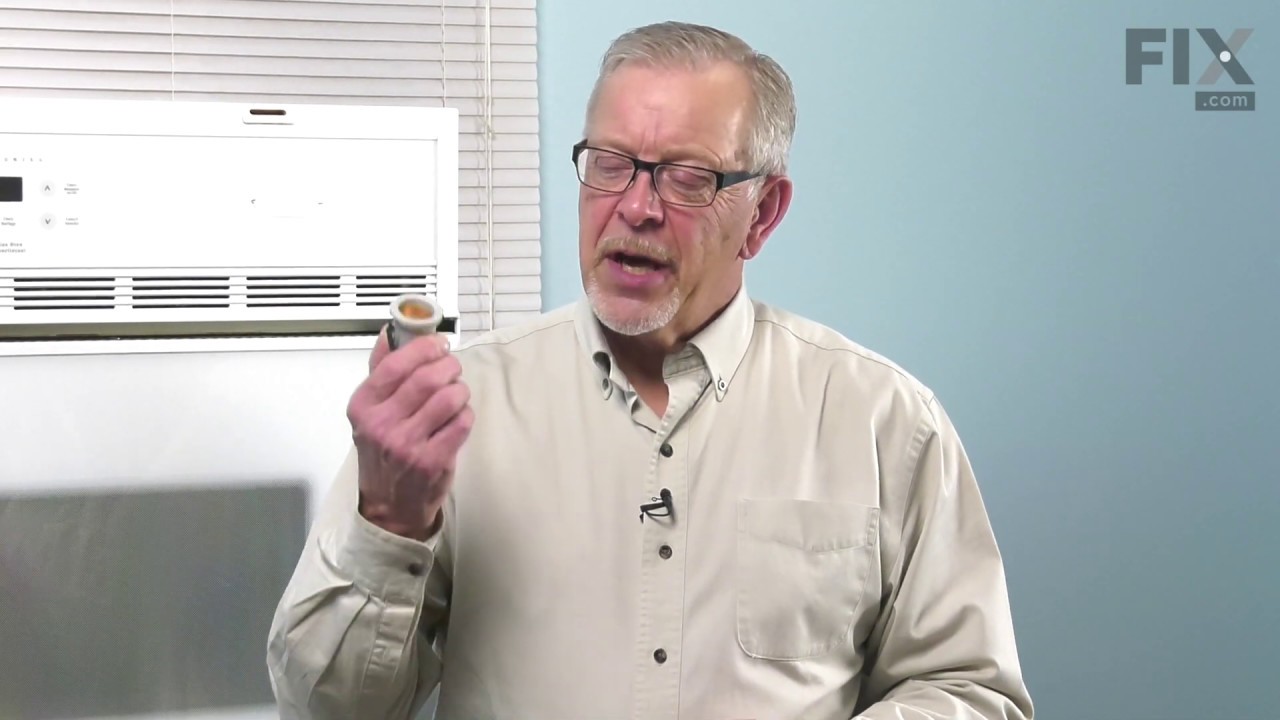
This OEM 40 watt appliance light bulb is used for some ranges, refrigerators, freezers, and microwaves. Simply locate the existing bulb, unscrew it from its socket, and replace with new light bulb. If the existing bulb is broken in the socket, disconnect the power to the refrigerator and use a pair of needle nose pliers to grip the intern...Read moreal fragments of the bulb to unscrew. Replace with the new bulb and reconnect the power to the refrigerator. These bulbs are sold individually and are a commonly replaced part; consider ordering a spare.
This kit is used to convert your appliance to liquid propane. This liquid petroleum gas conversion kit contains seven orifices, each under an inch long.
This is white touch up paint for refrigerators, microwaves, ranges, dryers, and freezers. It is used to cover, or touch up, nicks and scratches on the appliance from wear and tear. It is an 18ml bottle that contains paint and a small brush for easy application. It is a little over 2 inches tall. This is an OEM part that is sourced directl...Read morey from the genuine manufacturer, and is meant to be an exact match to the color of the appliance. If the appliance is not white, please see other colors such as almond or black.
This igniter and orifice assembly is a legitimate OEM replacement part for your gas stove, and includes the igniter, orifice assembly, and gas tube. This part may need replacing if the igniter fails or the tube is leaking gas. It is a very easy repair. Remove the grates and burners from the range. Unscrew the existing assemblies and pry o...Read moreff the cooktop. Locate the assembly you are replacing and undo the nut holding it in place. Pull out the igniter wire by hand, and install the new one, replacing the rest of the parts in reverse order.
This part is the igniter/orifice mounting screw for your cooktop or range. It is approximately ½ an inch in length and is made of metal. The mounting screw connects the orifice to the cooktop. If the orifice is loose, or the screw is missing, this is the part that will replace it. This part is sold individually and is a genuine OEM part sourced directly from the manufacturer.
This burner cap is a replacement cooking surface component designed to distribute heat evenly across the burner. It is commonly replaced when chipped, warped, or damaged by heat exposure.
This steel washer is also known as the range washer and is used on your oven door. The measurements for the steel washer are a three quarter inch outer diameter, and a one quarter inch inner diameter. This washer is an OEM part, made of steel, which is sourced directly from the manufacturer. This specific steel washer is used with your ra...Read morenge, to secure the inner and outer door together and to secure the oven door handle back in place. Users have ranked this repair as a simple installation that should take you less than fifteen minutes to complete.
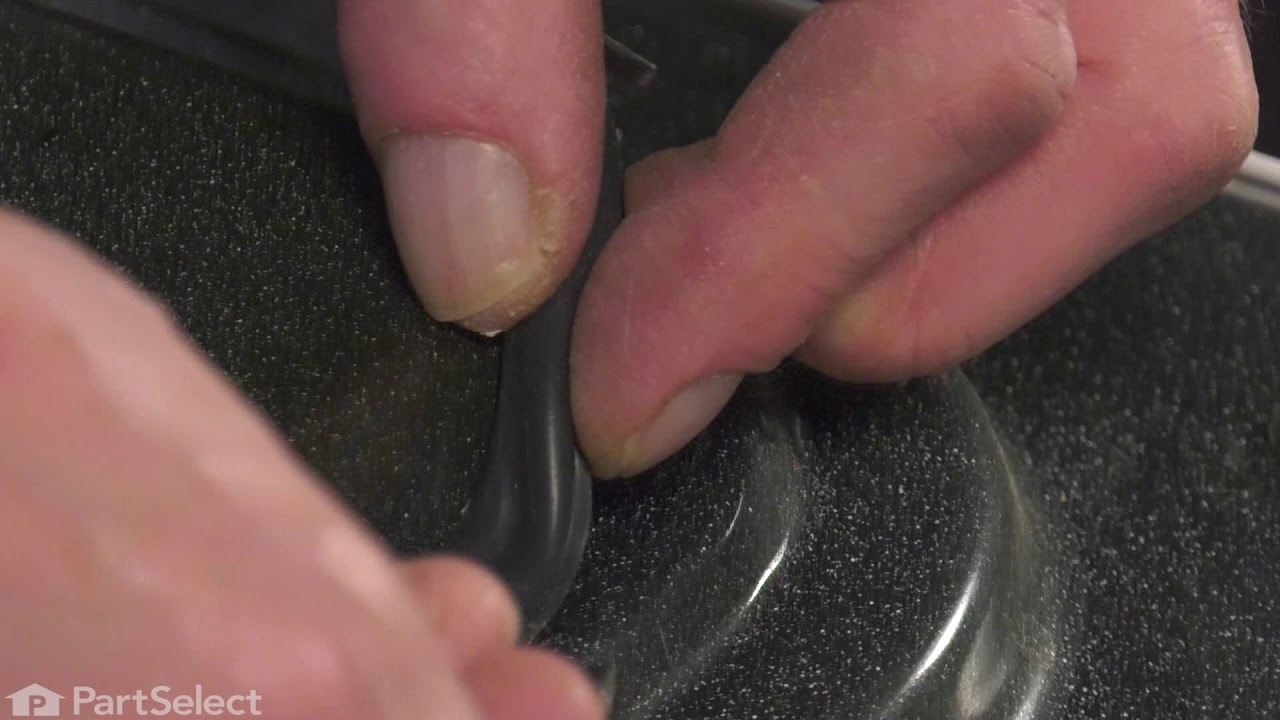
This oven door gasket is designed to form a secure seal around the perimeter of the oven door, helping to retain heat during cooking and improve energy efficiency. By preventing heat from escaping, it ensures consistent temperatures inside the oven for better cooking performance. The gasket is typically located along the inner edge of the...Read more oven door and can be replaced easily by removing the old seal and pressing the new one into place along the designated groove. Regular inspection is recommended, as a worn or damaged gasket can lead to uneven cooking and increased energy use.
Ask our experts a question about this model and we'll get back to you as soon as possible!
We may have answered a similar question already! Search questions and answers left by others using simple keywords like "fit", "broken", "easy", or "quality" to find questions that match.
Search filter:
Clear Filter
Your search term must have 3 or more characters.
Sort by:
Prev
1
Next
Sorry, we couldn't find any existing answers that matched.Try using some different or simpler keywords, or submit your new question by using the "Ask a Question" button above!
Perry - For model number 79071211700
May 1, 2024
Oven does not ignite
Hi Perry, thank you for reaching out. Based on our understanding of the issue, we would suggest replacing the oven igniter, part number PS12071409, to solve the problem. We hope that helps!
See how others fixed this model. Time, tools, difficulty, and steps that lead to victory!View More
Search repair tips from other customers using simple keywords like "replace", "fit", "remove", "inspect". DIY doesn't mean you have to do it alone!
Search filter:
Clear Filter
Your search term must have 3 or more characters.
Safety valve would not open
126 of 159 peoplefound this instruction helpful.
Ed from Darby, PA
Easy
15 - 30 mins
Nutdriver, Screw drivers, Wrench set
I am an HVAC tech by trade so it wasn't difficult to diagnose problem with safety valve. The hard part was being without an oven for a week. Repair was simple and effective--oven works good as new. Shut off gas and unplugged oven. Removed floor of oven between broiler and bake section, used wrenches to disconnect gas line from saf
... Read moreety valve in back of oven, used philipps head screwdriver to remove burner assembly and gas valve, reversed process to replace. Checked out operation--OK.
Read less
Was this helpful?
Thank you for voting!
Bought a new gas oven that did not come with a propane conversion kit.
125 of 179 peoplefound this instruction helpful.
Denny from Bishop, CA
Easy
30 - 60 mins
Nutdriver, Wrench set
I followed the simple instructions that were included in the kit. I started by replacing the 5 orifices on the top burners. The orifices are well labeled with numbers and colors. Next, I tightened the broiler burner orifice and the oven burner orifice with a 1/2 inch wrench. I had to tighten them pretty good to get the flame down where it
... Read more is supposed to be. Then, I checked for leaks and I was then ready to cook.
Read less
Was this helpful?
Thank you for voting!
Stove was set up for natural gas and needed to be converted to LP
118 of 193 peoplefound this instruction helpful.
Ed from Orange, TX
Easy
30 - 60 mins
Nutdriver, Screw drivers
The LP conversion kit contained very good, detailed instructions. I replaced the gas orifices, took off the bottom door and adjusted the regulator.
Used the screwdriver to adjust the low flame and everything was done.




 My Orders